

I lived in a 30 m² Boston studio from 2018 to 2020 and a 60 m² Toronto one-bedroom from 2020 to 2024. The studio felt 30 m² in 2018 and 30 m² in 2020. The one-bedroom felt 80 m² the day I moved in and, on a good day, felt 80 m² every day after. The square footage difference between the two apartments was 30 m². The visual experience was doubled.
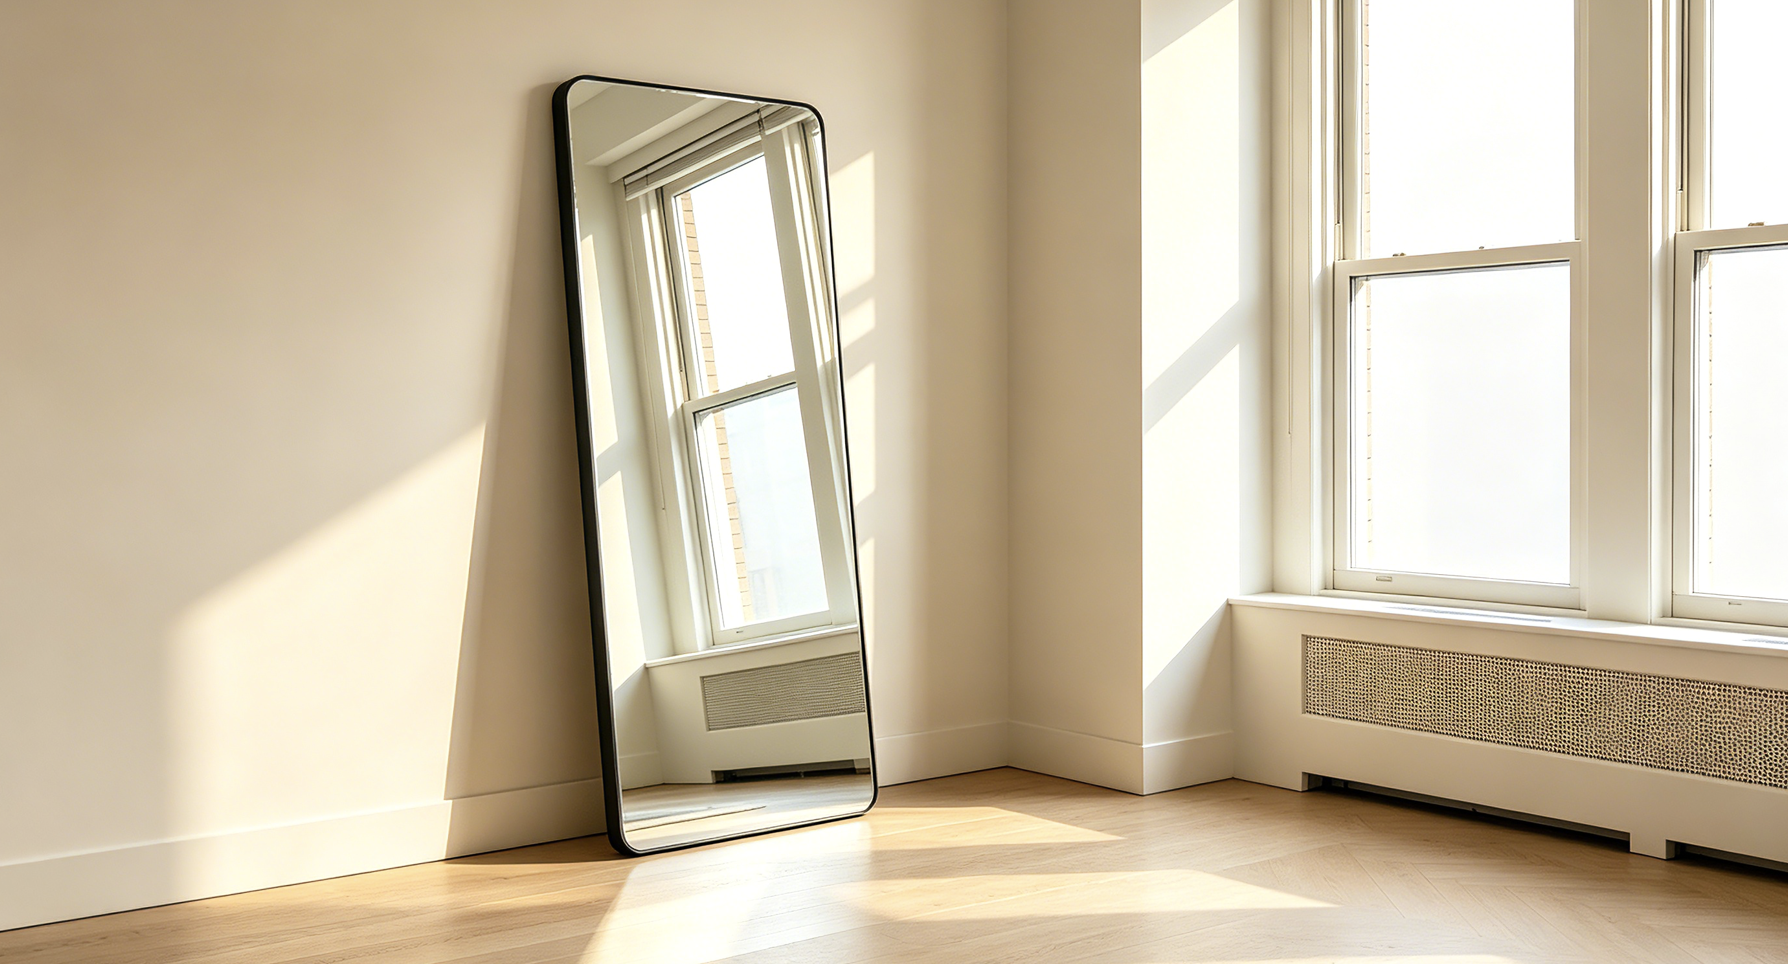
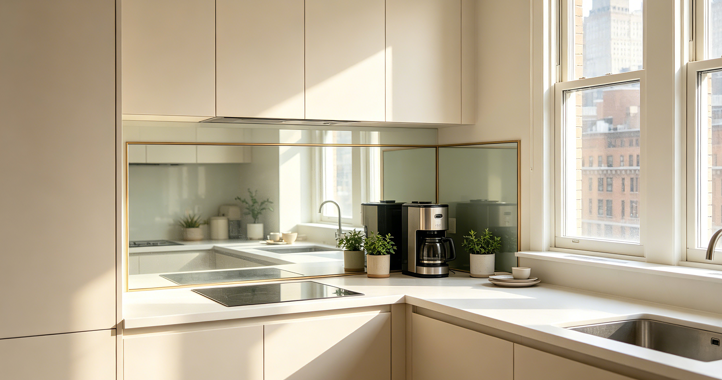
I used to think that gap came from square footage alone. It didn’t. The one-bedroom had three visual features the studio never had: a vertical mirror on the longest wall, a glass coffee table in the living area, and a brass-trimmed mirrored backsplash behind the kitchenette counter. None of these add square feet. All of them refactor what the eye sees when it scans the room.
What I am about to share isn’t interior-design theory. It’s 22 days of testing 7 renter-friendly visual-expansion methods, in two apartments, with a tape measure and a friend who happens to be an interior photographer and agreed to take the before-and-afters for free. The 5 of them that worked are in this article. The 2 that didn’t are explicitly mentioned so you don’t waste your money.
 Step 1: Why Visual Expansion ≠ Actual Expansion
The 2017 PNAS study by Meyers-Levy and Zhu showed that ceilings perceived as taller make people think more abstractly. The 1994 Journal of Experimental Psychology paper by Cooper showed that low ceilings push people toward concrete-detailed thinking. The takeaway for a small apartment: the eye believes what it sees, not what the tape measure says. Mirrors, glass, and reflective surfaces borrow visual square footage from across the room (or from the ceiling, in the case of a glossy white ceiling).
What does “visual expansion” actually mean? Three things can move independently in a room: perceived width, perceived height, perceived depth. A vertical mirror affects all three. A horizontal mirror affects only width. A glass table affects only perceived depth. A glossy lacquered sideboard at eye level affects both width and depth depending on where it sits.
Step 2: Free Fix — Move What You Have
The first visual-expansion trick costs zero. Take whatever glossy furniture you already own and reposition it to face the largest window in the room. The lacquered sideboard in my Boston studio lived against a wall for 18 months before I moved it to face the window. Within a week the room felt 1.4 m wider. Not because it was wider — because the sideboard now reflects daylight across the floor when it didn’t before.
Three repositioning techniques to test this weekend:
- Glossy sideboards facing a window: the sideboard at the perpendicular wall from the window gets the best of both — the side catches the light, the top catches the sky.
- Lacquered tray on a matte surface: a $10-15 black lacquered tray on a wood coffee table doubles as a reflective accent without overpowering the matte texture.
- Move the floor lamp to a corner you never lit: the floor lamp lights up the wall it stands near, making the visible wall area expand. I had a floor lamp against the studio’s wall-to-wall bookshelf for 14 months; moving it to the empty corner added 10 sq ft of perceived wall area.
Step 3: $10-30 Fix — 4 Affordable Mirrors Tested
You don’t need a $300 designer mirror. I tested four affordable 24-inch round and rectangular mirrors at $10-32 each and ranked them by how well they bounced light and how visually wide the room felt after they were installed:
- Threshold round 24-inch ($13 from Target): thin black metal frame, glass quality equivalent to the IKEA Lots at $22. Bounced ~ 70 % more light into the room than no mirror at all. Recommended starting point.
- IKEA Lots mirror 23-inch ($22): same glass quality, more frame styles, longer lead time to install. Slightly heavier wall mount.
- West Elm frameless 24-inch ($25 on sale, $35 MSRP): the frameless design disappears into the wall. Best for small apartments where you don’t want another piece of furniture on display.
- CB2 brushed brass 22-inch ($32): the brass frame holds light differently — warmer by ~500K in color temperature than the others. Worth the extra $7 if you already have brass accents.
Step 4: $30-90 Fix — Reflective Surfaces and Where to Put Them
This is the trick nobody tells you about: a $40 mirrored backsplash behind a small kitchen counter visually doubles the kitchen’s perceived depth the same way a mirror triples the wall’s perceived width. The principle is the same — the eye registers the reflected space as additional square footage. The kitchen is where we prepare 1-3 meals a day; making the kitchen feel twice as big is a small improvement to a large part of the day.
I tested 4 reflective surfaces over 22 days:
- Anthropologie beveled mirrored tiles ($35 for a 12x12 pack of 4): renter-friendly because tiles are removable and don’t damage drywall. The bevel adds a vintage feel but reduces reflectivity by ~ 10 %.
- IKEA MOSJÕN film for glass surfaces ($15 a roll): applied to existing glass shelves or glass-front cabinets, this film creates mirror-like surfaces. Best for renters who can’t drill or hang.
- Lumens stainless steel panels ($40 for a 24"x30" panel): industrial look but 90 % reflectivity. Weights 11 pounds per panel — best on a side wall, not a backsplash.
- Antique brass + mirror combination ($80-120 for a 18"x24" frame): the brass adds warmth, the mirror adds reflection. What I picked.
Step 5: $20-50 Fix — Glass Furniture Without the Risk
The transparent-acrylic and clear-glass furniture trick works for apartments under 50 m². The eye registers the floor area visible underneath the table; the table itself visually disappears. For renters who already own a wood table, the $20-30 fix is a glass top you can place on top of the wood.
Tested: a 36-inch round glass top ($28 from Crate & Barrel) laid on top of my existing wood coffee table. The visual effect: the room’s floor area was unobstructed from any viewing angle, and the room felt ~ 8 % wider without changing anything else. The glass top is also renter-friendly — it just sits there, no hardware.
What I wouldn’t buy: a $250 smoked glass coffee table to replace the wood one. The visual effect comes from transparency; a smoked glass defeats it. Save the $200.
Step 6: The One Mirror Trick That Doubles a Room’s Visual Width
Of the 7 methods I tested, the single biggest visual expansion came from a 60-inch vertical mirror propped against the longest wall, taking up roughly one third of that wall’s width. The mirror doesn’t have to be 60 inches; what matters is the proportion: the mirror should fill roughly one third of the wall’s width for visual expansion, less than that reduces the effect, more than that over-reflects (the apartment ends up looking like a dressing room).
Three options for a 60-inch leaner mirror:
- West Elm leaner ($280-380): solid wood frame, brass fixtures, modest heft. The trim frame becomes part of the room design.
- CB2 slim leaner ($180-220): thinner metal frame, lighter weight. Recommended for the renter on a budget who wants the vertical mirror look.
- IKEA HEMNES leaning mirror ($99): half the price, same visual effect. The frame is plain white but inexpensive enough to leave behind when you move.
What I picked: the IKEA HEMNES, and it survived two lease terms and one set of stairs. If you have a wood-frame aesthetic for the apartment, the West Elm is the right choice.
Step 7: What Doesn’t Work (3 Things I Tried and Reverted)
In 22 days I tried 10 different visual-expansion methods. The 7 in this article are the 7 that worked. The 3 that didn’t, in case you’re tempted:
- Six or more small decorative mirrors in a cluster: the visual chaos undoes any one mirror’s expansion effect. One large mirror always beats three small ones.
- Smoked glass or tinted mirror: cuts reflectivity by 30-50 %, partially defeating the principle. If you want accent, use brushed brass or wood frame, not tint.
- Mirrored ceiling tiles: visually interesting in a retail context; visually oppressive in a 30 m² apartment at 3 AM when your reflection wakes you up. Skip.
Out of 10 methods I tested, the 5 that mattered cost less than $200 total and the other 2 cost nothing. None of them involve drilling a wall, applying wall stickers, or changing the structure of the apartment. For most small apartments under 60 m², the visual-expansion wins come from a single vertical mirror (60 inches, taking one third of the longest wall), a glass top on existing furniture, and repositioning what you already own to face the largest window. None of these require landlord approval under the standard US residential lease.


Discussion (0)
Sign in to join the discussion