

A flat pack furniture problem in a rental apartment is usually not a building problem. It is a measuring, assembly, and disassembly problem, and I learned that the expensive way. I had a flat pack wardrobe delivered to an apartment I was renting, and the delivery driver asked me to check the door frame before he unpacked it. I told the driver the wardrobe was going in the bedroom, the bedroom door was a standard door, and it would be fine. He said the wardrobe was seven foot three tall and the door frame was six foot three. He unpacked it anyway. I assembled the carcass in the hallway first, and then could not get it through the bedroom door.
So I spent an evening taking it back apart, and I learned the thing that I have since told every renter I know: flat pack furniture is designed to be transported flat and assembled in the room, and the reason it is flat is precisely so that it fits through a doorway. Build it somewhere else and you have created a problem that the design was engineered to avoid. That is the whole lesson, and everything else in this guide is downstream of it, but the reason I am giving you a whole guide rather than one sentence is that there are about six other things I learned over three flats that cost me money, and none of them were covered in the instructions.
The things that cost me money were not the measuring. They were the scratching, the missing screws, the half-dismantled carcass in the corner of an empty apartment, and a wardrobe that I could not get back through the door at the end of the tenancy because I had not kept the pieces in order. So this is the apartment pack guide I would have wanted: what to check before the first box is opened, how to set up so the assembly itself does no damage, and what to keep so that the last day of your tenancy is not a fight with a wardrobe.
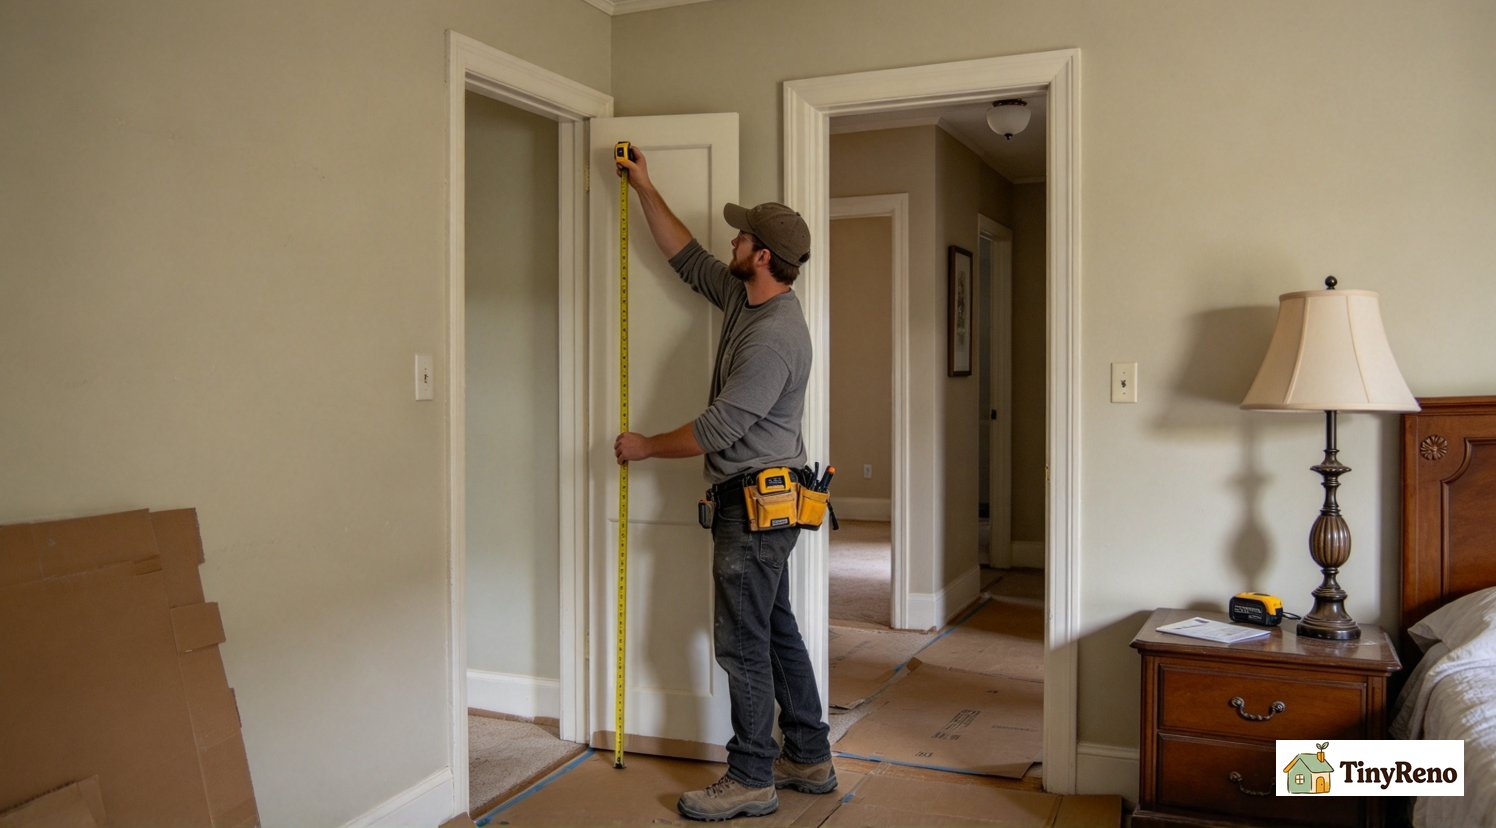
Measure the route, not the room
The measurement that matters is the narrowest point on the path from the front door to the room where the furniture will be assembled. There is almost always more than one narrow point: the building entrance, the elevator, the hallway turn, and the door frame of the target room. Flat pack furniture arrives as panels, so the largest single panel is what has to make the whole journey. Measure that panel’s length, width, and thickness, then compare those numbers with every opening along the route.
A common mistake is to measure only the door leaf or only the frame. Measure the clear opening of the frame with the door open all the way, at the top and bottom, because old frames are not always square. Add about half an inch of slack, because panels are cut to tight dimensions and doorways often are not.
And the turn. A long panel going round a corner in a hallway is the classic thing that does not fit, and the number that decides it is the diagonal of the corridor cross-section rather than its width. If the corridor is narrow, you can often still take a long panel around a right angle if you angle it, and there is a well-known trick of standing the panel on end and pivoting it, but that only works if the corridor has any height to spare, which in a rental it usually does. Do the test with a broom handle or a length of cardboard before the delivery arrives, not after.
One more measurement that has saved me more than once: the ceiling height of the room where the item will be assembled, for tall pieces. A wardrobe that is six and a half feet tall assembled in a room with an eight-foot ceiling is fine. Assembled in an apartment with a seven-and-a-half-foot ceiling, the same piece may not be able to be tipped upright, which means it has to be built lying down and then rotated, which is a different job with a different set of problems. Check the ceiling before you open the first box, not halfway through.
Set up so the build does no damage
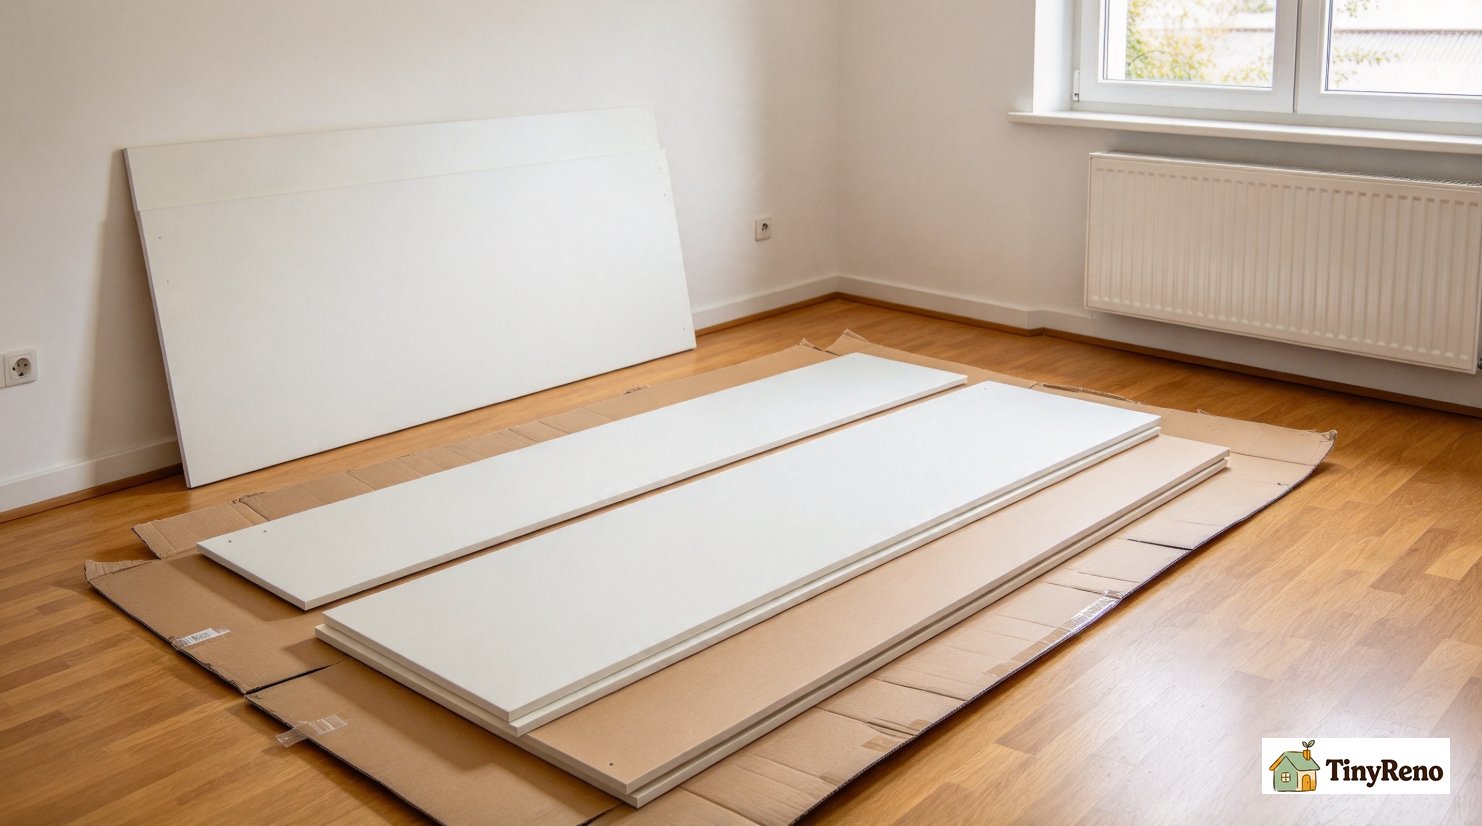
Flat pack panels are thin chipboard, and chipboard is soft, and it will scratch anything you put it down on. This is the practical part of any flat pack job that people skip. Most of the damage people cause with flat pack furniture is not from the finished piece, it is from the ninety minutes of assembly. So the setup is the thing that protects you, and it takes about two minutes.
Lay down a large sheet of cardboard, or a thick blanket if you have one, on the floor where you are going to work, and do the entire build on that surface. A single sheet of packing cardboard is ideal, and you will often have several in the delivery anyway because that is how the panels are protected in transit. Keep the panels flat on the floor while you work rather than leaning them against a wall, because a panel leaning against a wall concentrates all of its weight onto one bottom edge and that edge is what marks the wall. This is the single most common way people scratch a rental, and it happens to almost everyone who assembles furniture without thinking about it. If you only change one habit in an apartment pack setup, make it this one.
Be careful where the panels are stacked. Two panels face to face is fine, and better if you put a blanket between them, but never rest an edge of a panel on the face of another, because chipboard is not strong enough across a short span and it will take a dent, usually a permanent one, right in the middle of a panel that ends up being the visible side of the finished piece. If you need to stack, stack apartment, and never more than three high.
Then protect the second surface people forget, which is the baseboard. The finished piece has to be moved from the middle of the room to the wall, and dragging a foot or a leg along the baseboard will take the paint off it, and paint on baseboard is one of the most common reasons a deposit is reduced. Lift, do not drag. If the piece is genuinely too heavy to lift, slide it on a piece of cardboard, which turns it into a glide rather than a scrape, and it is a five minute fix that saves a redecoration bill.
Keep every screw, and label them
This is the part I got wrong first and it cost me the most, so I am going to be specific about it. Flat pack furniture is assembled with a mixture of screws, cam locks, dowels, wooden pegs and sometimes bolts, and at the end of the build there will be a number of these that you genuinely did not use. It is extremely tempting to assume those are spares, because the box said the right number and you used the right number. Do not assume that. The count on the box is a manufacturing count, and a great many flat packs arrive with one or two missing from the factory, and the ones that look spare are precisely the ones that were missing from the start.
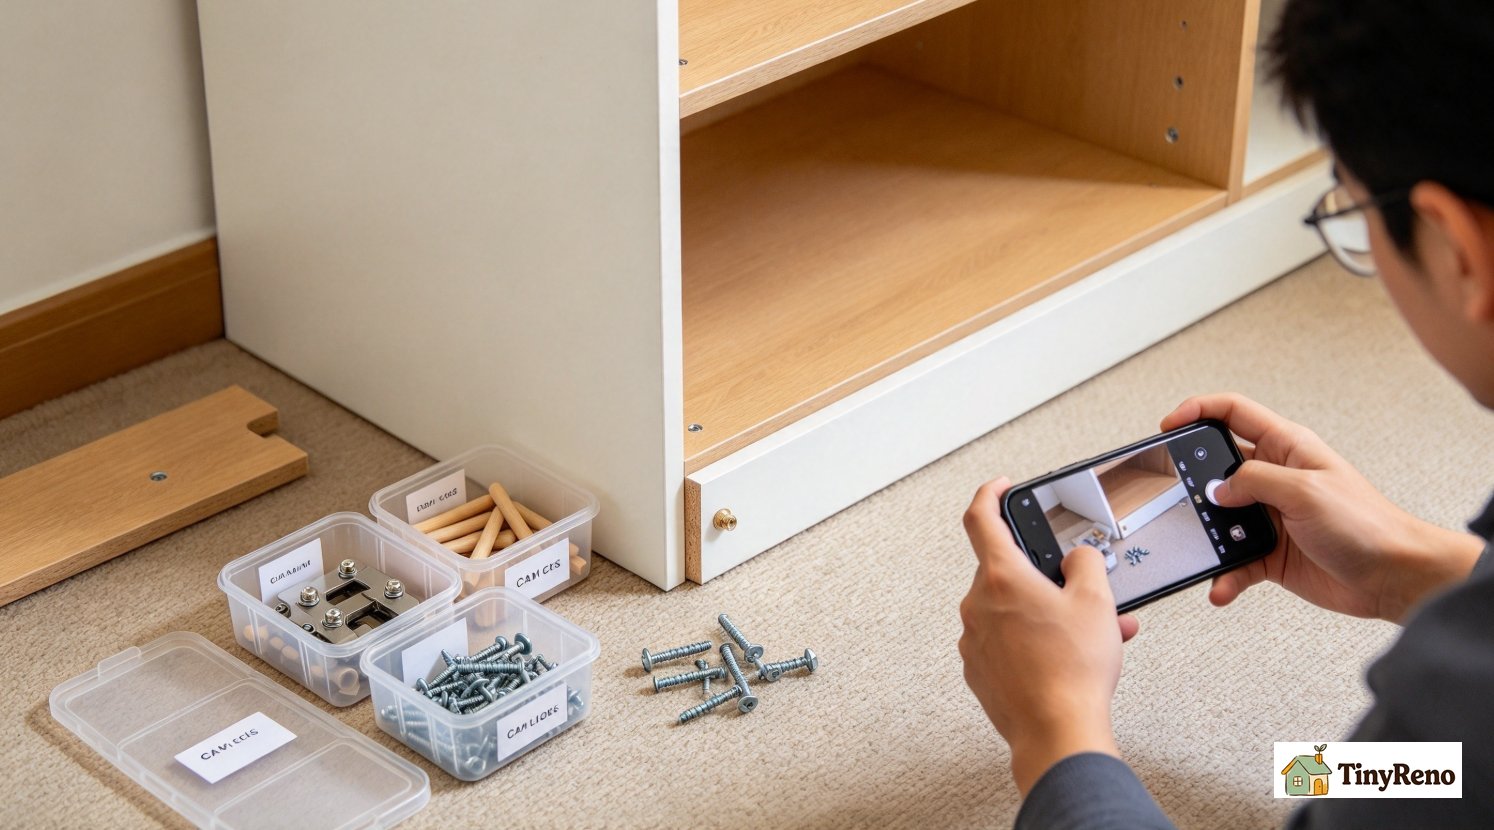
So keep everything. Every washer, every cam lock, every dowel, every screw, in a container that does not get thrown out. The reason this matters is that flat pack furniture is designed to be disassembled by pulling it apart, and the cam locks only come out in one direction, and if you cannot tell which cam lock went into which corner of a carcass, you will damage the panel trying to reverse it. And the real cost is at the end of the tenancy, when you need to take a wardrobe apart and move it or leave it, and half of it comes apart and half of it does not.
Label them by stage, and photograph each stage. I use a different small container for each stage of the build, and I take one close photograph of the assembled stage before I move on to the next one. A close photograph, close enough that you can see each part and its position, is worth more than any label you write, because the label tells you which stage and the photograph tells you which way round. This sounds fussy. It is the difference between a wardrobe that comes apart cleanly in forty minutes and a wardrobe that has to be taken apart with a saw in the last week of a tenancy, which is a thing I have now seen happen twice in the apartments I have moved out of.
There is one more thing to keep, and it is not a part. Keep the box, or at least keep the printed instructions, until you are certain the piece is staying. Not because you need the instructions, but because if a piece needs to be disassembled and the instructions are gone, you are reverse-engineering a wardrobe from photographs and hope. Flat pack instruction sheets get thrown away by people who assume they will never need them, and they always need them exactly once, and it is always at the worst possible moment.
What to do on the last day
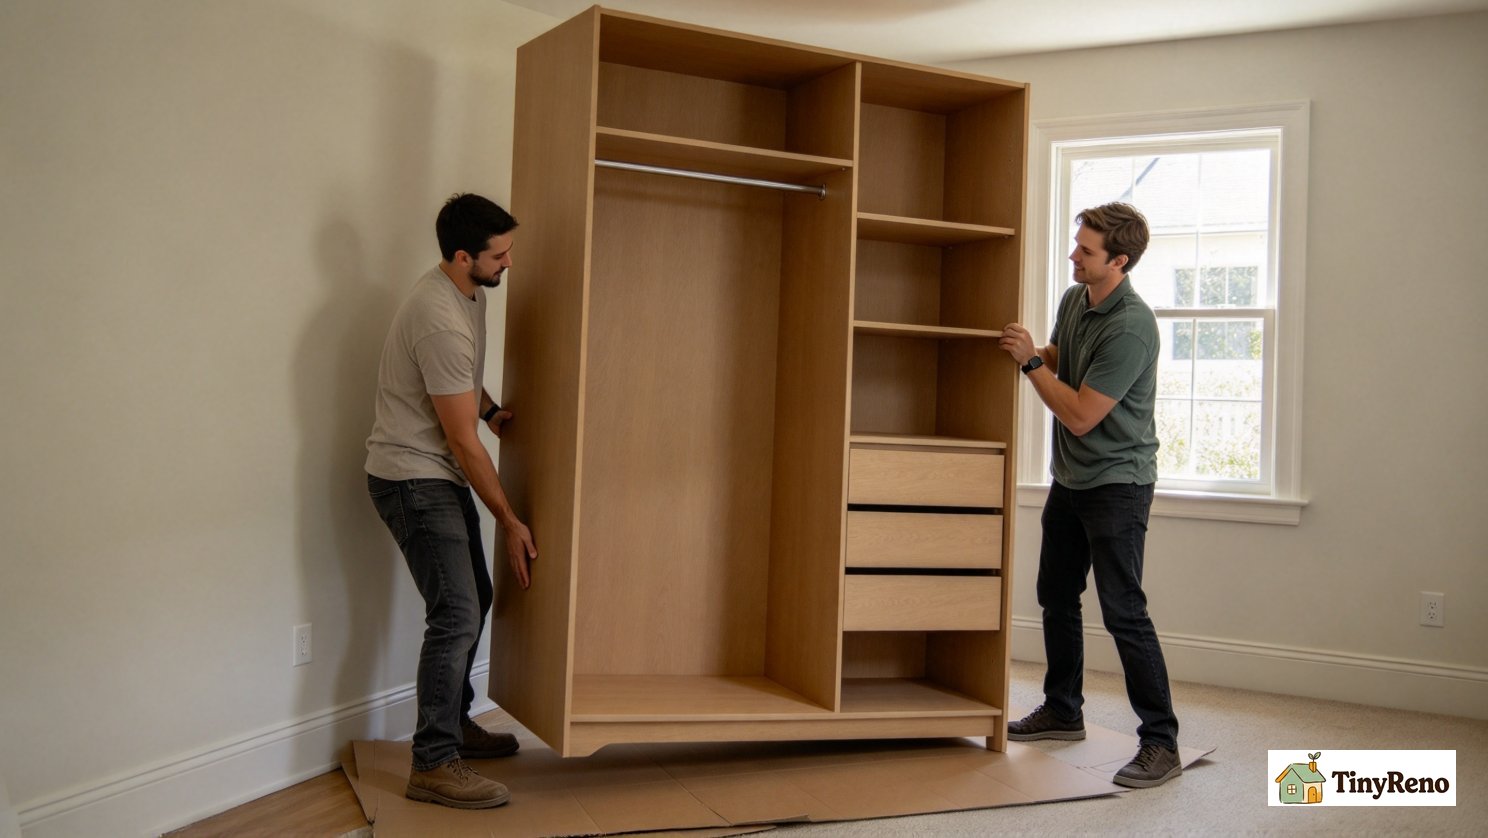
Whatever you decide, never leave something half done. That is the rule that covers the two possible endings. If the furniture is going with you, dismantle it fully and carefully, label as you go, and keep the hardware together. If the furniture is staying behind, leave it fully assembled and looking deliberate, because a half-built carcass propped in the corner of an empty apartment does not read as in-progress, it reads as damage. An inspector photographs what is in the room, and a complete bookcase is furniture, and a half-built one is a mess that you will be told to remove at your cost.
If it is staying, do not fix it to the wall without asking, and if you did fix it, tell the landlord in writing and offer to have it removed. Screwed-in flat pack shelving is the exception that causes arguments, because the holes stay after the shelf comes off, and the fixing holes are visible in a photograph. The same applies to any adhesive hook you used to hang something heavy, and a good number of flat pack pieces ship with a wall-anchoring kit that looks like an optional extra and is not optional at all if the piece is tall and narrow and will be pulled on by children or pets.
And photograph everything on the day you leave, wide and then close, room by room, including the walls behind where the furniture was. If there is a mark that was there when you moved in, a photograph from move-in is what proves it was not you. This is the same documentation principle that runs through everything on this site, and it costs about ten minutes with a phone. The furniture was the thing that made the mark, but the photograph from the start of the tenancy is what settles the question.
The short version:
Measure the narrowest point of the route, including the door frame and the hallway turn, before opening any box.
Build on a protective surface with the panels flat on the floor, not leaning against walls.
Keep every piece of hardware, labelled by stage and photographed. The count on the box is not always the count in the box.
On the last day, either dismantle the piece completely or leave it fully assembled. Do not leave it half done, and photograph the room before handing back the keys.


Discussion (0)
Sign in to join the discussion