

A dishwasher drying setup failed for four months in a Seattle apartment. No single fix solved it. Rinse aid, better loading, a small drip shelf, and cracking the door open at the end of the cycle did most of the work. Here is what finally worked, then the four months that came before it.
The symptom, since it is not glamorous: everything came out damp at 7am. Not wet. Damp enough that a bowl put away in the cabinet started smelling like a swamp by Thursday.
Where it ended: a drip shelf, angled
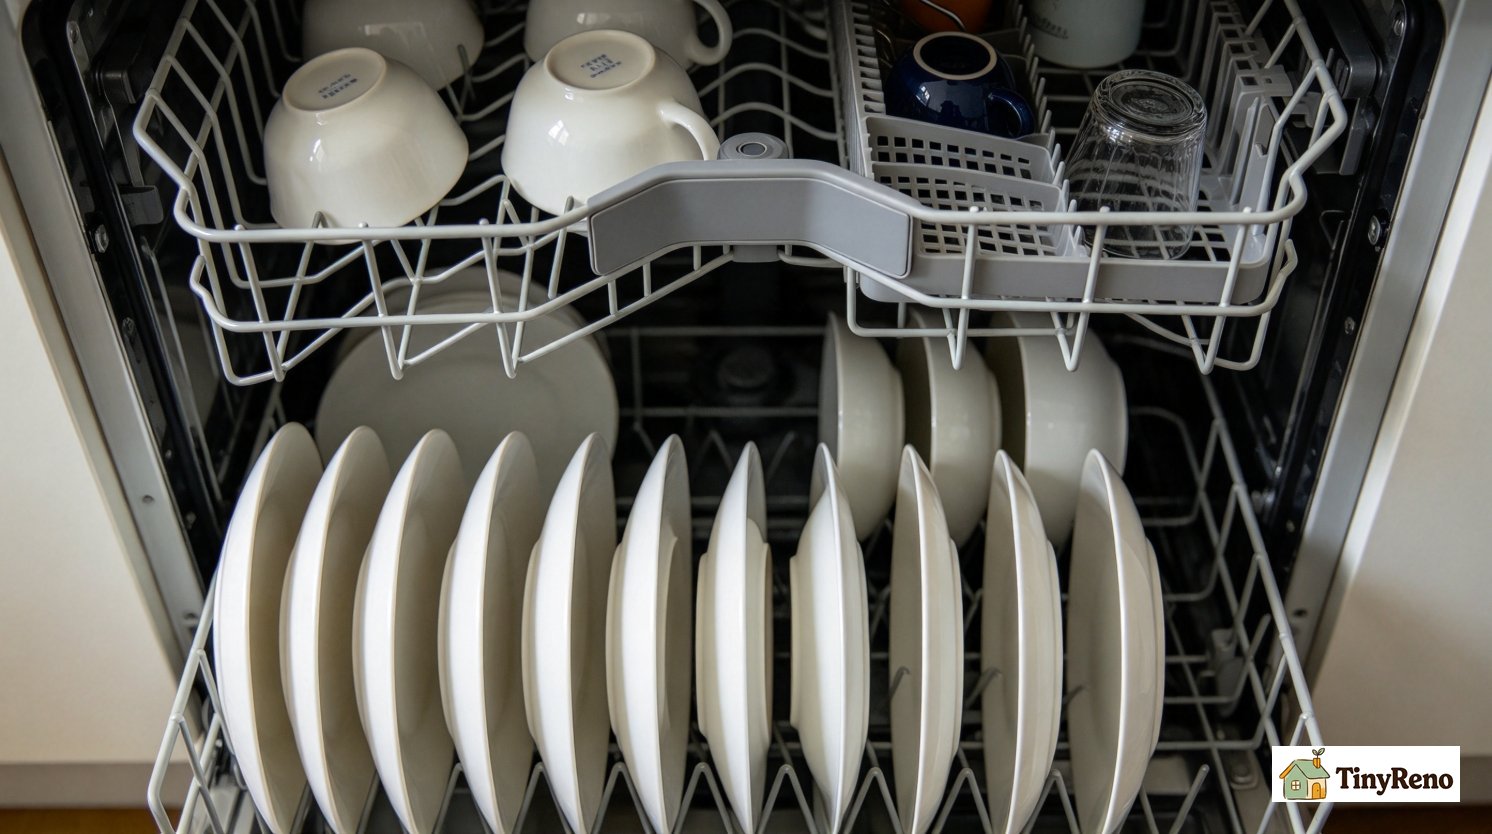
The version that works is a simple drip shelf or drying tray that sits in the bottom of the lower rack, holding small items above the spray arm at an angle rather than nesting everything flat. Small items, which are the ones that never dry, go on the shelf. Bowls and plates go back in the lower rack facing downward and angled inward.
That was the rack fix. It cost about eleven dollars and took a few minutes with no tools. But the shelf was not the only change, and for this dishwasher it was not the most important one.
Why it works: a dishwasher dries dishes through a mix of heat, airflow, drainage, and a rinse aid that helps water sheet off surfaces. Running a hotter or longer cycle adds heat, but if air cannot move through the rack or out of the machine, moisture can condense back onto the dishes. The items that stay damp are the ones that were in shadow, in a pocket of trapped air, or touching something wet. A shelf converts a trapped pocket into a draining surface.
The thing I did first that actually fixed it: rinse aid
One common and often overlooked reason dishes come out damp is an empty rinse aid dispenser. Rinse aid lowers surface tension so water sheets off dishes instead of forming droplets that cling and evaporate slowly. Without it, every dish comes out with a film of water that takes forever to evaporate. With it, water runs off in sheets and the dishes are dry by the end of the cycle.
Most people have no idea their dishwasher has a rinse aid dispenser. It is the small cap you twist open next to where you pour the detergent, usually marked with a flower or a sun icon. Fill it once and it dispenses automatically for about a month. This cost me four dollars and changed the drying more than the shelf did. If you take one thing from this article, check whether your rinse aid dispenser is empty. It probably is.
Four months earlier: the cycle setting rabbit hole
Our first instinct was the cycle. If things are damp, run a longer, hotter cycle. So we moved to the longest normal wash and added a sanitizing option, and the machine got hotter and the dishes got no drier.
We did that three times. It never once worked, and it added about forty minutes per cycle, which is a real cost when you are running a dishwasher at 6am while a five-week-old is asleep in the next room.
The reason it never worked, which I did not understand at the time: the drying portion of a dishwasher cycle moves air across warm wet surfaces, and the final cool-down is where most of the water actually leaves. Heat on its own mostly creates steam. If the vent path is blocked, or the machine is under a counter with no toe-kick clearance, or every surface in the rack is touching another wet surface, no amount of extra heat reaches it.
Three months earlier: the rack we overloaded
We cook most nights and washed after dinner. The rack was always full. Not nearly full, actually full, with pots and mixing bowls occupying the space where the spray arms need to reach and where air needs to move.
The spray arm joke is that a blocked spray arm does not clean. The part people forget is that a blocked rack does not dry, for the same reason, for the same air. A dishwasher dries by moving air across warm wet surfaces, and a rack packed so the plates touch each other has created a single large wet object with very little surface area exposed.
Leaving a little space between items changed more than any setting. You do not need to run it half empty, but you do need to leave gaps where air can circulate. Two plates that are not touching each other dry a lot faster than two plates that are.
Two months earlier: the cup problem
Cups and mugs are the specific items that stayed damp, and they stayed damp at the handle and the base even when the bowl of the mug was dry.
A mug inverted on the rack can trap water in the handle or where the rim meets the wire. The fix is not simply to turn every mug upright; most manuals still recommend inverting cups so the inside drains. Instead, invert mugs at an angle, keep the handle from resting against another item, and make sure the rim is not sitting flat against a wire. If a particular mug has a deep base that traps water when inverted, try it upright and check that the base can drain.
This is the opposite of what every manual suggests and what every person does naturally, because inverting is how you dry a glass. A glass is a closed solid shape that holds a lot of water. A mug is not, and a mug inverted on a wire rack holds water in exactly the place you cannot see.
One month earlier: the vent and the cabinet
Many dishwashers vent through a gap near the top of the door, but the location varies by model. Check the manual or feel for air movement around the door and cabinet. Ours had a tray of clean laundry sitting on top of the machine because that was the only flat surface in a small kitchen.
That tray was blocking the moist air escaping, which means the entire drying process was running in a sealed box, and the water it was trying to remove had nowhere to go but back onto the dishes.
The check takes ten seconds. Start a cycle, or just hold the door closed with the machine on, and put a hand at the top of the door. You should feel air moving out. If you do not, something is on top of the machine or pressed against the back, and that is your answer.
There is a related and less obvious point about the cabinet the dishwasher sits in. If it is a tight under-counter fit with no toe-kick gap, the damp air from the machine has nowhere to go at all, and it collects under the counter and wicks up into the cabinet sides. Ours sits in a cabinet that is slightly too small, and the fix was removing a fitted shelf liner under the sink that was sitting directly against the dishwasher side.
The free trick nobody tells you
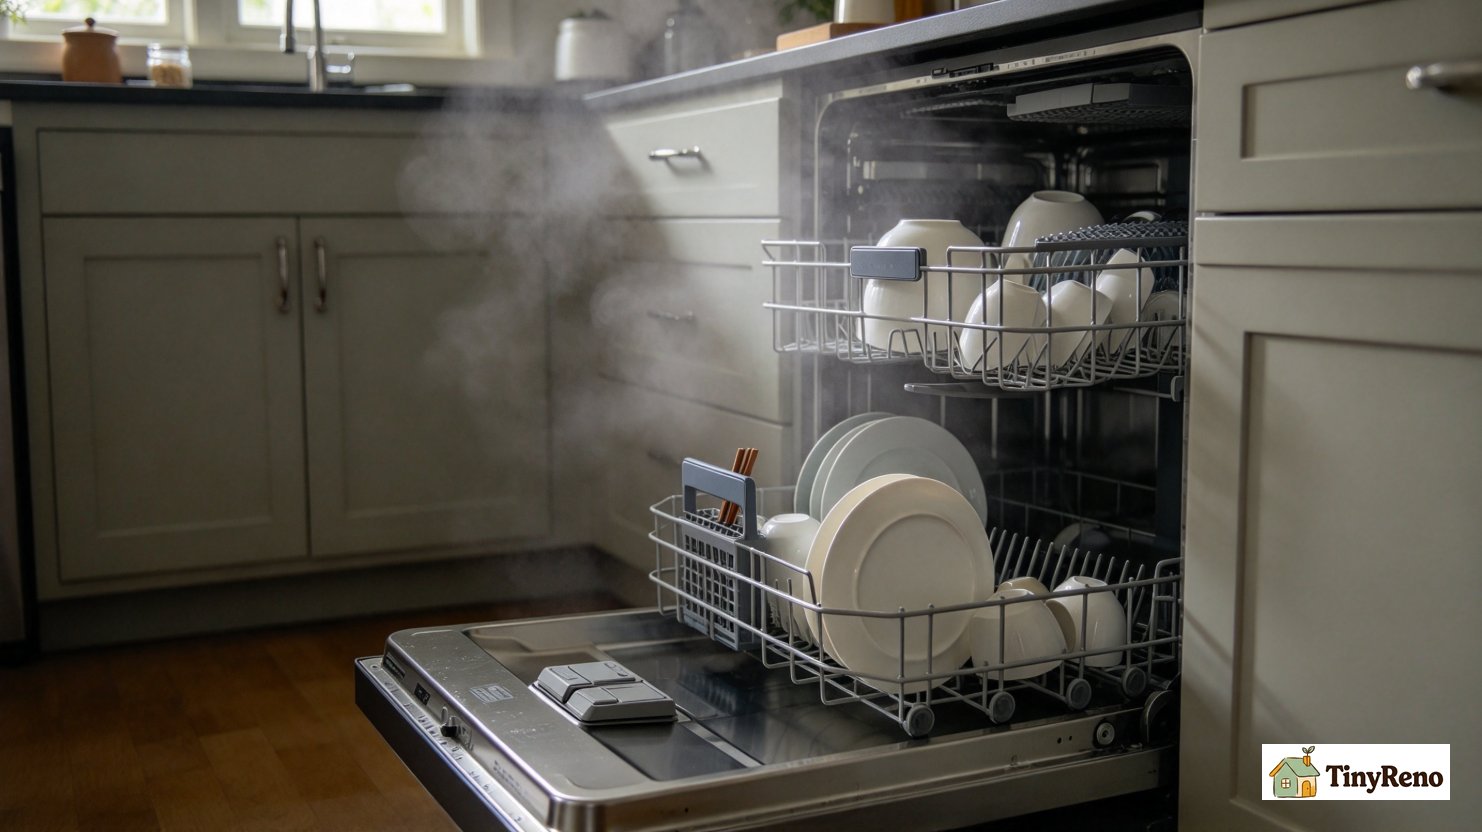
One free habit that helps on many dishwashers: when the cycle finishes, crack the door open a few inches. Warm moist air escapes, room air comes in, and dishes often dry faster. Do not leave the door fully open where a child or pet could run into it, and be careful of hot steam. Some dishwashers have an auto-open feature that does this for you.
I did this for a month before I connected it to why the bowls were coming out dry. The machine was never doing the drying on its own. I was doing it, by leaving the door shut, and I did not realize I was interfering.
The short list, once the story is out of the way
What a dishwasher drying setup actually comes down to, after I got it wrong for four months:
- Check the rinse aid dispenser first. Fill it if it is empty. This is the single highest-value change and almost nobody does it.
- Crack the door open when the cycle ends. Free, works on every machine, and instantly improves drying.
- Do not pack the rack solid. Leave gaps for air to move. Half-empty is overkill, but plates touching each other is not helping.
- Add a drip shelf to the lower rack for small items. About eleven dollars, four minutes, no tools.
- Mugs upright or angled, handles toward the open end. Not inverted.
- Nothing on top of the machine. Confirm you feel air at the top of the door during a cycle.
- Cycle settings are the last thing to change, not the first. Extra heat without air does not dry.
None of these cost much. The rinse aid cost four dollars, the shelf cost eleven, the door-crack cost nothing, and the mugs upright looked wrong for a week before I accepted that the manual was wrong for mugs.
What I would check first, in a new kitchen
If someone asked me where to start, which is not what I did and would have saved me three weeks:
- Check whether the rinse aid dispenser is empty. Fill it.
- Crack the door open at the end of the next cycle.
- Run a cycle with nothing on top of the machine and feel for air at the top of the door.
- Look for anything damp touching the sides or top of the machine.
- Buy the drip shelf before you touch a single setting.
- Only then experiment with cycles, and expect nothing.
The mistake was thinking this was only a heat problem. It was also a rinse aid problem, an airflow problem, a loading problem, and a door-left-closed problem. The machine was not broken. I was running it wrong.
Our dishwasher now dries properly, and the cabinet stopped smelling by Thursday in month five. The whole fix was rinse aid, a shelf, a cracked door, and four things I had moved off the machine.


Discussion (0)
Sign in to join the discussion