

Fix sticky window apartment old paint was the exact search I typed on a Saturday morning last spring, with a putty knife in one hand and a hair dryer in the other and a sash window that had not opened since the Reagan administration. The previous tenant had painted the window shut during a 1985 renovation, and the paint seal had hardened into something closer to epoxy than latex. I had spent 20 minutes trying to force the window open, almost broke the sash cord, and stopped before I did real damage.
What follows are the seven steps that actually worked, in the order I ran them. None required a drill or a chemical stripper, and none left marks at move-out. The whole fix took two hours, including the time I spent waiting between applications.
Step 1: Diagnose Where the Window Is Actually Stuck
Before you try to unstick the window, see if the sash moves at all. If it will not move, do not force it. Look for paint bridging the seam, then try a very light push before moving to Step 2. The window is stuck in three possible places:
- The bottom rail of the lower sash (where it meets the sill). This is the most common paint-seal location.
- The top rail of the upper sash (where it meets the header). Less common, but it happens if the previous tenant painted the trim above the window.
- Both side channels (where the sashes slide up and down). This happens when the side stops were painted over.
I diagnosed my window by pushing the lower sash up an inch, then trying to push the upper sash down. The lower sash moved, the upper sash was stuck. The top rail was painted to the header. That told me where to focus the unstick work.
If both sashes are stuck, you have two fixes to do. If only the bottom is stuck, you have one. The diagnosis takes about 30 seconds and keeps you from working on the wrong part of the window.
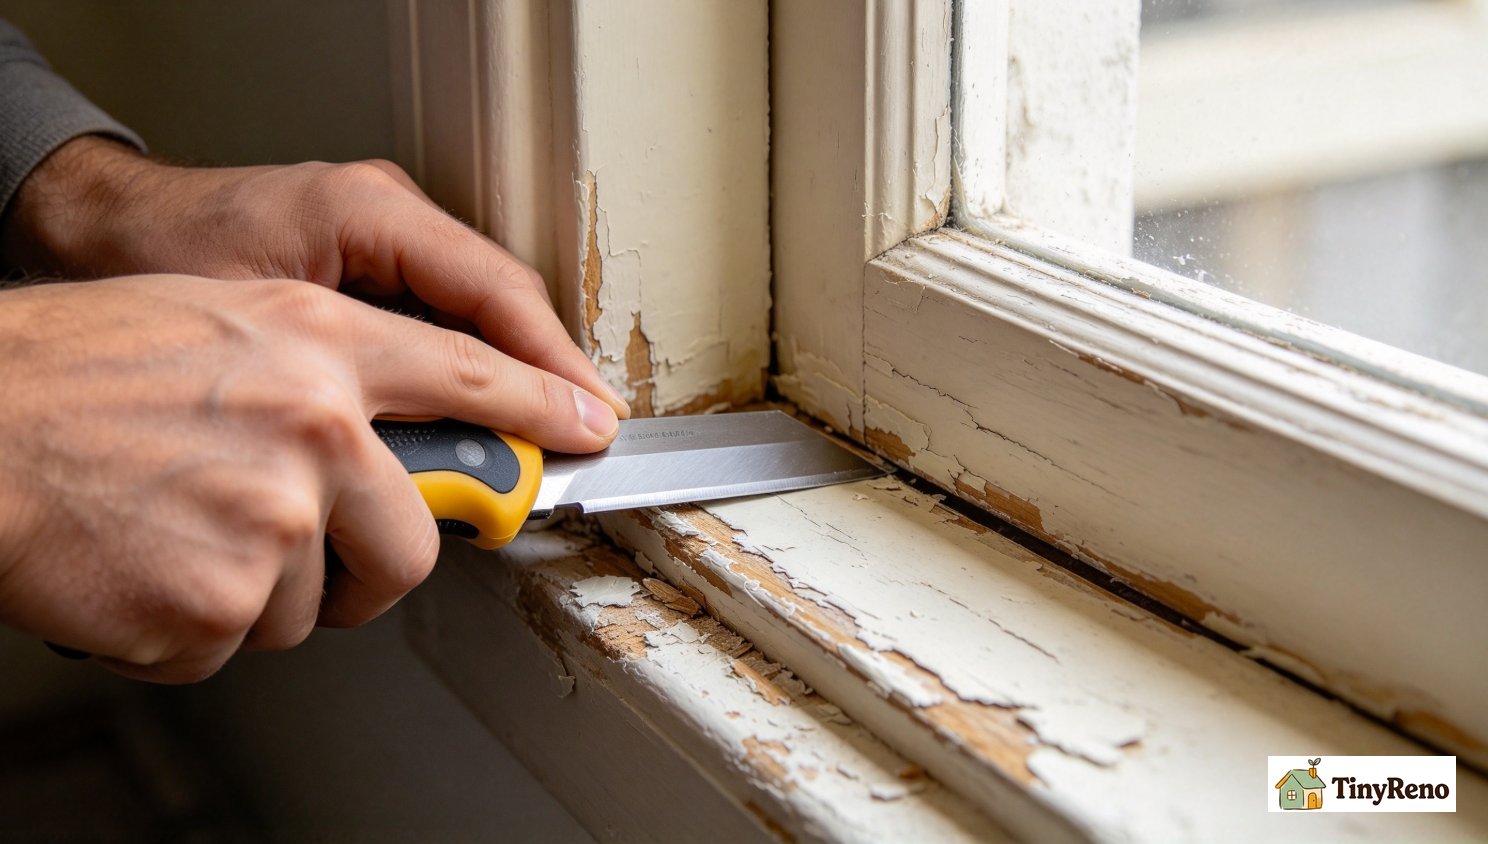
Step 2: Score the Paint Seal With a Utility Knife
The first step is to break the paint film that is bonding the sash to the frame. Take a fresh utility knife blade and run it along the seam between the sash and the frame, on both sides and the top (or bottom, depending on which sash is stuck). Apply enough pressure to cut through the paint film but not enough to cut into the wood.
The motion is similar to cutting a cake along the edge of the pan: keep the blade flat against the wood, draw it toward you slowly, and let the blade do the work. You will feel the moment the paint film breaks, because the blade will sink an extra millimeter into the seam.
This step alone freed my window about 30 percent. The remaining 70 percent was paint that had flowed into the seam and hardened there. Scoring it breaks the surface tension; you still have to free the seam itself. This is the first active step in any real fix sticky window apartment old paint plan.
A few cautions. Wear gloves and use a fresh blade. Make shallow scoring passes, not a sawing motion, because the blade can jump and cut into the wood. Score all four sides of the stuck sash, not just the obvious side. Paint can flow into any seam.
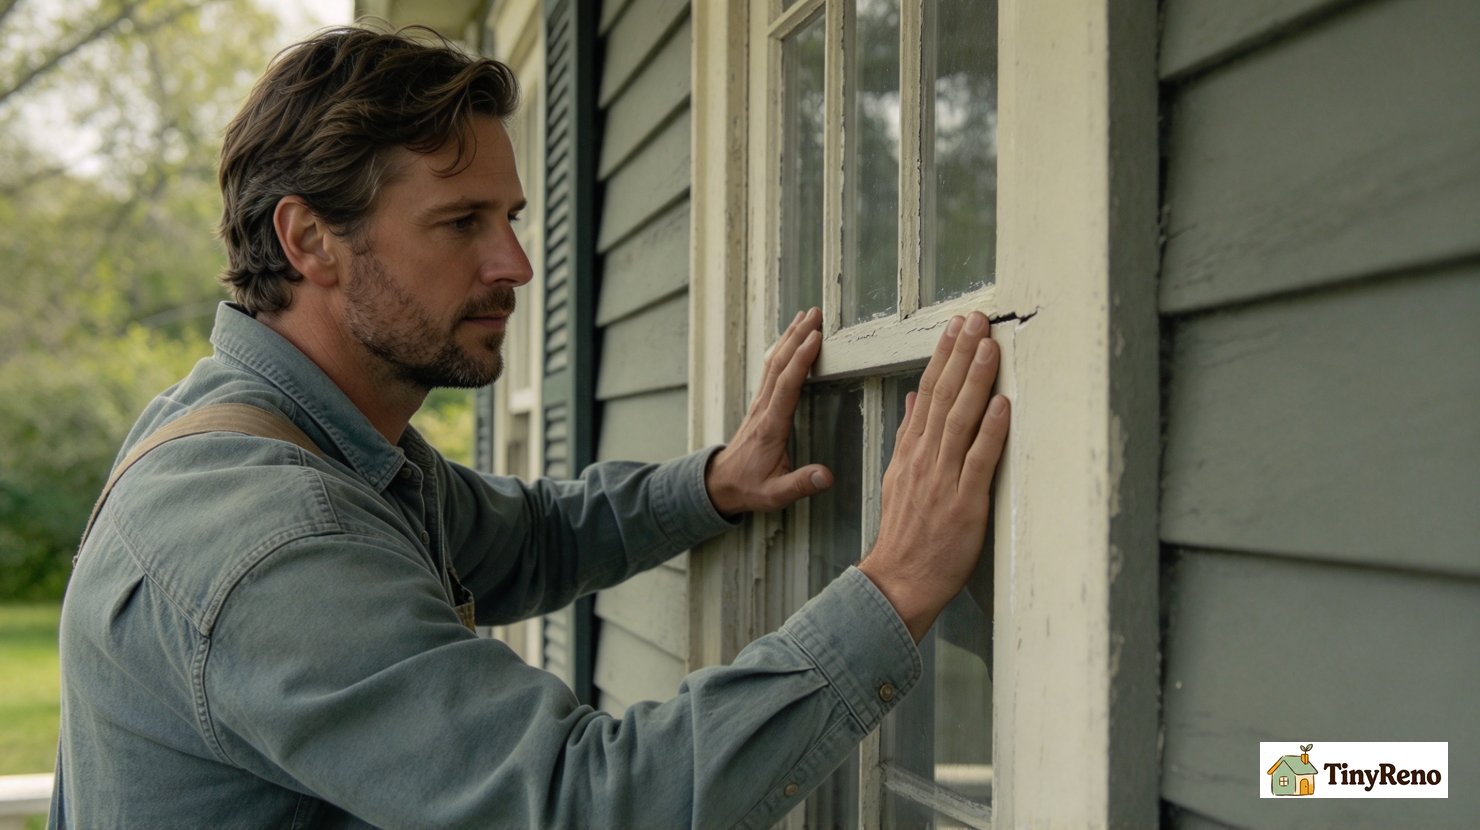
Step 3: Apply Low Heat to the Paint Seal
Once the surface film is scored, soften the paint that has flowed into the seam. Use a hair dryer on medium or low heat, held a few inches from the seam for 30 to 60 seconds. A heat gun works faster but is riskier: it can scorch wood or overheat old paint.
I used a hair dryer because my building was built in 1978, and the paint might contain lead. Lead paint is dangerous when sanded, scraped, or turned into dust. Low heat is safer than a heat gun, but any scraping can create lead dust. Wear gloves, wipe with a damp cloth, and avoid dry scraping or sanding.
The application is straightforward. Run the hair dryer along the seam for 30 to 60 seconds, then immediately try to move the sash with light hand pressure. The window will not slide freely, but you will feel it give slightly. That is the paint softening. Apply heat again, try to move the sash again. Repeat.
Do not force the sash. If it does not move with hand pressure, it is still bonded somewhere. Keep heating.
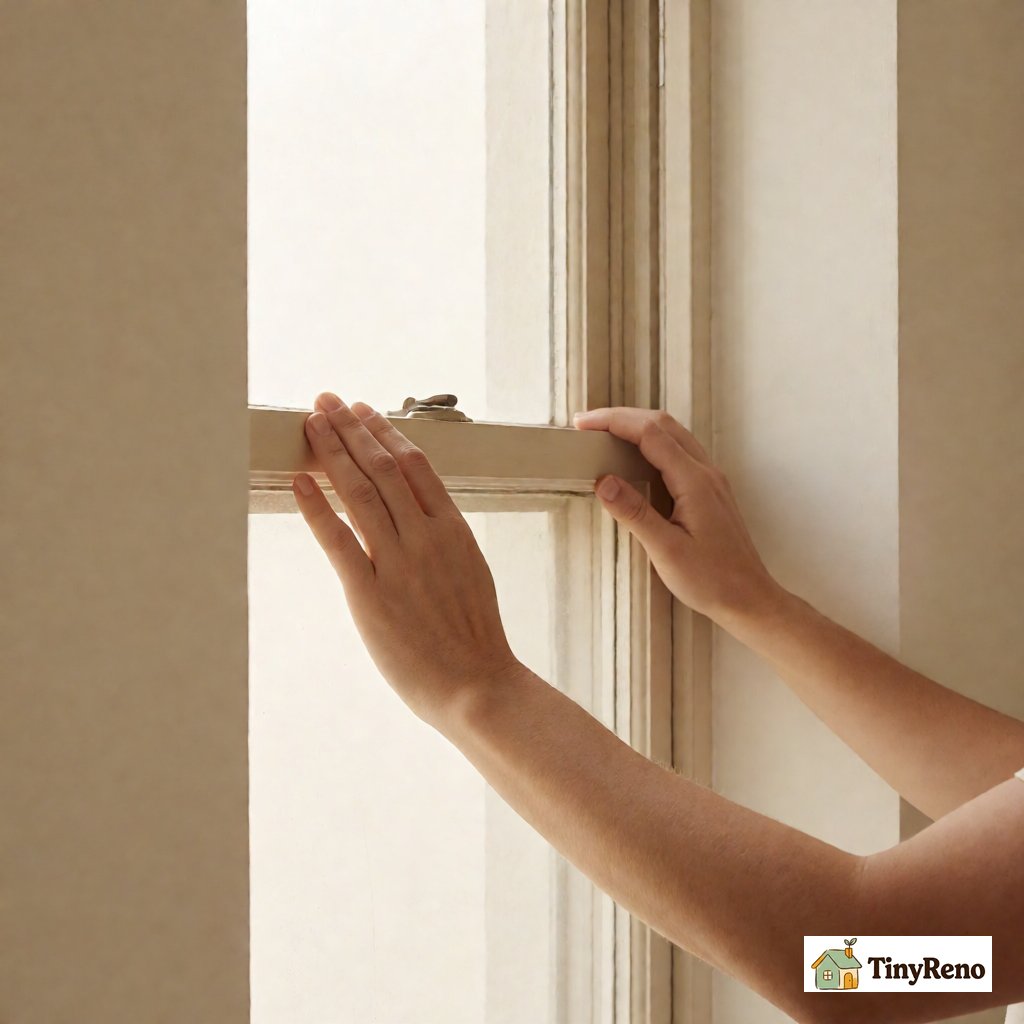
Step 4: Work the Sash With Light Hand Pressure
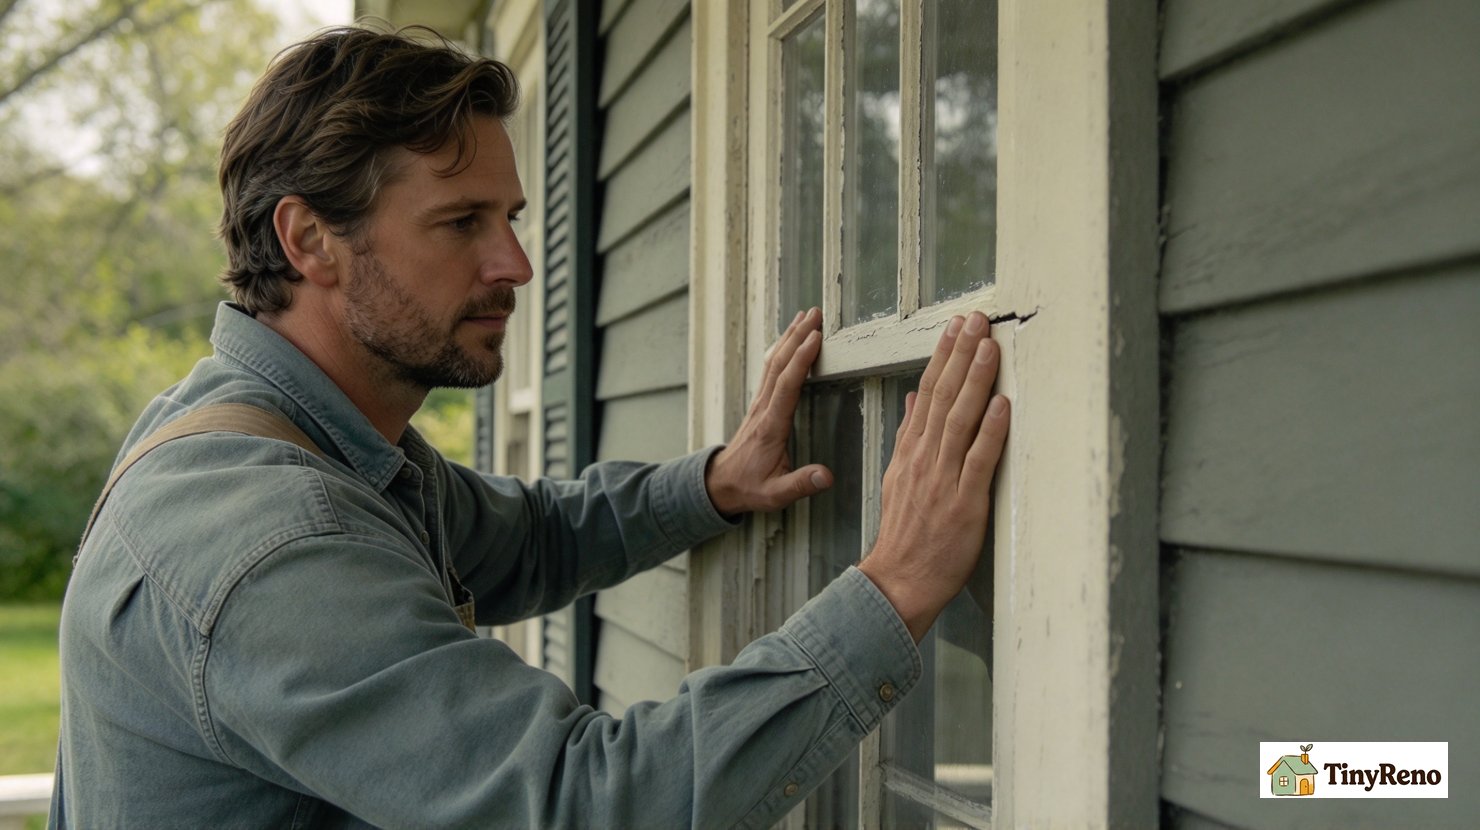
Once the paint is softened and the sash has begun to release, work it back and forth with light hand pressure. The motion is like working a stuck zipper: small back-and-forth movements, not one big pull. If the upper sash is still bonded to the header, do not force it; go to Step 6.
Place your palms flat against the sash (one on each side, near the bottom) and push up gently. If the sash moves an inch, let it come back down. Push up again, a little further this time. The goal is to use the sash's own weight to break the paint seal from the inside.
On my window, this step took about 10 minutes of intermittent pushing. By the end, the lower sash moved freely. The upper sash was still stuck because the previous tenant had painted the entire top rail to the header, not just the seam. That required a different fix (covered in step 6).
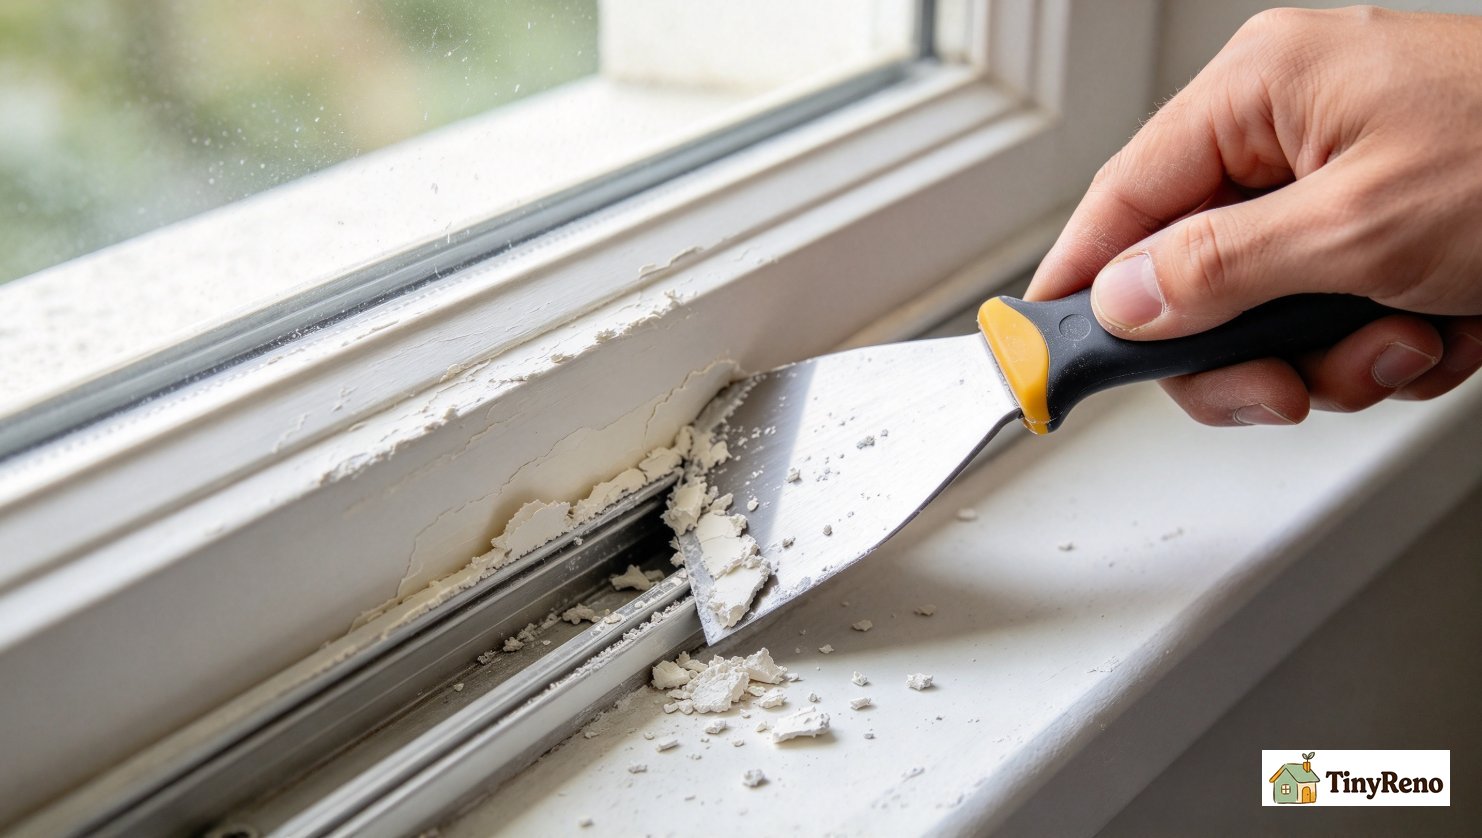
Step 5: Clean the Loose Paint From the Seam
Once the sash moves, you will see chunks of paint in the seam where the seal broke. These need to come out, because if you leave them, they will catch on the sash and create a new sticking point. Step 5 is where most failed fix sticky window apartment old paint attempts give up.
Use a plastic putty knife (not metal; metal will scratch the wood) to scrape the loose paint out of the seam. Work from the inside of the apartment outward, scraping toward the room. The paint chunks will fall to the floor or onto the sill.
For paint that is stuck in the seam but not loose, use a wooden chopstick or a wooden popsicle stick to push it out. Wood is soft enough that it will not scratch the wood frame, but rigid enough to dislodge paint fragments.
I cleaned about a dozen chunks out of my window seam. The total volume was maybe a tablespoon of paint, but each chunk was large enough to catch on the sash and create friction.
Step 6: Free the Top Rail With a Putty Knife and Heat (If Needed)
If your upper sash is stuck to the header (the horizontal trim above the window), the putty knife is your best tool. Apply heat to the top rail of the sash with the hair dryer for 30 seconds. Then take a flexible putty knife (the 1.5-inch kind, not a stiff drywall knife) and work it into the seam between the sash top rail and the header.
The putty knife goes in at an angle, almost flat against the header. Slide it along the seam, applying gentle pressure downward (toward the sash). The paint seal will break in chunks, similar to step 5.
This step is slower than the others because the top rail is wider than the side seams. Allow about 15 to 20 minutes for a standard double-hung window. If the paint seal is unusually thick (more than 1/8 inch), you may need to repeat the heat application two or three times.
When the top rail is free, the sash will move up and down without resistance. Test it by raising and lowering the sash five or six times. If it binds anywhere, that is another stuck spot that needs the same treatment.
Step 7: Lubricate the Sash Track With Candle Wax or Dry Silicone
The final step is to lubricate the sash track so the window does not stick again in the future. The two best renter-safe options are:
- Candle wax (paraffin or beeswax): rub a white candle along the entire sash track on both sides. The wax fills in the micro-gaps in the wood and creates a slippery surface. This is what I used. It usually needs to be reapplied every 12 to 18 months.
- Dry silicone spray (not wet silicone; wet silicone stains and cannot be painted over): spray a thin line along the sash track, then raise and lower the sash to distribute. Dry silicone lasts longer than wax but is harder to find in renter-safe formulations.
Do not use cooking oil, butter, or petroleum jelly. These feel slippery at first but collect dust and create a sticky residue within a month.
What I Did Not Do (And Why)
I did not use a chemical paint stripper. Strippers can work, but they require ventilation, protective gear, and landlord permission, and they can damage some finishes if misused. If the steps above do not work, talk to your landlord before reaching for a stripper.
I did not pry the sash with a flat bar or a hammer. Both of these will damage the wood frame, and you will lose part of your security deposit at move-out. The steps above work without prying, as long as you have patience and enough heat.
I did not cut the paint seal with a saw. A saw will cut into the wood and leave a visible mark. A utility knife is the right tool for the surface film; a putty knife is the right tool for the seam itself.
What the Window Looks Like Now
It has been 18 months since I fixed the window. The sash moves freely. The candle wax has held up through three seasons (the wax does need to be reapplied every 12 to 18 months; set a phone reminder). The paint on the frame is intact, with no chips or cracks where I worked the seam.
At move-out, the window should look the same as when I moved in, except that it opens. That is the renter-safe result: no new holes, no chemical residue, no damage to the original paint.
When to Call the Landlord Instead
If the sash cord is broken (the rope that holds the upper sash up), do not try to fix it yourself. That is a building-level repair and most leases hold the landlord responsible. Same for a cracked glass pane, a rotted wood frame, or a window that is structurally warped.
For paint-seal sticking, the most common cause, the steps above usually work. For a broken sash cord, cracked glass, rotted frame, or structural warp, send a written maintenance request and let the landlord handle it.


Discussion (0)
Sign in to join the discussion