

Recycling in a small apartment is a question many urban renters have tried to solve at least once. The problem is real: my apartment is 480 square feet, I do not have a balcony, I do not have a garage, and I do not have a closet large enough to hide a single recycling bin. The building's recycling room is two flights down and across a courtyard that gets below freezing in winter. So I have to figure out a system that works indoors, does not smell, does not look like a disaster, and does not get me in trouble with the building on pickup day.
After two years of testing, here are the seven setups that actually fit in 4 square feet or less, ranked by how well they handle smell, mess, and the inevitable morning the recycling truck did not come.
The 4-Square-Foot Constraint
Before I describe each setup, here is the rule that drives every decision: you have about 4 square feet of floor area to work with. That is roughly a 2-by-2-foot square, which fits under a kitchen counter, in a pantry corner, or next to the refrigerator. If your setup does not fit in 4 square feet, it is not a no-space setup, it is a small-space setup. This list is for no-space.
Every setup below fits inside that constraint. The differences are how much sorting they handle, how often you have to carry things to the recycling room, and how visible they are from the kitchen doorway. Each one answers the same question in a slightly different way.
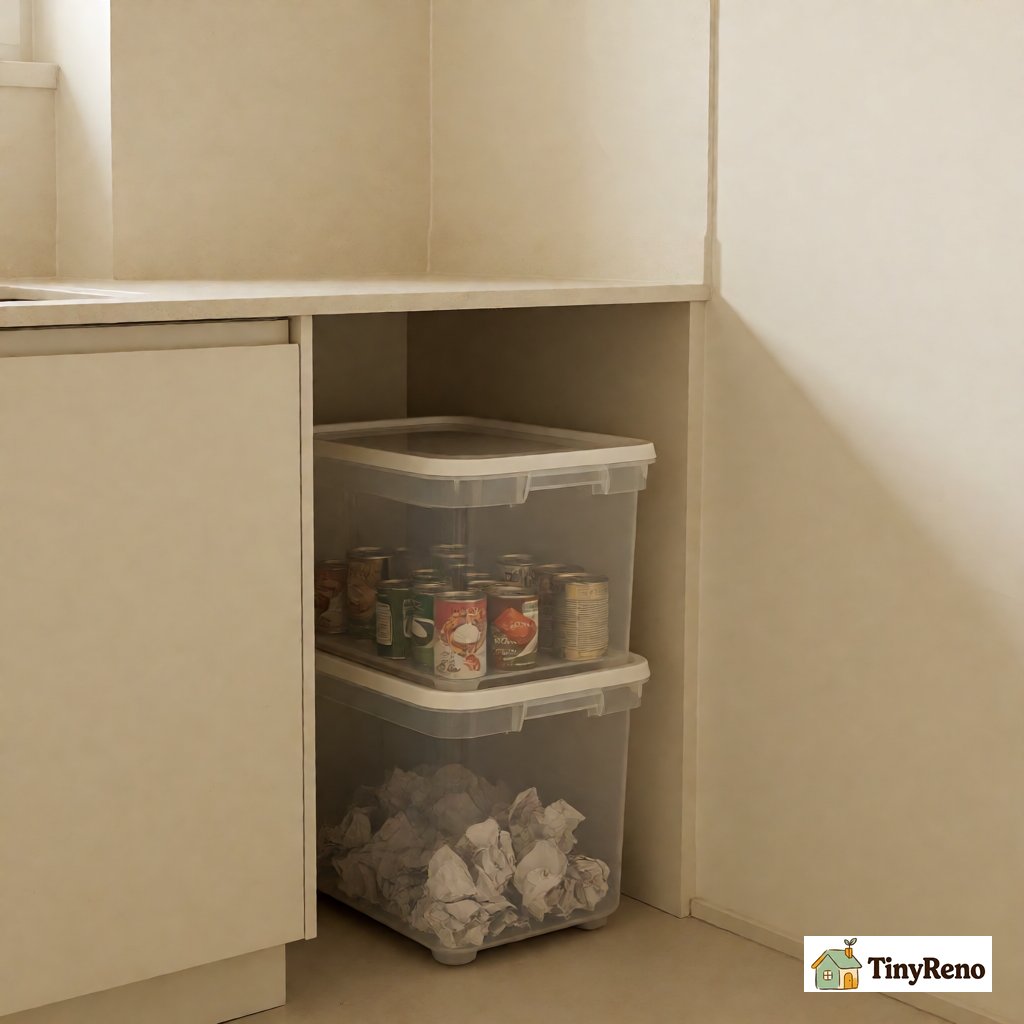
Setup 1: The Two-Basket Stackable System (Best Overall)
Two stackable plastic bins, each about 12 inches tall and 14 inches wide, fit under a standard kitchen counter or inside a pantry corner. The top bin holds mixed paper and cardboard. The bottom bin holds glass, cans, and plastic.
What I like about this setup is that it forces sorting at the moment of disposal, which is when most people fail. If you have to walk to a separate paper bin and a separate plastic bin, you will, by week three, throw everything into whichever bin is closest. The two-basket stack makes you put the right thing in the right place because both bins are equally close.
I paid $26 for the two bins at a hardware store. The bins have lids with small hand-holes that allow you to drop things in without lifting the lid, which means the smell does not escape every time you open them. This setup works in a 4-square-foot footprint.
The drawback: you have to empty both bins twice a week, because two small bins fill up faster than one large bin. For my household, that is Tuesday night and Friday night, which lines up with the building's recycling and trash pickup schedule.
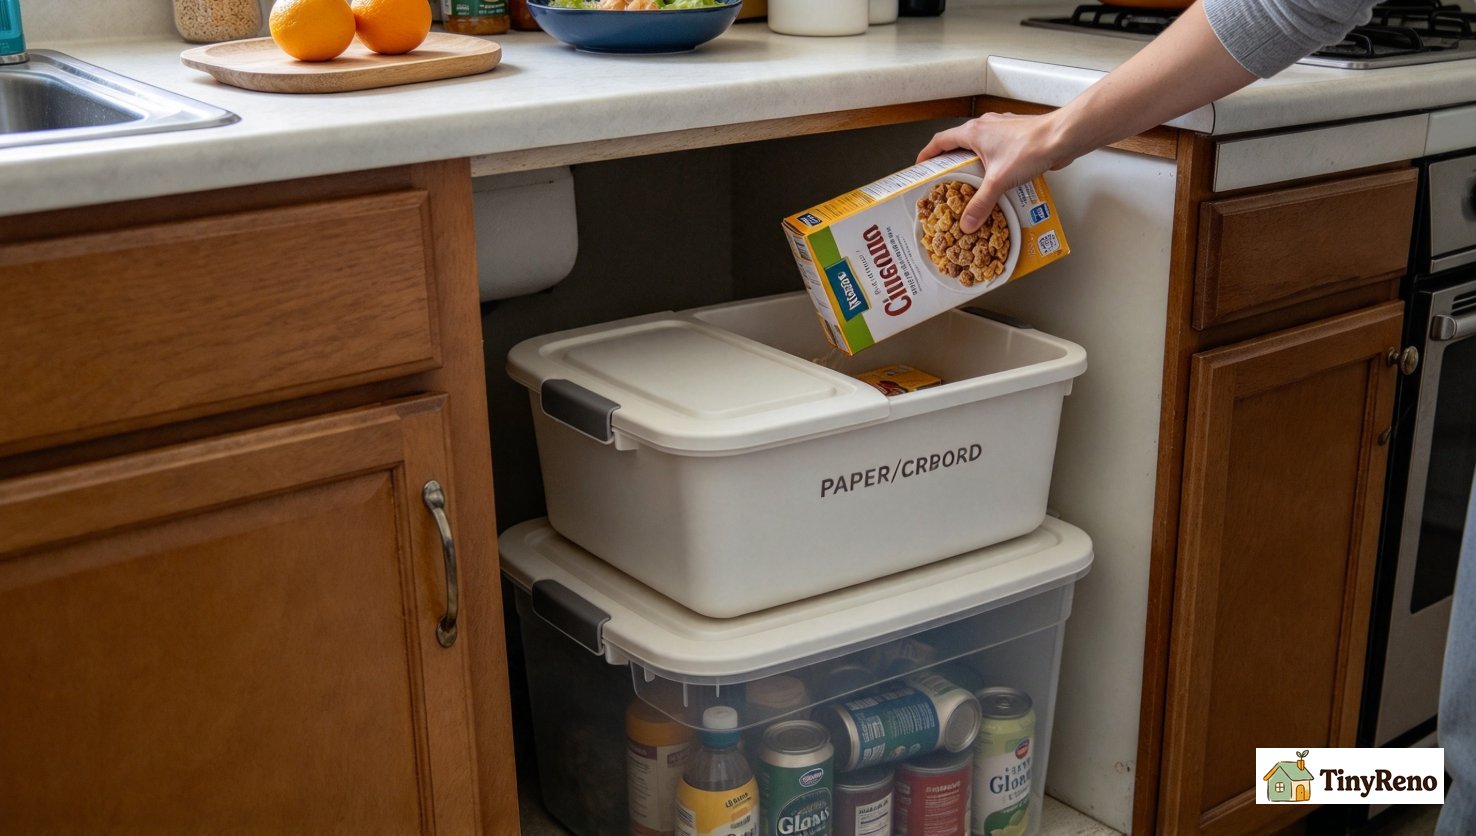
Setup 2: The Three-Tier Rolling Cart (Best for Active Sorters)
If you sort more aggressively (paper, plastic/glass/metal, and compost), a three-tier rolling cart is the upgrade. The cart is 18 inches wide, 12 inches deep, and 30 inches tall. It rolls under the kitchen counter or beside the refrigerator, and the three tiers give you a separate place for each category.
I tested this setup for six months. The cart was $42 new and came with three labeled bins that snap into the frame. The wheels lock, so the cart does not roll when you pull a bin out. The frame has a handle on top for moving the whole thing to the recycling room.
The advantage over the two-basket stack is that you get a dedicated compost bin, which is the single biggest smell-reduction upgrade for any recycling setup. If your building has a composting program, the compost bin is what keeps your kitchen from smelling like old food.
The drawback is the footprint. The three-tier cart is 18 inches wide. A 2-by-2-foot space can fit it, but a narrow gap beside the fridge cannot. Measure the width and depth of your intended spot before buying.
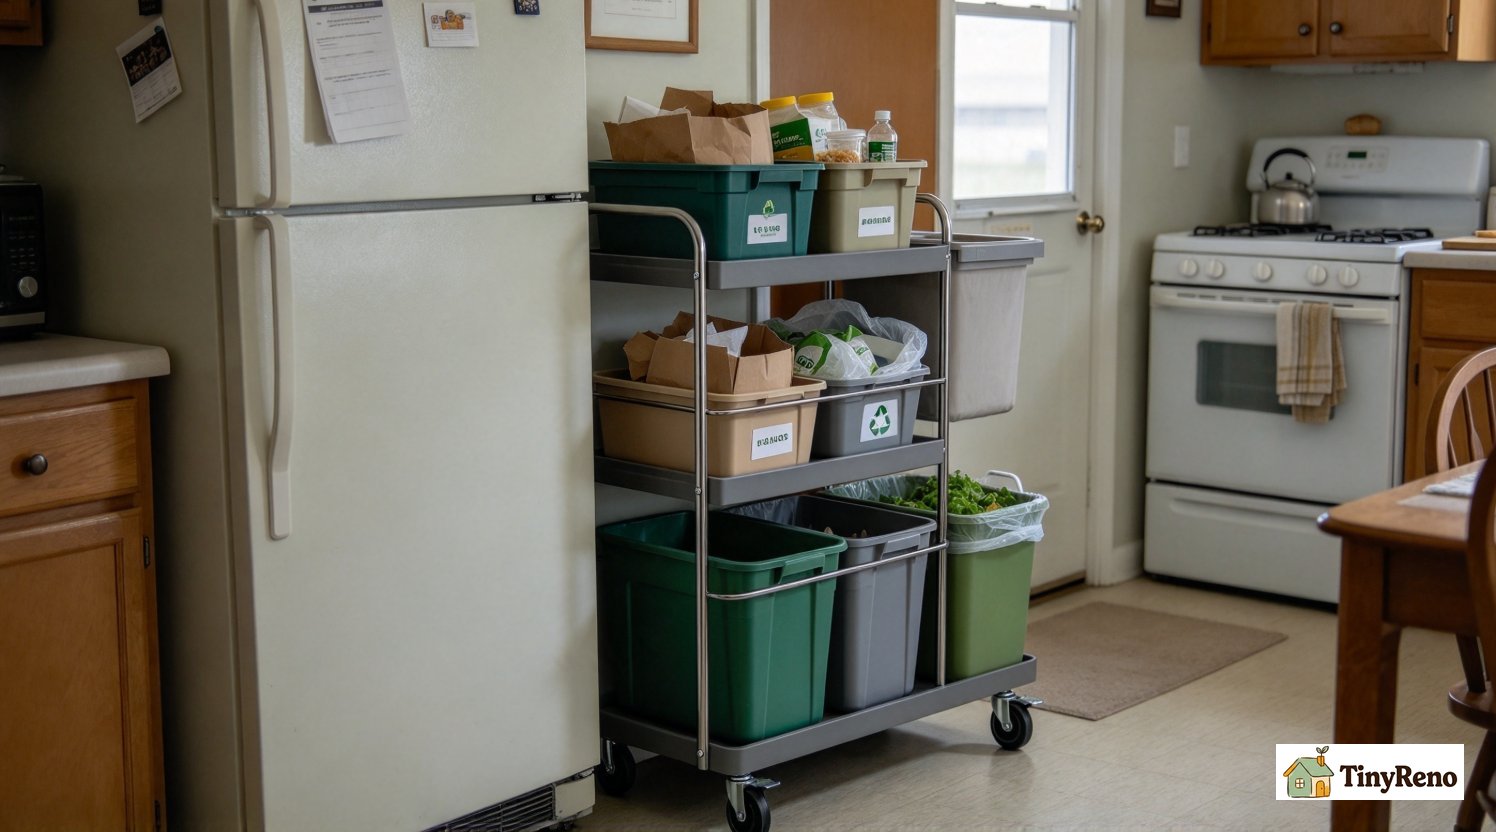
Setup 3: The Under-Sink Pull-Out (Best for Hidden Setups)
If your kitchen sink has an open cabinet underneath (the kind without a solid shelf), a pull-out recycling system mounts to the cabinet door and slides out when you open the cabinet. The system has two or three bins inside a metal frame that attaches to the door with simple clips.
I installed this setup in my current kitchen. The two-bin version was $35. Installation took about 15 minutes with a screwdriver, no drilling required (the frame clips over the top of the cabinet door and weighs the system down). When you open the cabinet, the bins slide out toward you. When you close the cabinet, they slide back in.
The hidden part is the appeal. If you have a strict building aesthetic, an open recycling bin is the kind of thing that gets flagged in hallway inspections. A pull-out system hides everything behind the cabinet door. The downside is capacity: the under-sink system holds about half what the standalone stackable system holds. You will be emptying it more often, which is a tradeoff worth knowing before you commit to any how to recycle in apartment building no space setup that depends on under-sink volume.
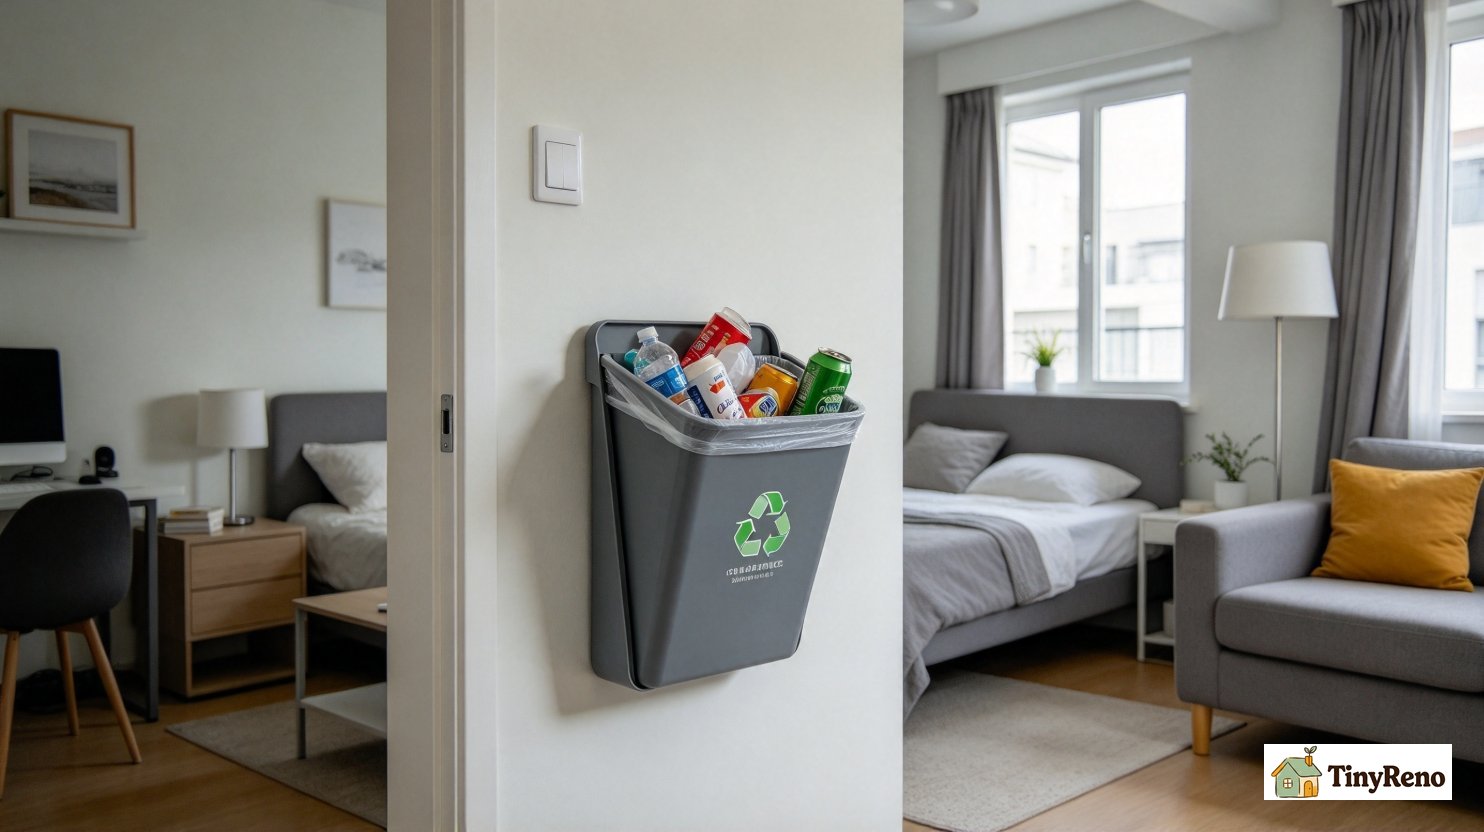
Setup 4: The Wall-Mounted Folding Bin (Best for Studio Apartments)
Studio apartments have a different constraint than 1-bedrooms: the kitchen, living area, and bedroom are all in the same room. A recycling bin on the floor is visible from the bed, which is not acceptable if you have guests over or if you are renting the apartment on a platform that includes interior photos.
The solution is a wall-mounted folding bin. The bin attaches to the wall with two adhesive strips (no drilling) and folds flat against the wall when you are not using it. When you need to recycle something, you pull the front of the bin down and it forms a 12-by-12-inch basket that holds about a week's worth of mixed recycling.
I tested this setup in a friend's studio. The bin was $28. The adhesive held for the entire six months she used it. The bin looks like a wall-mounted mail holder when closed, which is actually a nice piece of functional decor.
The limitation is capacity. A single wall-mounted folding bin holds mixed recycling, but it does not separate categories. If your building requires sorting, you will need two of them, mounted side by side. The footprint on the wall is about 30 inches wide by 18 inches tall when both are mounted.
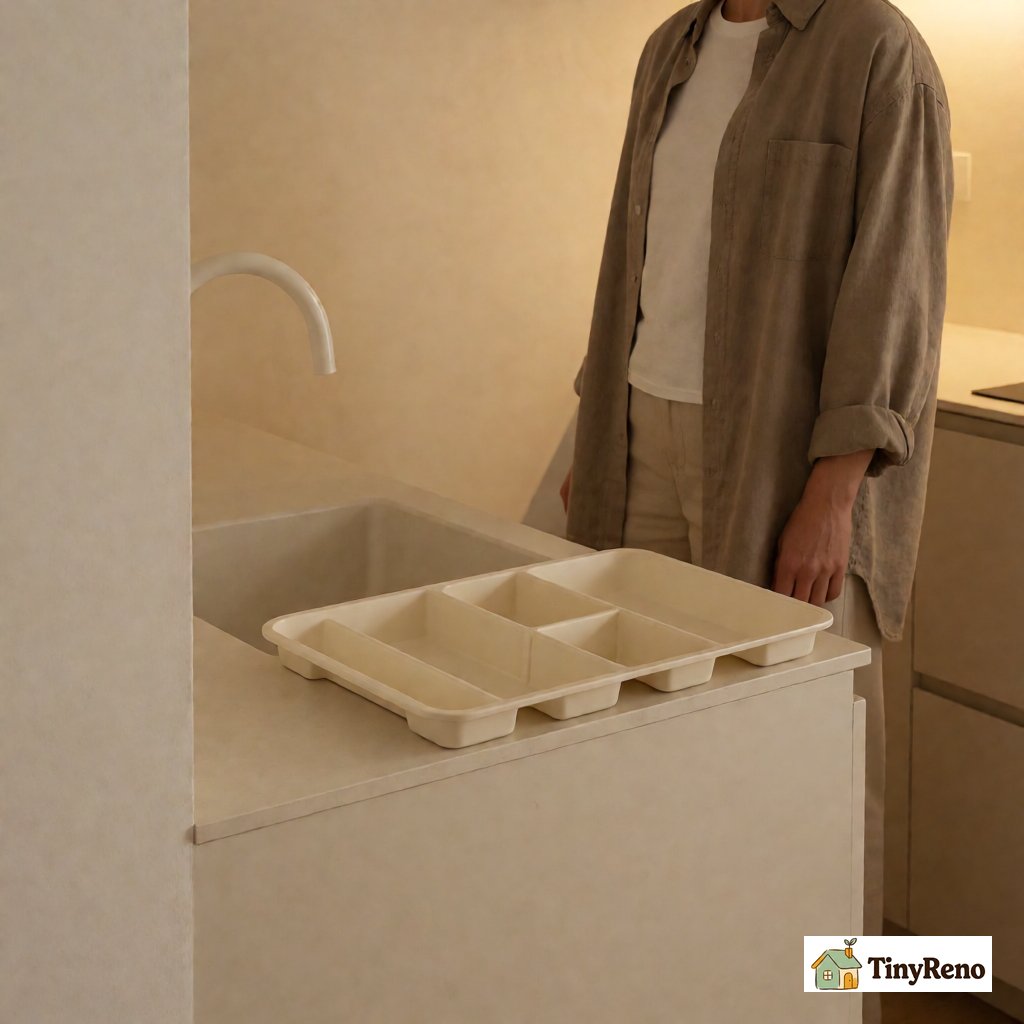
Setup 5: The Dish-Rack-Style Sort Station (Best for Tiny Counters)
If you have a counter that is mostly empty but you do not want a bin on the floor, a dish-rack-style sort station is the smallest possible footprint. The station is a flat plastic tray with three or four dividers, designed to sit on the counter next to the sink.
I tested this setup for two months. The tray was $22 and measured 16 inches long by 6 inches wide, which is the size of a small dish drying rack. The dividers separated paper, plastic, glass, and compost. When you wanted to clear the counter, you lifted the tray and emptied each divider into the appropriate bin downstairs.
The advantage is that it is visible and obvious. Every time you finish a can of beans, you can see the plastic divider and know where the can goes. No walking to a different room, no opening a cabinet. The disadvantage is that it lives on your counter permanently, which most people do not want for aesthetic reasons.
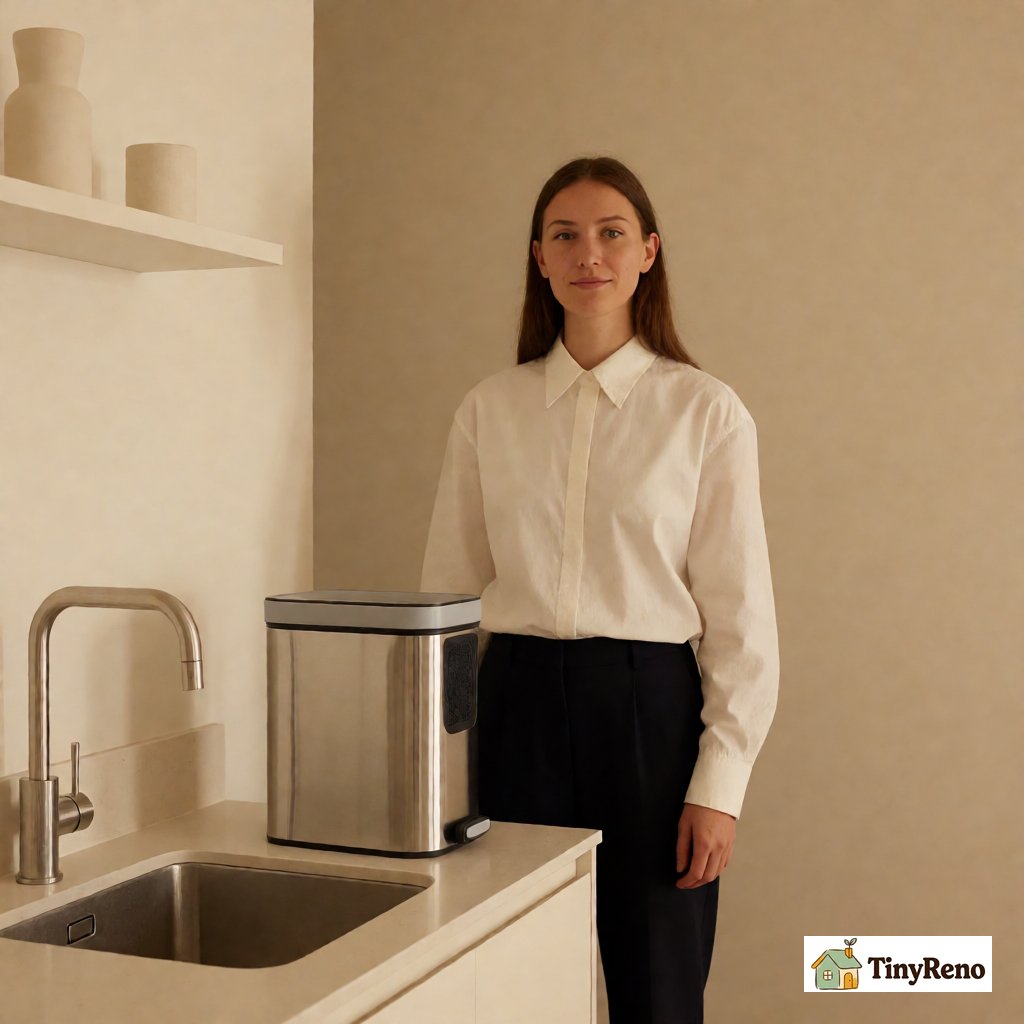
Setup 6: The Compost-Only Setup (Best for Zero-Waste Households)
If your primary concern is compost (which is the smelliest and messiest category), a self-contained compost system is the only setup that handles it well indoors. The system I tested is a stainless steel compost bin with a charcoal filter in the lid. The bin holds about 1 gallon of compost. The charcoal filter neutralizes the smell.
The setup was $65. It was the single most expensive item on this list. It was also the only setup that handled cooked food, vegetable scraps, coffee grounds, and tea bags without producing any noticeable smell, even after three days of accumulation.
If your building does not have a composting program, an indoor compost bin is usually not worth buying unless you have a nearby community drop-off and are willing to carry it there regularly. Otherwise, skip the compost bin and put food scraps in the trash. If your building does have composting, this is the only setup on this list you need.
Setup 7: The Pantry-Door Hanging System (Best for Tight Kitchens)
If you have a pantry door with at least 18 inches of clearance in front of it, a hanging system mounted over the top of the door gives you three or four bins that hang down behind the door when it is closed. The system is a metal frame with hooks that fit over the door top, no drilling, no adhesive.
I tested this setup in a kitchen with a 17-inch clearance between the pantry door and the opposite counter. The system was $32. It held three bins of about 4 gallons each, which is enough for a one-person household for one week.
The advantage is that it uses vertical space that is otherwise wasted. The disadvantage is that it is only accessible when the pantry door is open, which means you have to open the door every time you want to add a can or a piece of paper. In practice, I found myself less likely to sort correctly when the bins were not visible.
How I Rank the Setups
If you are starting from scratch, here is the order I would buy them in:
- Setup 1 (two-basket stackable): the lowest-cost, most-flexible option. $26. Fits anywhere.
- Setup 2 (three-tier rolling cart): if you sort aggressively or compost. $42. Fits if you have a 2-by-2-foot corner.
- Setup 6 (compost-only): if composting is your priority and your building has a compost program. $65.
- Setup 3 (under-sink pull-out): if you need the bins hidden. $35.
- Setup 4 (wall-mounted folding): if you have a studio with no other option. $28 each.
- Setup 5 (dish-rack sort station): if you want the bins visible on the counter as a reminder. $22.
- Setup 7 (pantry-door hanging): if you have no floor space at all. $32.
What I Did Not Buy and Why
I considered three setups I do not recommend: a single 30-gallon bin (too big for 4 square feet), a DIY cardboard box system (the cardboard absorbs moisture and starts to smell within days), and a paper-bag system that you set out on the curb each week (fine for houses, but the bag tears if you carry it down two flights of stairs and through a courtyard).
The cardboard box setup was the worst. After two weeks, the bottom of the box was soggy from a leaking yogurt container. The smell was noticeable from three feet away. If you try this, you will abandon it within a month.
The recycling mistakes that get your whole load rejected
Before you set up a system, know what actually goes in the bin. These four mistakes are common in apartments and can lower the quality of recycling. In serious cases, contaminated loads may be rejected:
- Greasy pizza boxes. A clean pizza box can go in paper recycling. A box with heavy grease, cheese, or food residue should go in the trash. Grease can contaminate paper recycling and lower the value of the batch. Check your local program's rule, because some accept lightly stained boxes and some do not. This is one of the most common apartment recycling mistakes.
- Plastic bags. Grocery bags, produce bags, and cereal liner bags should not go in curbside recycling. They can jam sorting machinery. Take them back to a grocery store bag-recycling drop-off, or throw them away. Do not put your recyclables inside a plastic bag: many facilities will not open the bag and may reject the whole bundle.
- Unrinsed jars and cans. You do not need to scrub them, but a quick rinse to remove food residue matters. A jar with dried pasta sauce inside attracts pests and contaminates other paper recycling. A 5-second rinse under the tap is enough.
- Everything with a recycling symbol. The chasing arrows symbol does not automatically mean "recyclable." The number inside the triangle indicates the plastic resin type. Most curbside programs only accept #1 and #2. #3 through #7 are rarely recycled curbside, even when the symbol appears on the item. When in doubt, check your building's accepted list, not the symbol on the bottom.
On compost: if your building does not have a composting program, an indoor compost bin is not the win it sounds like. It attracts fruit flies in a warm apartment, and eventually you are carrying a smelly bucket down two flights of stairs to dump it in the trash, which defeats the purpose. A countertop compost bin works if your building has a compost pickup. If it does not, skip it and just throw food scraps in the trash. The system only works if you actually use it.
The Building Rules I Always Check
Before you set up any indoor recycling system, check your building's rules. Requirements vary widely:
- Weight limits: some buildings limit how heavy a bin can be when carried through common areas.
- Hours of transport: some buildings restrict when you can carry bins through the hallways (no overnight, no early morning before 7 AM).
- Sorting requirements: most buildings require single-stream recycling, but some still require you to sort paper separately. The setup you buy should match what the building actually accepts.
- Bin storage: some buildings prohibit storing bins in hallways, even temporarily.
I learned the bin-storage rule the hard way when I left a paper bag of recycling outside my door for 30 minutes while I put on shoes. The building manager left a note. I do not leave bins outside my door anymore.
If your setup triggers a hallway complaint, the building may fine you. Some cities have specific rules about tenant recycling responsibilities, so check your lease and local regulations.
What the Setup Looks Like Six Months Later
I currently run Setup 1 (the two-basket stackable) plus Setup 6 (the compost bin). The stackable system fits under the kitchen counter. The compost bin sits on the counter next to the sink. Together they cost $91, and together they handle the recycling and compost for a one-person household without any smell, any visible mess, and any hallway complaints.
The neighbors do not know I have a recycling system. The building manager has not left a note in eight months. The recycling truck comes twice a week and the system handles both pickups without overflow. That is what a no-space recycling system actually looks like when it works.


Discussion (0)
Sign in to join the discussion