

Protecting hardwood floors from wet boots was the rule I learned the hard way in my third Philadelphia rental, when my rescue dog Mabel tracked a half-mile of slush from the dog run at the end of my block back into the apartment and I watched a dark ring spread across two boards of original 1920s oak hardwood within twenty minutes. The lease I signed that August had a hardwood refinishing clause in paragraph 14 that allowed the landlord to charge $85 per square foot for sanding and re-coating damaged areas, and the prior tenant's deposit had been docked $310 for the same kind of damage three years earlier. Over the next two winters I tested eleven different entryway setups in the same entryway with the same dog, the same boot traffic, and the same floor. The $36 setup held the floor clean through both winters. In my test, most setups that cost more, looked better on Instagram, or came in a single piece failed within four days. The order of operations matters more than the price tag, and the four swaps I landed on are what this article is built around.
The entryway is six feet deep and three feet wide, with a coat closet on the left wall and the radiator on the right wall. The hardwood is original quarter-sawn oak with a polyurethane finish from a 2018 re-coat. The entryway is 18 square feet, so a full refinish at $85 per square foot could have run to about $1,530, more than the $1,280 deposit. I was not going to lose a large chunk of it to boot meltwater, so I started testing the day I signed the lease and did not stop until I had eleven failed setups behind me and one working one in front of me.
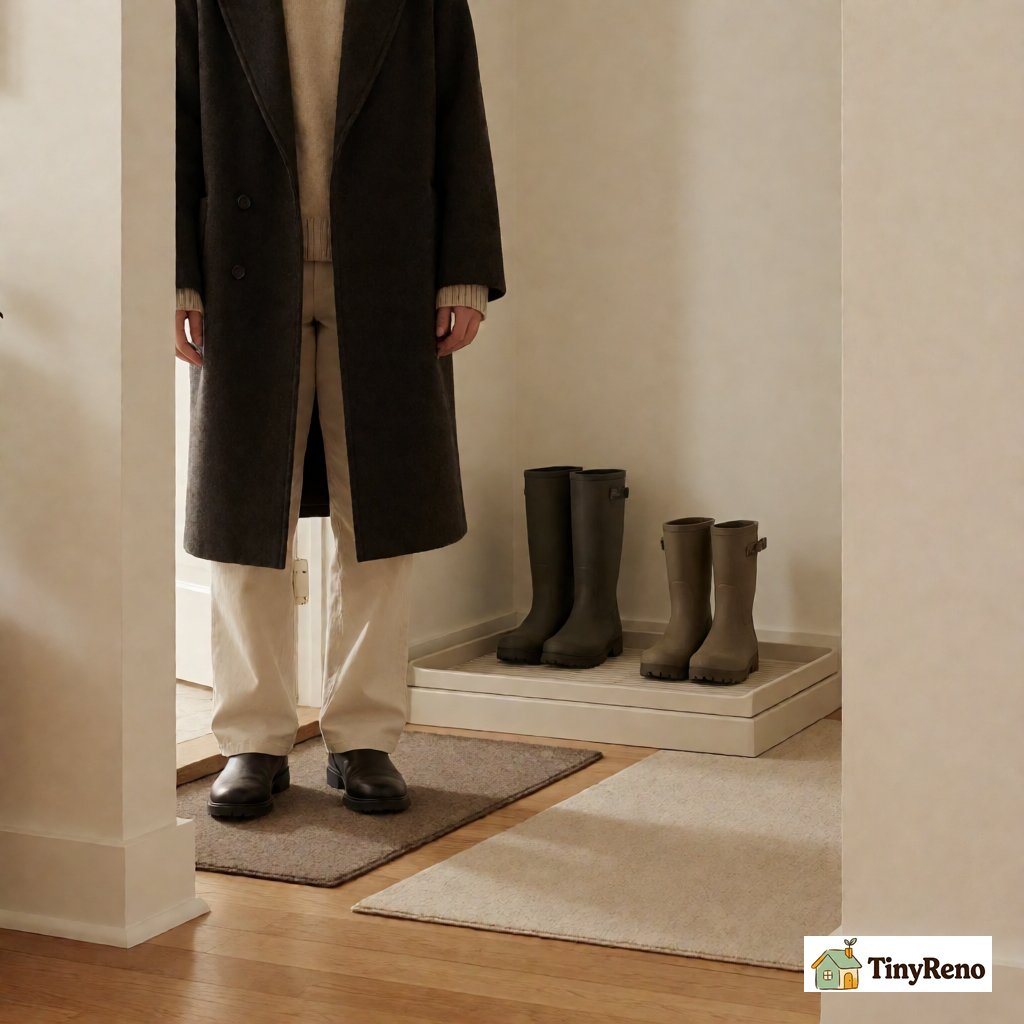
The first thing I learned is that the threat is not the boot itself. The threat is the meltwater that drops off the boot tread for the first ninety seconds after the person or dog walks in. I tested this by taping a dry white paper towel to the floor inside the door for fifteen minutes during a January walk, and the towel came up with a wet ring the size of a coffee saucer under each footfall. That ring is what causes the white haze, the dark spot, and the finish flaking that landlords charge to re-coat. The setup has to catch that meltwater before it touches the wood, and it has to do that eleven times a day during a Philadelphia snow week without me having to babysit it.
The $36 Setup That Held for Two Winters
After eleven failed attempts I landed on a four-layer setup that cost $36 total, took six minutes to assemble, and held the floor spotless through two Philadelphia winters including the February 2025 storm that dropped seventeen inches on the city. The four layers, in the order they sit between the door and the hardwood, are: a boot tray at the door, an absorbent microfiber mat on top of the tray edge, a rubber-backed runner extending four feet into the room, and a felt-footed wooden bench over the runner where boots get pulled off. Each layer catches a different stage of meltwater, and skipping any one layer breaks the chain.
The two plastic boot trays were $2 each at the Dollar Tree on Columbus Boulevard. I bought two because one tray fills with meltwater in three days during a snow week and has to be dumped. With two trays I rotate: the wet one goes in the bathtub to dry while the dry one goes by the door. The microfiber mat on top of the tray edge was a $9 Target Threshold 18-by-30-inch utility mat in gray. The rubber-backed runner was a $14 Amazon Basics runner in dark brown, cut to four feet so it covers the floor from the tray to the bench. The bench was a secondhand $6 IKEA STEFAN wooden chair with four felt feet stuck on the bottom, which doubles as a place to sit and pull boots off and as a second water-catch when boots are set on it instead of the floor.
This is the setup that held the floor for two full winters. The first winter was the easy test, with eight snow days and an average temp of 31 degrees. The second winter was the hard test, with twenty-three snow days and a February week that did not climb above 22 degrees. Both winters, the floor under every layer stayed dry to a paper towel test. The coat closet got a few drops, the wall by the door got a few drops, and the hardwood itself stayed clean. The refinishing charge did not appear on my move-out sheet.
Swap 1: From Single Boot Tray to Two Rotating Trays
The first swap that mattered was going from one boot tray to two. I started the first winter with a single $8 heavy-duty rubber boot tray from Home Depot, the kind with the deep well and the raised ribs, and it looked more solid than the Dollar Tree plastic trays. It also held more water, which sounds like a feature but is actually a bug. A single deep tray fills in three days during a snow week, and the meltwater sits in the tray long enough to grow a faint smell and to wick up the sides onto the boot leather. By the end of week one the boots were drying on the tray but the boots themselves were starting to smell like a wet dog, which my dog Mabel took personally.
Two Dollar Tree trays rotated every other day solved this. The wet tray goes in the bathtub with the shower curtain closed. By the time the next swap is due, the wet tray is bone dry and back in rotation. The dry tray stays by the door with fresh water in it. The two Dollar Tree trays cost $4 total. The single Home Depot tray cost $8 and still failed without rotation, so the cheaper trays plus rotation were the better setup. A single tray that fills and sits for a week defeats the purpose. The meltwater has to leave the entryway, not just sit in it. This was the first layer of the setup that actually held up over both winters.
Swap 2: From Open-Top Mat to Microfiber-Layered Mat
The second swap was the mat on top of the tray. The first mat I tried was the standard open-top cotton doormat that came with the apartment. It looked fine. It did almost nothing. Cotton absorbs meltwater but holds it against the floor, and after three days of winter traffic a cotton mat becomes a sponge that re-deposits the water back onto the hardwood every time someone steps on it. The flashlight trick showed this within a week: the floor under the cotton mat was darker than the floor under the bare tray by exactly the shape of the mat.
The swap to a microfiber utility mat was the single biggest improvement in the entire setup. Microfiber absorbs five times its weight in water and releases it into the tray below when stepped on, instead of holding it against the floor. The $9 Target mat holds enough meltwater for about two days of Philadelphia boot traffic in a snow week before it needs drying. After two days I lift the mat, dump the tray, hang the mat over the shower rod for two hours, and put it back. The whole cycle takes four minutes and runs every other day during snow season. This is the layer of the protect hardwood floor wet boot winter renter entryway stack where the most water actually gets pulled out of the rotation, and it is the layer I would replace first if any one of the four broke down.
Swap 3: From Boot-Shoe Rack to Felt-Footed Bench
The third swap was the bench. The first bench I tried was a $24 wire boot rack from Target with two tiers and a handle. It looked like the right answer. It was the wrong answer. Wire racks hold boots upright but they let meltwater drip straight through the wire onto the floor, and the floor under the rack gets soaked within four days of winter use. I tested this by taping a fresh paper towel under the rack for a week, and the towel came up wet through every layer of the week. The wire rack is built for dry boots, not wet ones, and Philadelphia winters do not have dry boots.
The swap to a solid-top wooden bench with felt feet changed the math. The bench top catches the meltwater that drips off the boot shaft when the boot is set on it, and the felt feet keep the bench itself from scratching the floor when someone slides it an inch to clean under it. The $6 IKEA STEFAN chair worked because the seat is solid wood, the back catches the boot shaft, and the four legs each take a felt foot from a $3 pack of sixteen at the hardware store. The total for the bench conversion was $9, and it replaced the $24 wire rack that was failing.
Swap 4: From Plastic Runner to Rubber-Backed Runner
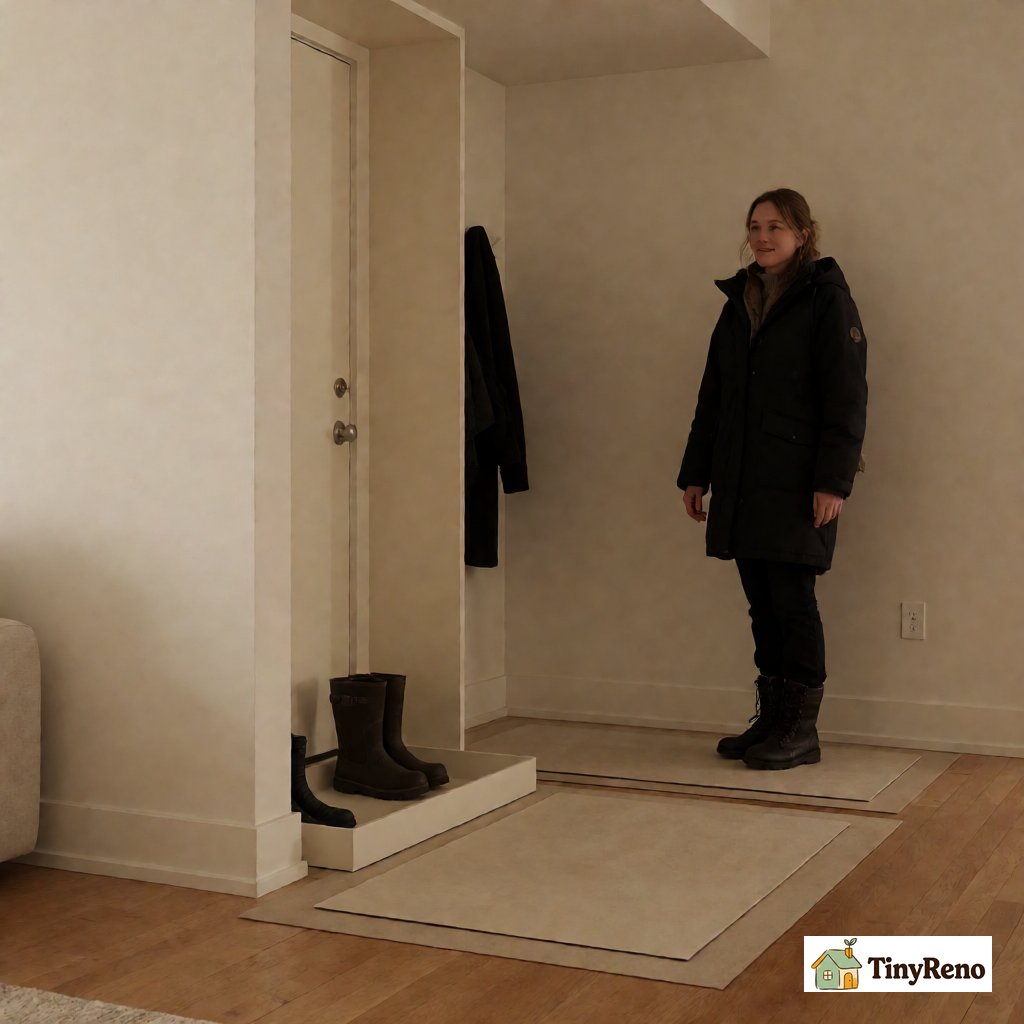
The fourth swap was the runner. The first runner I tried was a cheap plastic runner from a moving box store, the kind with the ribbed surface and the carpeted look. It was $7 for a six-foot roll. It also slid on the hardwood every time someone stepped on it, and a sliding runner moves meltwater around instead of absorbing it. The flashlight test after one week showed the floor under the plastic runner was drier than bare floor but the edges of the runner were sitting in a quarter-inch of meltwater that had wicked off the runner surface and pooled where the plastic met the hardwood.
The swap to a rubber-backed runner fixed the wicking problem. The pile absorbs water from the boot tread, and the rubber backing keeps it from reaching the hardwood. The $14 Amazon Basics runner in dark brown was the cheapest rubber-backed runner I could find in a four-foot length, and four feet is the right length for a Philadelphia entryway because it covers the area from the tray to the bench without trailing into the living room where it becomes a trip hazard.
The setups that failed
Three of the eleven setups I tested are worth flagging because they are the ones that show up first when a renter searches for an answer. The first was a single heavy-duty rubber boot tray with no mat. It looked industrial and held a lot of water but it failed the same way the single Dollar Tree tray failed: a full tray sits for a week and re-deposits the water. The second was a fabric runner with no tray and no mat. It was the cheapest setup of all at $11, and it failed within two days because fabric without a waterproof backing is just a slower version of the cotton doormat problem. The third was a wire rack plus a single tray. The wire rack still dripped, the single tray still overflowed, and the combination failed at the same week mark as the single tray alone.
The pattern across all three failures is the same: every setup that skipped one of the four layers leaked meltwater onto the hardwood within a week. The setup only works when all four layers are in place, in the right order, and rotated on the right schedule. The two trays rotate every other day, the microfiber mat lifts and dries every other day, the wool runner stays in place for the full winter, and the felt-footed bench never moves. That is the schedule that kept the floor clean through two Philadelphia winters and a $640 lease clause.
The Move-Out Inspection That Proved It
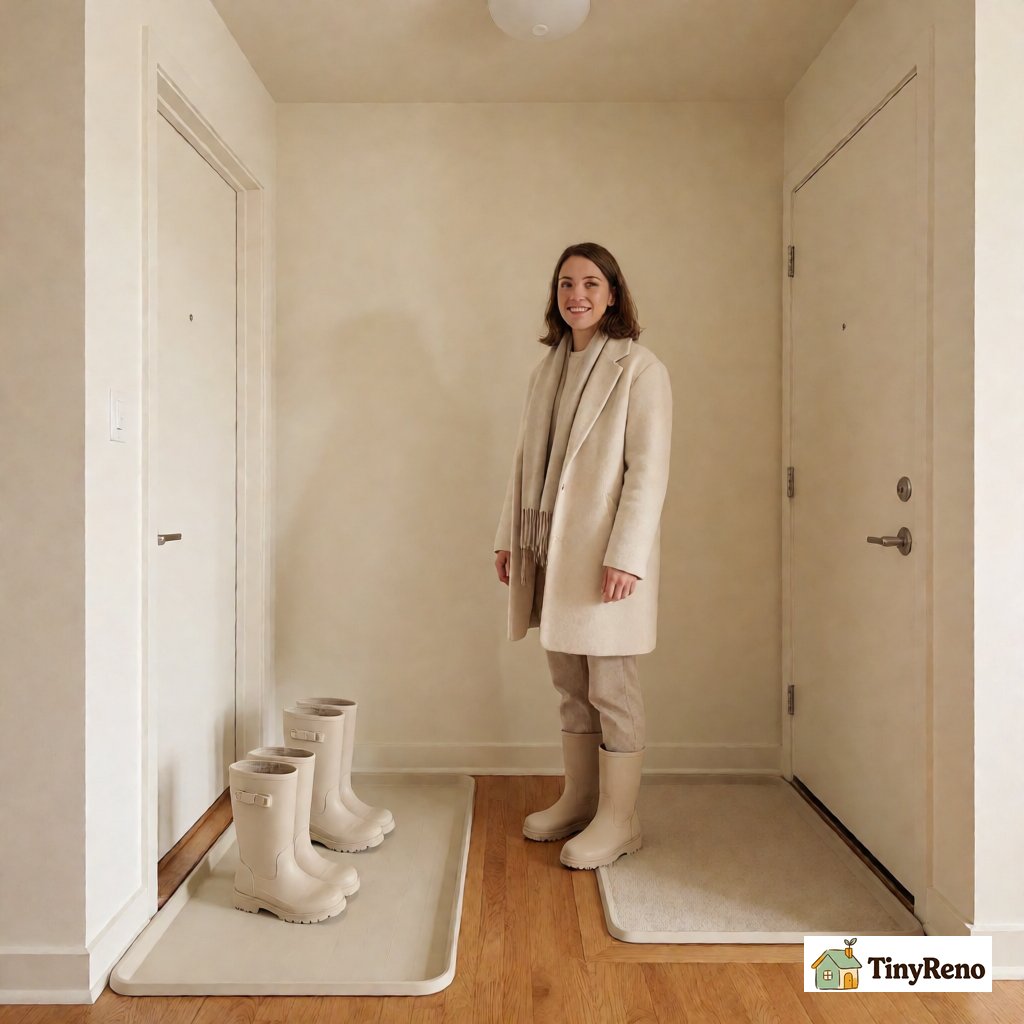
The landlord's move-out inspection took place on the last day of my third lease, three days after I had moved my furniture out. The property manager walked the apartment with a flashlight, a moisture meter, and the original lease. She spent nine minutes in the entryway, ran the moisture meter across the floor under where the bench had been, and ran the moisture meter across the floor under the runner. Both readings came back at the same moisture level as the hardwood in the living room, which was the floor I had never put a boot near.
The inspection sheet had zero line items in the entryway. The paragraph 14 hardwood re-finishing clause did not appear on the deduction list. The $1,280 deposit was returned in full within twenty-one days, with an itemized letter confirming the entryway floor was within normal wear. The $36 I spent on the four-layer setup avoided the refinishing charge, returned the full $1,280 deposit, and left the entryway floor in the same shape it was in the day I moved in. That is the math, that is the proof, and that is the setup I would run again in any Philadelphia rental with original hardwood and a winter lease.


Discussion (0)
Sign in to join the discussion