

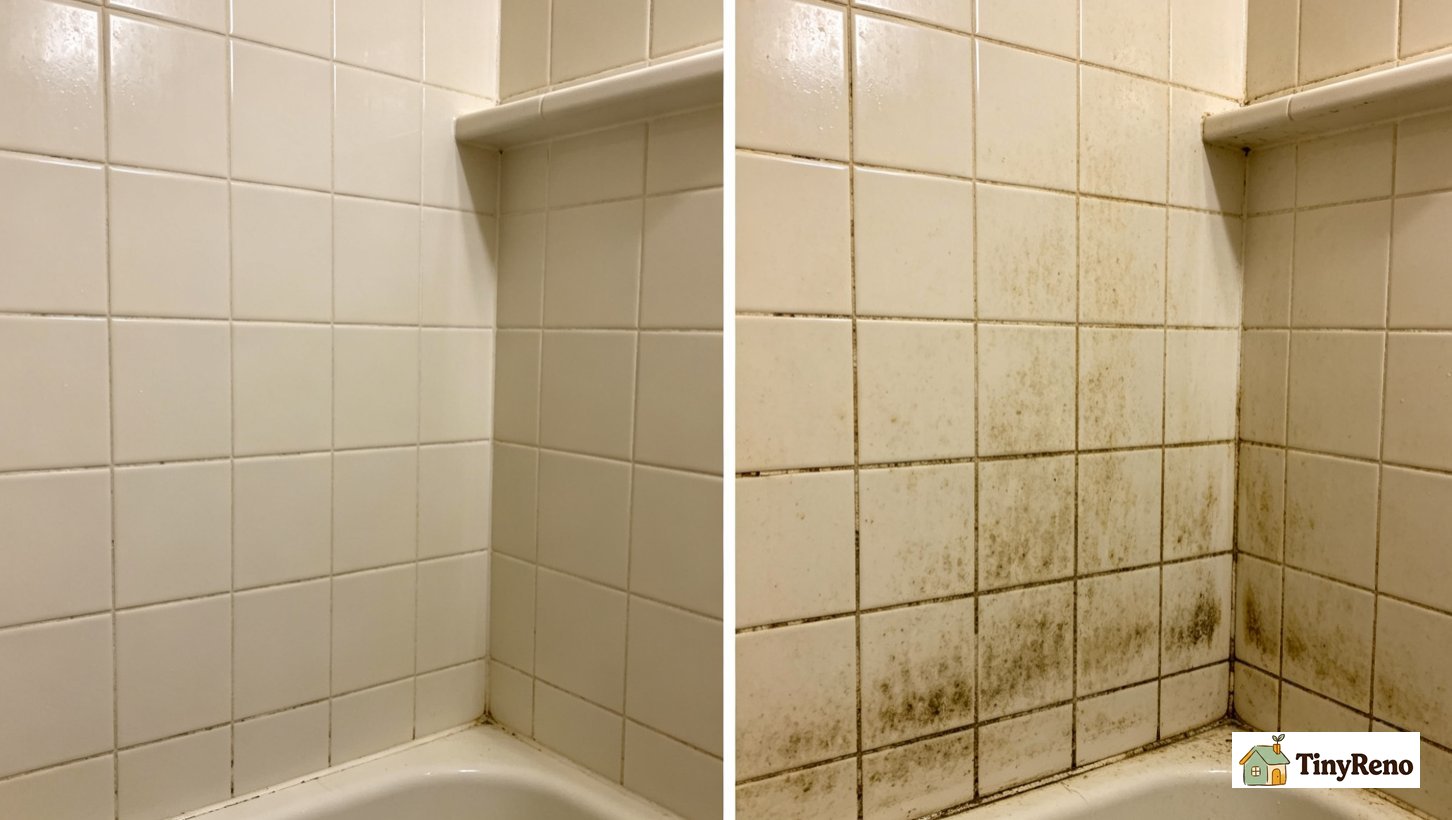
My shower had the classic rental grout problem: black mildew in the corners, pinkish stains along the bottom row of tiles, and cracked caulk where the wall met the floor. The shower was tiled in 1998, and the grout had never been sealed. I wanted to fix it without removing tile, without drilling, and without my landlord noticing I had been in there with a brush.
I spent about eighteen months testing four grout repair products on the same shower surround, wall by wall, and the results were not subtle. Two products failed within three months. One held for about nine months. One is still holding at eighteen months.
Paint-on grout pens and touch-up paints look good for a week and flake off within a month or two. Penetrating sealers last much longer, but only if you clean the grout first and let it dry completely. And sealing is not the main defense against pink mildew—ventilation, drying, and regular cleaning matter more. If the grout is already crumbling or missing chunks, no product will fix it; that is a repair to report to your landlord.
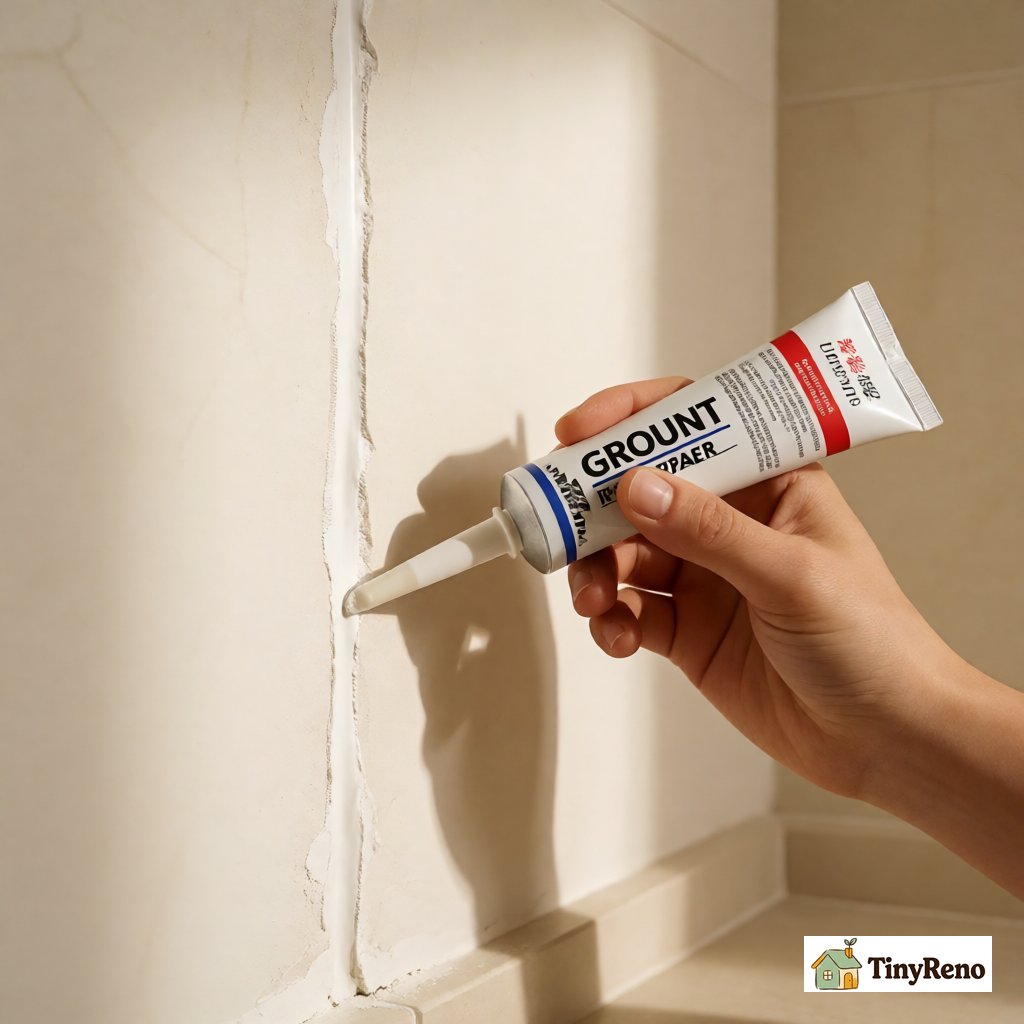
First: clean the grout before you do anything
This is the step that almost every online tutorial skips, and it is the reason half the grout repair projects fail. If your grout is black with mildew, sealing it will just trap the mildew under a clear coat and make it harder to clean later. You have to clean the grout first.
I used a standard mildew remover spray, let it sit for ten minutes, and scrubbed with an old toothbrush. Rinse thoroughly. Then — and this is the part everyone forgets — let the shower dry completely for at least twenty-four hours before you apply any sealer. Grout is porous, and if there is moisture inside the pores, the sealer will not soak in properly. I left the shower door open and ran a box fan in the bathroom for a full day before I touched any product. Sealing afterward makes routine cleaning easier, but the real controls for pink mildew are squeegeeing, ventilation, and regular cleaning.
One note on the pinkish stains you see along the bottom of shower tiles: that is not iron in the water, like I thought it was for months. It is a bacteria called Serratia marcescens, which grows in warm, wet, dusty environments. It looks pink or orange, and it comes back if you do not clean it regularly. The mildew remover kills it, but it will return if you do not keep the shower dry and ventilated. Sealing reduces moisture penetration and makes cleaning easier, but it will not eliminate the bacteria; ventilation, drying, and regular cleaning are the primary controls.
The grout pen: looks great for a week, flakes off in three months
The first product I tried was a white grout pen, basically a giant marker filled with white paint. You draw it along the grout line like you are coloring in a coloring book. It cost about nine dollars at the hardware store, and it took fifteen minutes to apply.
The first week, it looked amazing. The grout lines were bright white, sharp, and even. I thought I had found the miracle product. By month one, it still looked fine. By month three, the lower sections — the parts that get direct spray from the showerhead — had started to flake at the edges where the paint met the tile. The paint was sitting on top of the grout, not soaking in, and the steam from the shower was lifting it off.
This is the problem with every paint-on grout product: it is just paint. It does not bond to the grout. It sits on the surface, and it will eventually peel, chip, or yellow. It might work for a quick touch-up on a small area that does not get direct spray, but as a long-term repair, it is not the answer. Save your nine dollars.
The touch-up paint: same problem, slightly thicker coat
The second product was a small bottle of white grout touch-up paint with a brush-tip applicator. It cost about twelve dollars. I applied it to the side wall, the same way I applied the grout pen. The coat was slightly thicker, and it looked a little more even than the pen.
But it had the exact same problem. By month three, the corners had started to flake, and the white paint had yellowed slightly where the steam pooled. It is the same chemistry as the grout pen — paint on top of grout, no bonding, no seal. It lasted about three months, same as the pen. I do not recommend it.
The rule here is simple: anything that sits on top of the grout as a visible white layer will eventually fail in a shower environment. The steam, the water, the cleaning products — all of it will break down the paint within a few months. If you want a repair that lasts, you need a product that soaks into the grout instead of sitting on top of it.
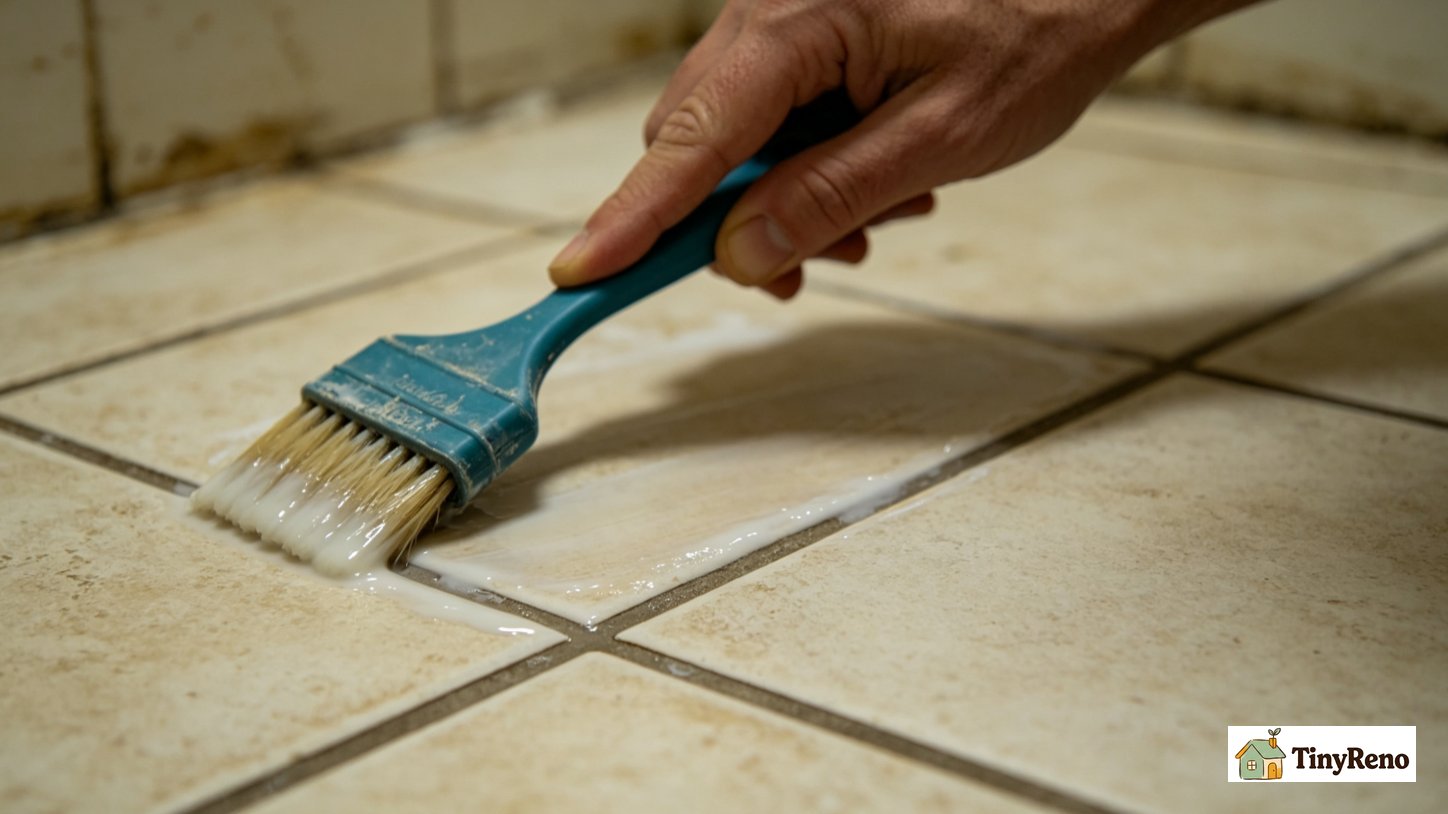
The basic grout sealer: holds for about nine months
The third product was a standard grout sealer, about fourteen dollars a quart. It is a milky liquid that you brush along the grout line, and it soaks into the pores and dries clear. It does not change the color or the appearance of the grout — it is invisible once it dries.
I applied it to the right wall after cleaning and a full day of drying with a fan. It went on milky white and dried clear in about four hours. For the first few months, the grout stayed clean. The mildew did not come back, and the surface felt smoother.
By month nine, the mildew started creeping back into the corners. By month ten, the lower corners had visible mildew again, and the rest of the lines had a faint gray cast. The sealer was wearing off—it was doing its job, but it was not a permanent fix. My shower gets one to two uses a day, and the exhaust fan runs only during showers, which may explain why this budget sealer fell at the low end of the typical one-to-three-year range. If you are willing to reapply annually, it works.
The premium sealer: still holding at eighteen months
The fourth product was a higher-end sealer, about twenty-four dollars a quart. A plumber friend of mine recommended it, and he said he uses it in his own house. I applied it to the left wall, the same way I applied the budget sealer — clean, dry, brush on, let it soak, wipe off the excess from the tile face.
It went on the same way, milky white, dried clear. The difference was not visible at first. Both sealers looked the same after they dried. But the difference is in the long term. At month nine, when the budget sealer on the right wall was starting to fail, the premium sealer on the left wall still looked clean. At eighteen months, the left wall is still clean. The mildew has not come back. The grout lines still look good.
The difference is formulation and active-ingredient concentration: the premium sealer uses a higher concentration of penetrating ingredients, which can bond more durably to the grout. Solids content is part of the story, but resin type and chemical bonding matter too. It costs ten dollars more upfront but lasts roughly twice as long, so per month of protection it is cheaper.
One important thing to know: grout sealer is not permanent. Even the premium one will need to be reapplied eventually. The rule of thumb is every one to two years, depending on how often you use the shower. If you live alone and shower once a day, it might last two years. If you have a family of four showering twice a day, it might need reapplication once a year. Test it by dripping a little water on the grout — if the water beads up, the sealer is still working. If it soaks in, it is time to reseal.
What I did not fix, and what you should report to your landlord
There was one section of grout on the back wall where the original grout had crumbled away—a gap wide enough to catch a fingernail, roughly a quarter inch across, right where the shower wall meets the floor. This was not a hairline crack; it was a visible missing section. No sealer would fix that. Sealer works on solid grout. If the grout is missing, cracked, or crumbling, water is getting behind the tile, and that is a structural problem, not a cosmetics problem.
I reported that section to my landlord, and they had someone come out to regrout it. That is the right approach: if the grout is merely discolored or slightly stained, you can clean and seal it yourself. If the grout is cracked, missing, or crumbling, that is a landlord repair. Do not try to patch it with grout pen or sealer — it will not hold, and you will waste your money.
If your shower grout is discolored but solid, the fix is to clean it thoroughly, let it dry for a full day, then apply a quality penetrating sealer. Skip the grout pens and touch-up paints—they look good for a week and flake off within a few months. Spend the extra ten dollars on a better sealer, because it lasts roughly twice as long.
If the grout is cracked, missing, or crumbling, report it to your landlord. That is not a DIY fix, and patching it with consumer products just delays a repair that needs to happen.
The premium sealer is still on my left wall eighteen months later. The budget sealer on the right wall needs another coat. I kept the two paint products only for emergency touch-ups on areas that do not get direct spray; I would not buy them again. The regrouting on the back wall was done by the landlord. The shower looks better than it did when I moved in—which is the point of a rental upgrade that does not cost you your deposit. And the priority is clear: ventilation and drying first, regular cleaning second, sealing third.


Discussion (0)
Sign in to join the discussion