

The 4 AM January Morning I Learned What Frozen Pipe Prevention Actually Costs
Frozen pipe prevention is what I learned at 4 AM on a January morning when I woke up to no water. The pipes under my kitchen sink had frozen overnight because the temperature outside had dropped to -8°F and the kitchen is on an exterior wall. The plumber charged me $280 to thaw them with a heat gun and told me the same thing would happen again in February if I did not insulate the pipes. He was right. Insulating them took me an hour and cost $12. The pipe never froze again. This article is what I should have done before the first freeze, not after.
If you are reading this because your pipes are frozen right now, do these three things first. Read the rest after. One: open the faucet that is not working, both hot and cold sides. Two: apply gentle heat to the frozen section with a hair dryer on low, warm towels, or a space heater kept at a safe distance from anything flammable. Do not use an open flame. Three: call your landlord or search for a 24-hour emergency plumber if the pipe has burst or you cannot locate the frozen section. Read the rest of this article after you have called and after the water is back.
The reason frozen pipe prevention matters in November, not January, is that most pipe freezes happen on the first really cold night of the year. The first cold night catches renters who have not yet insulated their pipes, who still have outdoor hoses connected, who have not yet opened the cabinet doors under the kitchen sink to let warm air circulate. By the second cold night, the smart renters have done these things. The smart renters do not have pipe freezes. The other renters, like me, learn the hard way.
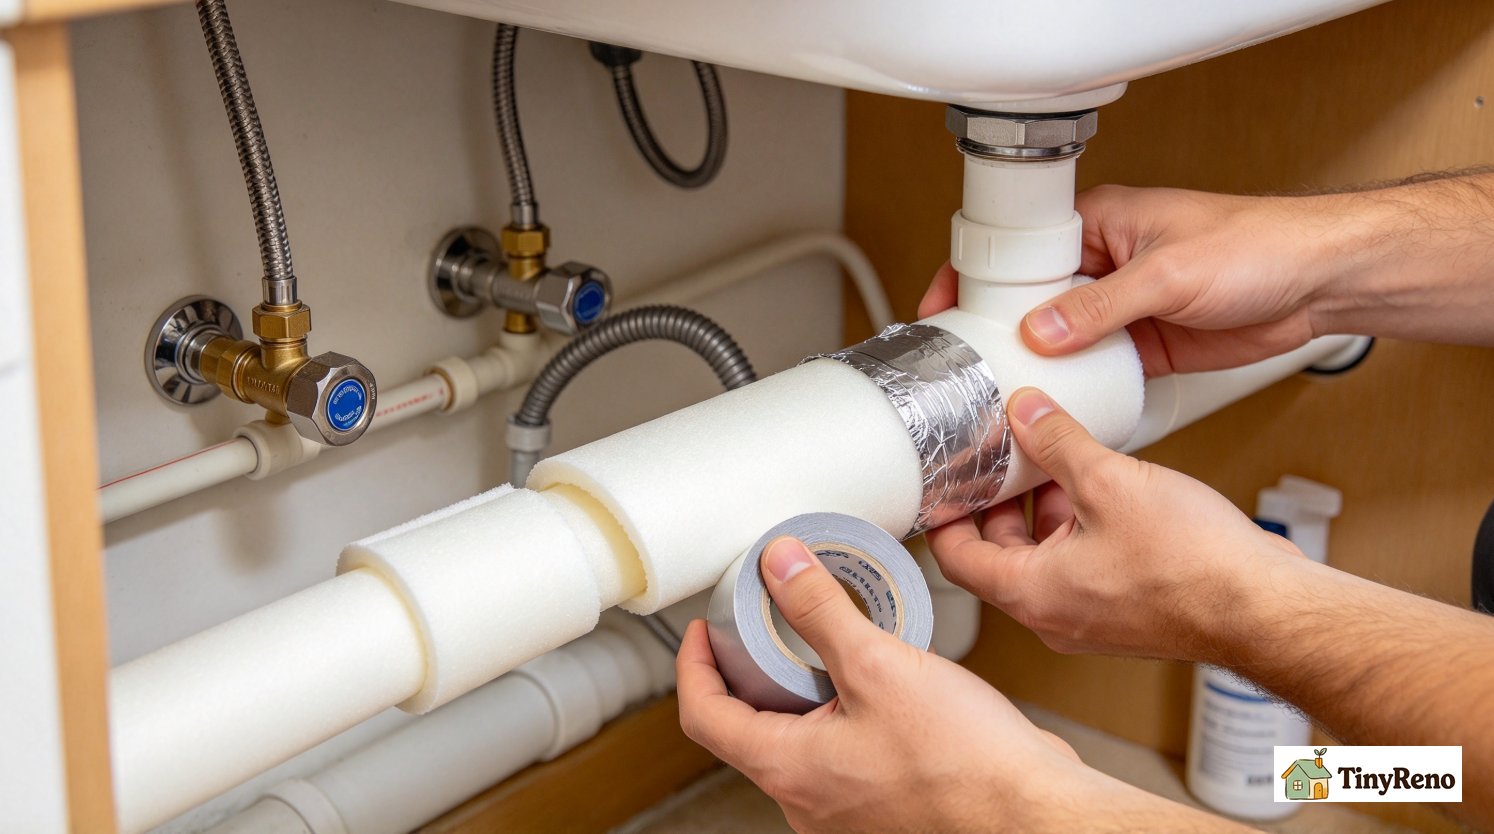
Things 1 to 3: Hose, Cabinets, and Foam Insulation, Done on a Saturday
I want to walk through the seven things to do before the first hard freeze, in the order they matter. The first thing is the outdoor hose. If you have an outdoor hose connected to a faucet on the exterior wall, disconnect it. The hose holds water in the faucet and the first three feet of pipe behind it. When the temperature drops below freezing, that water freezes and expands. The expansion pushes back toward the house and can crack the pipe inside the wall. The crack does not show up until the temperature rises and the pipe thaws, at which point water pours out of the crack and you have a flood. Disconnecting the hose takes 30 seconds. Doing it on the first day of November, not the first day of January, is the difference between no damage and $5,000 in water damage.
The second thing is the cabinet doors under the kitchen and bathroom sinks. If the pipes under those sinks are on an exterior wall, the pipes are inside the cabinet, which is colder than the rest of the apartment because the cabinet is enclosed. Open the cabinet doors on nights when the temperature is forecast to drop below 20°F. The warm air from the room will circulate into the cabinet and keep the pipes above freezing. Closing the cabinet doors is the right thing to do for tidiness but the wrong thing to do for frozen pipe prevention.
The third thing is the insulation. Foam pipe insulation is a tube of foam that you slide over the pipe and seal with tape. It costs about $0.50 per foot at the hardware store. For an apartment kitchen and bathroom, you need about 20 to 30 feet of insulation, which is $10 to $15 in materials. The installation takes about 30 minutes per pipe run. You cut the foam tube to length, slide it over the pipe, and seal the seam with foil tape or duct tape. Foam insulation slows heat loss and can keep a pipe above freezing in many apartments, but it does not add heat. In extreme cold, on an exterior wall, or in an unheated space, a pipe can still freeze even with insulation. If that has happened before in your apartment, ask your landlord about heat tape or a structural fix.
Things 4 and 5: Heat Tape and the Thermostat Floor
The fourth thing is the heat tape. Heat tape is an electric heating element that you wrap around the pipe and plug into an outlet. It costs $15 to $25 for a 6-foot section and uses about 5 watts per foot, or 30 watts for a 6-foot section. At 12 cents per kWh, that is $0.10 a day, or $3 a month to run continuously. Heat tape is not necessary if you have done the insulation. It is necessary if your pipes are in a particularly cold location (an unheated garage, a crawl space, an exterior wall with poor insulation). Most apartments do not need heat tape. Some do.
The fifth thing is the thermostat. If you are going to be away from the apartment for more than a few days in winter, do not turn the heat off. Keep the thermostat at least 60°F as a safety margin. That is not a guarantee, because pipes inside exterior walls can be colder than the room air, especially in extreme cold. If your apartment has had a freeze before, ask your landlord whether the wall pipes need extra protection. Keeping the heat at 60°F instead of 55°F for a week may cost more or less than $15 to $25 depending on the building, the weather, and the utility rate. The cost of a burst pipe is usually much higher than the extra heating cost, but the exact difference depends on your apartment.
The sixth thing is the main shutoff valve. Know where it is. The main shutoff valve is where you turn off the water to the entire apartment in case of a burst pipe. In most apartments it is under the kitchen sink, in the bathroom, near the water heater, or in a utility closet. Find it now, before you need it. Test it by turning it clockwise until it stops, then turning on a faucet to confirm the water is off. If the water does not stop, the valve is broken — call your landlord. Knowing where the valve is and how to use it is the single most important thing you can do for frozen pipe prevention.
The seventh thing is the landlord. Many states and many leases place structural repairs on the landlord, especially for pipes inside walls that a renter cannot access or modify. That is not universal. Some leases put more responsibility on the tenant, and local codes vary. If you have a chronic frozen pipe problem in the same location year after year, report it to the landlord in writing with dates and photos. Ask whether the wall pipes need insulation, heat tape, or rerouting. If the landlord refuses to address a habitability problem, contact your local housing authority or code enforcement and ask what your state and city require.
The Seasonal Discipline and the Cost of Doing All Seven
What I learned from the plumber who thawed my pipes in January was that frozen pipe prevention is not a one-time task. It is a seasonal discipline. The seven things I just described — outdoor hose, cabinet doors, insulation, heat tape, thermostat, shutoff valve, landlord — are not things you do once. They are things you do every year between November 1 and April 1. The hose disconnects in November and reconnects in April. The cabinet doors open in December and close in March. The insulation stays on all winter. The heat tape gets plugged in when the forecast drops below 10°F and unplugged when the forecast rises above 30°F. The thermostat stays above 60°F all winter. The shutoff valve stays where you can find it all year.
The cost of the seven things is about $30 in materials in the first year (insulation, heat tape if needed, foil tape) and zero in materials in subsequent years. The time is about two hours in the first year (insulating the pipes, finding the shutoff valve) and about 30 minutes in subsequent years (reconnecting the hose, opening the cabinet doors, plugging in the heat tape). The savings are the cost of a plumber visit ($200 to $400) and the cost of a pipe burst ($3,000 to $10,000 in water damage). The ROI is enormous.
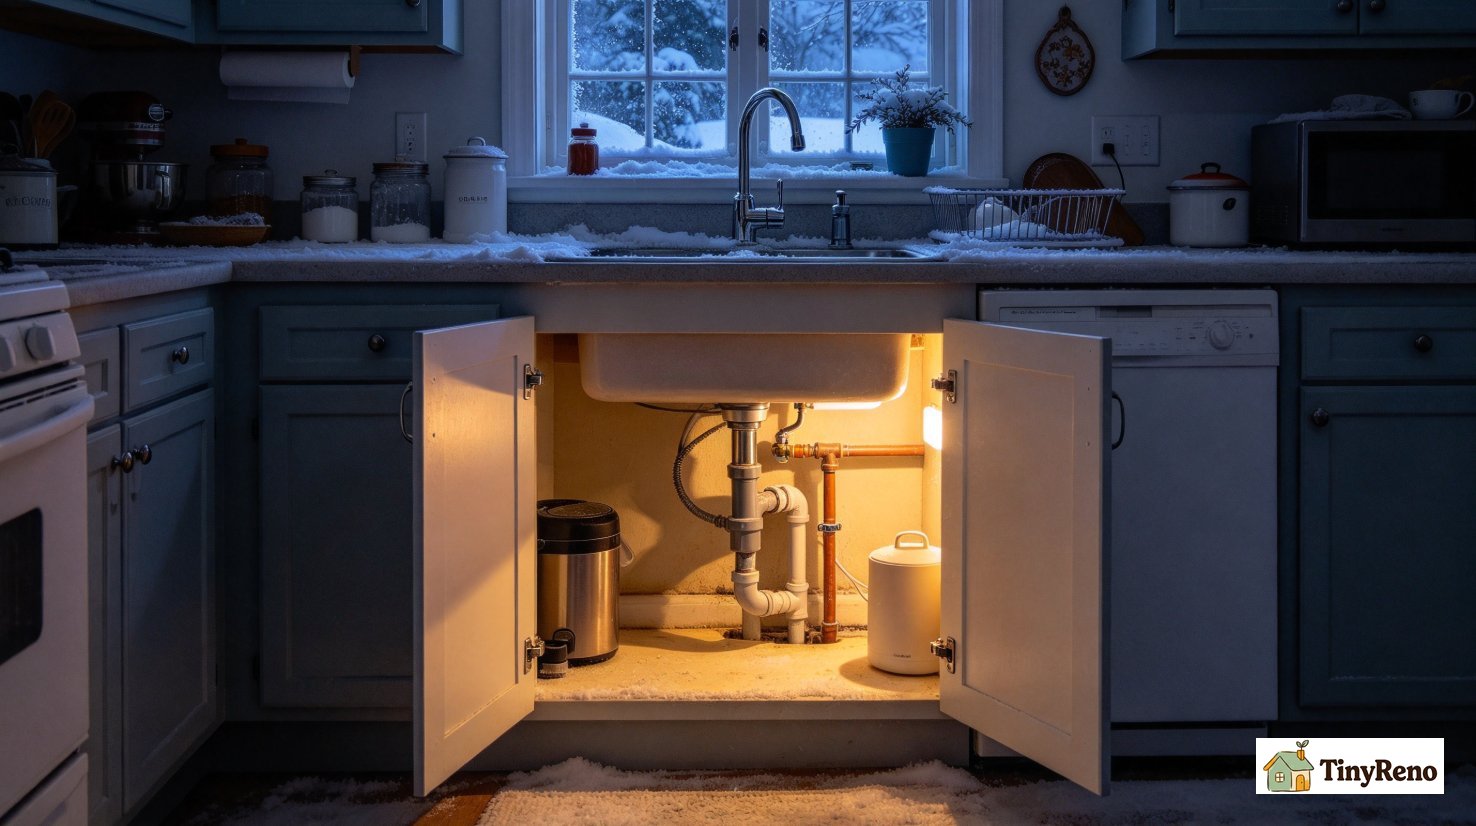
If Your Pipes Froze Last Night: The Thaw Sequence, and When to Call a Plumber
If you are reading this because your pipes froze last night, here is the troubleshooting sequence. Step one: open the faucet that is not working. If water trickles out, the pipe is partially frozen and you can thaw it with gentle heat. If no water comes out, the pipe is fully frozen. Step two: locate the frozen section. The frozen section will be on an exterior wall, in an unheated space, or at the narrowest point of the pipe. Feel the pipe with your hand — the frozen section will be noticeably colder than the rest. Step three: apply gentle heat. A hair dryer on low, warm towels, or a space heater kept at a safe distance from the pipe can thaw the ice in 30 to 60 minutes. Keep space heaters away from curtains, paper, and furniture, and never leave a space heater running unattended. Do not use a torch, an open flame, or a heat gun on high. Rapid temperature change can crack the pipe. Step four: as the ice melts, water will start to flow out of the faucet. Run the water at a trickle to help melt the remaining ice. Step five: once the water is flowing, leave the faucet open at a trickle overnight to prevent re-freezing.
If the pipe has burst, which you will know because water is leaking from a section of pipe or from a wall, turn off the main shutoff valve immediately and call your landlord or a plumber. Do not try to thaw a burst pipe — the water will continue to leak until the valve is off. The plumber will cut out the burst section and replace it with a new piece. The cost is $200 to $500 for the plumber visit plus $200 to $500 for the wall repair if the pipe was inside a wall.
If you cannot locate the frozen section, if the hair dryer is not working after an hour, or if you smell gas, call your landlord or search online for a 24-hour emergency plumber. Most cities have plumbing companies that advertise emergency service. Most charge $200 to $400 for an emergency visit, and response times vary by city and weather. If you smell gas, leave the apartment and call the gas utility or 911 before calling a plumber.
The $280 Bill That Made Me Take This Seriously, and the $43 That Has Prevented It Since
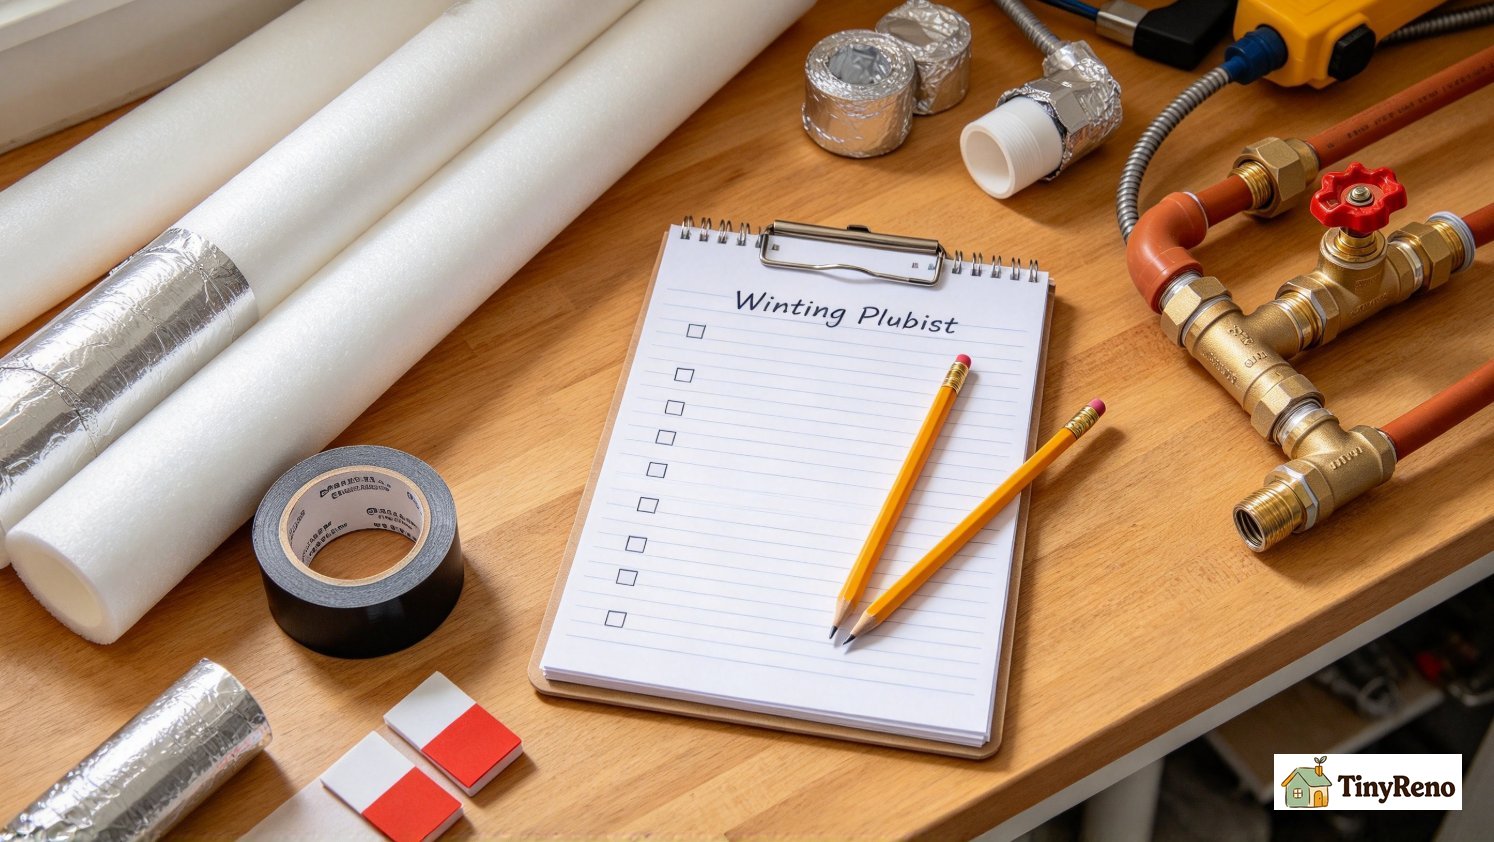
The metric that convinced me to take frozen pipe prevention seriously was the $280 plumber bill in January. After the pipe thawed, I asked the plumber what I should have done. He gave me the seven things I just described, in the order they matter. I did them all that weekend. The total cost was $12 for foam insulation, $6 for foil tape, and $25 for a set of cabinet door stops to keep the doors open on cold nights. The total time was about 90 minutes. The pipes never froze again. February and March of that year had multiple nights below 0°F. None of them produced a frozen pipe.
The other metric was the water damage I avoided. A burst pipe in the wall could have produced water damage of $3,000 to $10,000 or more, depending on how long the leak went before I noticed. The pipe never burst, so the avoided damage is an estimate, not a measured return. I would estimate the avoided loss at $5,000 on the low end and $15,000 on the high end, but not every freeze leads to a burst and not every prevention step works in every apartment. The prevention cost about $43, and the potential avoided loss is much larger than that cost.
The closing thought is that frozen pipe prevention is not optional in any climate that drops below 25°F. Most of the US drops below 25°F at least once a winter. The Northeast, Midwest, and Mountain West drop below 25°F for weeks at a time. The South drops below 25°F once or twice a winter. If you are in any of these regions, your pipes are at risk. The seven things I described take two hours in the first year and 30 minutes every year after. The cost is $30 in materials. The alternative is a plumber visit and the risk of a pipe burst. The math is not close. Do the seven things in November, not January.


Discussion (0)
Sign in to join the discussion