

How I Found Six Window Drafts in November That I Had Not Noticed Since I Moved In
I noticed the first real window draft at 6:47 on a Tuesday morning in November, when my son walked into the living room and asked why the curtain by the window had moved overnight. The curtain had not moved. What had moved was cold air coming through a gap at the top of the window frame. The thermometer on the wall read 64°F. The thermostat read 71°F. That seven-degree difference was not proof that the furnace had failed. It was a sign that one room was losing heat faster than the rest of the apartment. The draft had probably been there since I moved in. I had not noticed it in October because the outside air was not cold enough yet for the leak to feel like a leak. November made it noticeable.
The reason this matters in November, not January, is that November is when you can still feel the draft without the wall being saturated yet. By January, the window draft winter creates has soaked into the wall framing, condensed on the inside of the drywall, and started to grow the black spots that take $400 to remediate in spring. November is the cheap fix window. January is the expensive one. February is the insurance claim window. The cost of fixing a window draft in November is $30 in materials and three hours of work. The cost of fixing the wall damage in March is $400 in a contractor plus a week of disrupted living. The cost of fixing a mold problem in June is $3,000 to $8,000 and a temporary move-out.

The Candle Test and the Five Layers of the Window Assembly
I went around my apartment on a Saturday and tested every window with a stick of incense. Four windows had obvious drafts. The bedroom window had a quarter-inch gap along the upper sash where the weather stripping had peeled off. The kitchen window had a gap along the bottom sash where the weather stripping had compressed to nothing. The living room picture window had a gap where the frame met the wall, and the old caulk had cracked. The bathroom window had a crack in the caulk where the frame met the wall. The two small bathroom windows were sealed tight, and the hallway window was also sealed tight. My landlord later told me those three had been replaced two years earlier. The pattern was clear: the older windows leaked, and the newer ones did not.
The simplest renter-safe draft test is a stick of incense, not a candle. Light the incense, hold it near the window frame, and watch the smoke. If the smoke bends or gets pulled toward a gap, there is a draft. If the smoke rises straight, the seal is probably fine. I tested every window in about 15 minutes. I marked the four that showed movement and noted the three that did not. A candle flame can also show a draft, but an open flame near curtains and wood frames is a fire risk, so I would not use one. A thermal camera is more accurate, but it costs more than most renters want to spend for a one-time check.
What a window draft winter actually is, is air moving through a gap in the window assembly. The window assembly is the frame, the sashes, the weather stripping, the glazing, and the caulk where the frame meets the wall. A draft happens when any one of those five layers fails. The most common failure is the weather stripping — the rubber or foam strip that runs along the sash where it meets the frame. The second most common is the caulk where the frame meets the wall — that fails when the house shifts and the caulk cracks. The third is the glazing — the putty or tape that holds the glass in the sash — and that fails on older wood windows when the putty dries out. The fourth is the sash itself — wood swells in summer and shrinks in winter, leaving gaps that were not there when the window was installed. The fifth is the installation — the original installer left a gap at the frame-to-wall joint that has never been sealed.
I am going to walk through the four renter-safe fixes I did, in the order I did them, with the cost and the time and what each one actually fixed. I am going to skip the contractor fixes — the ones where you have to remove the window and re-caulk the exterior or replace the sash — because those are not renter-safe in any state without landlord approval, and most landlords will not approve them in November anyway. The four renter-safe fixes cover about 80% of the draft problem. The contractor fixes cover the last 20%, but they require landlord cooperation, which is not guaranteed.
Four Renter-Safe Fixes I Did on Two Saturdays, in the Wrong Order
The first fix was foam weather stripping on the bedroom window sash. The bedroom window was a double-hung wood window from the 1950s. The weather stripping had been replaced once, around 2008, with foam tape that had since compressed and peeled off in two places. The gap at the top of the upper sash was visible if you held a flashlight at an angle. I bought a roll of self-adhesive foam weather stripping from the hardware store for $4.50. The roll was 17 feet long, enough for all six leaky windows. I cut strips to length, peeled the backing, pressed them into the channel where the old foam had been. The whole job took about 90 minutes for all six windows. The bedroom window dropped from 64°F in the room to 68°F after the foam was in. That is a four-degree improvement with $4.50 of materials.
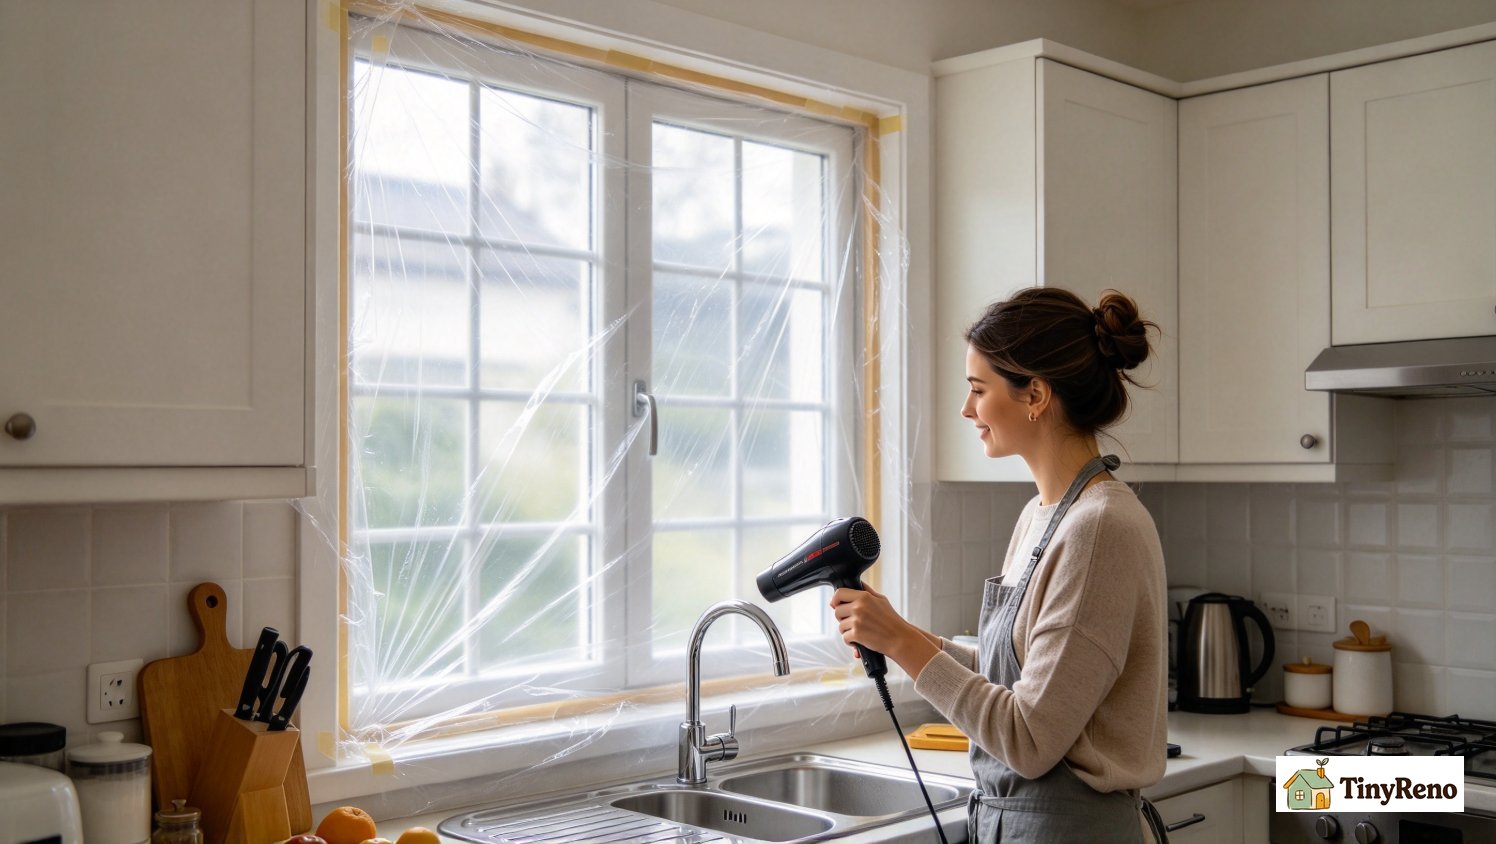
The second fix was a window insulation kit on the kitchen window. The kitchen window was the worst draft in the apartment. It was a single-pane sliding window, and the gap along the bottom let in a line of cold air. Foam weather stripping would have helped but would not have sealed the gap completely. I bought a window insulation kit for $8. The kit is a sheet of clear shrink-wrap plastic that you tape to the window frame with double-sided tape, then heat-shrink with a hair dryer. The result is a tight plastic membrane over the window, like a second layer of glazing. The plastic may look slightly wrinkled or reflective, but it should not look foggy unless moisture is condensing on it. The kitchen went from a cold spot you could feel across the room to a normal-temperature window. The kit takes about 30 minutes per window to install.
The third fix was rope caulk on the picture window frame. The picture window was fixed, so it did not have a meeting rail. The draft was at the joint where the frame met the wall, where the original installation had left a small gap and the old caulk had cracked. I did not want to remove the old caulk and risk damaging the wall, so I used rope caulk, a putty-like material that comes in a rope and presses into a gap with your fingers. It is removable and renter-safe. I bought a roll for $5, pressed it into the gap, and smoothed it with a wet finger. The draft at that joint was gone in about 20 minutes. The rope caulk will stay in until spring, when I can pull it out and return the window to its previous condition.
The fourth fix was a draft stopper on the front door. The front door was not a window, but cold air at the threshold was the same kind of problem. I bought a weighted fabric draft stopper for $12 and laid it against the bottom of the door. The cold line on the floor disappeared. The hallway outside the apartment also seemed colder afterward, which suggested that heated air from the apartment had been escaping into the hallway before I sealed the door. That does not mean the building was charging me for heat through the radiator in any direct way. It means the apartment was losing conditioned air through a gap I could close.
What $35 in Materials Did to My Gas Bill, and the Cold Wall I Missed Until December
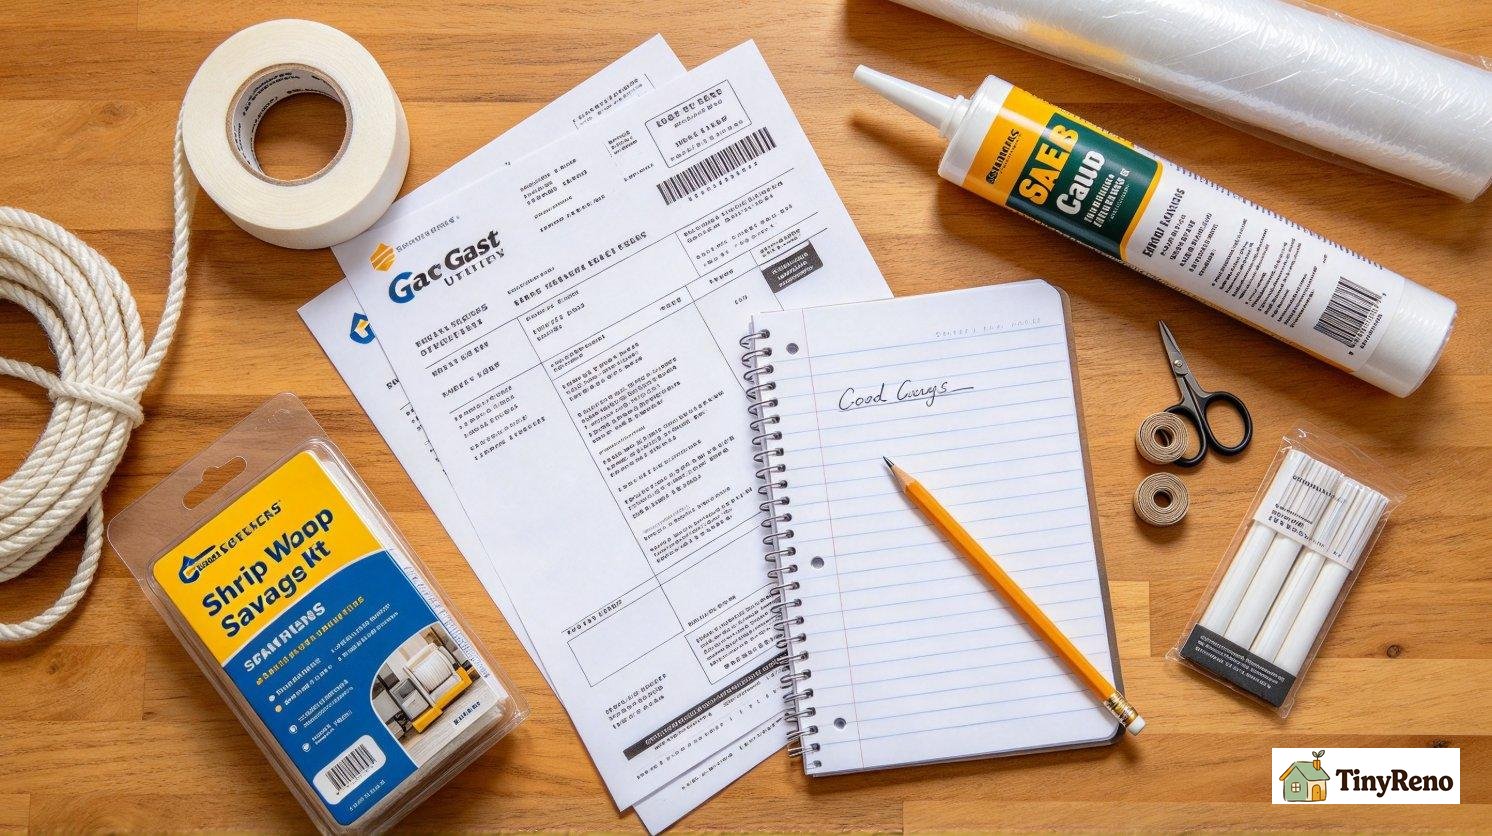
Total cost of the four fixes: $4.50 + $8 + $5 + $12 = $29.50. Total time: about three hours over two Saturdays. The result was a four to seven degree improvement in the worst cold spots, and a $30 to $50 reduction in the next month's heating bill because the boiler was not working as hard. The fixes are all reversible — when I move out in 2027, the landlord will not know I did any of them. The foam weather stripping pulls off cleanly. The window insulation kit peels off the frame. The rope caulk pulls out of the gap. The draft stopper goes with me. The visible part of the fixes — the shrink-wrap plastic, the rope caulk, the draft stopper — could be explained to the landlord as "draft protection" without specifying the materials, but I told my landlord about all of them in a text before I did them, and he said fine.
What I would change about this sequence if I was starting over in October, before the cold arrived: I would do the window insulation kit on the worst window first, not the foam weather stripping. The window insulation kit is the bigger win — it seals the whole window, not just the sash. The foam weather stripping is incremental on top of the kit. Doing the kit first means the foam weather stripping fixes the secondary drafts, not the primary one. I did them in the wrong order because I started with the cheapest fix. The cheapest fix is not always the first one to do.
What I would also do, and what I did not do until December, was check the wall behind the radiator. The radiator in the living room sits under the picture window. The wall behind it had a gap where the original construction had not sealed the pipe chase that runs up the wall to the unit above. Cold air from outside the building was coming through the gap and behind the radiator, cooling the wall from the back. The fix was expanding foam in the gap — $6 for a can of foam, ten minutes to apply, and the wall stopped being cold to the touch. I should have done this in October. The cold wall was costing me $10 to $15 a month in extra heating, which adds up over a winter.
The gas bill was suggestive, but it was not proof by itself. In October, my heating bill was $48. In November, before the fixes, it was $117. In December, after the fixes, it was $73. December is usually colder than November, so a lower December bill is consistent with the fixes helping. But the bill also depends on the number of heating degree days, the billing period, the rate, and how much hot water and cooking gas we used. To really know whether the fixes worked, I would need to compare usage or degree days, not just dollar totals. My working estimate is that the fixes may save roughly $150 to $200 over the winter. The materials cost about $35, so the payback is likely positive, but I would call it an estimate rather than a measured six-to-one return.
One thing I want to flag for other renters reading this: the fixes I did are renter-safe in the sense that they do not damage the apartment and they are reversible. They are not renter-safe in the sense that they are approved by your landlord. Most landlords will not care about foam weather stripping or a window insulation kit. A few landlords will. The way to handle this is to text your landlord before you do the fixes. "Hey, the bedroom window has a draft. I am going to put foam weather stripping on it to keep the room warm. I will remove it when I move out. OK?" Most landlords will say yes. Some will say no. If yours says no, you have a choice — you can push back, you can move forward without permission, or you can ask the landlord to do the fix. Each of these has different consequences in different states, and I am not going to pretend one is right.
What I did not do was buy a portable heater to compensate for the draft. A portable heater can cost $40 to $80 to buy and can add a significant amount to the electric bill, depending on wattage and how often it runs. It also adds a fire and overload risk in a small apartment, especially on an older circuit. Sealing the obvious drafts first is usually cheaper and safer. A portable heater can be a temporary backup, but it is not a substitute for closing the gaps.


Discussion (0)
Sign in to join the discussion