

The first pantry drawer I ever opened in a rental was already warped when I moved in. My Astoria landlord Maria walked me through the apartment on a Tuesday afternoon, and when I pulled open what she called the pantry — a single 18-inch-wide drawer under the counter — the bottom of the drawer bowed down by half an inch in the middle, like a banana that had been left out for three weeks. There were two plastic organizer trays inside, both cracked. One of them had a corner snapped off and held together with a piece of masking tape. Maria looked at that tired cavity and shrugged. "It's old," she said. "It still works." It did still open and close. It did not still hold a row of spice jars without rocking.
5 Organizers I Have Used in 3 Rentals
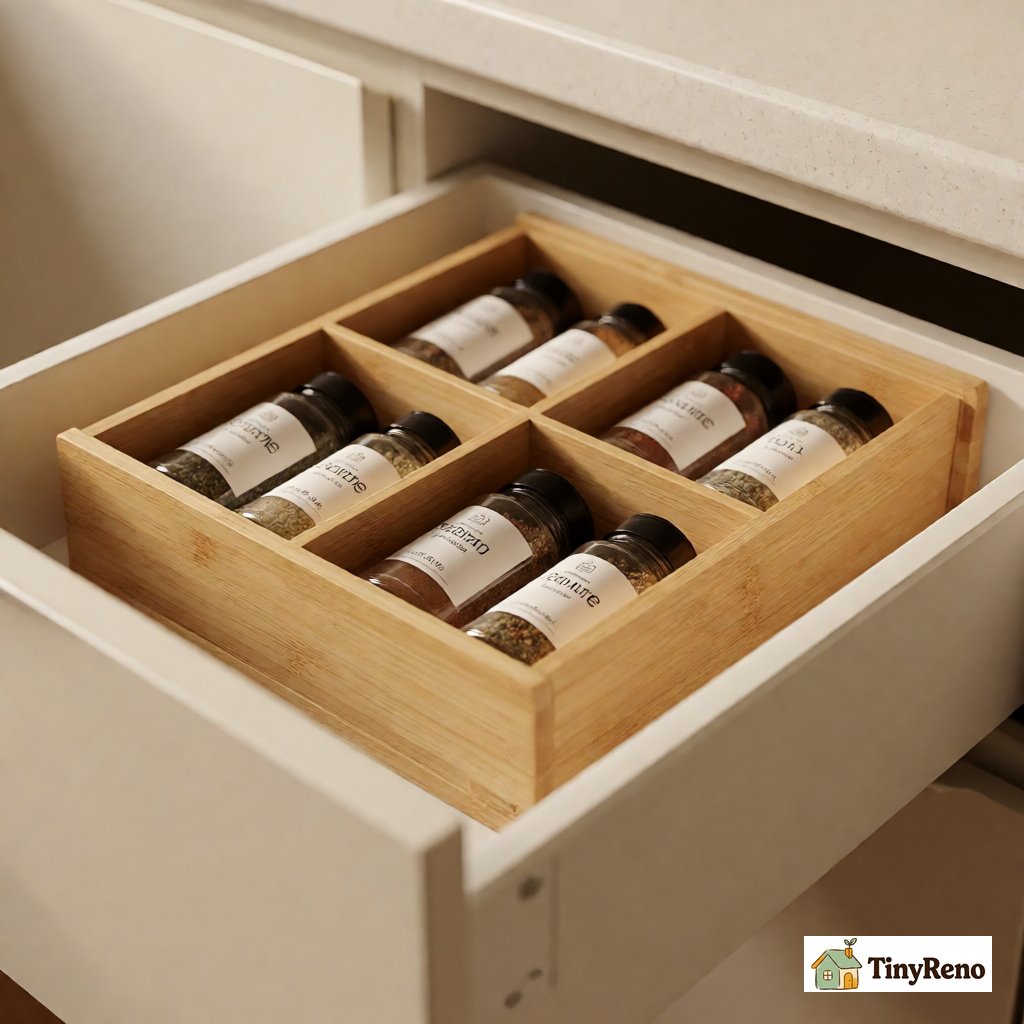
That was 2021. I replaced the warped trays within a week with a $14 bamboo set from a kitchen supply store, and I have been fitting out rental pantry drawers ever since. I have now fitted out five different pantry drawer organizers in three different apartments—the Astoria two-bedroom, a Bushwick studio, and a Sunnyside one-bedroom where I am writing this. I have used bamboo, plastic, expandable wire, foam, and drawer liner. Four of them held their shape past month three. One of them warped in three weeks, and I will tell you which one. The total cost across all five was $86. The total time to install each one was under 25 minutes. None of them required a drill, and every one of them came out cleanly when I moved.
The Material Decision (And the One to Avoid)
The first decision is the material. There are four common pantry drawer organizer materials and one I will warn you about up front. Bamboo is the most popular, and for good reason—it looks like built-in cabinetry, costs between $12 and $30 for a typical 18-inch-wide drawer set, and holds its shape better than plastic or wire. Plastic is the cheapest, typically $6 to $15, and the easiest to clean because you can rinse it under the faucet. Expandable wire is what you find at the big-box store for $20 to $40, and it looks like restaurant kitchen storage. Foam is the modular kind—the customizable grid you cut to fit your drawer—and it is what people buy when they have an oddly shaped drawer and a long afternoon. Drawer liner is technically an accessory, not an organizer itself, but it matters: it costs $4 to $8 for a roll and goes underneath any of the other organizers to keep them from sliding. The fifth material I will warn you about is thin vacuum-formed plastic, the kind that comes in flat-pack kits with three or four trays for under $8. I bought one of these. It warped in three weeks under the weight of four full-size spice jars. The plastic was 0.6 millimeters thick. Real kitchen organizer plastic is at least 1.2 millimeters. If the product listing does not list the plastic thickness, it is the cheap kind, and the cheap kind fails.
The Layout and Non-Slip Base Decisions
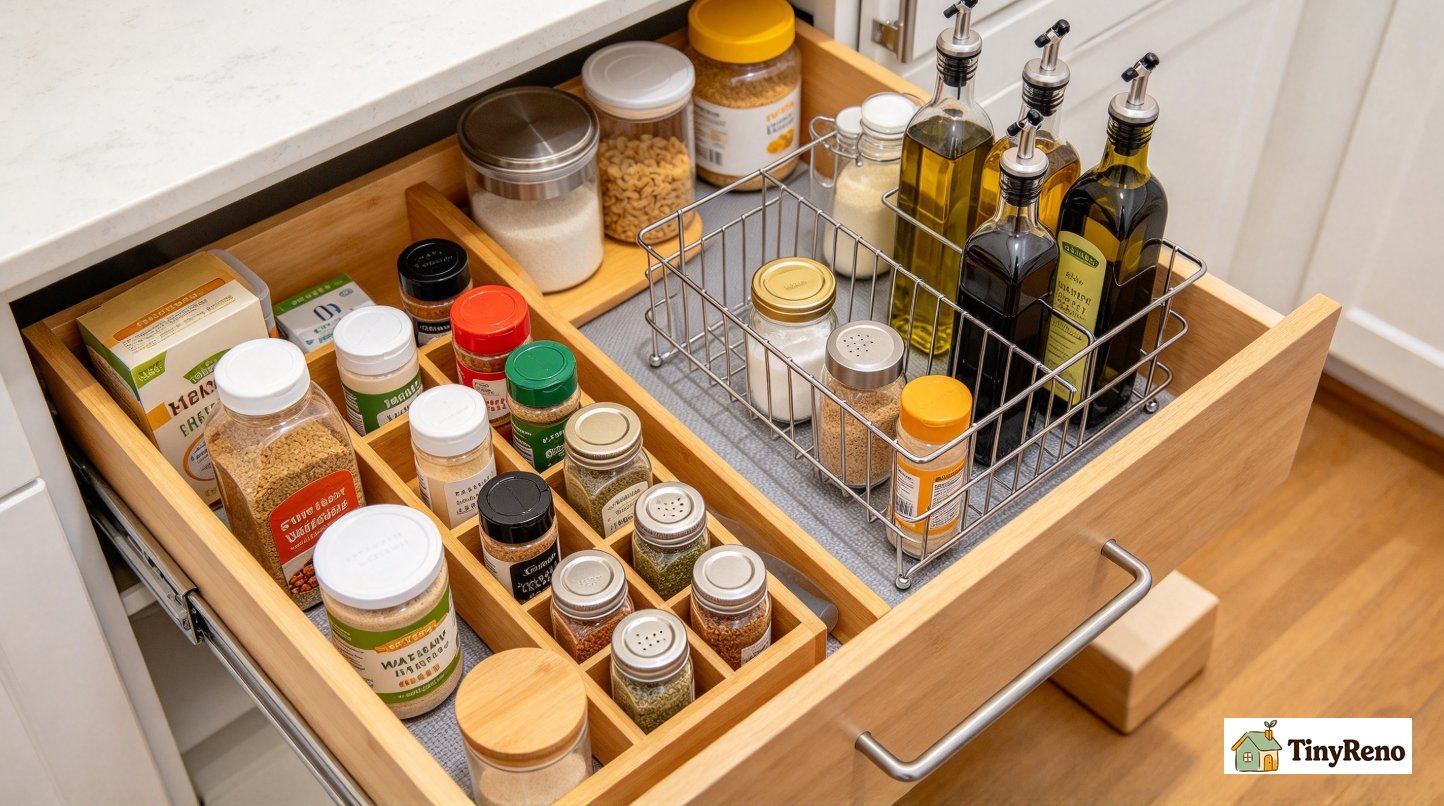
The second decision is the layout. Most rental kitchen cavities come in one of three widths — 15 inches, 18 inches, or 22 inches — and the organizer either fits or it does not. A typical bamboo set comes in either a 4-compartment or 6-compartment layout, with adjustable dividers. The 6-compartment version is what I use for spice jars because it gives each jar its own slot and stops them from knocking against each other every time you open the drawer. For longer drawers, an expandable wire organizer that runs the full length of the drawer and has vertical dividers every 3 to 4 inches works better for taller items like olive oil bottles and vinegar. I use the bamboo for spices and the expandable wire for oils. The combination cost me $34 and replaced a kitchen cabinet full of mismatched Tupperware.
The third decision is whether you need a non-slip base. Every rental kitchen cavity I have fitted had a slick melamine or laminate bottom that made any plastic or bamboo organizer slide around the moment you pulled the door open. The fix is a roll of drawer liner, the rubbery non-adhesive kind that grips without sticking. Cut it to fit the bottom of the drawer before you put the organizer on top. The organizer stays put. The drawer liner also catches crumbs and spills, so when you clean the drawer you just lift the liner and dump the crumbs in the trash instead of wiping down the drawer itself. A 4-foot roll of liner costs about $6 and fits four to six drawers, depending on width.
The 4 Install Mistakes I Have Made
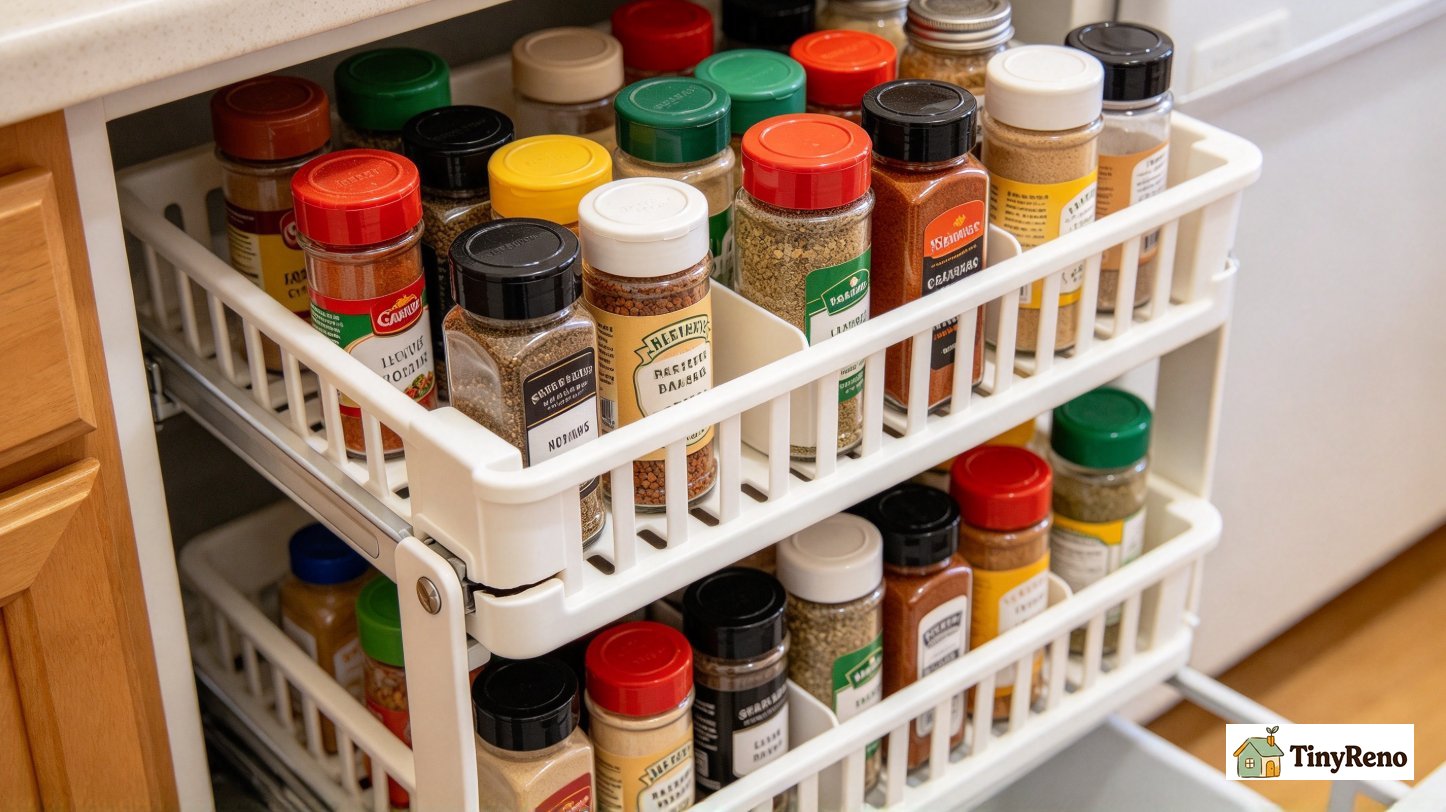
Now the four install mistakes. Mistake one is not measuring the drawer interior before buying. The outside dimensions on the box are not the same as the inside dimensions of the drawer cavity. I bought an 18-inch-wide bamboo set for what I thought was an 18-inch-wide drawer, but the actual cavity was 17 1/4 inches because of the drawer slides on each side. The bamboo did not fit. I had to return it. Measure the inside width and depth before you buy, and subtract at least half an inch from each dimension to account for drawer slides and the rear lip. Mistake two is putting heavy jars on the top of a tiered organizer. The tiered plastic organizers — the kind with a raised second level for shorter jars — fail at the hinge where the second tier meets the base. Within six months the hinge cracks. Put heavy jars on the bottom tier and lighter jars on top. Mistake three is not emptying the drawer before installing. I tried to swap out an organizer with the drawer half-full and ended up dropping a jar of paprika that got paprika powder into every crevice of the new organizer. Empty the drawer first. Mistake four is using the organizer as a cutting board. Bamboo looks like wood. It is not wood. If you try to slice a lime over the organizer you will scar it.
The Drawer Level Test
The last thing to check—and the one I have learned matters more than any of the others—is whether the drawer is actually level. Rental apartments are not level. The kitchen in my Astoria apartment was 1.5 inches out of level from one end to the other, which meant every drawer in the kitchen had a slight downhill slope. The first bamboo organizer I put in that kitchen slid forward every time I opened the drawer, even with drawer liner underneath. The fix was a small plastic wedge under the back of the organizer to level it. A pack of furniture wedges costs $4 and lasts forever. If your organizer slides forward when you open the drawer, the drawer is not level, and no amount of non-slip liner will fix that.
What I Actually Use After 3 Rentals
What I actually use now, after three rentals and five organizers, is the $14 bamboo set for spices, the $22 expandable wire organizer for oils and taller bottles, a roll of $6 non-slip drawer liner under both, and two furniture wedges under the bamboo to compensate for the slightly out-of-level kitchen in this apartment. Total cost $46. Total time to install, including measuring and cutting the liner, about 40 minutes. The whole setup came out cleanly when I moved out of the Bushwick studio last year, and the new tenant kept it. The Astoria apartment's drawer, the one Maria shrugged about, is now a $14 bamboo set with a non-slip liner, and Maria texted me three months after I moved in to ask where I bought it. I told her the kitchen supply store on Steinway Street. She said she was going to buy one for the apartment upstairs.
If the cavity you have is warped, cracked, or just tired, a $14 to $40 fix takes less than an hour, requires no tools, and comes out cleanly when you move. Skip the $8 thin-plastic kits. Skip the foam grid if your drawer is a standard size—it is more work than it is worth for a simple 18-inch-wide drawer. Buy bamboo or 1.2-millimeter plastic. Measure the inside of the drawer first. Put non-slip liner underneath. And check whether the drawer is level before you blame the organizer for sliding forward.


Discussion (0)
Sign in to join the discussion