

Frozen pipe repair is one of those home maintenance tasks that you only think about after a hard freeze, and by then you've already lost a day or two of running water while you figure out which pipe is frozen and how to thaw it without bursting it. My upstairs neighbor Rashid discovered this last January, when the temperature dropped to -8°F overnight and his kitchen sink stopped flowing at 6 AM. He ran the faucet expecting water, got nothing, and spent the next four hours trying to figure out where the freeze was. The pipe eventually thawed with a hair dryer and some patience. The pipe did not burst. The story would have been different if he'd reached for a propane torch, which is the single most common mistake renters make when they panic about a frozen pipe. The five steps below rank the safe thawing methods by effectiveness and risk, the three mistakes cover what not to do, and the 60-second test later in the article tells you whether the pipe is actually frozen or whether you have a different problem entirely. The timeline structure works backward from the panic moment: first the mistakes to avoid, then the steps that work, then the test, then the prevention that means you don't need this article next winter.
August: The First Three Things to Handle (If You Haven't Started Yet)
If you're reading this in January during a freeze, skip to the 60-second test below and come back to this section next August. If you're reading this in August or September before the first hard freeze, this is the section that prevents the freeze. Three things take 2 hours total and cost less than $50 in supplies.
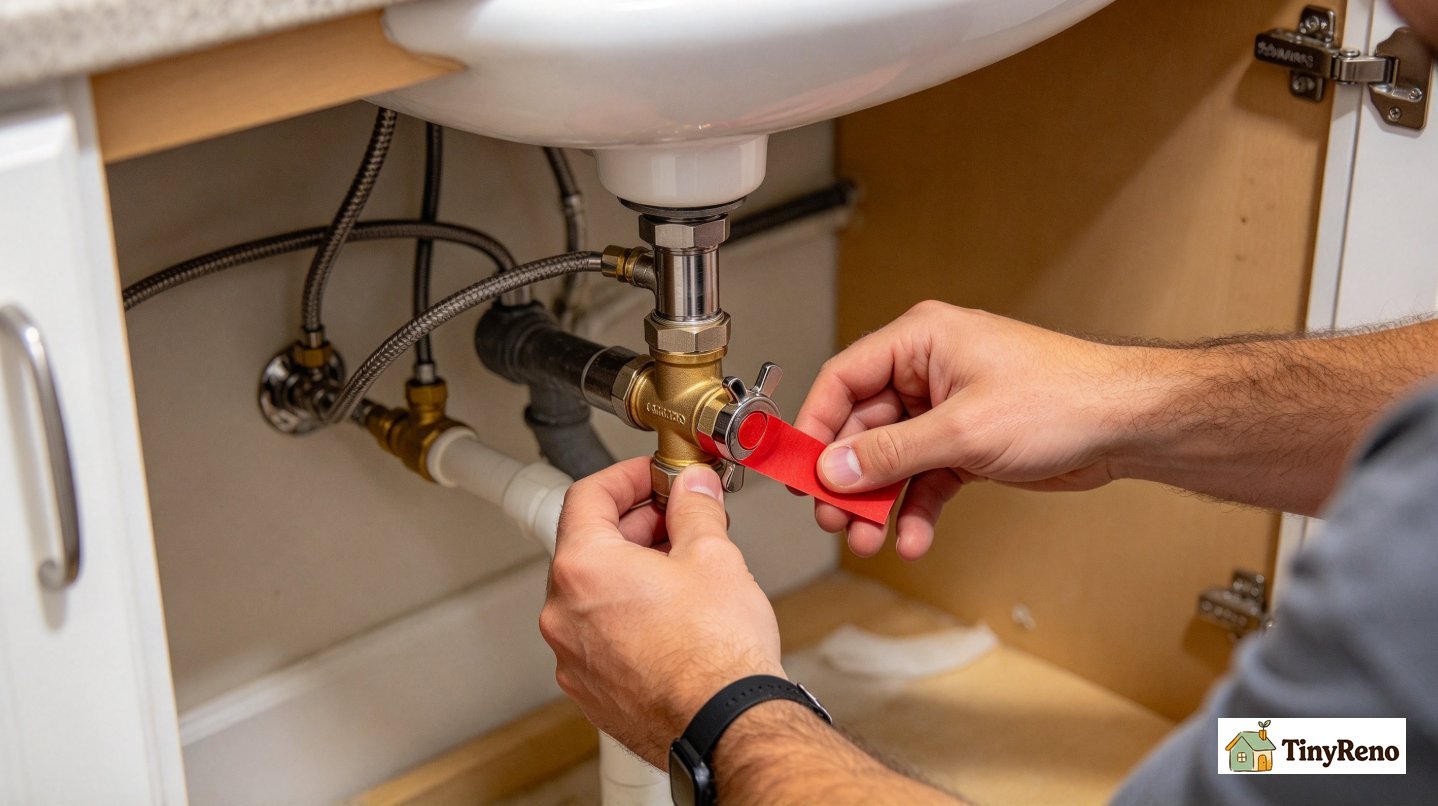
First, locate your main water shutoff valve. In most apartments, it's near where the water line enters the unit (often under the kitchen sink, in a utility closet, or near the water heater). Test it by turning it clockwise until it stops, then turning it back counterclockwise. If it doesn't turn easily, don't force it; call your landlord. If it turns, you've just verified that you can shut off water in an emergency, which is the most important piece of knowledge for any plumbing issue. Tag the valve with a small red flag or piece of tape so you can find it in the dark.
Second, identify the pipes most likely to freeze. In apartments, the highest-risk pipes are exterior wall pipes (kitchen sinks on outside walls, bathroom pipes near unheated spaces), pipes in unheated cabinets (under kitchen sinks on exterior walls), pipes that run through unheated garages or storage areas, and pipes near drafty windows or vents. Walk through your apartment and identify these locations. Make a mental note. When the temperature drops, these are the pipes to monitor.
Third, buy the supplies before you need them. A hair dryer, a roll of electrical tape, a small bucket, and a bottle of food-grade glycerin (available at pharmacies) are the four items that handle 90 percent of frozen pipe scenarios. The hair dryer is the primary tool; the electrical tape seals small leaks after thawing; the bucket catches water from any leaks during thawing; the glycerin is optional—it can help lubricate faucet washers if they dry out during a freeze, but it's not essential.. Total cost: $30 to $50.
Doing these three things in August means that when the temperature drops to -8°F in January, you have the knowledge, the locations mapped, and the tools on hand. The cost of preparation is 2 hours and $50. The cost of being unprepared is a burst pipe and a $5,000 water damage bill.
September: The Last Window for Some Tasks
September is the month for tasks that take longer than a weekend or that need warmer weather to do properly. Two tasks matter for frozen pipe prevention.
First, seal the air leaks that let cold air reach vulnerable pipes. Common sources: gaps around electrical outlets on exterior walls, gaps where pipes enter the building through exterior walls, gaps around window air conditioner units, and gaps under exterior doors. Use caulk for small gaps and expanding foam for larger ones. Most hardware stores sell caulk tubes for $5 to $10. A weekend afternoon sealing the obvious gaps in your apartment reduces cold air infiltration significantly.
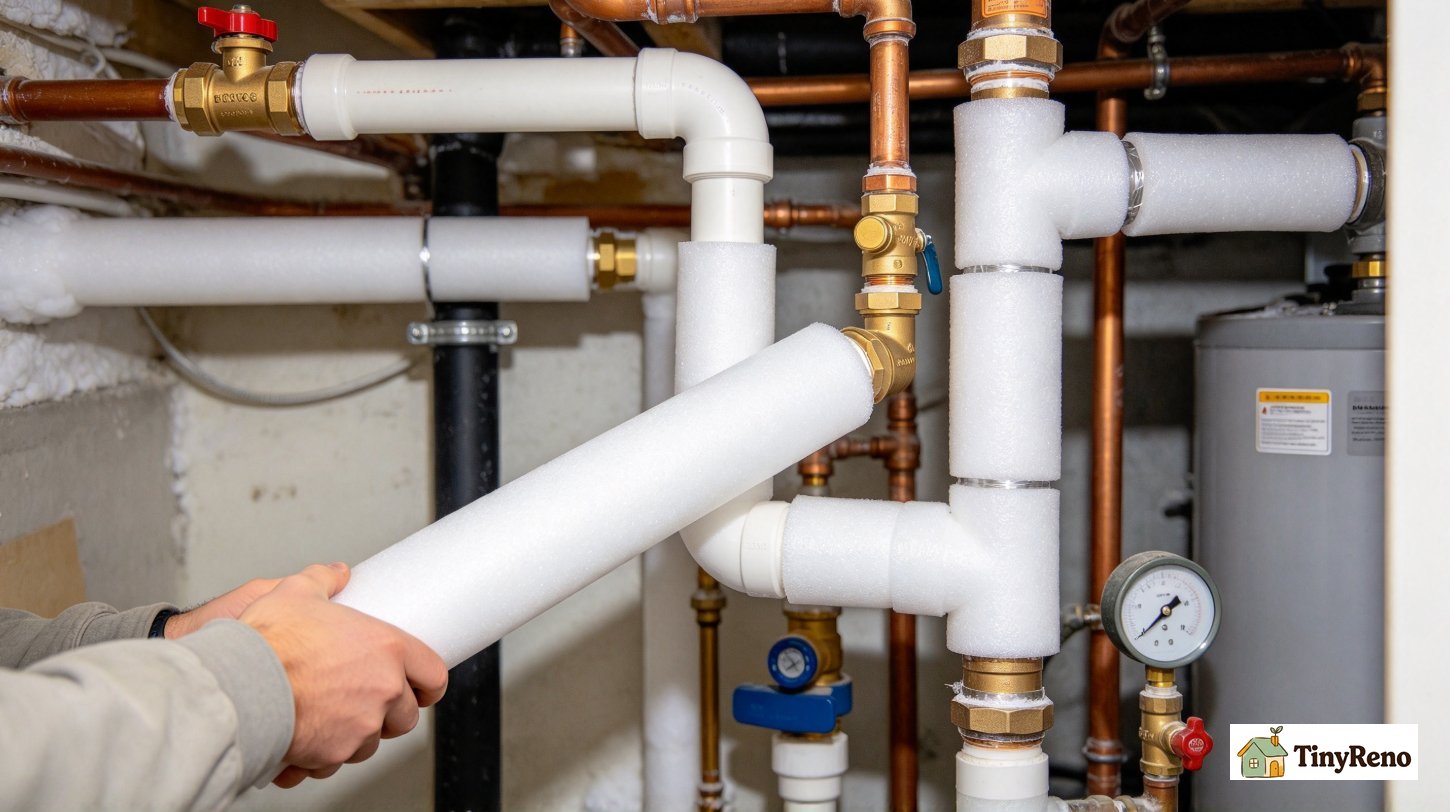
Second, add insulation to the most vulnerable pipes. Pipe insulation (foam sleeves that slip over the pipe) costs $1 to $3 per foot and works well for pipes in unheated areas. For pipes under kitchen sinks on exterior walls, open the cabinet doors during cold nights to let warm indoor air reach the pipes. For pipes in unheated spaces where you can't add insulation easily, a heat tape (electrical warming cable) costs $15 to $30 per 6-foot section and plugs into a standard outlet. Heat tape is the most reliable prevention for pipes that have frozen before.
If you live in a newer building with good insulation and the pipes run through interior walls, you may not need any of these measures. If you live in an older building with plumbing on exterior walls, the September tasks are the difference between a normal winter and a freeze crisis.
October: What's Still Possible (and What Isn't)
October is the last month for outdoor tasks that affect pipe vulnerability. After October, the weather gets cold enough that exterior work becomes uncomfortable and less effective.
Disconnect and drain any outdoor hoses. If your apartment has an outdoor faucet, cover it with an insulated faucet cover (a foam dome that fits over the faucet, $5 to $10). Bring any indoor items stored near exterior walls (cleaning supplies, paint, anything liquid) away from the wall and toward the interior of the apartment. The 6 to 12 inches nearest an exterior wall can drop below freezing even when the room temperature stays above 60°F.
If your apartment has any history of frozen pipes, October is the time to mention it to your landlord. The landlord's responsibility includes maintaining adequate heat in the building, and chronic freezing in specific units often indicates inadequate insulation or heat distribution. Document any past freezes with photos and dates. If the landlord doesn't address the underlying issue, your local housing authority or code enforcement can sometimes compel improvements.
October is also the month to verify that your building's heating system has been serviced. Most buildings have their heating system checked in October or November, before the first sustained cold. If your building has had chronic heating failures, this is the time to escalate.
November: Emergency-Only Mode (the 5 Thawing Steps)
November through March is the freeze season in most US climates. If you reach this section, your pipe is already frozen and you need to act. These steps are ranked from safest to riskiest. Start with the safest option and only move down the list if it doesn't work.
Step 1: Open the faucet. Before you do any thawing, open the faucet that the frozen pipe feeds. This relieves pressure in the pipe and gives the melting water somewhere to go. If the pipe is fully blocked, no water comes out. If it's partially blocked, you may get a trickle. Either way, open the faucet and leave it open throughout the thawing process.
Step 2: Apply gentle heat with a hair dryer. A hair dryer on its lowest setting, held 6 to 12 inches from the frozen section, is the safest thawing method. Move the dryer back and forth along the pipe, never holding it in one spot. Start at the faucet end and work backward toward the frozen section. Thawing from the faucet end lets melting water flow out as the ice melts, rather than trapping it inside. This step takes 30 to 60 minutes for a typical frozen section.
Step 3: Wrap the pipe in warm towels. Towels soaked in hot water (not boiling) and wrapped around the frozen section provide slow, even heat. Replace the towels every 5 to 10 minutes as they cool. This method is slower than a hair dryer but works for pipes that are partially enclosed (in a wall cavity, for example) where direct heat is hard to apply. Total time: 1 to 2 hours.
Step 4: Use a space heater in the room. A small electric space heater placed 3 to 4 feet from the frozen pipe raises the ambient temperature and thaws the pipe from the surrounding air. This is the slowest method but the safest for pipes you can't directly access. Leave the heater running for 2 to 4 hours and check periodically.
Step 5: Call a plumber. If the pipe is in a wall, if the frozen section is more than 3 feet long, or if you've been thawing for 2 hours with no progress, call a plumber. The plumber has steam-thawing equipment and can locate the frozen section with thermal cameras. The cost is $200 to $500, which is much less than the cost of a burst pipe.
3 Mistakes That Burst the Pipe (Avoid These)
The three mistakes below are what turn a frozen pipe into a $5,000 problem. Every one of them is common, every one of them is preventable, and every one of them happens to someone during a hard freeze each year.
Mistake 1: Using a torch or open flame. A propane torch, a butane lighter held to the pipe, or any open flame creates extreme localized heat. The pipe heats unevenly; water trapped between the frozen section and the torch boils; steam pressure builds; the pipe bursts. The damage from a burst pipe is 10 to 100 times the cost of waiting another hour for safe thawing. A torch is never the right tool for a frozen pipe in an occupied apartment.
Mistake 2: Turning up the thermostat to maximum. Cranking the heat to 85°F doesn't thaw pipes faster than setting it at 72°F, and the sudden temperature change can cause thermal expansion in pipes that have already been stressed by ice. Set the thermostat at a normal temperature (68 to 72°F) and use targeted thawing methods on the specific frozen section.
Mistake 3: Pouring boiling water on the pipe. Boiling water on a frozen pipe can cause thermal shock. The pipe expands rapidly where the water hits, while adjacent sections remain cold, and the differential stress can crack the pipe or loosen joints. The fix: warm water (not boiling) in towels is the upper limit of liquid heat application. Even that is inferior to a hair dryer because of the localized nature of the heat.
If you've already done one of these mistakes and the pipe is now leaking, turn off the main water shutoff valve immediately and call a plumber. Don't try to thaw a leaking pipe; the leak is the bigger problem.
The 60-Second Test That Decides Everything
Before you start any thawing, run this 60-second test. It tells you whether the pipe is actually frozen or whether you have a different problem entirely. The wrong fix for the wrong problem wastes hours and can make things worse.
Test 1: Other faucets. Turn on faucets in other parts of the apartment. If all faucets have low or no water pressure, the problem is at the building level (utility issue, main shutoff, water main freeze), not your specific pipe. If only one faucet is affected, the problem is between that faucet and the main supply, which is the frozen pipe scenario.
Test 2: Hot vs cold. Turn on the hot side only, then the cold side only. If only the hot side is affected, the problem is the water heater (not frozen, possibly a different issue). If only the cold side is affected, the problem is the cold supply pipe (frozen pipe scenario). If both sides are affected, the problem is upstream of both, likely the main supply line.
Test 3: Visible pipes. Look at the pipes under sinks, in basements, and in utility closets. A frozen pipe often has visible frost on the outside, or feels significantly colder than adjacent pipes. The frozen section is usually at the most exposed part (near an exterior wall, in an unheated space).
Test 4: Sound. With the faucet open, tap the suspected pipe with a screwdriver handle (not metal-on-metal, which can damage pipes). A frozen pipe makes a higher-pitched, more solid sound than an empty pipe. An empty pipe sounds hollow; a frozen pipe sounds like tapping a frozen juice pop.
These four tests take under a minute and tell you whether you have a frozen pipe (yes: use the 5 steps), a building-level issue (call the landlord or utility), or a water heater issue (different problem entirely).
If You Missed the Whole Window (Recovering from a Burst Pipe)
If you're reading this because the pipe already burst, the recovery is straightforward but time-sensitive. The first 30 minutes matter most for limiting water damage.
Step 1: Shut off the main water valve immediately. Every minute the water runs adds $50 to $200 to the damage bill.
Step 2: Open all faucets to drain remaining water from the system. This reduces pressure and helps prevent further leakage.
Step 3: Call your landlord or a plumber. A burst pipe needs a plumber within hours, not days. If your landlord doesn't respond within an hour, call a plumber directly and submit the bill to the landlord.
Step 4: Document the damage with photos and video. Take wide shots of the affected area, close-ups of the burst pipe, and timestamps on the photos. This documentation is what your renter's insurance, landlord, or insurance adjuster will use to assess the damage.
Step 5: Mitigate further damage. Move furniture and electronics out of the affected area. Use towels and a wet vac to remove standing water. Run fans to dry the area. The longer water sits, the more damage it does to flooring, drywall, and any adjacent units.
Step 6: Don't use the affected plumbing until a plumber has inspected it. The burst pipe may have caused damage elsewhere in the system that you can't see, and running more water through damaged pipes makes things worse.
The cost of a burst pipe ranges from $1,000 to $10,000+ depending on the location, the time before the water was shut off, and the type of building. The cost of prevention is $50 in supplies and 2 hours in August. The math is straightforward.
Frozen pipes repair in five steps is the recovery from a hard freeze that wasn't prepared for. The five steps work, the three mistakes to avoid are clear, and the 60-second test prevents wasted effort on the wrong problem. The August through November timeline is the prevention that means you don't need the recovery next winter. Prevention matters more than thawing technique—thawing only matters if you've already missed the prep window.
If you find yourself at 6 AM with a frozen pipe, the five steps above are what you need in the moment. But if the calendar shows August, the prep tasks are what you need before the moment ever arrives. The choice is yours.


Discussion (0)
Sign in to join the discussion