

How I Wasted 3 Peel and Stick Mosaic Sheets in the First Hour
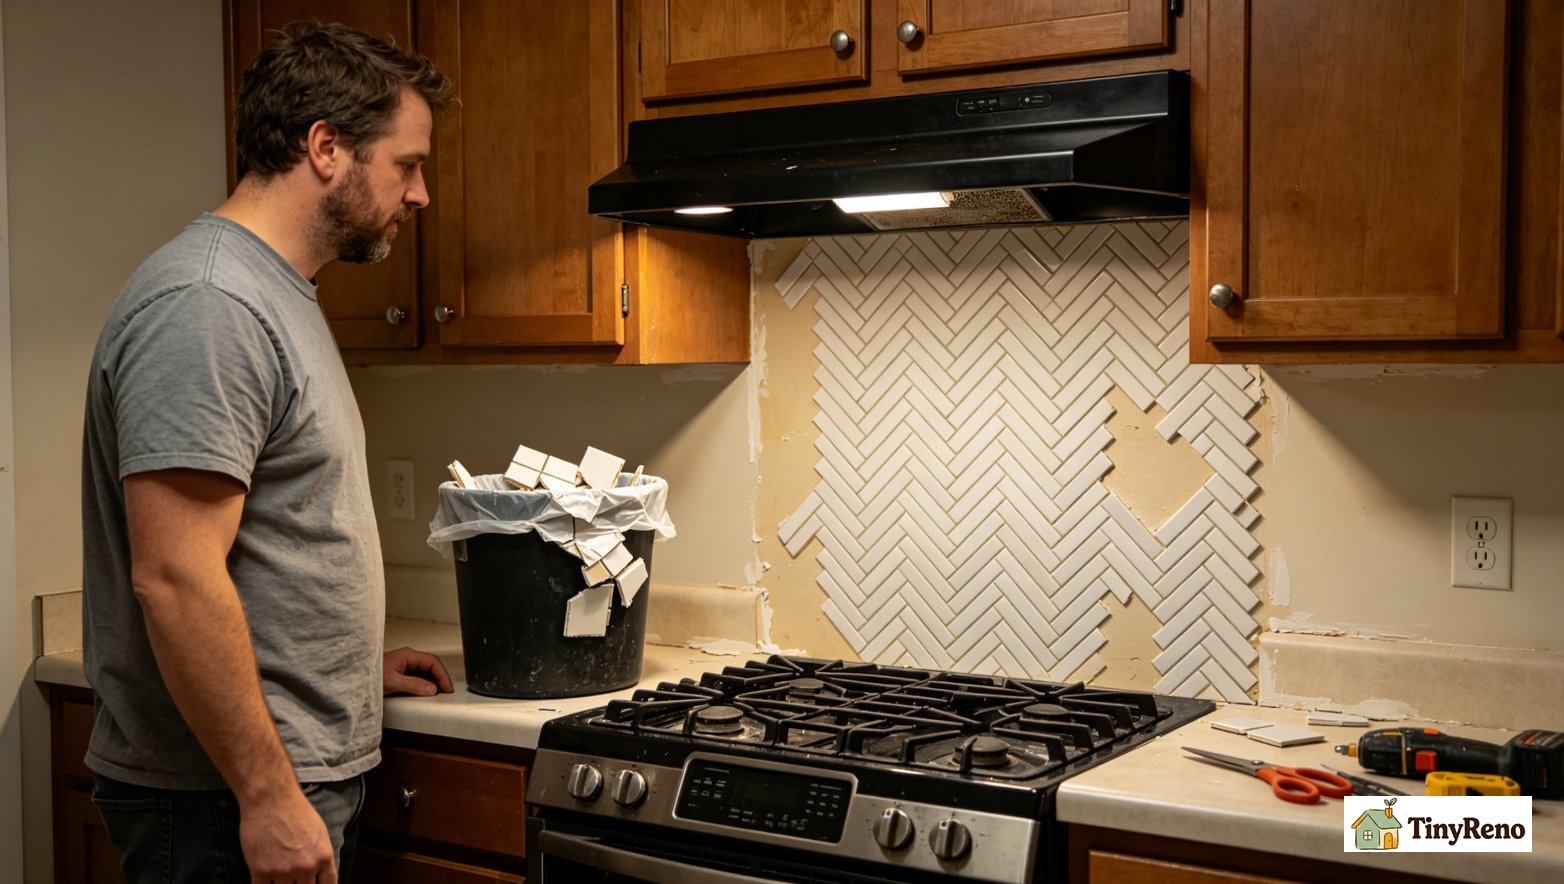
Peel and stick mosaic tile is supposed to be the renter's shortcut to a real-looking backsplash. The box says "no grout, no mortar, just peel and stick." I bought six sheets of a 12 x 12 inch peel and stick mosaic with a herringbone pattern and started in the corner above my stove at 9 a.m. on a Saturday. By 10 a.m. I had two sheets stuck in the right direction, one stuck sideways, and three sheets crumpled in the trash. The total cost of that first hour was about $42 and most of my enthusiasm for the project.
The good news is the next four sheets went up cleanly once I figured out what I was doing wrong. Here is the method that got the backsplash done, the four things to check before you peel the backing, and the one situation where peel and stick mosaic is not the right answer.
The 4 Things to Check Before You Peel the Backing
The biggest mistake people make with peel and stick mosaic tile is treating it like a sticker. It is not a sticker. It is a thin sheet of vinyl that has to bond to a clean, smooth, dry surface or it lifts within six months. Here is the four-point check that I now do before I open any box.
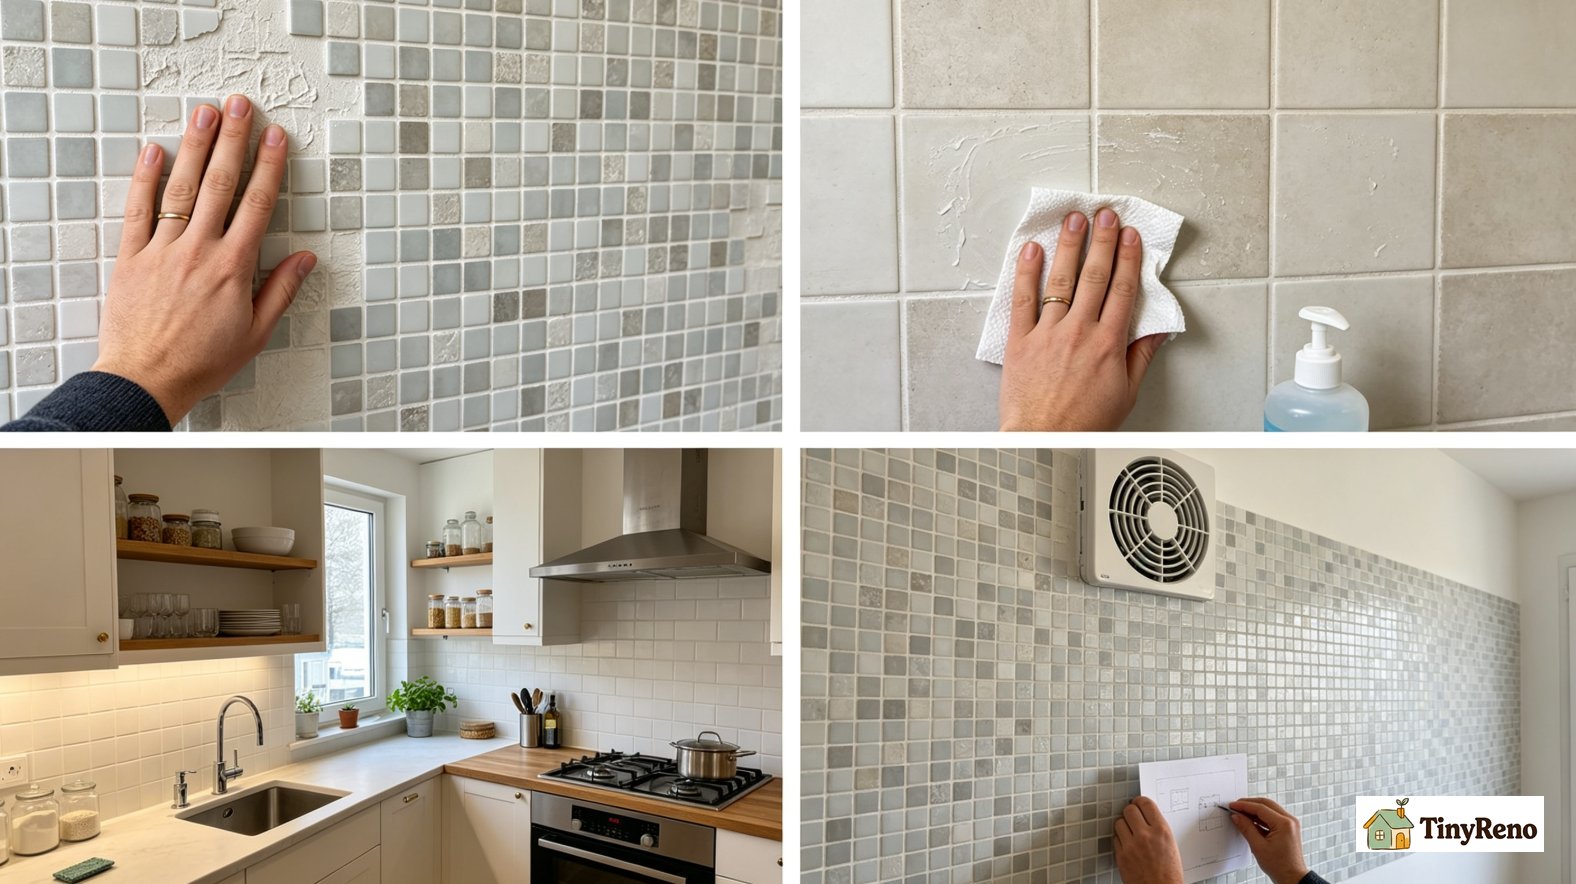
First, run your hand over the wall where you want to install. If you can feel any texture, any old adhesive, or any paint chips, the peel and stick mosaic will telegraph those bumps and will not bond evenly. Bumps under vinyl turn into air pockets, and air pockets are where the lifting starts.
Second, wipe the wall down with rubbing alcohol, not soap and water. Soap leaves a film. The film breaks the adhesive bond within weeks. I use 70 percent isopropyl alcohol, a clean rag, and two passes. The first pass picks up dust and grease. The second pass is the one that actually prepares the surface.
Third, check the humidity. Peel and stick mosaic needs a dry surface, and a kitchen wall behind a stove is rarely dry. If you can, run the exhaust fan for an hour before you start, and avoid installing on a day with high humidity. The adhesive is pressure-sensitive, and moisture in the air reduces the tack.
Fourth, lay out your first sheet without peeling the backing. Hold it against the wall, mark where it will land, and check the pattern direction. Mosaic sheets have a grain. If you put the second sheet in rotated 90 degrees, the pattern breaks and the backsplash will look wrong even if every sheet is perfectly stuck.
Why Cheap Peel and Stick Mosaic Falls Off in 6 Months
There are two price tiers of peel and stick mosaic, and the cheap tier is not a shortcut. It is a six-month rental.
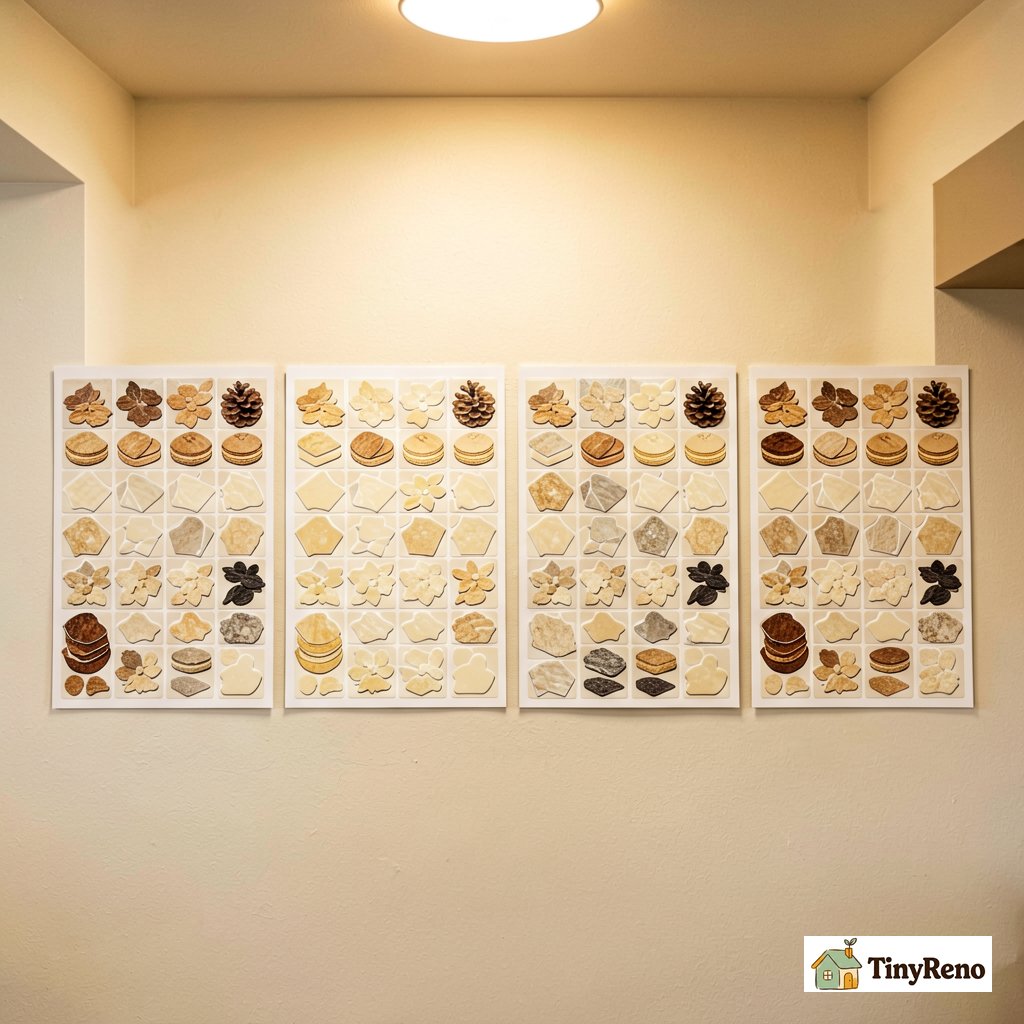
The cheap tier costs about $5 to $8 per 12 x 12 sheet. The vinyl is thin (about 1.5 mm), the adhesive is a basic pressure-sensitive glue, and the printed pattern is a flat color that fades the first time it gets wet. In a rental kitchen, this stuff starts lifting at the corners within four months and falls off a full sheet within six. I learned this on a backsplash I did in a previous apartment. The landlord charged me $180 to repaint the wall behind the stove.
The mid-tier costs $10 to $15 per sheet. The vinyl is thicker (about 2.5 mm), the adhesive is a modified acrylic that holds up to kitchen humidity, and the pattern is printed under a clear wear layer. This is the tier that lasts a full lease. After two years in my current kitchen, every sheet is still stuck and the pattern still looks like the day I installed it.
The premium tier costs $18 to $25 per sheet. This is real mosaic with a real adhesive backing, and it looks indistinguishable from a professionally installed tile backsplash. If you are doing a kitchen that you want to live with for a long time, this is the tier. If you are a renter who needs to pass a move-out inspection in two years, the mid-tier is the smarter spend.
The Backsplash Method That Actually Sticks Long-Term
Once you have the right tier of peel and stick mosaic tile and the wall is prepped, here is the install method that has worked on three different rentals for me.
- Measure and mark a level baseline. Use a level and a pencil to draw a straight line across the wall at the height of the first row. This is not optional. Your eye will lie to you about horizontal lines, and a sloped backsplash is the first thing a landlord notices on a move-out walkthrough.
- Peel the backing only halfway. Fold the backing paper back so the top edge of the sheet is exposed. Line up the top edge with your baseline, press it into place, then slowly peel the backing down while smoothing the sheet with a dry cloth. This keeps air from getting trapped under the sheet.
- Work top to bottom, not side to side. Each new sheet should overlap the edge of the previous sheet by about an eighth of an inch. This hides the seam. If you work side to side, you get visible vertical seams that collect grease and lift first.
- Press the seams with the back of a spoon. A wallpaper seam roller is the proper tool, but a spoon works in a pinch. Run the back of the spoon along every seam with firm pressure. This activates the pressure-sensitive adhesive on the seam edge, which is where the lift almost always starts.
- Wait 24 hours before the first splash test. The adhesive needs 24 hours to fully bond. Do not run the stove exhaust directly at the backsplash during this time. After 24 hours, run hot water at the seam for 30 seconds. If the seam does not lift, the install will hold.
The total install time for a 12-square-foot backsplash using this method is about 90 minutes, and the total cost is around $120 for the mid-tier sheets plus the alcohol. That is roughly an hour and $120 versus a $400 to $600 professional install.
When Peel and Stick Mosaic Is (and Isn't) Worth It
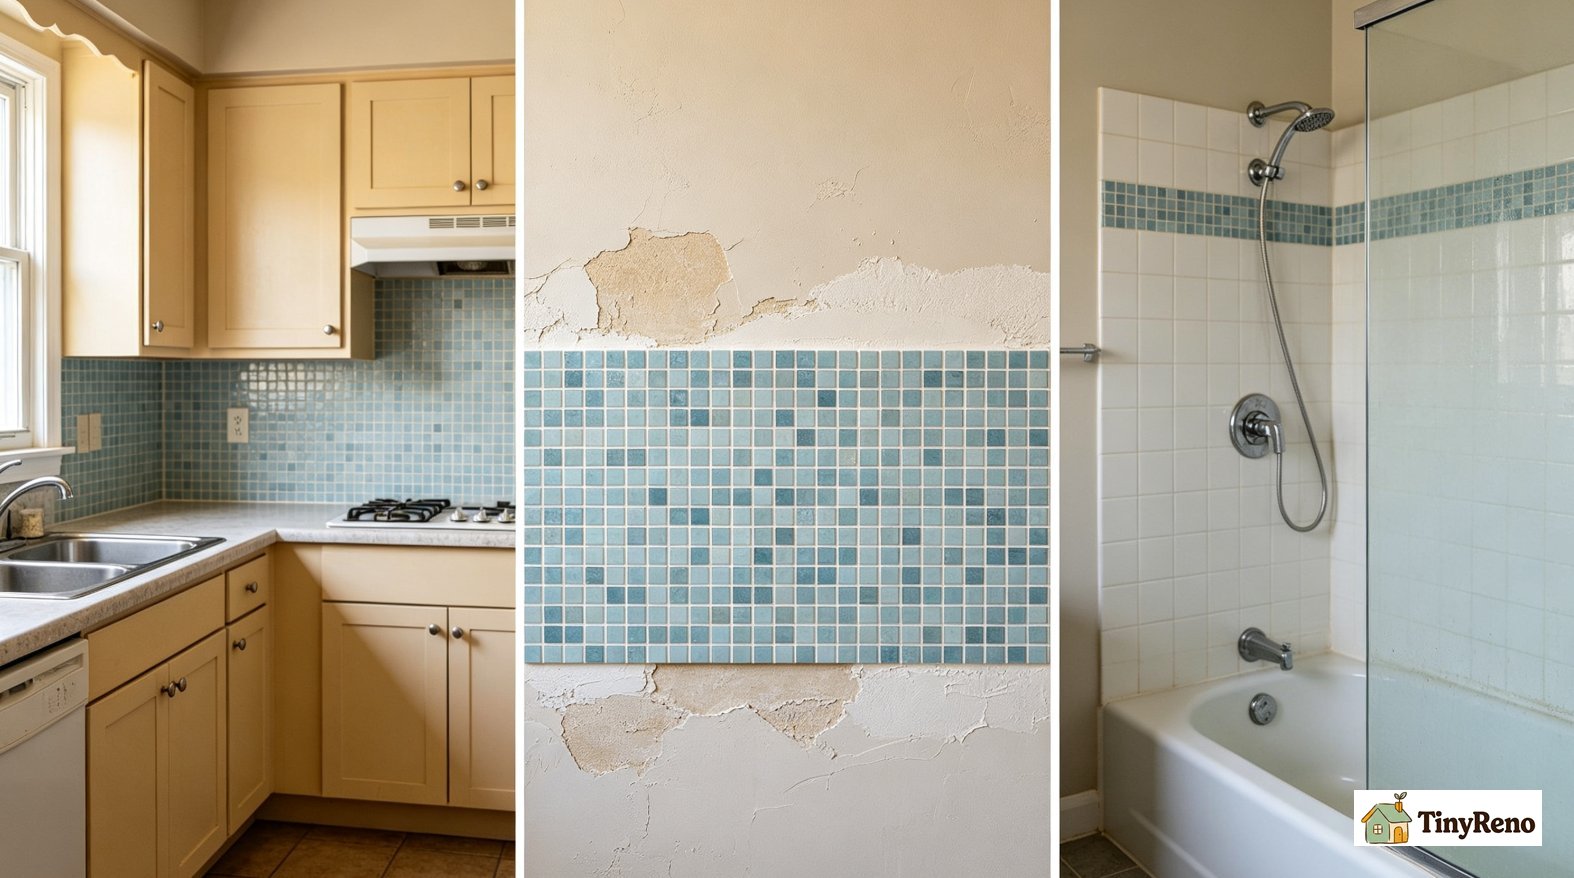
Peel and stick mosaic tile is the right answer for a rental kitchen backsplash, a small bathroom accent wall, a laundry room countertop cover, and any other flat dry surface that needs to look like tile for the length of a lease. It is the wrong answer in three situations.
If the wall is textured (orange peel, knockdown, or any other finish you can feel when you run your hand across it), peel and stick mosaic tile will not bond. The texture creates air pockets under every square inch of the sheet, and the sheet will lift within weeks. You need a smooth wall, which usually means a fresh coat of primer or a skim coat.
If the area gets direct water (inside a shower, behind a sink that splashes constantly, on a bathroom floor), peel and stick mosaic is not rated for constant water contact. The adhesive breaks down, the vinyl warps, and you will have a mold problem behind the sheets within a year. Real tile or a waterproof panel is the only answer here.
If the wall has any kind of damage (a hole, a crack, peeling paint), fix the wall first. Peel and stick mosaic will mask the damage for about three months, then telegraph it back. Spackle, sand, prime, and let the repair cure for a week before you start the install.
For everything else, peel and stick mosaic at the mid-tier price is the renter's shortcut that does not actually look like a shortcut. The install is in your skill range, the cost is in your budget, and the result is the one update that adds the most visual square footage for the least money in a rental.


Discussion (0)
Sign in to join the discussion