

The $1,500 Quote That Made Me Tile My Own Kitchen
12 x 12 tile was not my first choice for the kitchen floor. It was the default that survived a Saturday at Home Depot, three YouTube videos, and a quote for $1,500 from a tile guy who could not come for two weeks. My wife was seven months pregnant, we had a deposit on a new rental that needed a kitchen redo before we moved in, and I had never laid a single tile in my life. I bought three sheets of 12 x 12 porcelain, a $40 tool kit, and a notepad. That is how I learned what this size is good for, where it fails, and how to tell whether your kitchen is a job for a Saturday afternoon or a Tuesday with a contractor.
If you are staring at a kitchen floor and wondering whether the format is right for you, this is the walkthrough I wish I had that Saturday.
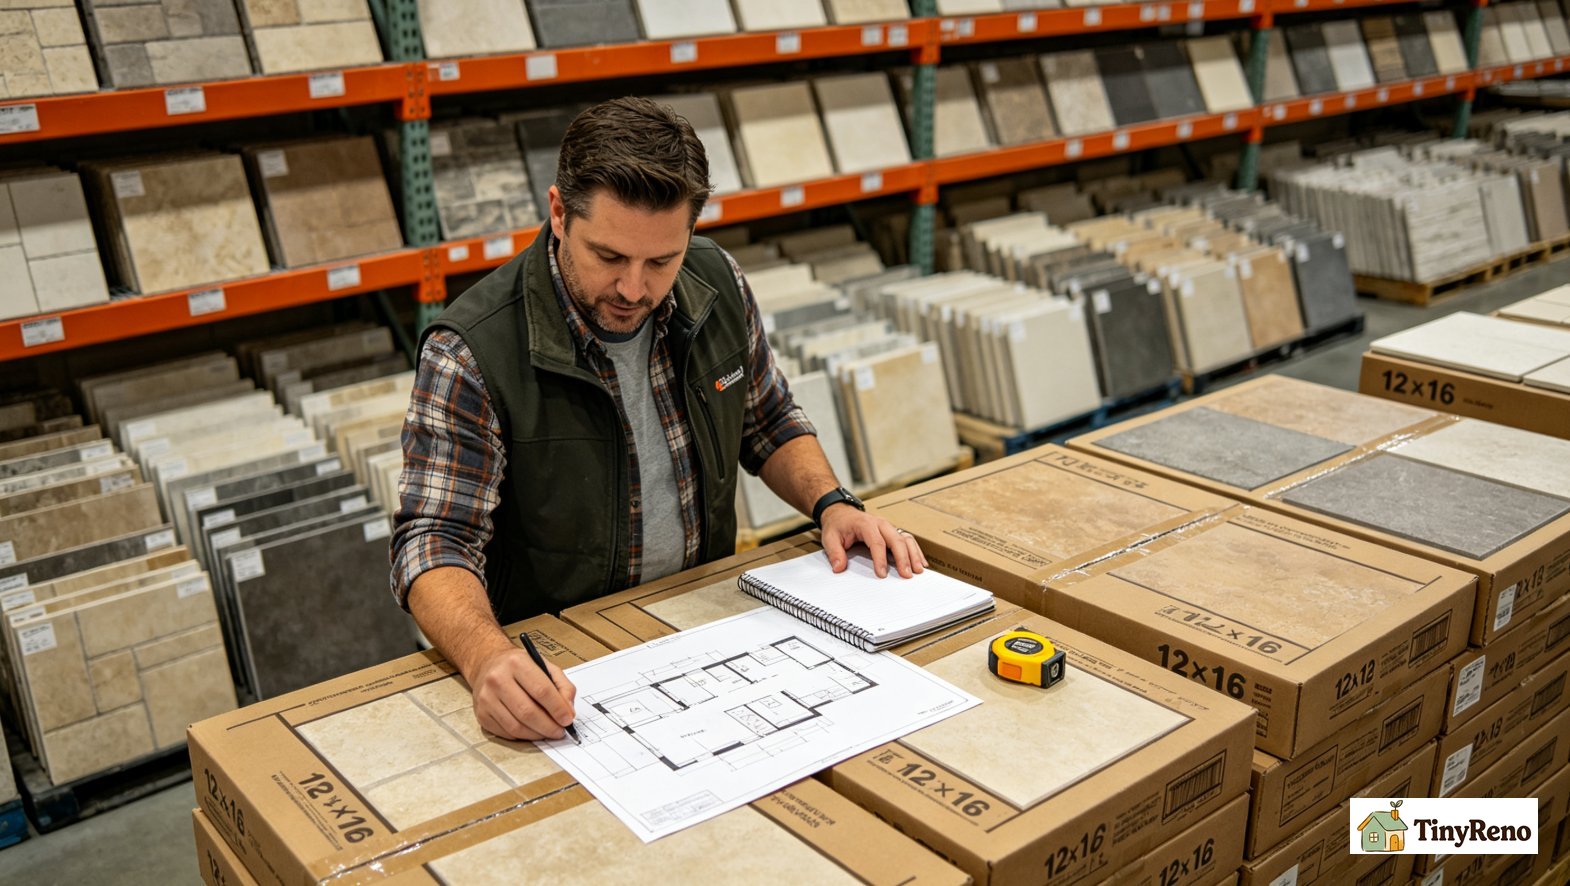
Why 12 x 12 Is the Renter's Default (And When It Isn't)
12 x 12 tile is the most common floor tile in American apartments for a few reasons. It's cheap, it's available everywhere, and it's the largest format that still hides minor subfloor irregularities. Smaller tiles show more grout lines. Larger tiles telegraph every dip. Smaller tiles like 6 x 6 or 8 x 8 follow the contours of an imperfect subfloor, and the grout lines visually break up any dip or high spot. Larger tiles like 18 x 18 or 24 x 24 look luxurious but telegraph every wave in the subfloor, and most rental-grade subfloors are not flat enough to handle them.
| Size | Best for | Worst for |
|---|---|---|
| 6 x 6 | Shower floors (slope matters), small powder rooms | Large kitchens (too many grout lines) |
| 12 x 12 | Rental kitchens, bathrooms, laundry rooms | Very small baths (overwhelms the space) |
| 18 x 18 or larger | New construction, perfectly flat subfloor | Older rentals with wavy subfloor |
For a rental kitchen with an older subfloor that's been patched a few times, 12 x 12 is the size that hides the minor waves without giving up the look of a larger format. But if the subfloor is particleboard or has water damage, the tile size doesn't matter. The subfloor has to be fixed first. That is why every rental-grade tile line from Daltile, American Olean, and MSI leads with 12 x 12 first.
The 6 Specs to Check Before You Buy 12 x 12 Tile
When you are standing in the tile aisle with twenty different 12 x 12 boxes in front of you, here are the six specs that actually matter for a rental job.
- PEI rating (abrasion class). Look for PEI 3 or higher. PEI 3 is rated for residential floors with normal traffic. PEI 2 is rated for walls only, and it will wear through on a kitchen floor in under two years. Most boxes print the PEI rating on the side; if you cannot find it, put the box back.
- Water absorption (the percentage on the spec sheet). For a kitchen or bathroom floor, you want less than 0.5 percent absorption. That is the porcelain range. Ceramic tile is usually 3 to 7 percent, which is fine for a backsplash but not great for a bathroom floor where water sits.
- Coefficient of friction (COF). For a kitchen floor, look for a COF of 0.6 or higher. This is the slip-resistance number. A glossy 12 x 12 ceramic looks great in the store but turns into a slip hazard the first time you drop a glass of water on it. A matte or textured porcelain with COF 0.6 will save you a sprained ankle.
- Thickness. Most 12 x 12 floor tiles are 8 to 10 mm thick. If you are tiling over an existing floor (a rare move in a rental, but possible in a small entryway), you need to match the existing tile height to avoid a trip hazard at the doorway.
- Box quantity vs. square footage. A box of 12 x 12 tile is usually 10 to 15 square feet. Measure your kitchen in feet and inches, multiply the length by the width, add 10 percent for cuts and breakage, and divide by the box square footage. Buy one full extra box for future repairs because the dye lot changes every run and matching tiles three years later is almost impossible.
- Country of origin and box date. Tile from the same factory in the same year is the only way to guarantee a perfect color match across boxes. Mix boxes from different two runs of even the same SKU and you will see a stripe in the middle of your kitchen floor where the dye lot changed.
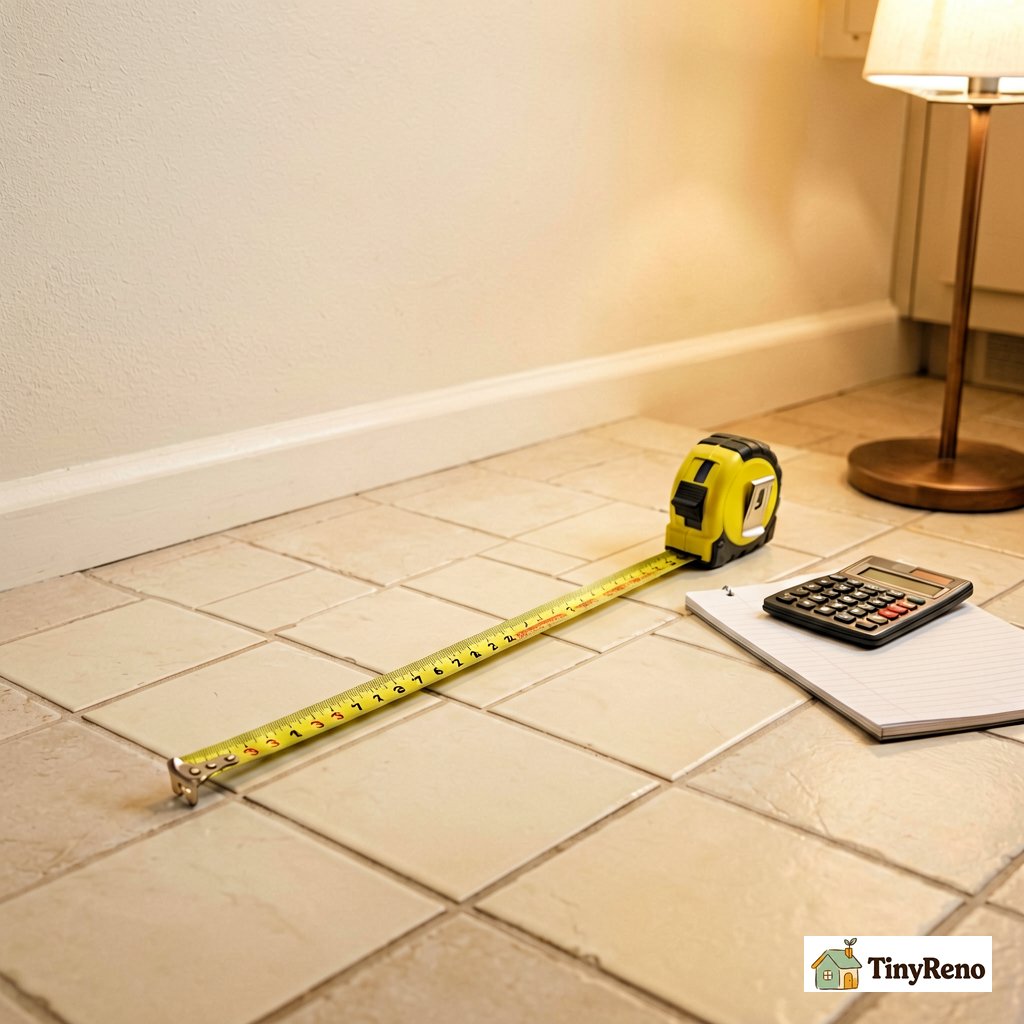
3 Mistakes I Made on My First Tile Job
I am going to save you the three trips to the hardware store that I had to make on my first 12 x 12 floor.
- Buying cheap thinset for a bathroom floor. I bought the cheapest thinset at Home Depot. The bag said "premium" on the front, but the small print on the back said "for ceramic tile only." Porcelain tile over plywood needs a modified thinset — one with a polymer additive. If the bag doesn't say "modified," put it back. The tiles lifted in six months. The right bag says "modified" and "porcelain" in big letters on the front.
- Not sealing the grout before the first shower. Grout is not waterproof on its own. It needs a penetrating sealer applied 72 hours after the final grout cures. I waited three weeks and the sealer no longer bonded properly. The grout in my shower now stains if I do not wipe it down immediately. Apply sealer at the 72-hour mark and reapply once a year.
- Starting at the wrong wall. I started at the wall with the refrigerator. When I finished the opposite wall, the last row of tiles was a 1-inch sliver that looked terrible and was a nightmare to cut. The right move is to measure the room, mark the center line, and dry-lay one row of tiles from each wall to find where the cuts will land. If the cuts are smaller than half a tile on any wall, shift your starting line by half a tile.
The thinset mistake cost me $80 in materials and a weekend of regrouting. The grout sealer mistake is permanent. The starting wall mistake took one full day of cutting and re-laying to fix.
The Tools You Already Have (And the $40 You Actually Need)
The step I skipped that almost cost me the job: If your subfloor is plywood or OSB, you cannot lay tile directly on it. Plywood expands and contracts with humidity, and tile doesn't. Without a layer of 1/4-inch cement board or an uncoupling membrane between the plywood and the tile, the grout will crack within a year. I used 1/4-inch cement board, screwed it down with cement-board screws every 6 inches, and taped the seams with alkaline-resistant mesh tape and thinset. It added half a day and about $80 in materials. It's not optional.
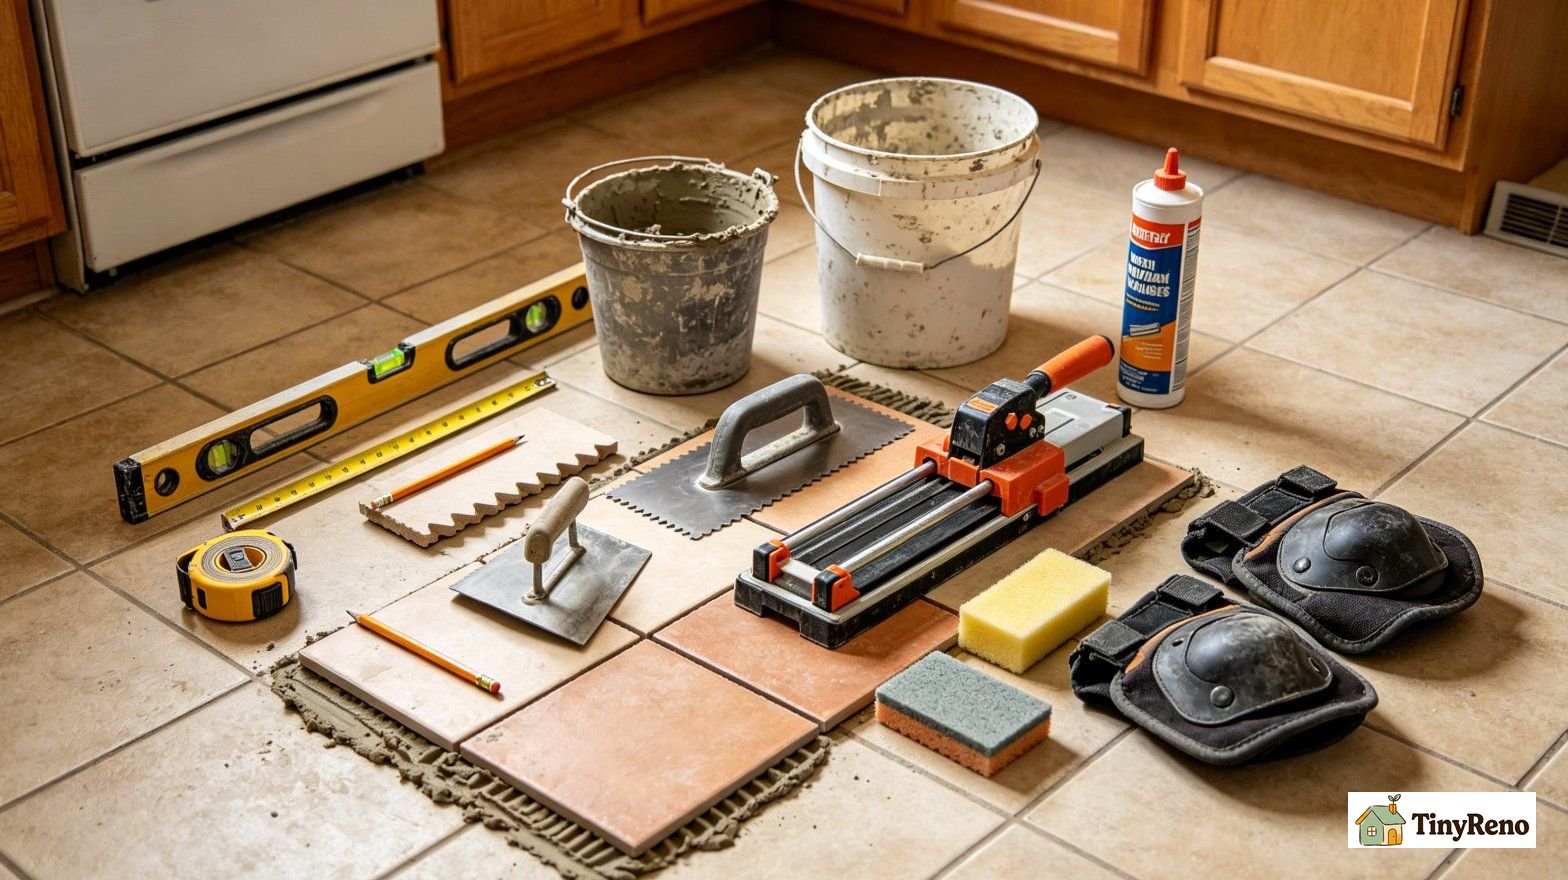
Here is what I had in my kitchen drawer that I ended up using, and what I had to buy.
| Tool | Cost | Already owned? |
|---|---|---|
| Tape measure | $0 | Yes |
| Pencil | $0 | Yes |
| Level (24-inch) | $0 | Yes |
| Bucket | $0 | Yes |
| Notched trowel (1/4 x 3/8) | $8 | No |
| Tile cutter (manual, 24-inch) | $35 | No |
| Grout float | $6 | No |
| Sponges (3-pack) | $4 | No |
| Grout sealer (quart) | $14 | No |
| Knee pads | $12 | No |
Total extra spend: $79. Here's the real comparison. The contractor quoted $1,500 for labor only. If I had hired him, I would have paid $1,500 for labor plus $1,500 for tile — $3,000 total. Doing it myself cost $1,500 for tile plus $79 for tools — $1,579. The savings was $1,421, which is the labor cost minus the tools.
If you want to drop below $40, skip the manual tile cutter and rent a wet saw for $40 per day from any tool rental place. The wet saw makes the L-cuts and outlet cuts about ten times faster, and you get it back the same day.
When to Hire a Pro Instead of DIY 12 x 12
There are three cases where the $1,500 quote is the right answer, even for a renter who wants to save money.
If the subfloor is particleboard or shows any sign of water damage, stop. Particleboard swells when it gets wet, and the swelling will crack the grout and lift the tile within a year. A pro will pull up the old subfloor, lay 1/4-inch cement board, and then tile. That is a job I would not attempt on my own rental because the failure mode is invisible until the landlord pulls up the tile at move-out.
If the room has more than two corners that are not square (which is common in older homes and additions), a pro will save you a weekend of cutting weird triangles and laying ugly slivers. The first hour of laying 12 x 12 tile in an out-of-square room is the only time the math actually fails. After that, you are making it up as you go.
If you are on a deadline (move-out in two weeks, baby arriving in a month), hire it out. I had six weeks. That was enough to do the job at a comfortable pace with one day off in the middle to recover. With two weeks, you are cutting corners that you cannot uncut, and the mistakes will cost you more in time than the labor would have cost in money.
For everyone else, the $1,500 quote is mostly labor, and the labor is mostly patience, and patience is mostly a tape measure and a level. This format is the renter's default because it forgives the mistakes that first-time tile setters make. Mine is down for three years now, and the only thing that gave out was the grout sealer I forgot to apply on time.


Discussion (0)
Sign in to join the discussion