

Screen and recoat hardwood floors saved me from a $2,800 quote I almost signed in April 2024. My landlord had a contractor walk through the living room to "refinish" the worn patches near the north window and the hallway traffic lane. He quoted $2,800, two days of dust, and a week we couldn't use the room. Then a neighbor named Mike, who used to manage a small paint-and-finish shop in Bend, knocked on the door and asked why I was letting them resand rental-grade oak. He took one look at the wear pattern, ran a fingernail across a finish edge near the baseboard, and said: "The film is still there. You're a recoat, not a resand."
I didn't take his word for it. I ran the five checks below on my own floor the next morning, and I checked the cross-section of the floor at the hallway vent to confirm it was engineered wood. The checks confirmed what Mike said: the finish was worn, not failed. The wood was sound. A recoat would work. That's when I canceled the contractor and rented the buffer.
Screen and recoat hardwood floors is the finish-refresh method that pro refinishers use when the polyurethane film has dulled, micro-scratched, or slightly worn through in spots — but the wood itself is still sound. A buffer running 240-grit screens lightly scratches the existing finish (that's the "screen"), then one or two coats of new polyurethane bond to that scratched surface. The wood never gets sanded down to bare. For a renter dealing with a deposit, that's the whole difference: refinish removes material, recoat adds material. One is a surgery, the other is a fresh coat of sunscreen.
What "screen and recoat" actually does to your floor
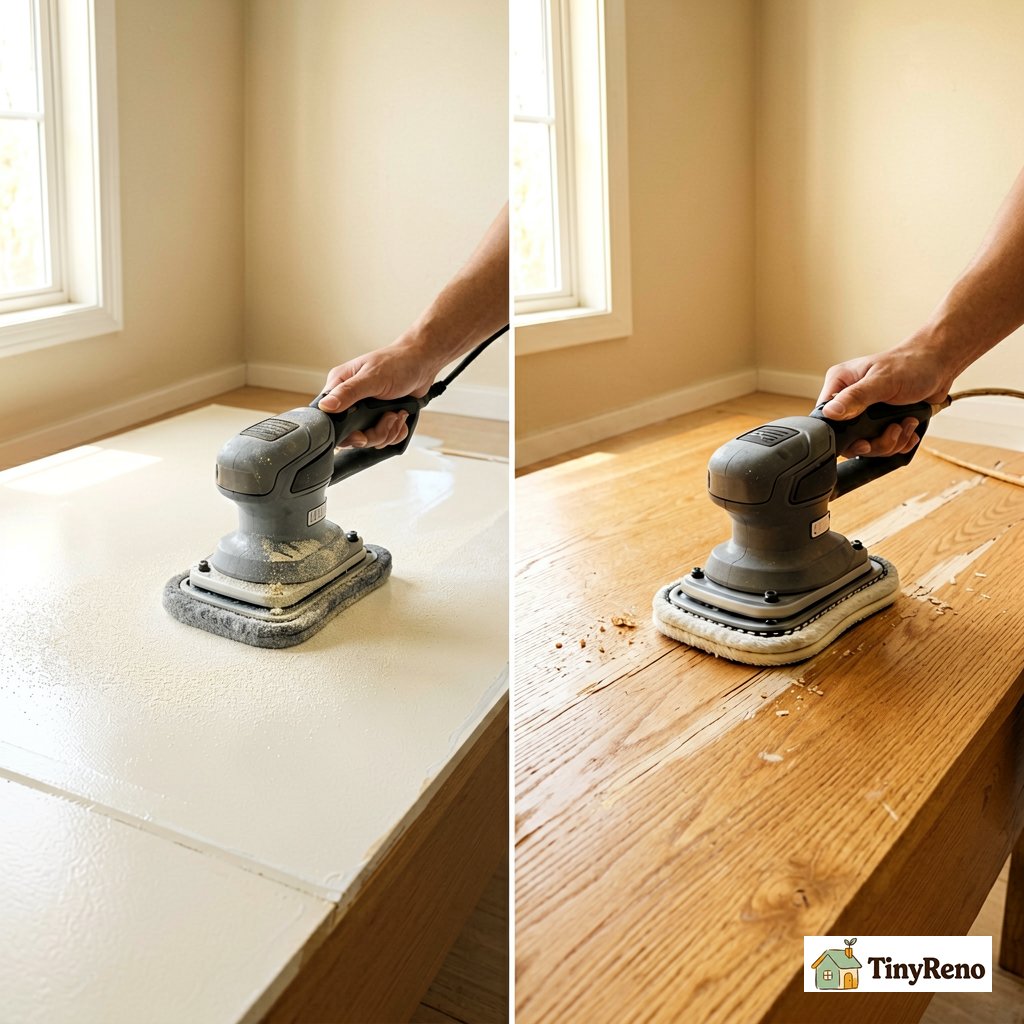
The mechanic is older than most renters realize. Floor finishers in the 1960s figured out that a fresh coat of polyurethane bonds mechanically to a scuffed surface — not chemically to a glossy one. So the buffer's job isn't to remove the old finish. It's to give the new finish something to grab.
Here's what happens to your floor in a real recoat:
- Step 0 — Buff with 240-grit screen. A 16-inch buffer (Home Depot rents them for $40 for 4 hours) carries a sanding screen under a red or maroon pad. It scores the existing finish with thousands of tiny scratches. You are not cutting wood. You are cutting the polyurethane film. If you see wood dust in the bag, you've gone too deep.
- Step 1 — Vacuum + tack. Every speck of dust becomes a bump under the new coat. Use a shop-vac first, then a microfiber mop lightly dampened with water. Old-school finishers use a tack cloth, but in a rental with pets, microfiber picks up more and leaves less residue. (Mike taught me this; I tried both.)
- Step 2 — First coat of water-based poly. Water-based polyurethane is the only choice over an existing finish you can't identify. Oil-based over water-based peels within months. Water-based over oil-based is the safe play. A lambswool applicator in a figure-8 pattern, working with the grain, gives an even film.
- Step 3 — Cure, then second coat. Water-based poly is dry to touch in 2 hours, but the second coat needs the first to be hard enough to walk on without denting. Wait 4 hours minimum. Eight is safer.
The thickness gain is 1.5 to 2 mil per coat — a credit card is about 30 mil. So you're adding maybe 4 mil total over the existing film. That's the layer that restores the sheen and seals the micro-scratches. It does not fix deep gouges, cupping, or water damage that has gone white or black. If the wood is gray or black under the finish, you have finish failure, not finish wear, and recoat will not save you.
5 signs your floor needs recoat, not refinish
The five-minute test Mike walked me through saved me $2,620. Here's how to run it on your own floor before you sign any quote.
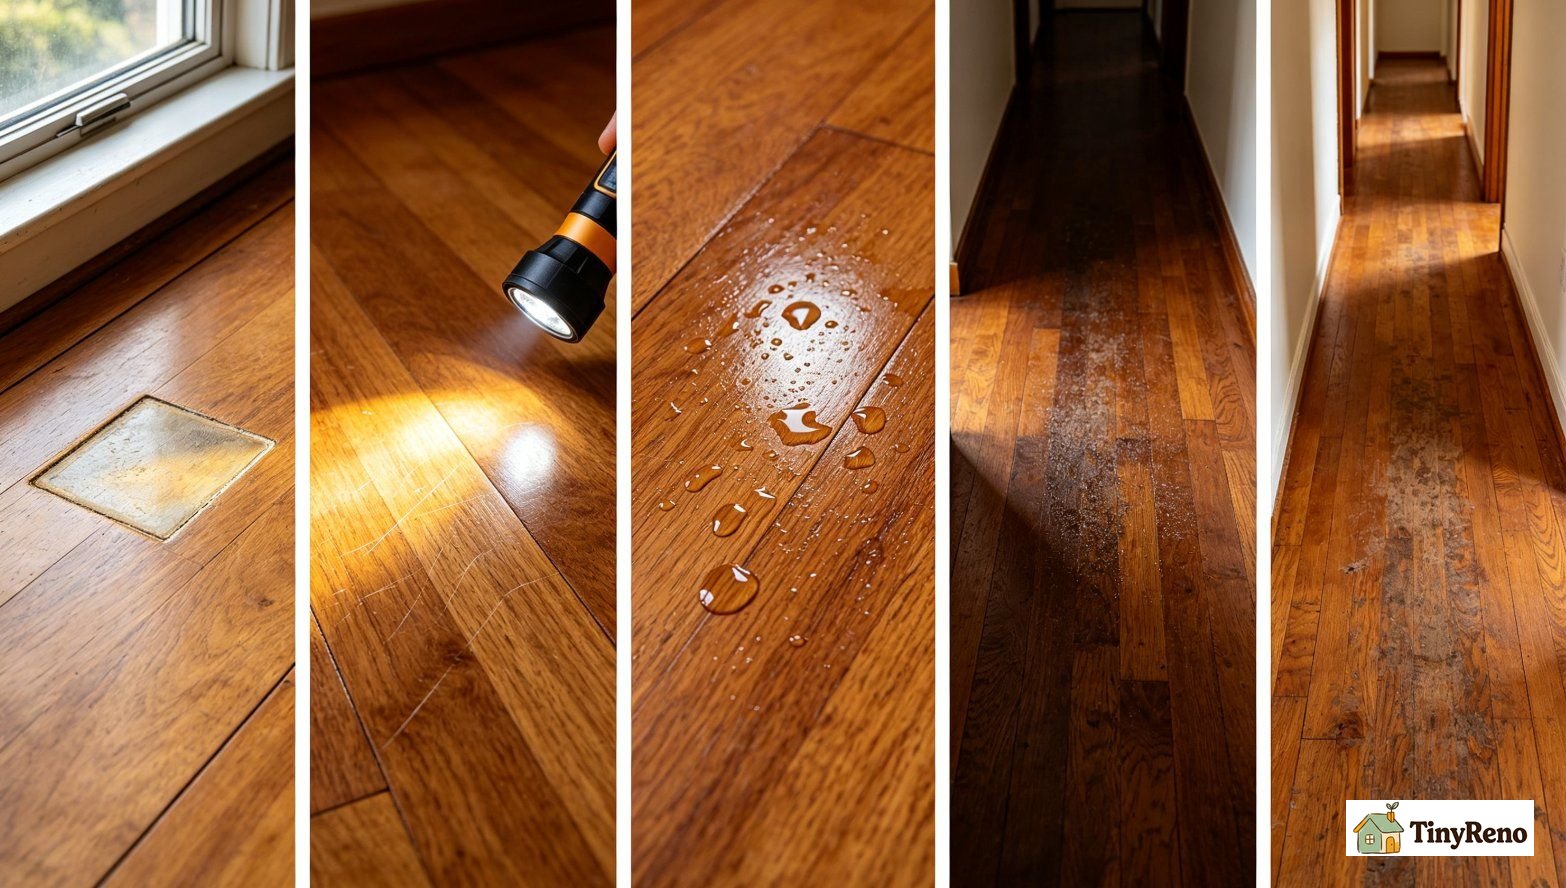
- Sign 1 — UV fade pattern in front of south or west windows. The finish oxidizes under UV faster than the wood itself fades. You'll see a rectangle or trapezoid where the rug used to be, lighter than the surrounding floor, but the grain still has depth. If you can still feel the wood grain through the finish with a fingernail, the film is intact.
- Sign 2 — Micro-scratches from dog claws or chair legs, none going through. Claw marks that look like commas on the surface are in the finish. Claw marks that look like white splinters reaching into the wood have broken through. Shine a flashlight across the floor at a low angle. If the scratches catch light but don't expose a different color underneath, they're in the film.
- Sign 3 — Water bead test. Drop a teaspoon of water on the dull area. Wait 10 seconds. If the water still beads into a dome, the finish is functional. If it spreads and darkens the wood, the finish has failed and the wood is wet. Failed finish means resand or replace, not recoat.
- Sign 4 — Wax buildup dullness. If your landlord or a previous tenant applied a polish like Mop & Glo or Rejuvenate, the floor can look dull even though the finish is fine. Recoat will not bond through wax. You have to strip the wax first with mineral spirits or ammonia-free stripper, then recoat. Skipping this step is the #1 reason DIY recoats peel.
- Sign 5 — Wear pattern at doorways and traffic lanes. A lane down the middle of a hallway where the finish is dull but the wood color is the same is normal wear. A lane where the wood looks lighter than the edges — almost bleached — is wear-through, and recoat will still help cosmetically but won't restore the structural film. Expect 2-3 years of extra life, not 10.
If you see two or more of the three recoat signs, and both checks come back clear, you're a recoat candidate. If the water bead test fails anywhere on the floor, you're not — and no contractor should quote you a recoat in that area without explaining why.
The 4-step DIY prep that took me one Saturday
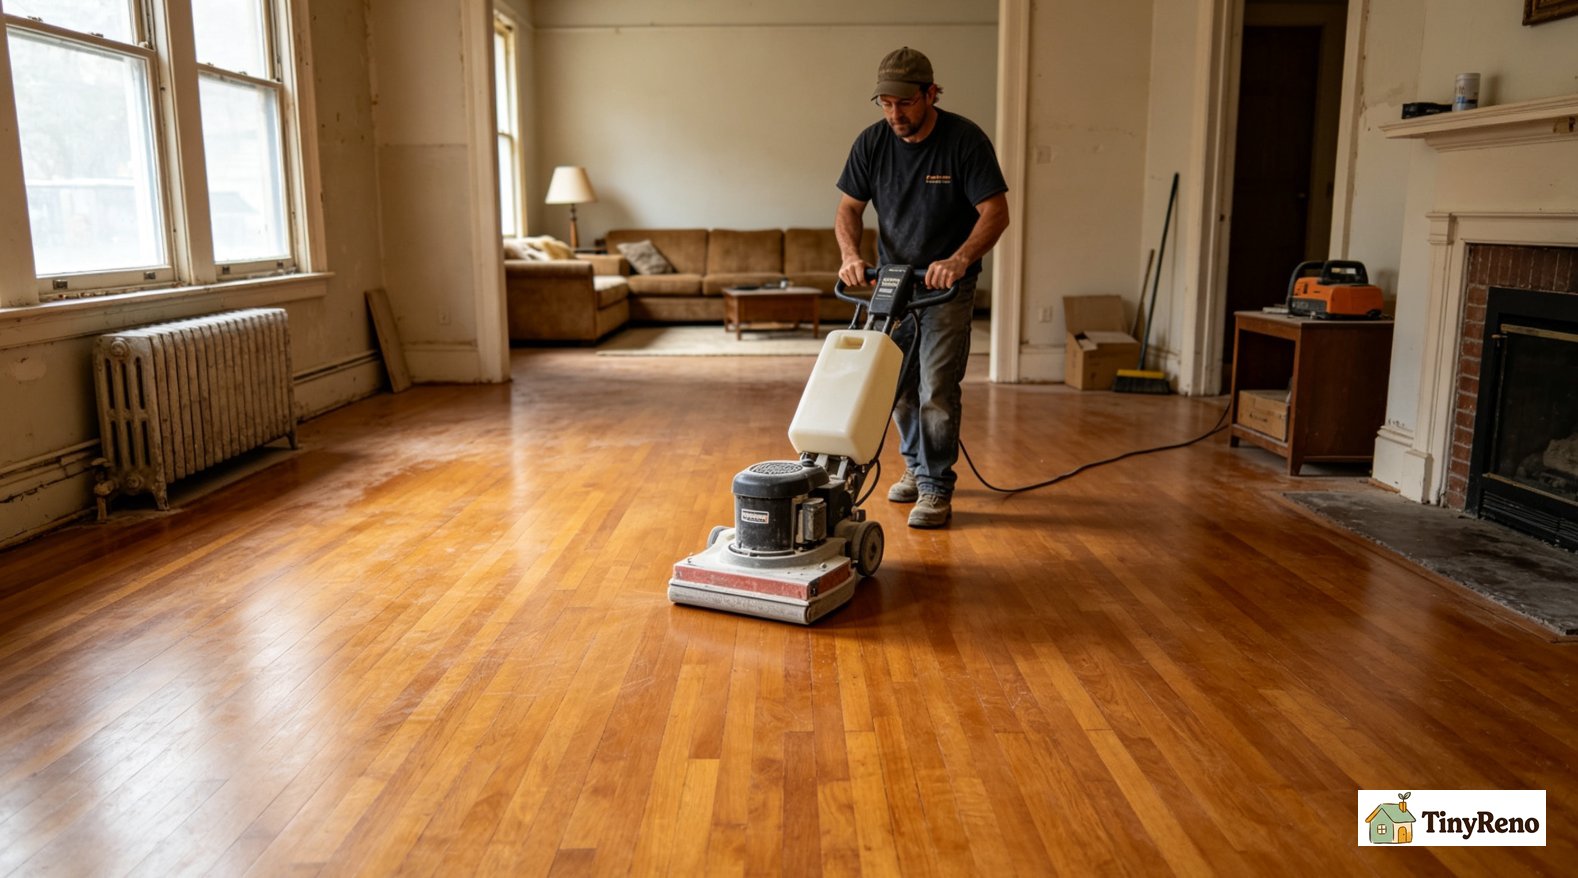
Total time on the clock: about 10 hours across a Saturday, including a lunch break and a coffee break when the buffer scared the dog. Most of that is waiting time between coats. The active labor is about four hours. Total cost: $212, including the $40 buffer rental. The $180 figure from earlier was the materials-only cost before I added the buffer rental and the microfiber pads. Here's the sequence that worked.
Step 1 — Empty the room and vacuum twice. Take everything out. Curtains, rugs, the dog's water bowl. Vacuum with a hard-floor attachment, then vacuum again with the crevice tool along the baseboards. Any grit under the buffer becomes a gouge.
Step 2 — Screen with 240-grit on a slow buffer pass. The buffer feels like driving a small car with no steering wheel. It pulls left. Don't fight it — let the screen do the work. Walk at about half your normal pace, overlapping each pass by 50%. One pass is enough. Going over the same area twice is the most common DIY mistake — it cuts through the film and you'll see wood color bleeding into the dust bag. If that happens, you've gone past recoat into refinish territory. That means two things. First, stop and reassess: if the floor is engineered with a thin veneer, you can't refinish it at all — you'll need to call a professional to assess replacement options. Second, if the floor is solid wood and thick enough to refinish, the job just got more expensive and more involved. A recoat is a one-day project. A refinish is a multi-day project with dust, drum sanding, and more finish. Don't accidentally refinish your floor because you were trying to recoat it.
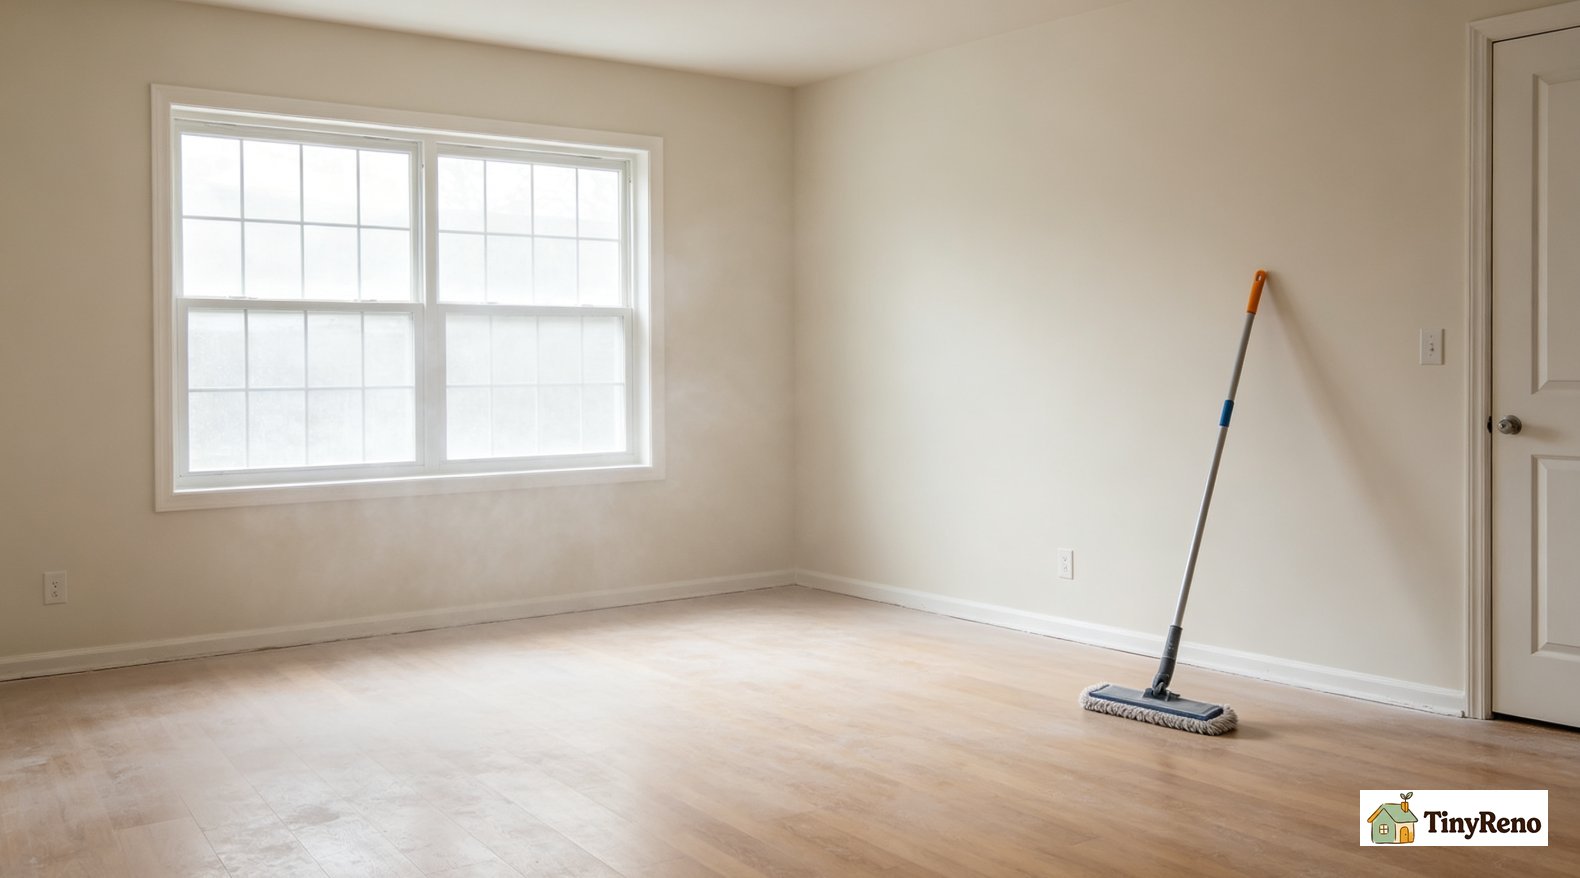
Step 3 — Vacuum + microfiber tack + let the dust settle 30 min. After vacuuming, walk out of the room and close the door. Dust takes 20-30 minutes to settle fully. Coming back early means your tack mop picks up what's still in the air.
Step 4 — Two coats water-based poly, 4-hour cure between. Cut in along the baseboards with a 2-inch angled brush first — 6 inches in from the wall. Then use a lambswool applicator on a pole for the field. Work with the grain. Don't go back over an edge that's starting to set up — you'll drag partially cured poly and leave a permanent lap line. Two coats is the minimum that restores sheen; three if the wear was heavy in traffic lanes.
Walk-on dry in 4 hours. Furniture back in 24 hours. Rug back in 2 weeks (the poly continues to off-gas and cure for 14 days; a rug with a rubber back traps moisture and can ghost into the finish).
The 1 cost trap rental-grade floors hide
Here's the trap. When the contractor quoted me $2,800, the line items read "mobilization $300," "resand and refinish living room $1,400," "resand and refinish hallway $800," "polyurethane and sealer $300." The total was honest. The scope was not. He never asked whether my floor was solid oak or engineered veneer. When Mike asked, I checked the baseboard vent in the hallway and saw the cross-section: 0.5 mm of oak over plywood. That's engineered. That's rental-grade. And that changes everything.
Engineered hardwood with a 0.5 mm veneer can usually be recoated once, maybe twice. It cannot be resanded, ever, because the next sanding cuts through to the plywood. So the contractor's $2,800 refinish would have left me with a sub-floor where the living room used to be. His $300 "mobilization" fee wasn't driving the truck — it was his insurance against the lawsuit if the floor came up in sheets during sanding.
The cost trap, named plainly:
- If a contractor quotes resand without first identifying solid vs engineered, walk away. They haven't read your floor. They're quoting a generic job. The right quote always specifies "screen and recoat if veneer thickness permits, otherwise replace affected planks."
- If your floor is laminate or LVP (luxury vinyl plank), neither resand nor recoat applies. Recoat polyurethane will not bond to the wear layer of laminate or to vinyl. You'll have shiny patches that peel within weeks. I found a 12-square-foot section of LVP in my dining room that the previous tenant had glued down to cover a damaged patch — the only fix there is replacement. Pull up a floor vent or threshold and check the cross-section before you do anything.
- DIY recoat's actual cost ceiling is $250 in materials for a 200-square-foot room. Buffer rental $40, screens $15, two gallons water-based poly $90, lambswool applicator $25, microfiber pads $20, brush $10. Anything above $500 for a DIY recoat is paying for insurance and convenience, not materials.
So the recoat decision collapses to three questions: Is the finish film still 1 mil thick in the worn areas (sign 3)? Is the floor solid wood or engineered with at least 0.7 mm veneer? Is there any wax or polish buildup on the surface (sign 4)? Three yeses: do the recoat. One no on the second question, or yes on the wax question: hire out the prep and DIY the poly. Two or more noes: the floor needs a different conversation, and that's not what recoat is for.


Discussion (0)
Sign in to join the discussion