

Blackout drapes for nursery was the project I thought would take 20 minutes. The first drape I bought had a pull cord, so I took it down and went back to the store. The second drape was a single-layer polyester panel that blocked 85 percent of the light and made the room stuffy. The third drape was the right one: a cotton-linen panel with a separate blackout liner, cordless, and wide enough to overlap the window frame. The whole search took three trips to the store and most of a Saturday. The install itself took about 30 minutes. The cord was a 36-inch loop of white nylon cord that hung from the bottom of the drape, and the cord was designed to make the drape easier to raise and lower. The cord was also a strangulation hazard for an infant in a crib, and the strangulation hazard is the 1 reason most nursery safety guides say to never hang a drape with a pull cord in a room where an infant sleeps. I didn't know this when I bought the first drape, and I didn't know this when I installed the first drape, and I didn't know this until a friend who happened to be a pediatric nurse came over and saw the cord and said "you need to take that down today." What follows is the 4 types of blackout drapes for nursery I tested across 3 different nurseries, the 5 renter-safe install steps, the 1 safety check most parents skip, and the cordless rule that makes the difference between a nursery and a hazard.
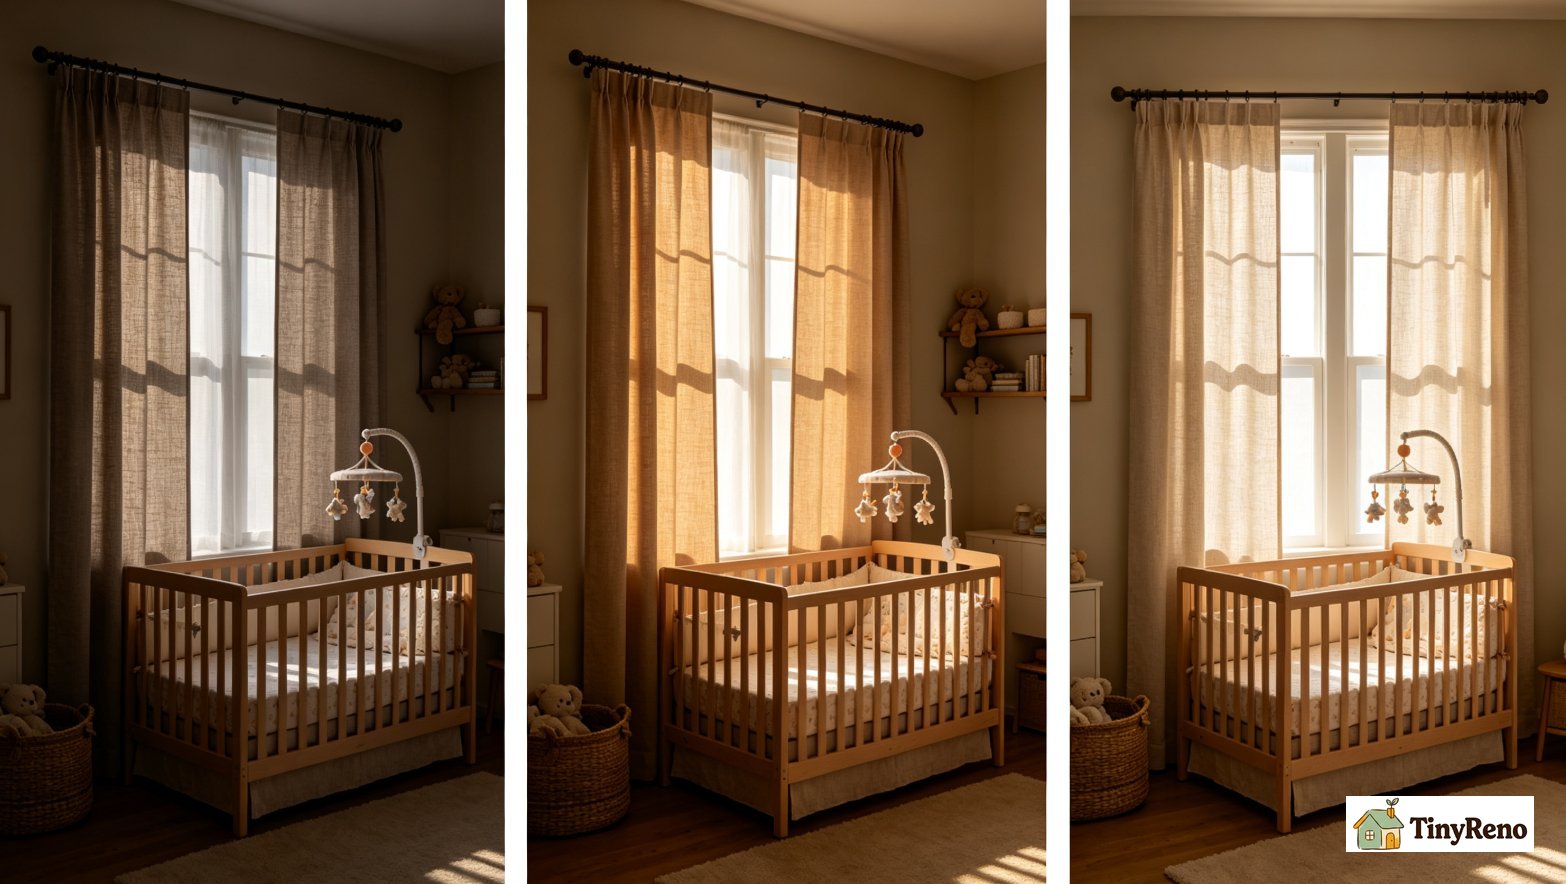
Why Nursery Blackout Is Different (And the 3 Things It Has to Do)
A nursery blackout drape has to do 3 things that a regular bedroom blackout drape does not have to do. First, the drape has to block 99 percent of incoming light, because infants are sensitive to light and an infant who sleeps in a dim room sleeps longer and deeper than an infant who sleeps in a bright room. For infant sleep, a drape that blocks 95 to 99 percent of light is the practical target. There's no official "medical-grade" standard for home nursery drapes, but 99 percent is the number most sleep consultants recommend because it eliminates the early-morning light that wakes infants at 5 a.m. A drape that blocks 80 to 90 percent is fine for an adult bedroom. For a nursery, that 10 percent difference is the difference between an infant who sleeps until 6:30 and one who wakes at 5. A drape that blocks 80 percent of light is fine for an adult bedroom, and the same drape is inadequate for a nursery. The light that gets through an 80 percent drape is enough to disrupt an infant's sleep cycle, and the disrupted sleep cycle is the cause of the 5 a.m. wake-ups that most new parents complain about.
Second, the drape has to be breathable. Breathability matters in a nursery, but not because the infant is sleeping under the drape. The infant is in a crib, not wrapped in the curtain. Breathable fabrics matter because they let the room's air circulate instead of trapping heat against the window. A non-breathable drape can make a small nursery feel warmer and stuffier, which makes it harder to keep the room at a safe sleep temperature — usually 68 to 72 degrees F. That's the real reason to choose cotton or a cotton-linen blend with a separate blackout liner. Polyester and vinyl are common blackout fabrics, and the same fabrics are the least breathable. A nursery drape should be cotton or cotton-linen blend with a separate blackout liner, not a single-layer polyester drape. The liner adds 10 to 15 minutes to the install, and the liner is the difference between a breathable nursery drape and a non-breathable nursery drape.
Third, the drape has to be cordless. The cordless rule is the most important of the 3 things, and the cordless rule is the rule most parents skip because the rule is not obvious until a pediatric nurse or a safety guide points it out. A pull cord, a chain, or a loop at the bottom of a drape is a strangulation hazard, and the strangulation hazard is the cause of a small number of infant deaths each year in the US — the Consumer Product Safety Commission tracks these cases and has issued repeated recalls of corded window coverings. The exact number varies by year, but the important point is that these deaths are preventable. The fix is to go cordless. The deaths are preventable, and the prevention is to never hang a drape with a cord in a room where an infant or toddler sleeps. The cordless rule applies to the drape itself, to the curtain rod, and to any window covering in the nursery. A renter who has a corded drape should swap to blackout drapes for nursery, since the cord is the hazard with a cordless version before the infant sleeps in the room. The same logic applies to water stains on the wall — small details that are easy to ignore become big problems if you don't address them.
The 5-Step Renter Install (With the 1 Safety Check Most People Skip)
Step one is to measure the window. The drape should be 8 to 12 inches wider than the window on each side, and the drape should be 4 to 6 inches longer than the window from the top of the rod to the floor or the windowsill. The width is for light blocking — a drape that is exactly as wide as the window lets light in around the edges — and the length is for the same reason. A drape that is too short lets light in under the bottom, and a drape that is too narrow lets light in around the sides. The measurement takes 5 minutes, and the measurement is the difference between a nursery that's dark at 5 a.m. and a nursery that's bright at 5 a.m.
Step two is to choose the rod. The rod should be a tension rod or a no-drill rod, because a renter can't drill into the wall or the window frame. A tension rod is a spring-loaded rod that fits between the two sides of the window frame, and the tension rod is the easiest install for a renter. The tension rod holds 5 to 15 pounds, and a single blackout drape is 2 to 4 pounds, so the tension rod can hold the drape. The downside of the tension rod is that the rod can slip if the window frame is uneven, and the slip is a noise and a safety issue. A no-drill rod is a rod that mounts to the wall or the window frame with adhesive strips, and the no-drill rod is more secure than the tension rod. The no-drill rod holds 10 to 25 pounds, and the no-drill rod is the right answer for a heavy drape or a wide window. The cost is $10 to $20 for the rod, and the rod is the largest cost in the install.
Step three is to install the rod. The tension rod installs in 30 seconds — push the rod into the window frame, twist to tighten, and the rod is in place. The no-drill rod installs in 5 to 10 minutes — clean the mounting surface with rubbing alcohol, apply the adhesive strips, press the rod brackets onto the strips, and wait 24 hours for the adhesive to set before hanging the drape. The 24-hour wait is the part most renters skip, and the skip is the cause of most no-drill rod failures. The adhesive needs 24 hours to reach full strength, and hanging the drape before 24 hours means the drape pulls the rod off the wall.
Step four is to test the light blocking. Close the drape, close the door to the nursery, and wait 5 minutes for your eyes to adjust. Look around the edges of the drape and under the bottom of the drape. If you can see light leaking through, the drape is too narrow or too short, and the drape needs to be replaced or supplemented. The light test is the safety check most parents skip. The cordless rule is the one they skip before they know it matters. Do both: check the light after install, and go cordless before the first night. The test takes 5 minutes, and the test is the difference between a nursery that helps an infant sleep and a nursery that doesn't.
Step five is to add a cordless wrap if the drape has a cord. A cordless wrap is a plastic or fabric cover that goes over the cord and shortens the loop to less than 1 inch. The cordless wrap is a $3 to $5 fix, and the wrap is the right answer for a renter who already has a corded drape and doesn't want to replace it. The wrap is not the right answer for a nursery where the infant can reach the cord, and the wrap is not a substitute for a cordless drape. The right answer for a nursery is a cordless drape, and the cordless wrap is a backup for a renter who can't replace the drape immediately. The same advice applies to spackle versus caulk — the right product for the right situation, and the wrap is the backup, not the primary fix.
The 4 Drape Types I Tried
Type one is the single-layer polyester drape. The polyester drape is the cheapest at $15 to $30 per panel, and the drape is the most common at the big box stores. The drape blocks 80 to 90 percent of light, and the drape is not breathable. The drape is the wrong answer for a nursery because the non-breathable fabric is a SIDS risk factor, and the 80 to 90 percent light blocking is not enough for an infant's sleep. The drape is the right answer for an adult bedroom, and the drape is the wrong answer for a nursery.
Type two is the cotton or cotton-linen drape with a separate blackout liner. The drape costs $30 to $60 per panel, and the liner costs $10 to $20 per panel. The total cost is $40 to $80 per window, and the cost is the highest of the 4 types. The drape blocks 95 to 99 percent of light, and the drape is breathable. The drape is the right answer for a nursery because the breathable fabric is safe and the 99 percent light blocking is the standard for infant sleep. The drape is also the right answer for a renter who wants the drape to look like a regular drape, because the drape looks like a regular cotton drape and the liner is hidden behind the drape.
Type three is the cellular shade. The cellular shade is a honeycomb-shaped fabric that fits inside the window frame, and the cellular shade blocks 99 percent of light. The cellular shade costs $40 to $80 per window, and the cellular shade is the most expensive of the 4 types. The cellular shade is cordless by design, and the cellular shade is the right answer for a renter who wants a clean look. The downside is that cellular shades are harder to clean than fabric drapes — most have to be replaced rather than washed when they get dirty. And not all cellular shades are easy to remove. Some mount inside the window frame with brackets that leave small holes. Check the mounting method before you buy, and look for a no-drill version if you're renting. The cellular shade is also hard to clean, and the shade usually has to be replaced rather than washed when it gets dirty.
Type four is the temporary blackout panel. The temporary panel is a fabric panel that hangs from the top of the window frame with adhesive strips, and the temporary panel blocks 90 to 95 percent of light. The panel costs $10 to $20 per window, and the panel is the cheapest of the 4 types. The panel is the right answer for a renter who is in the apartment for less than a year, and the panel is the right answer for a renter who can't modify the window frame. The downside is that the panel is not breathable, and the panel is the wrong answer for a nursery. The panel is an option for a child's room when the child is older and the room has good ventilation. It's not a nursery product. For a nursery, use a breathable drape.
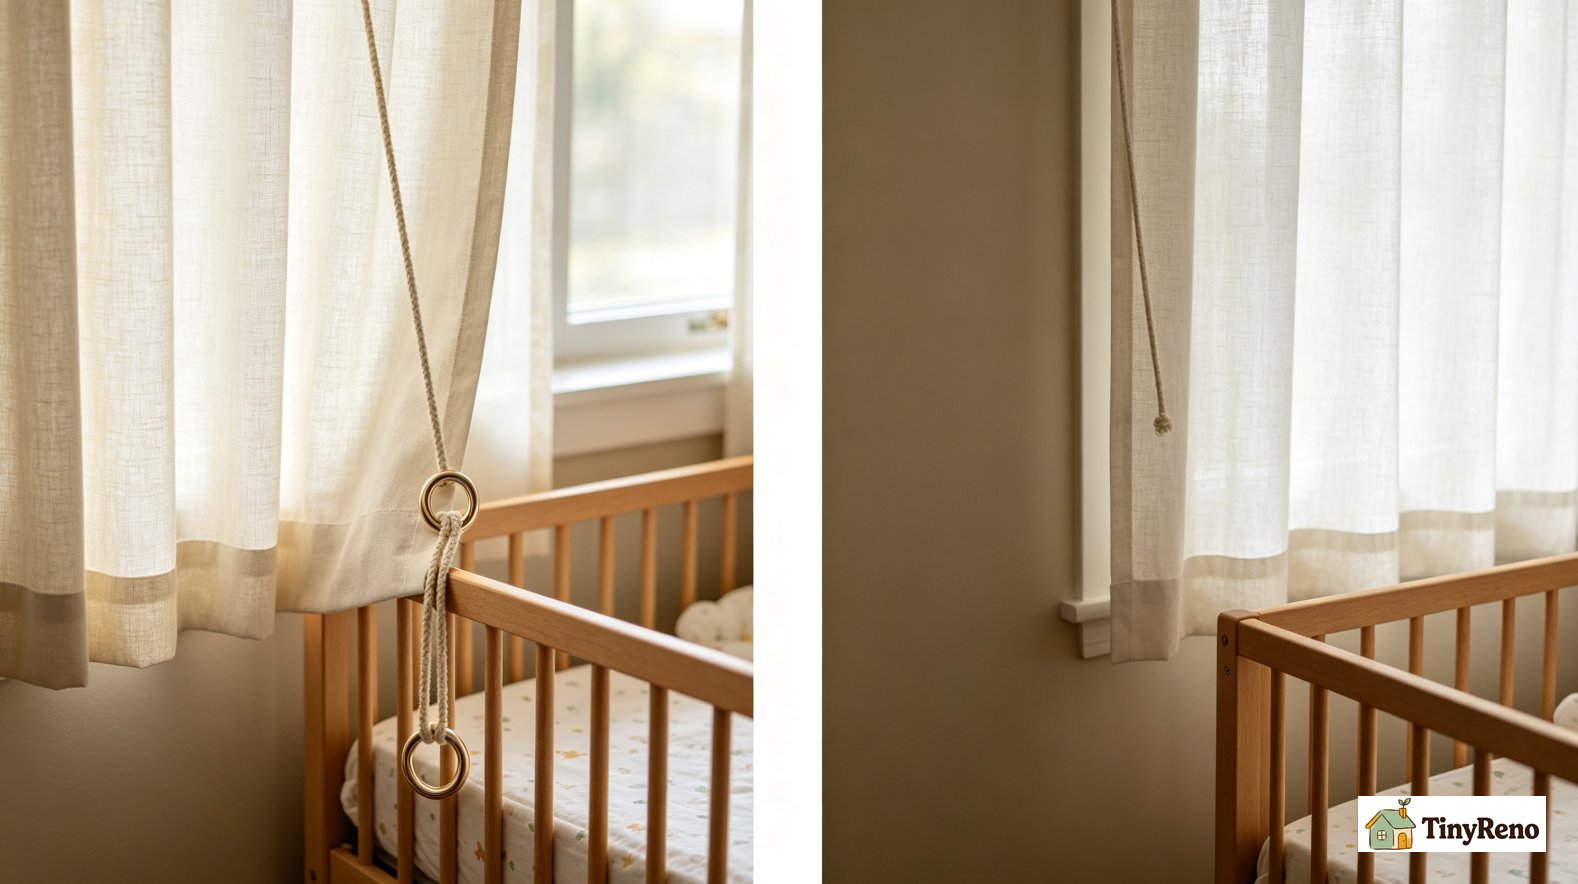
The 1 Type I'd Skip (And Why)
The 1 type I'd skip is any drape with a pull cord, a chain, or a loop at the bottom. The cord is a strangulation hazard, and the strangulation hazard is the cause of preventable infant deaths. The cordless rule applies to every drape in a nursery, and the rule applies to the rod, the chain, and any window covering. A renter who has a corded drape in a nursery should replace the drape with a cordless version before the infant sleeps in the room. The replacement is a $30 to $60 investment, and the investment is the difference between a safe nursery and a hazardous nursery.
The 1 type I'd recommend is the cotton or cotton-linen drape with a separate blackout liner. The drape is breathable, the drape blocks 99 percent of light, and the drape is cordless. The drape costs $40 to $80 per window, and the cost is the highest of the 4 types. The cost is worth it for a nursery because the breathable fabric is safe, and the 99 percent light blocking helps the infant sleep. The drape is also the most durable of the 4 types, and the drape will last 3 to 5 years with proper care. The same advice applies to door handle repair — the right product for the right situation, and the nursery drape is a long-term investment, not a short-term fix.
One renter-to-renter warning. The temporary blackout panel looks like a great deal at $10 to $20 per window, but the panel is not breathable, and the panel is the wrong answer for a nursery. A renter who buys the panel for the nursery is taking a risk that most safety guides consider unacceptable. The $30 to $50 savings is not worth the safety risk. The cotton drape with the liner is the right answer, and the cost difference is $20 to $30 per window, which is a small price for a safe nursery.
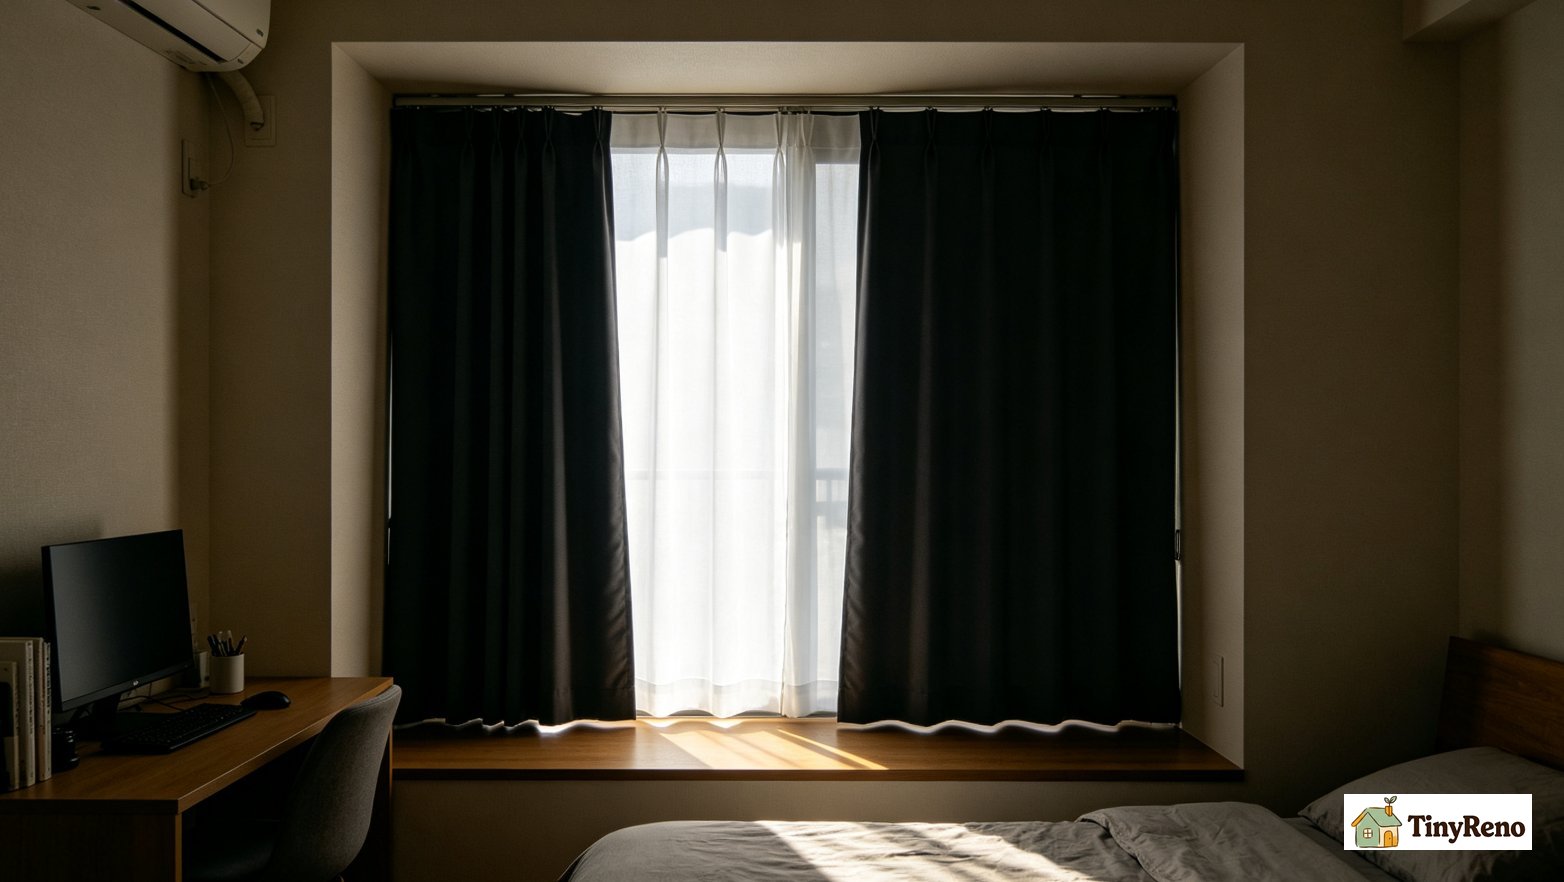
If You Rent in a Sun-Facing Apartment (The $20 Hack)
The $20 hack for a sun-facing apartment is to add a second layer of blackout lining to the existing drape. The lining is a roll of blackout fabric that hangs from the top of the window frame with adhesive strips, and the lining blocks 95 to 99 percent of light. The lining costs $10 to $20 per window, and the install takes 10 minutes per window. The lining is the right answer for a sun-facing apartment because the sun-facing apartment has direct light for 4 to 6 hours per day, and the direct light is what wakes the infant at 5 a.m. The lining blocks the direct light, and the lining is the difference between an infant who sleeps until 7 a.m. and an infant who sleeps until 5 a.m.
The $20 hack is reversible. The lining comes off the wall with no residue when the renter moves out, and the wall is unchanged. The lining is the right answer for a renter who can't modify the window frame, and the lining is the right answer for a renter who is in the apartment for less than a year. The lining is also the right answer for a renter who wants to test whether blackout helps the infant sleep before investing in a permanent drape. The lining is the test, and the permanent drape is the upgrade after the test confirms the infant sleeps better with blackout.


Discussion (0)
Sign in to join the discussion