

A bad paint job is what I delivered across 38 square feet of living room wall on a Sunday and regretted by Tuesday. The color was right. The wall was prepped. The paint was the expensive stuff. What I had not paid attention to was the brush I picked up. The bad paint job had visible brush marks running diagonal across every stroke, lap marks where I had rolled too slowly into wet edges, and a single drip that ran six inches down the corner before I noticed. My friend Dana came over Tuesday night, took one look at it, and said, "What did you do." I told her I had painted the wall. She told me I had not painted the wall. She told me I had brushed the wall. There is a difference, and the difference is a bad paint job. Here are the five visible signs that tell you whether the wall was painted or just brushed, the two signs you can fix in an afternoon without repainting the whole wall, and the three signs that mean sanding down to bare drywall is the only real option.
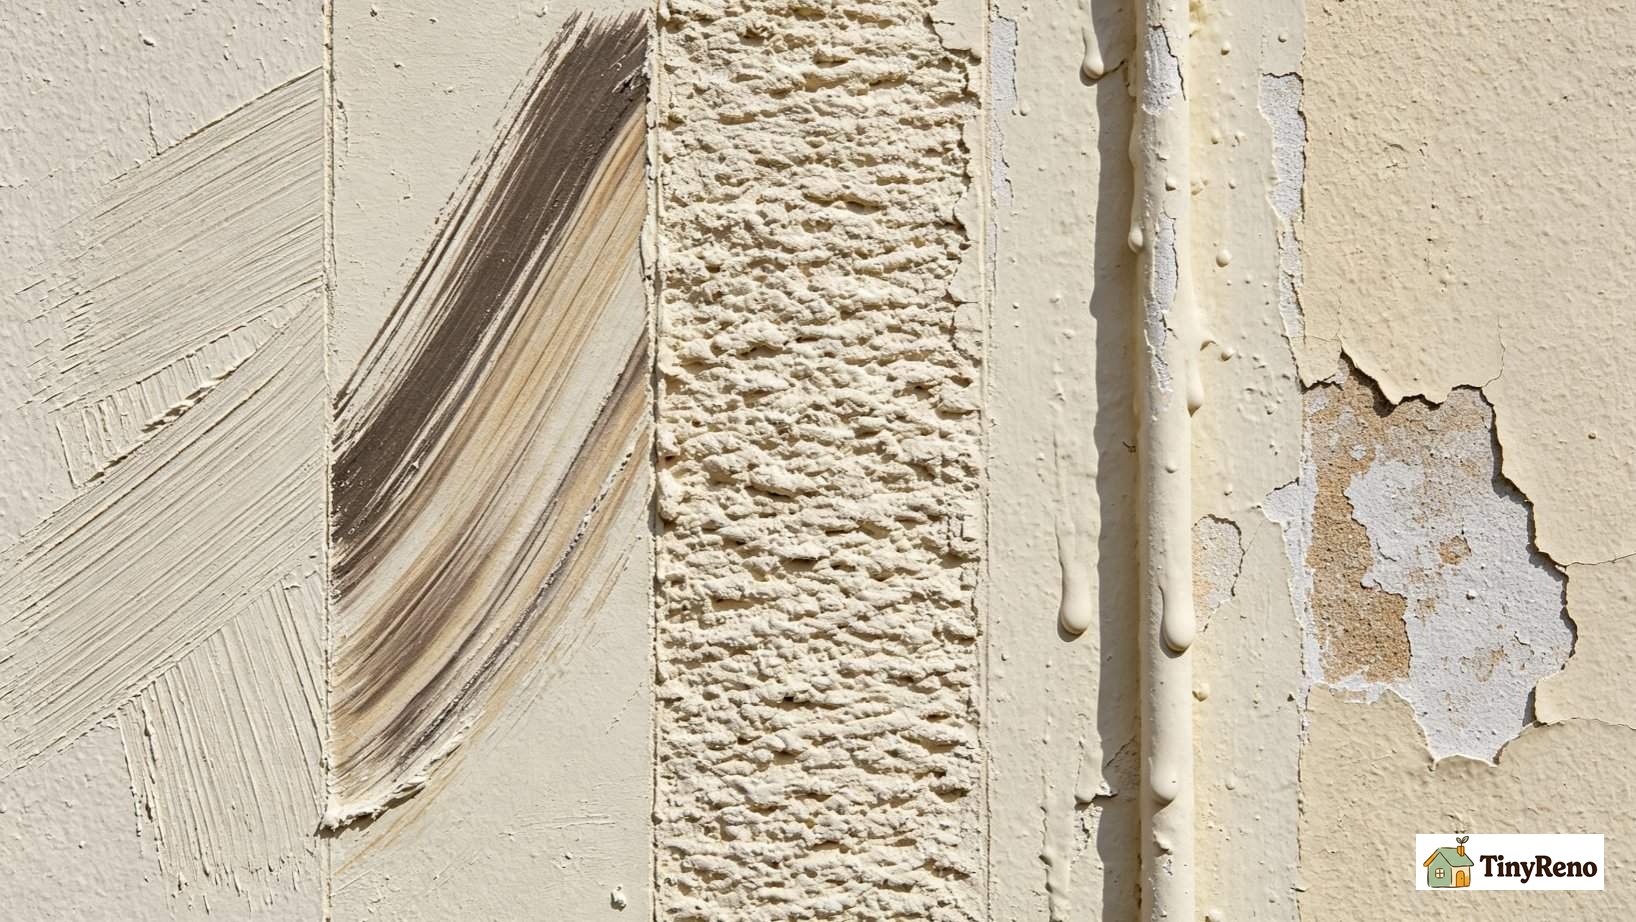
The Wall I Painted on a Sunday and Regretted by Tuesday
The wall was the south-facing wall of my living room in a third-floor walk-up in Jamaica Plain. The previous tenant had left a yellow-beige that I had been staring at for two years. I picked a warm white from a fan deck at the hardware store, bought a gallon of mid-range interior eggshell, and bought a single 2.5-inch angled brush and a 9-inch roller cover. I had painted a wall before, in college, and it had come out fine. What I did not realize was that the brush I had picked up was a cheap synthetic that shed bristles into the wet paint. The roller cover was the same. The wall took three coats to cover the yellow, which meant three times I had to keep a wet edge. By Sunday night the wall looked acceptable from across the room. By Tuesday morning the light was different and I could see every stroke.
Dana is a professional painter with twelve years of experience. She came over for dinner, looked at the wall for about ten seconds, and said four things in order. First, "your brush is shedding into the paint." Second, "your lap marks are because you rolled too slowly into wet edges." Third, "that drip in the corner you tried to wipe while it was tacky is now a permanent ridge." Fourth, "this is fixable, but you need to know which parts." Her diagnosis became the structure of this guide. The five signs she pointed out that night are below.
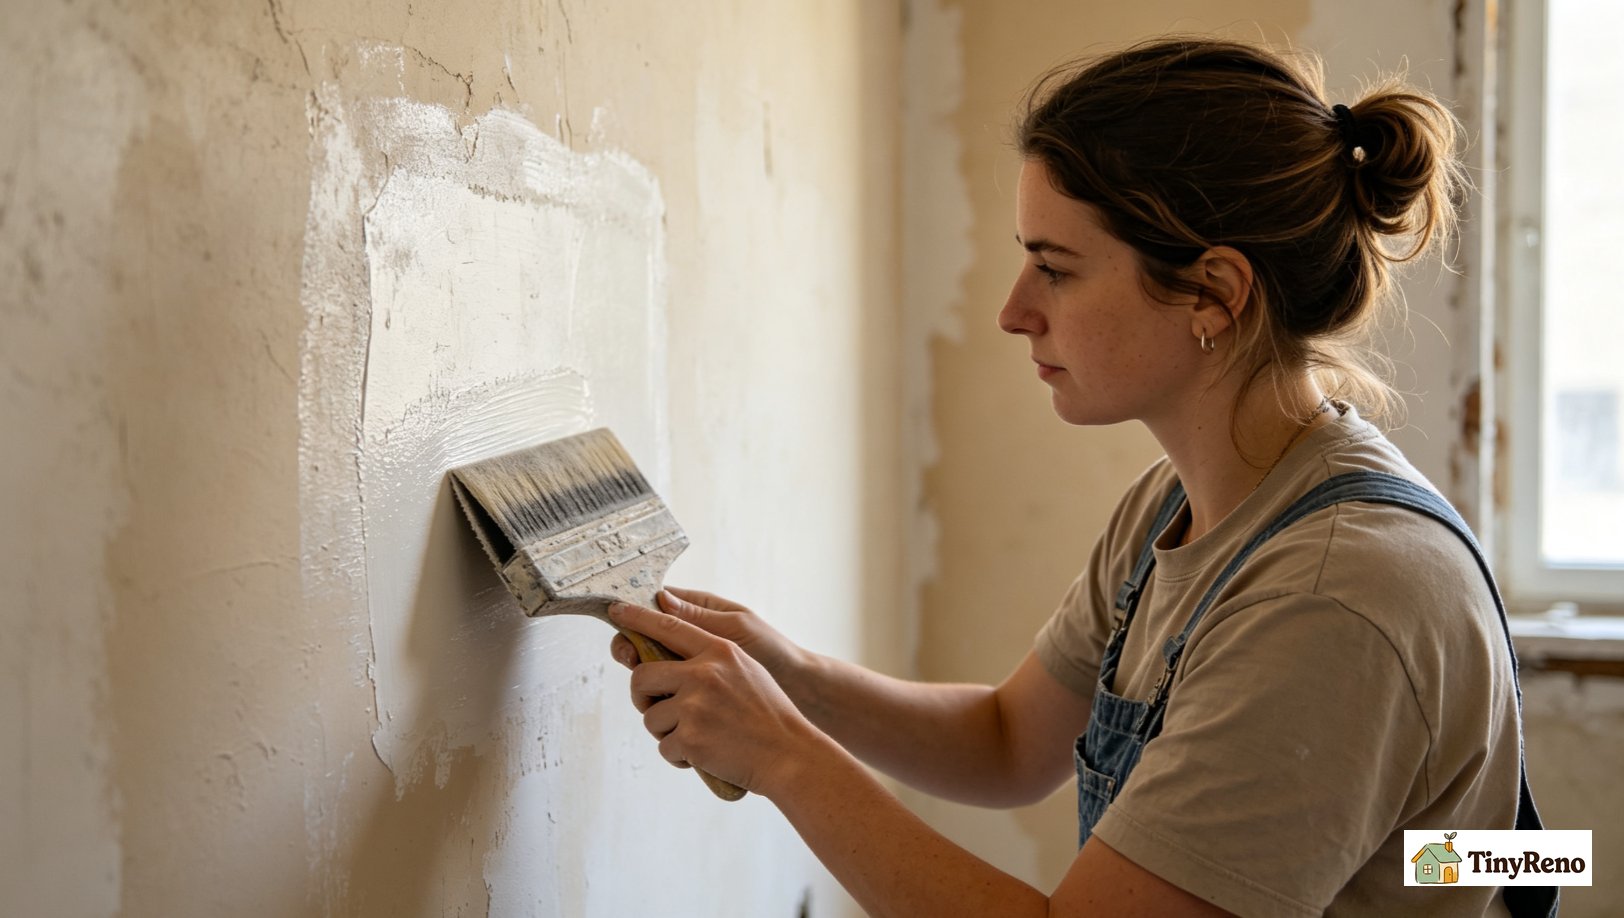
5 Visible Signs of a Bad Paint Job (and Which Ones You Caused)
Across the walls I've painted and the dozen I've watched friends paint, the same five defects show up. Some are brush defects. Some are roller defects. Some are prep defects. Knowing which kind you have tells you whether you can fix it in an afternoon or you need to start over. Here are the five.
- Brush marks. Visible diagonal or arc strokes on the wall, especially under raking light. Caused by a cheap brush that sheds, by paint that has begun to set on the brush, or by going back over a stroke that has already started to dry. The fixable kind is recent and on a small area.
- Lap marks. Visible stripes where one painted section ended and the next began, with a slight overlap that left a darker band. Caused by rolling too slowly into a wet edge, by uneven roller pressure, or by a roller cover that is too long for the wall. Always fixable in an afternoon.
- Roller texture. Visible stipple pattern that is heavier than the rest of the wall, especially noticeable in flat or matte finishes. Caused by a roller cover with the wrong nap length, by pressing too hard, or by rolling over paint that is starting to set. The hardest kind to fix without repainting.
- Drips and runs. Visible ridges of paint running down the wall, often in corners or under switches. Caused by overloading the brush or roller, by trying to wipe a drip while it is tacky, or by not back-rolling after the drip formed. The fix depends on whether the drip has fully cured or is still soft.
- Missed spots and holidays. Bare patches that show through, especially at edges, corners, and around fixtures. Caused by not cutting in first, by rushing the second coat, or by poor lighting during painting. Always fixable with a brush and a small amount of paint.
The "which ones you caused" part of the heading matters because each defect has a root cause that you can avoid next time. The brush I used on Sunday was a defect I caused. The lighting on Sunday night was a defect I caused. The drip in the corner was a defect I caused. None of these are mysteries. All of them are predictable, and all of them are fixable with the right method.
The 2 Defects You Can Fix Without Repainting the Whole Wall
Of the five defects above, two are reliably fixable in an afternoon without repainting the entire wall. Lap marks and missed spots both fall into this category. The fix is the same for both: sand the affected area lightly. For shallow lap marks, 220-grit is enough. For deeper ridges where you can feel the edge with your fingertip, start with 150-grit, then smooth with 220. Feather the edges into the surrounding paint, then apply a thin coat of the original paint with a clean brush, blending into the wet edge of the surrounding area. Total time per spot, about 20 minutes. Total cost, zero if you have leftover paint.
The lap marks on my south wall took me about 90 minutes to fix across the eight spots where they were most visible. I sanded each one lightly, just enough to dull the sheen of the existing paint, and then brushed a thin coat of the original paint over the lap. The brush was a 2.5-inch angled sash brush this time, not the cheap synthetic. The brush alone made the difference between the Sunday wall and the acceptable wall the following Saturday. Dana later told me the brush cost $11 and was worth every penny of it.
Missed spots and holidays are even easier. Cut in around the missed area with a brush, then roll the section while the brushed edges are still wet. The trick is to match the nap length to the wall surface, not necessarily to the original roller. If the original roller left a stipple pattern, using it for touch-ups will just repeat the texture. For smooth walls, a 1/4-inch nap cover gives the flattest finish for touch-ups, and to keep the roller pressure light. Heavy pressure on a touch-up leaves a stipple patch that is more visible than the original missed spot.
What I learned from fixing the lap marks is that a small touch-up brush is not the same as a wall brush. A wall brush holds more paint and releases it in a smoother layer. A touch-up brush leaves micro-strokes that show up under raking light. The fix for a bad paint job on a lap mark is a wall brush, not a touch-up brush, even though the area is small.
The 3 Defects That Mean You Have to Sand Down to Bare Drywall
You can tell you’ve sanded to the substrate when the color under the paint changes from the topcoat to the primer, or from the primer to bare paper or drywall. If you see the pale gray of drywall paper, stop — you’ve gone far enough. Sanding past the paper into the gypsum core means the surface will need a skim coat before painting.
Three of the five defects are not reliably fixable without repainting the affected area, and in some cases the entire wall. These are brush marks, roller texture, and cured drips. The reason is that all three leave a physical texture difference between the bad paint and the surrounding paint, and no amount of touch-up will blend a texture difference. You have to remove the texture.
Brush marks fall into this category when they cover enough of the wall that feathering them out would take longer than repainting. For me, that’s usually somewhere around a quarter of the surface, but it depends on the lighting and the paint finish. If you can see the marks from across the room under normal lighting, you’re probably past the touch-up stage, or when the brush used was shedding bristles into the paint that have hardened into the surface. Sanding the brush marks smooth requires 120-grit followed by 220-grit, and it often exposes the original wall color underneath. Once exposed, you have to repaint the wall from primer up. Dana walked me through this on the corner where my brush had shed. We sanded for 20 minutes, primed with Zinsser 123, and rolled two coats of the original paint. The corner looked better than the rest of the wall.
Roller texture falls into this category when the nap was wrong for the paint. A 3/4-inch nap on a smooth wall leaves a stipple pattern that no touch-up will match. The fix is to sand the wall smooth with 120-grit, prime, and repaint with a 1/4-inch nap cover. This is a full-day project. There is no shortcut.
Cured drips fall into this category once the paint has fully cured, which on latex is about two weeks. A wet drip can be wiped. A tacky drip can be rolled over to flatten. A cured drip has to be sanded flat, primed, and repainted. The drip in my corner had cured by Tuesday morning when I noticed it. Sanding it took 15 minutes. Priming and repainting the corner took another hour. The result was a flat corner with no visible ridge.
The honest answer on these three is that if you have more than two of them on the same wall, repainting the entire wall is faster and cheaper than spot-fixing. The labor on spot-fixing adds up faster than the labor on a clean repaint, and the result is rarely as good as a clean repaint would have been.
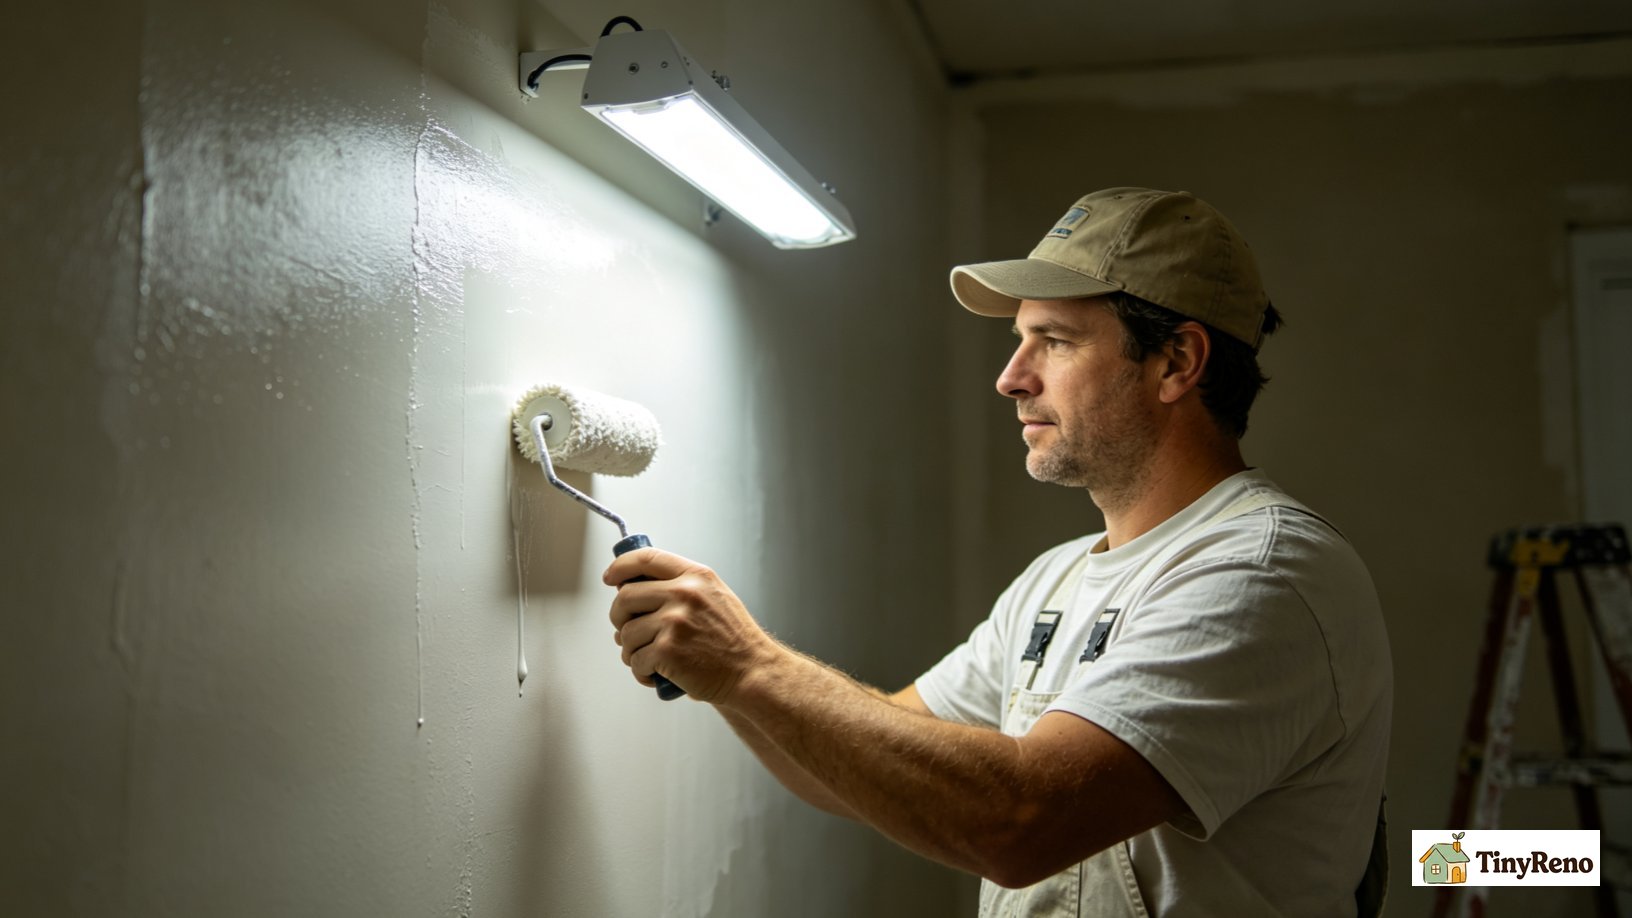
What I'd Do Differently (the 4 Prep Steps I Skipped)
Looking back at the Sunday that started this whole mess, there are four prep steps I skipped that would have prevented the bad paint job entirely. None of them are difficult. All of them are obvious in hindsight. All of them are what Dana does as a matter of course.
First, I should have used better lighting. I painted under the existing ceiling fixture with a 60-watt bulb. The brush marks were invisible under that light. Dana paints under 5000K LED work lights pointed across the wall, not at it. Raking light across a wet surface shows every defect while you can still fix it. The $25 work light would have saved me six hours of redo.
Second, I should have used a better brush. The $4 synthetic brush was the single biggest cause of the bad paint job. A $11 Purdy or Wooster brush would have left no brush marks and shed no bristles. The cost difference is $7. The time saved is hours.
Third, I should have rolled faster into the wet edges. Lap marks form when the leading edge of the rolled section begins to set before the next section joins it. The fix is to keep the roller moving and to roll into the wet edge within two minutes of the previous stroke. I was rolling too carefully and letting each section dry before moving on. Dana rolls at twice my pace and never leaves a lap mark.
Fourth, I should have spot-fixed the drip while it was still wet. The drip in the corner happened at 4 p.m. I noticed it at 4:30 p.m. and decided to let it dry and fix it later. By Tuesday it was cured and required sanding. A wet drip can be rolled over with an almost-dry roller to flatten it in thirty seconds. The lesson is that any defect you see while the paint is still wet is cheaper to fix than the same defect after it has cured.


Discussion (0)
Sign in to join the discussion