

Block filler primer showed up in my life three apartments ago, when I moved into a 1920s building and the bedroom wall was made of bare concrete block painted over with what looked like twelve layers of latex paint from every decade since. The surface was rough, pitted, and inconsistent — every patch I made with spackle would either fall off because the paint underneath was chalky, or look obviously different because the spackle was smoother than the surrounding wall. I painted over the patches three times and watched them look wrong every time.
The landlord finally sent a contractor to look at it. He walked in, ran his hand across the wall, and said the word that changed how I think about old apartment walls: block filler. He explained that on bare masonry, cinder block, concrete, or any wall that had been painted over many times, you can't just spackle and paint. You need to use a block filler primer first, which is a thicker, high-build primer designed to fill the pits and surface irregularities in masonry before you paint over it.
I went to the hardware store, asked for block filler, and the clerk handed me a five-gallon bucket of latex block filler that cost $89 and felt like wet cement. I spent the weekend rolling it onto the bedroom wall, and the wall transformed from rough concrete to a smooth, paintable surface in two coats. The patches I had been struggling with disappeared into the surface. I painted over the whole wall with regular latex paint, and the wall looked like it had been newly drywall-taped.
What block filler primer actually is
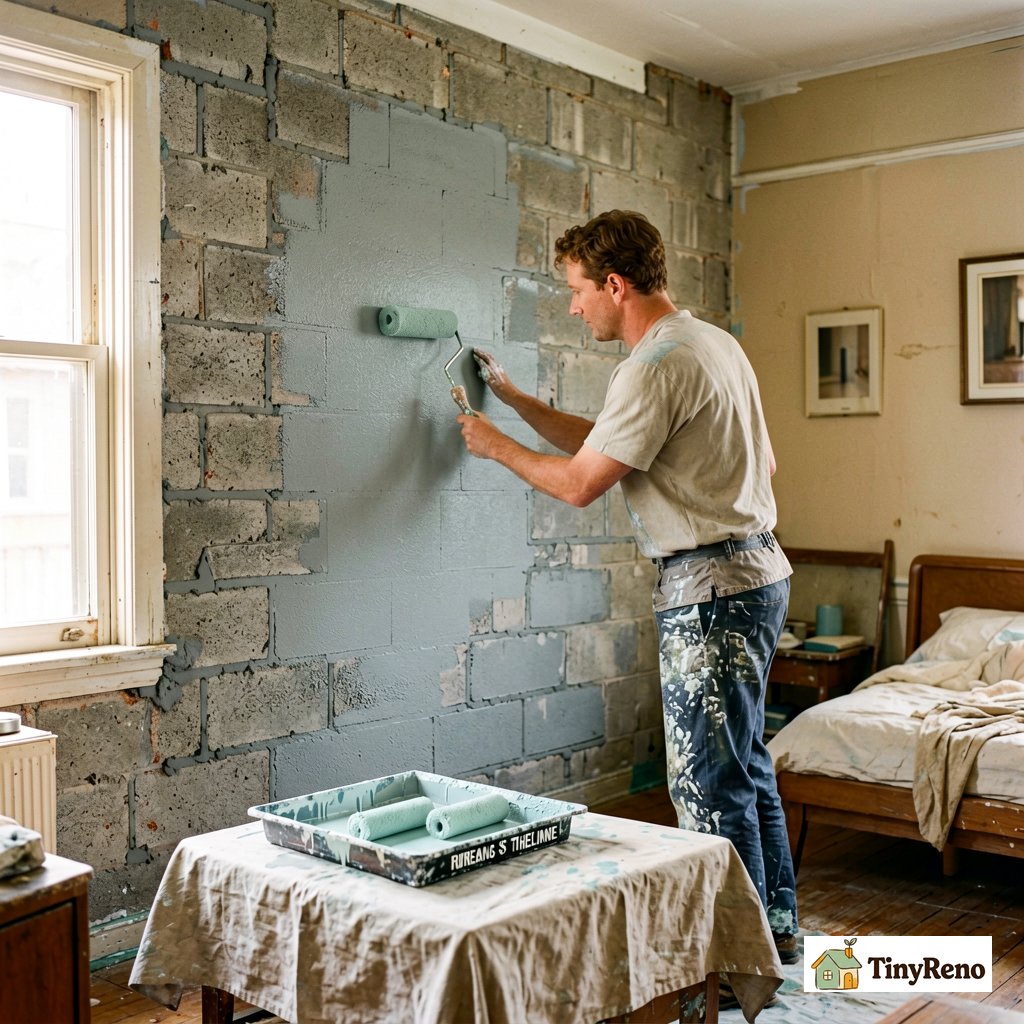
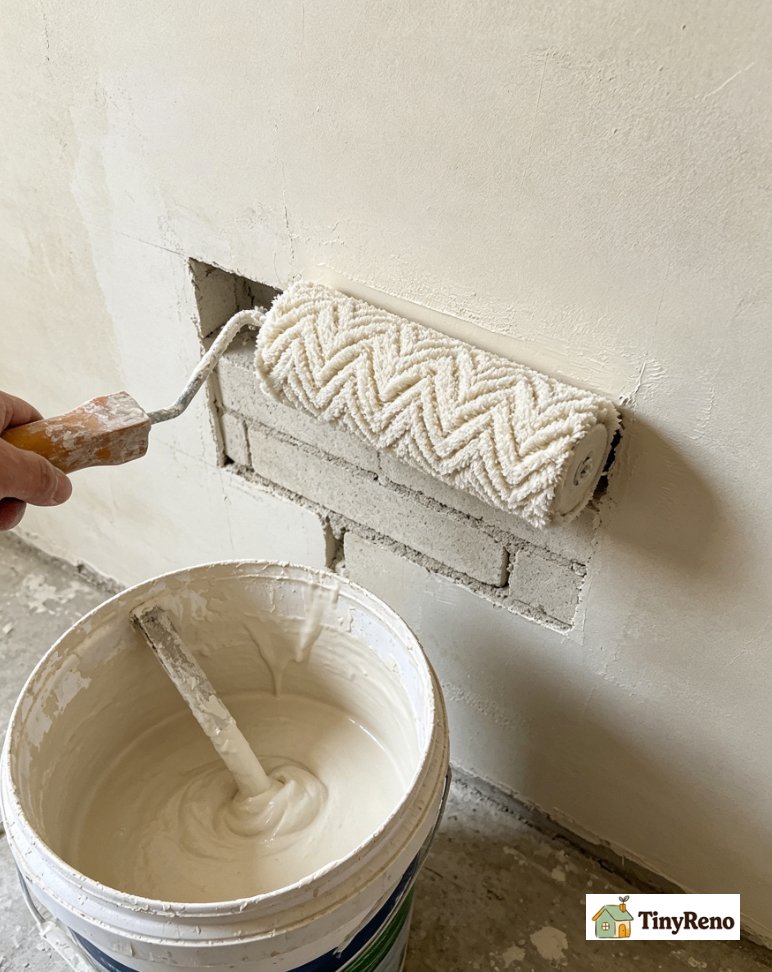
Block filler is a high-build latex coating designed specifically for masonry surfaces — concrete block, cinder block, poured concrete, brick, and stucco. It's thicker than regular primer, almost like a very wet spackle, and it's designed to be rolled or brushed onto a rough masonry surface and then sanded smooth before you paint over it. It fills the pits, pores, and small holes in the masonry, and it creates a uniform surface that regular paint can bond to.
Regular primer is too thin to fill masonry pits. If you put regular primer on a bare cinder block wall, the primer soaks into the pits and the surface still looks rough. Regular paint over the regular primer still shows every pit. Block filler is thick enough to bridge the pits and create a smooth surface in one or two coats.
Block filler primer is different from spackle in two important ways. First, spackle is for small repairs — nail holes, dings, gouges. Block filler is for entire walls or large surfaces. Second, spackle is applied with a putty knife and sanded smooth. Block filler is rolled on with a paint roller and then sanded smooth, the same way you'd roll paint. The application is more like painting drywall than patching nail holes.
When you need block filler primer
There are three situations where block filler primer is the right answer.
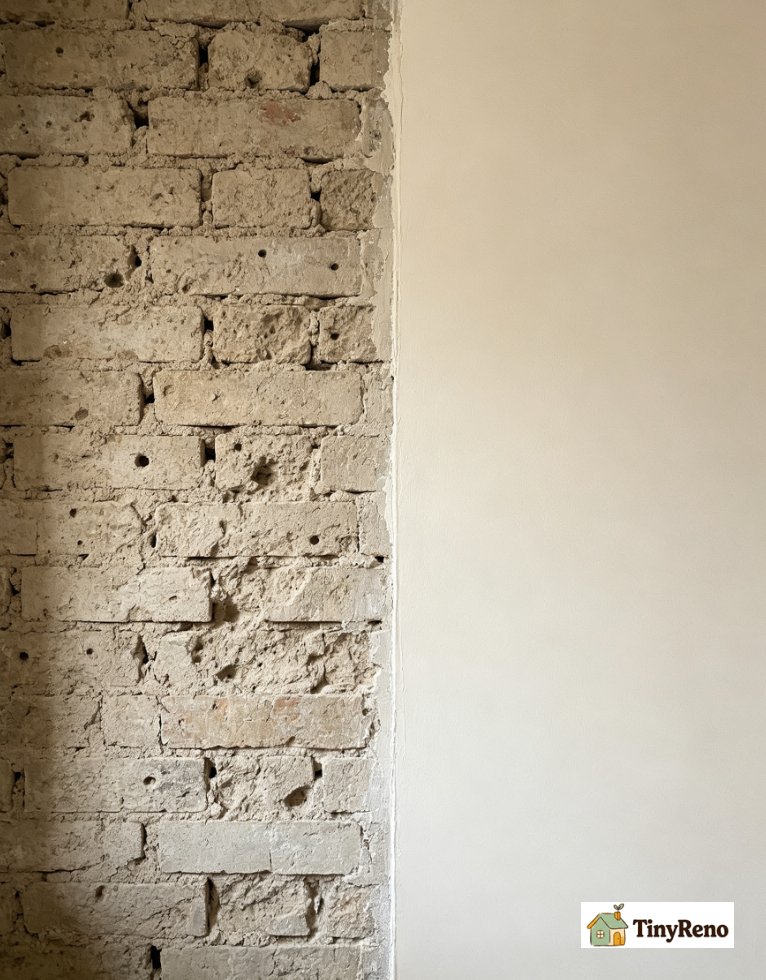
You're painting a bare masonry surface. If the wall is bare concrete block, cinder block, brick, or stucco — common in basement apartments, garages, older utility rooms, and some ground-floor apartments — you need block filler before you paint. Without it, the paint will soak into the masonry, the surface will look rough, and you'll use three times as much paint trying to get a smooth finish.
You're painting an old wall with many layers of old paint. If the wall has been painted over many times and the paint surface is uneven, with visible patches, repairs, and texture differences, block filler can unify the surface. It's not the only way to fix this — you can also skim-coat the wall with joint compound — but block filler is faster and easier for large surfaces.
You're painting a wall that's been stripped or sanded. If you've stripped old wallpaper or sanded off old paint and the wall underneath has exposed pits, scoring, or surface damage, block filler will fill the pits and give you a uniform surface to paint over.
If you're painting a normal drywall wall in a normal apartment, you don't need block filler. Regular primer will do. Block filler is for masonry, multi-layer paint jobs, or heavily damaged surfaces.
What you need
The materials for a block filler job are the same as a regular paint job, plus a couple of extras.
A five-gallon bucket of latex block filler primer. The most common brand is Sherwin-Williams Loxon Block Surfacer, but there are others. A five-gallon bucket is $80 to $100 and covers roughly 500 square feet in two coats. Most apartments need less than a full bucket, so you can split the cost with a friend or ask the hardware store for a partial fill.
A paint roller with a thick nap cover. Use a 3/4-inch nap roller, which is thicker than the 1/4-inch nap you'd use on drywall. The thick nap pushes the block filler into the pits in the masonry. A regular 1/4-inch nap roller will skip across the surface and not push the filler into the pits.
A paint tray and liner. Use a deep tray, not a shallow one. Block filler is thicker than paint and needs a deeper well.
A putty knife for any large pits that the roller can't fill. Sometimes a single deep pit or gouge needs to be patched with spackle before you roll the block filler. Knock these out first with spackle, let them dry, sand them flush, then roll the block filler over the whole wall.
A sanding pole with 120-grit sandpaper for smoothing the block filler after it dries. The block filler dries hard but sandable. You'll sand the whole wall lightly after the second coat to knock down any ridges or texture from the roller.
Regular latex paint for the topcoat. Two coats of paint over the block filler is standard.
The eight-step process
Step 1 — Prep the wall. Remove any loose paint, spackle, or wallpaper. Vacuum the wall and the floor at the base. Tape off baseboards, window trim, door frames, and any outlets. Lay a drop cloth.
Step 2 — Patch the deep pits. Use spackle and a putty knife to fill any pits deeper than 1/8 inch. Press the spackle in firmly, let it dry for two hours, sand it flush. These will get covered by the block filler, but you don't want the filler to have to bridge a deep pit on its own — it will crack over the pit.
Step 3 — Mix the block filler. Open the bucket and stir the block filler with a paint stir stick. Block filler separates in the bucket and the solids settle to the bottom. Stir for at least two minutes, scraping the bottom, until the consistency is uniform. The block filler should be the thickness of a thick milkshake — pourable but not runny.
Step 4 — Cut in the edges. Use a 2-inch angled brush to cut in the edges around the corners, ceiling, baseboard, and trim. This is the same cutting-in step you'd do with regular paint.
Step 5 — Roll the first coat. Pour block filler into the paint tray. Load the 3/4-inch nap roller and roll the wall in sections about three feet wide. Roll in a W pattern to push the filler into the pits, then roll over the section in long vertical strokes to even it out. Don't try to make the first coat perfect — it will look rough and that's fine. The second coat will smooth it out.
Step 6 — Let it dry. Block filler dries slowly. Give it at least four hours, ideally overnight. It will turn from dark gray to light gray as it dries. Don't try to sand or paint over it until it's fully dry, or the filler will pull off the wall.
Step 7 — Roll the second coat. Repeat the same rolling pattern. The second coat will be smoother and will close up the tiny pores that the first coat didn't fully seal. But it won't fix a deep pit. If you still see a visible crater after the first coat dries, patch it with spackle, let it dry, sand it flush, and then roll the second coat. Let it dry overnight.
Step 8 — Sand and paint. Use a sanding pole with 120-grit sandpaper to go over the wall lightly. You're knocking down the roller texture and any high spots, not stripping the filler. Keep the sander moving and use a light touch — if you press hard, you'll gouge the surface you just filled. If the whole wall is fairly smooth, a quick pass with 150 grit is enough. Vacuum the wall and wipe it with a tack cloth. Then roll two coats of regular latex paint over the wall, letting each coat dry according to the manufacturer's instructions.
What it costs and how long it takes
The materials for a typical bedroom wall (about 350 square feet) cost roughly $130: $25 for a partial bucket of block filler (most hardware stores will sell you a partial fill), $15 for the roller and tray, $10 for sandpaper, $80 for two gallons of paint. The active labor is about six hours, but plan for four days minimum. Block filler needs overnight drying between coats, and the topcoat needs its own drying time. If you're painting over the block filler the same weekend you roll it, you're going to be waiting around a lot: two hours on day one to prep and roll the first coat, two hours on day two to roll the second coat, two hours on day three to sand and paint.
The transformation is dramatic. A bare concrete wall goes from rough and pitted to smooth and paintable in two coats of block filler. The patched spots disappear into the surface. The final paint job looks like a normal apartment wall instead of a wall that someone tried to paint over without prepping it properly.
For my 1920s bedroom, block filler was the fix I needed to make the wall look like new. It's not a product you'll find at every hardware store, and it's not something you need for every paint job, but for masonry walls and old multi-layer paint jobs, it's the only primer that actually fills the surface.


Discussion (0)
Sign in to join the discussion