

Filling carpenter bee holes is the job I didn't know I had until a Tuesday morning in May when my upstairs neighbor texted a photo of a perfectly round, dime-sized hole in the wood trim around her kitchen doorframe, with a second smaller hole about six inches above it. The first hole was the entrance. The second hole was the exit. Between them, somewhere in the wood, a female carpenter bee had decided to build a nursery and lay her eggs.
My neighbor's instinct was to fill carpenter bee holes the moment she saw them, the same way you'd patch a nail hole before moving out of an apartment. That's exactly the wrong move. If the bee is still inside, sealing the hole traps her and her larvae in the wood, and the dead insects attract carpenter ants, which are a much worse problem. If she's already left, sealing the hole before you've treated the tunnel with a residual insecticide just gives the next bee a ready-made nursery.
I learned all of this the way I learn most things: by doing it wrong first, then calling my aunt, who has been a painter for thirty years and knows more about what lives inside wood than any entomologist I've met.
What a carpenter bee hole actually looks like
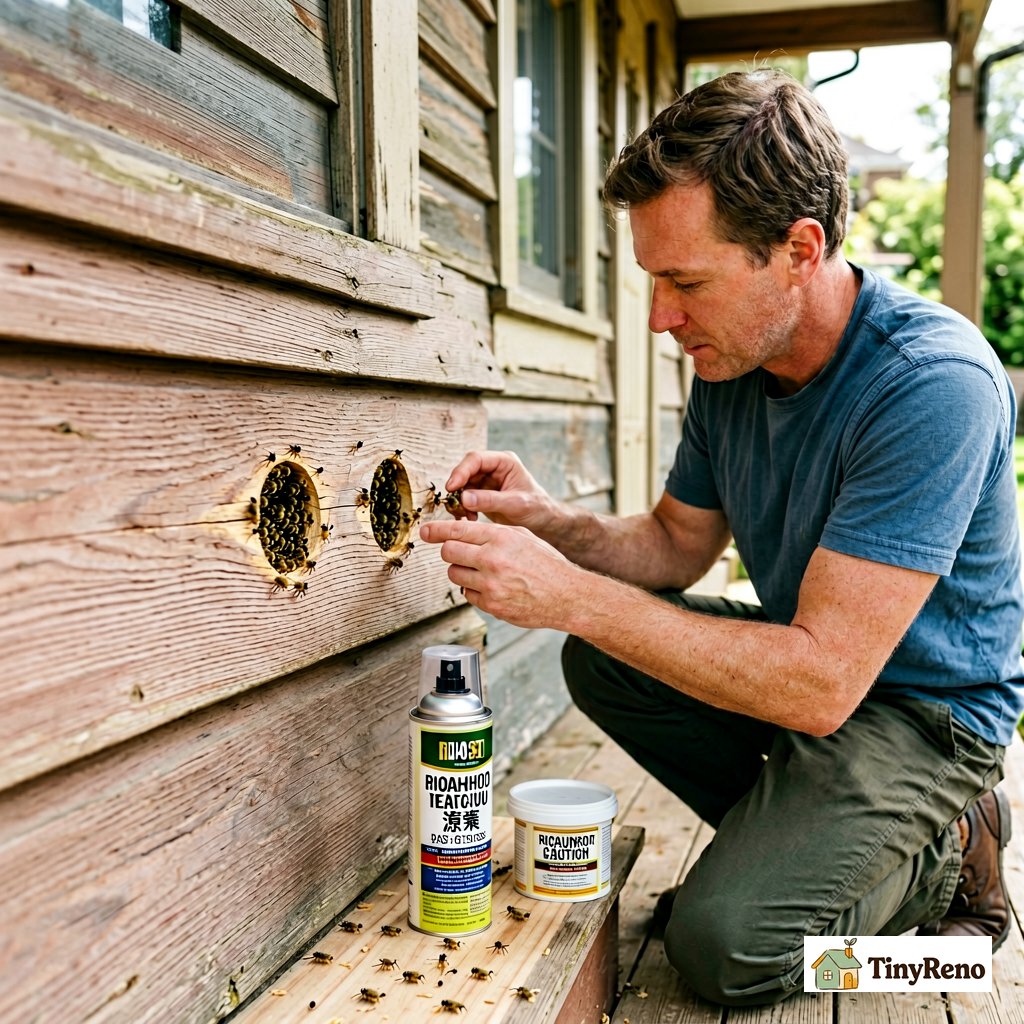
The first thing to know about filling carpenter bee holes is that not every hole in the wood trim is a carpenter bee hole. I've patched at least a dozen "bee holes" in apartments that turned out to be old picture hanger nail holes, knot holes in cheap trim, or exit holes from powder post beetles.
A real carpenter bee hole has three features. The entrance is a perfectly round hole about the diameter of a pencil eraser, usually on the underside or side of a piece of wood trim, a deck railing, a fascia board, or an outdoor wood surface that gets sun. The hole is clean — the bee chews it, she doesn't peck it, so the edges are smooth. The hole goes into the wood at a slight upward angle, because the bee is boring toward the grain and slightly into the heartwood. The hole will usually have a faint yellowish stain around the rim, which is the bee's body oil mixed with sawdust.
If you see one hole with the features above and a second smaller hole a few inches away in roughly the same direction, that's almost certainly a carpenter bee nest. The second hole is the exit. If you see only one hole and no second one, the bee is still inside, or she's just starting.
The third tell is sawdust. A fresh carpenter bee hole will have a small pile of fine sawdust on the surface directly below it, like a tiny sand drift. This is the most recent bore dust. An older hole might not have fresh sawdust, but it will have a faint dark stain on the wood underneath, where the sawdust has been wet and dried multiple times.
When to fill and when to wait
How do you tell if a hole is active or old? Look at the sawdust. A fresh hole has a small pile of fine, pale sawdust directly below it. An old hole has darker, clumped sawdust or none at all. If you're not sure, cover the hole with a piece of clear tape for a week. If new sawdust appears on the tape, the hole is active. If nothing appears, the bee is probably gone.
Here's the part I got wrong the first time. You don't fill carpenter bee holes in spring or early summer, which is when the bees are active. You fill them in fall, after the bees have left.
Carpenter bees overwinter as larvae inside the tunnels they were laid in, then emerge as adults in spring. The adults mate, the females bore new tunnels, lay eggs, and the cycle starts over. The adults are gone by late summer, but the eggs are still in the tunnels, hatching into larvae that stay in the wood until they pupate and emerge the following spring. If you fill a carpenter bee hole while the bee or her larvae are still inside, you trap them in there, and the dead insects attract ants and other pests.
So the right time to fill carpenter bee holes is in the fall, between mid-September and early November depending on your climate, after the bees have stopped flying for the year and before the wood freezes. This is when the tunnels are empty, the larvae are dormant, and the wood is dry enough to take filler properly.
If you're a renter and the landlord is asking you to deal with filling carpenter bee holes during a move-out inspection in July, you have a different problem. Either the holes are old and the bees are long gone, or you need to ask the landlord to call an exterminator before you patch anything. Don't fill active holes yourself.
The order of operations
The mistake I made the first time I tried this was to skip straight to the wood filler. I had the hole, I had the filler, I figured I'd pack it in, sand it, paint it, and move on. The result was a soft spot in the trim that I could push in with my thumb six months later, and a fresh pair of holes six inches to the right where the next generation of bees had decided to move in because the original tunnels smelled like food to them.
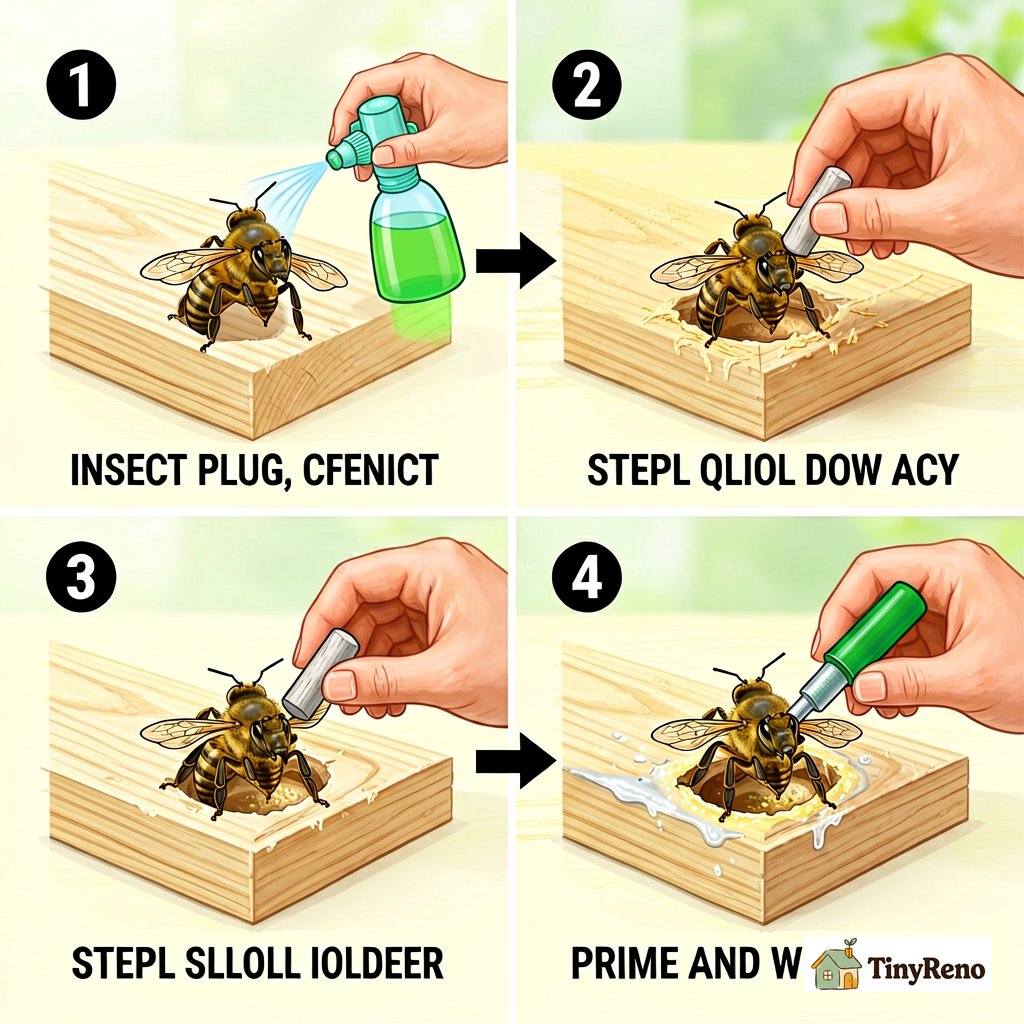
The right order is four steps: kill, plug, fill, finish.
Kill first. Buy a can of insecticide labeled for carpenter bees. The active ingredient is usually cypermethrin or bifenthrin. Spray the product into the hole for about three seconds, then leave the hole open for at least 24 hours — longer if the product label says so. Some formulas need 48 hours to fully penetrate the tunnel. The point isn't just to kill what's inside. It's to leave enough residual insecticide in the tunnel that any bee returning to the same hole gets a dose before she can bore deeper. Don't seal the hole immediately. The point of the spray is to kill the bees and larvae in the tunnel, not to trap them in there.
Plug second. After the 24-hour waiting period, push a short piece of dowel or a wooden golf tee into the hole so it goes most of the way in but leaves about a quarter inch of space at the surface for the filler. The dowel gives the bee something solid to chew through if she comes back next year, which discourages her from re-using the same tunnel. A dowel is better than just filling the hole with filler because the filler alone is soft enough that a determined bee can chew through it. Dowels and golf tees both work. Dowels are better for round holes because they fit more closely. Golf tees are useful for smaller holes because the tapered shape wedges in tightly. Whichever you use, leave about a quarter inch of space at the surface for the filler — you need a shallow depression for the filler to grip, not a flush plug that the filler can't hold onto.
Fill third. Use exterior-grade wood filler if the hole is on outdoor wood (deck, fascia, siding) or interior-grade wood filler if it's on indoor trim. Press the filler firmly into the hole and slightly overfill it, because the filler shrinks as it dries. Wait 24 hours for it to cure, then sand it flush with the surrounding wood.
Finish fourth. Prime the patched spot with an exterior-grade primer if it's outdoor wood, or an interior primer if it's indoor trim. Then paint the patched area to match the surrounding wood. If the wood is stained rather than painted, you'll need to match the stain with a stain marker or by dabbing stain onto the patch with a small brush.
What not to do
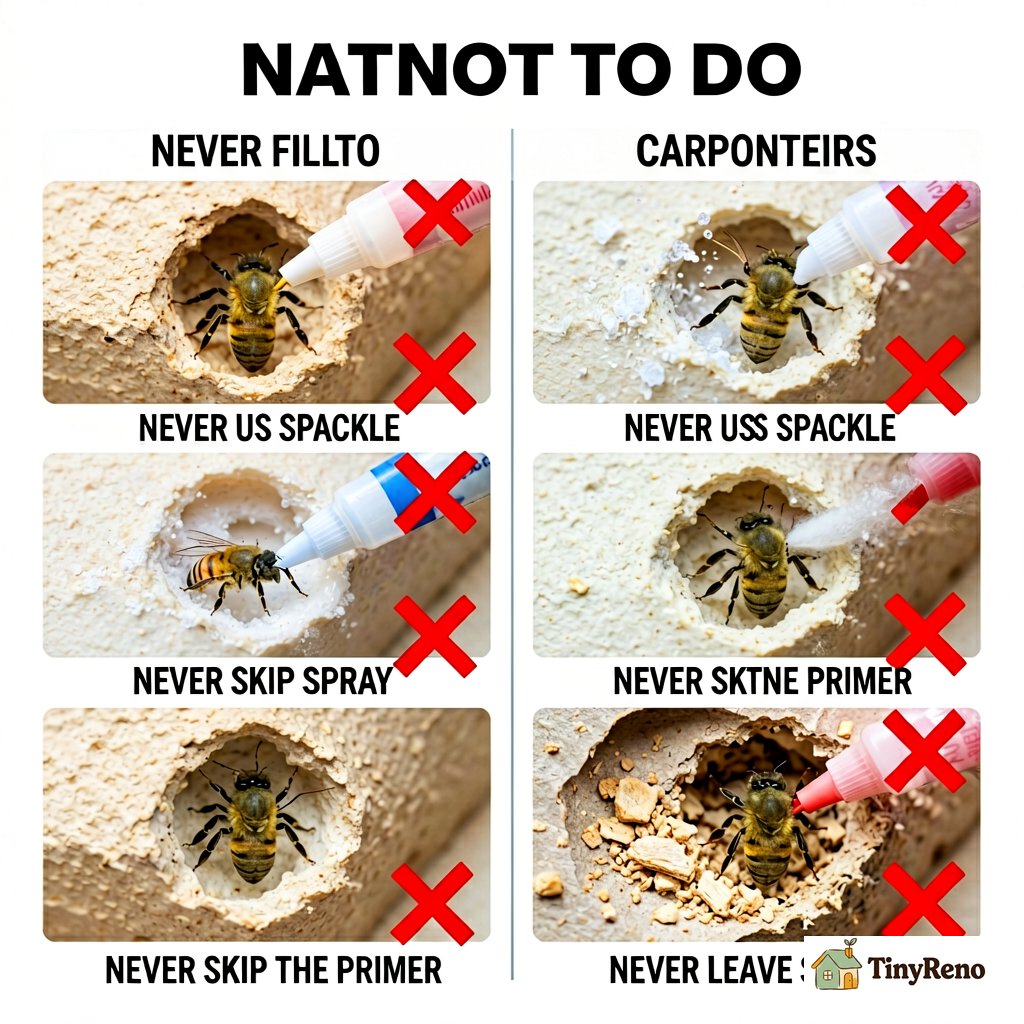
There are five things I've done wrong that you should not do.
Don't use caulk to fill carpenter bee holes. Caulk is flexible and soft. A bee can chew through it in minutes. Caulk is for sealing gaps between materials, not for plugging holes in wood.
Don't use spackle. Spackle is for drywall repairs. It doesn't bond well to bare wood and it doesn't take stain.
Don't fill the holes without spraying first. The bees will be back next year, and they'll either chew through the filler or start a new tunnel six inches away, which is exactly what happened in my neighbor's kitchen doorframe the year after we filled the holes without spraying. The bees came back and bored new holes right next to the patches.
Don't paint over the patch without priming first. Bare wood filler and bare wood absorb paint differently than the surrounding painted surface. If you skip the primer, the patch will show through the paint as a dull spot.
Don't leave the sawdust on the ground. Carpenter bee sawdust is a mild attractant for the next generation. Sweep it up and throw it away, or rinse the area with a hose if it's outdoor wood.
What it costs and how long it takes
For renters specifically: if the holes are on the exterior of the building or on shared wood trim, that's the landlord's responsibility in most leases. If the holes are on a piece of trim attached to your unit — a doorframe, a windowsill — the fix is usually a gray area. The safest move is to email the landlord with a photo and ask whether they want to treat it or whether they'd prefer you handle it. Either way, get the answer in writing. If you fill active holes and the bees come back, the landlord may charge you for the repair.
A can of carpenter bee spray is about $12 and treats roughly ten holes. A pack of wooden golf tees is $4. A small tub of exterior wood filler is $8. A small can of primer is $10. The total materials for a typical patch job of three to five holes is about $35.
The time is about an hour per hole spread across three days: ten minutes to spray the hole on day one, ten minutes to plug and fill on day two, ten minutes to sand and prime on day three. Then you paint on day four or whenever the primer has cured.
My neighbor's doorframe took two hours total across a long weekend, and that included five holes and a repaint of the entire trim piece. The patch has held for three years now and no new bees have come back to that section. The section of trim six feet away, which had holes we didn't fill because the landlord didn't want to pay for it, has a fresh pair of holes every spring.
If you're filling carpenter bee holes in your own home, plan the work for fall and do all the holes at once. If you're a renter dealing with a move-out inspection, talk to your landlord first. Either way, don't just patch and pray.


Discussion (0)
Sign in to join the discussion