

Dear Latex Paint on my kitchen cabinets,
I'm writing to tell you how to remove paint from cabinets, and you're the reason I learned. After eleven months of you, I've decided this isn't working. You showed up on the cabinets the day I moved in — a flat, builder-grade off-white that the previous tenant left behind like a parting gift nobody asked for. I tried to love you. I wiped you down weekly, I added magnetic spice jars to distract from your dullness, I told my mother you were "modern farmhouse minimalism." But the truth is you made my kitchen look like a rental kitchen, which is what it is, but I didn't want it to look like one.
So I'm stripping you off, and I'm documenting the full how to remove paint from cabinets process so other renters can follow it. This is your official seven-day notice. I'm not asking you to leave — I'm telling you. I'm using a chemical stripper, a heat gun, and a sanding block, and I'm taking notes so anyone else stuck with ugly cabinet paint can do the same. By the time you read this, you'll already be in contractor bags.
Why I chose to strip instead of paint over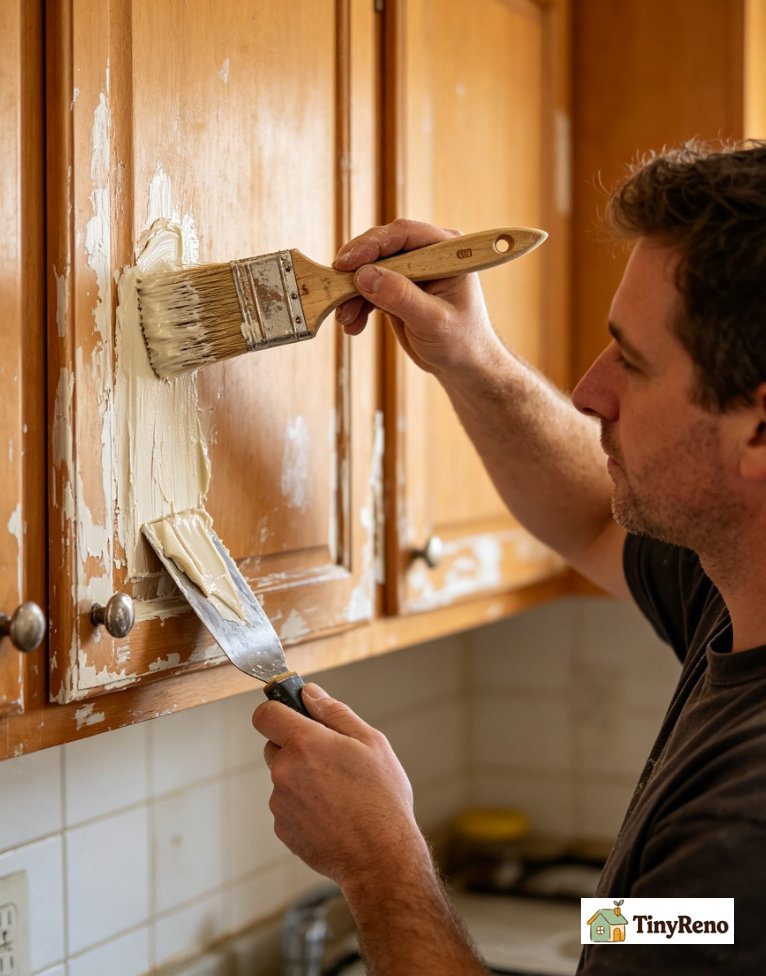
I want to be honest with you about why I'm doing this and not just painting over you with something darker and pretending everything's fine. Two reasons. First, the landlord said in the lease that "major surface modifications require written approval" and repainting cabinets a different color feels like the kind of thing that would cost me part of my deposit when I move out. Stripping you off and leaving whatever's underneath is a restoration, not a modification — the wood (or whatever's under there) was the original surface, and that's what the landlord owns.
Second, I tried painting over you in my last rental and watched the new paint chip off in sheets within four months because the new paint didn't bond well to the old latex surface. So I learned that painting over cabinet paint is a temporary fix at best. Stripping is the real fix.
Day 1: Choosing the stripper (how to remove paint from cabinets starts here)
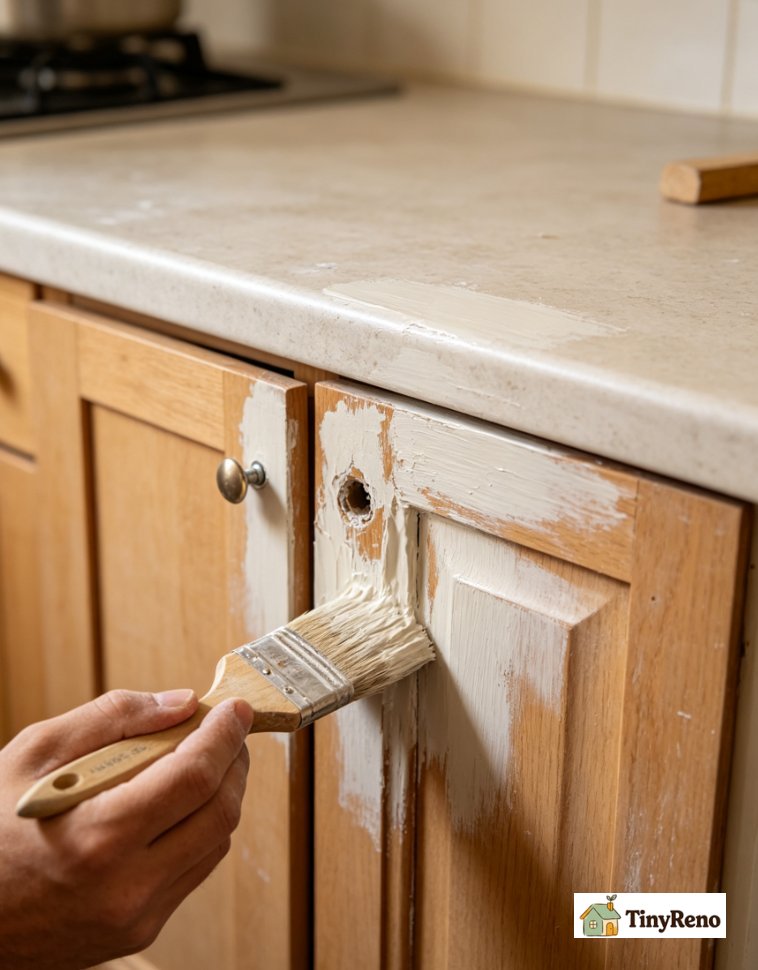
I went to the hardware store and stood in the chemical aisle for twenty minutes reading labels. There are three kinds of stripper that work when you need to remove paint from cabinets: methylene chloride-based (the strongest, fastest, and most toxic — the fumes will clear a room and the warnings will scare you), soy-based or citrus-based (slower, less toxic, but they need more applications), and a paste stripper like Citristrip that sits on the surface for hours.
I bought Citristrip because it was the most user-friendly and the safety profile was reasonable for indoor work. A gallon was $24. I also bought a putty knife, a cheap natural-bristle brush (the stripper eats synthetic bristles), nitrile gloves, and a respirator with organic vapor cartridges. Total: $87.
This is the part where the letter format breaks a little, because I stopped thinking about the paint as a character and started thinking about it as a job. From here on, it's a daily log. Forgive the shift in tone — the first door did that to me.
Day 2: Applying the stripper
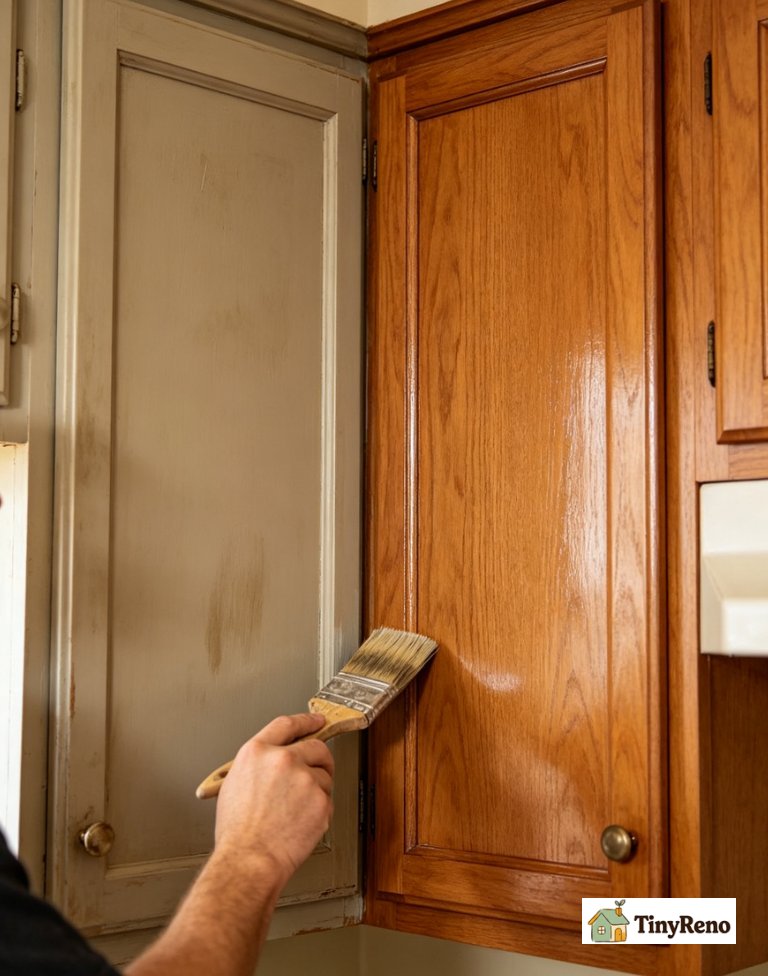
I worked one cabinet door at a time because the stripper dries out within an hour and stops working. I brushed on a thick layer of Citristrip with the natural-bristle brush, waited 30 minutes, and came back with the putty knife. The latex paint came off in long rubbery sheets. The first door took about 45 minutes. By the fourth door I had the rhythm down: brush on, wait, scrape, brush on the missed spots, scrape again, then wipe the door with mineral spirits to remove the residue. The mineral spirits step is important — without it, the stripper residue keeps working and you get ghosting in the new finish.
I got four doors done in an afternoon. The frames took another afternoon because of the detailed molding. By the end of day 2 I had half the kitchen down to bare wood (which turned out to be pressboard with a thin wood-veneer coating, not solid wood — an important detail I'll come back to).
Day 3: The heat gun approach
I switched to a heat gun for the upper cabinets because the Citristrip was running out faster than I expected on the vertical surfaces. A heat gun is basically a hair dryer that gets hot enough to bubble paint. You hold it a few inches from the surface, watch the paint start to wrinkle, then scrape it off with a putty knife. It's faster than chemical stripping but you need ventilation because the fumes are different — heating old paint can release lead if the paint is pre-1978 — but it's not just about the date. Some later paints used old stock, and heating any unknown old paint without testing is a risk. If you're not sure, stick to chemical strippers and avoid the heat gun entirely. Lead test kits are cheap and worth it before you start scraping or sanding.
The heat gun worked well for the flat cabinet faces but struggled with the detailed molding around the doors. For the molding I went back to Citristrip. By the end of day 3 I had all the cabinet faces stripped.
Day 4: Sanding (the step that decides if your remove paint from cabinets job looks pro)
Sanding is the boring part and the most important part. After the stripper and heat gun, the cabinet surfaces feel smooth but they're not — there are tiny bits of paint residue in the grain and especially in the corners of any molding. If you skip sanding, your new finish (whether that's stain, paint, or just a clear sealer) will look blotchy and the leftover paint will show through.
I used a random orbital sander with 120 grit on the flat areas — but I'd recommend 150 grit if you have a veneer surface, because even 120 can cut through the top layer if you pause too long in one spot. Then I switched to 220 by hand for the corners and all the detailed molding. The random orbital sander was $35 rented from the hardware store for the day. The 120 grit took off most of the residue in one pass. The 220 grit smoothed everything for finishing. After sanding, I vacuumed every surface and wiped everything down with a tack cloth to remove the dust.
The veneer detail I mentioned earlier mattered here. Pressboard with a thin veneer coating does not like being sanded aggressively. I sanded too hard on one door and sanded right through the veneer to the pressboard underneath. The spot is now slightly visible as a darker patch. If you're working with veneer, use a lighter touch and stick to 220 grit for the final pass.
Day 5: Filling and patching
There were dozens of small dings and gouges in the cabinet faces from eleven months of regular use plus whatever the previous tenant did. I filled each one with wood filler, let it dry for two hours, then sanded smooth with 220 grit. The wood filler was $8 for a small tub.
For the deep gouge where the previous tenant had clearly hung a towel bar with long screws that went too far, I used a two-part wood filler that cures harder. The regular wood filler would have cracked along that depth. Two-part filler is more expensive but it holds.
Day 6: Priming
I used a stain-blocking primer — Zinsser BIN — because the cabinet wood was a mix of bare veneer, spots of filler, and tiny traces of paint I couldn't fully sand out. BIN seals everything and gives the new topcoat a uniform surface to bond to. One coat of BIN, let it dry for two hours, then a light sanding with 400 grit to knock down any dust nibs.
Day 7: The new finish
I applied two coats of a clear water-based polyurethane in satin. I wanted to see the wood grain, not cover it up. The poly was $35 for a quart. Between coats I waited four hours and did a very light scuff sanding with 400 grit. The satin finish matched the rest of the apartment's woodwork (the door frames and window sills were the same veneer).
What I'd do differently (and what I'd skip)
I'd skip the heat gun entirely next time. It wasn't faster than Citristrip once I accounted for the safety gear, and the Citristrip worked better on the detailed molding. I'd use a coarser initial sand — 80 grit instead of 120 — to save time on the first pass. I'd also start with one cabinet door as a test, because the stripper took longer than the label said on the detailed molding and I underestimated the time.
Total cost: $24 (Citristrip) + $35 (sander rental) + $8 (filler) + $20 (Zinsser primer) + $35 (polyurethane) + $20 (misc brushes, gloves, mineral spirits) = $142. Total active work: about 20 hours. But if you include waiting time for the stripper, the filler, the primer, and the polyurethane to dry, you're looking at closer to seven days from start to finish. Don't start this on a Sunday night hoping to have a kitchen again by Monday.
To anyone stuck with ugly cabinet paint
Dear Latex Paint on someone else's kitchen cabinets,
If you're reading this, your tenant is probably about to do what I did. They're going to stand in the hardware store aisle reading stripper labels for 20 minutes, they're going to buy Citristrip and a putty knife and gloves they're going to wear for exactly one afternoon before giving up on the gloves, and they're going to spend seven days figuring out how to remove paint from cabinets.
Let me tell you what you're in for. The first day is the hardest because you realize how much paint is actually on the cabinet. By day three, you're in a rhythm. By day five, you're sanding and wondering why you didn't do this six months ago. By day seven, you're looking at bare wood and feeling like you have a brand new kitchen — even though the cabinets are still builder-grade pressboard with a thin veneer, because that's what was always there.
The whole job took me about 20 hours and $142. The new finish has held up perfectly for three months. The cabinets look like they did when the apartment was built, which is exactly what the landlord will see when I move out.
Don't take it personally. It's just paint.


Discussion (0)
Sign in to join the discussion