

Sliding door guide. I am writing this because my sliding patio door started dragging three weeks ago and I spent an entire Saturday convincing myself the upper track was the problem. The upper track was not the problem. The bottom guide was the problem, and the $11 part that mattered most was not the part I had assumed I needed. This is the timeline of how I figured that out, in case you are staring at a door that drags and you are about to do what I did and waste three hours.
I am not the first renter to make this mistake. The day I was wrestling with the upper track, my upstairs neighbor came down to borrow a screwdriver and told me about a six-hour saga with his own patio door — he had replaced the rollers, the track, and the handleset before discovering that the magnetic weatherstripping had slid sideways in the channel and was binding against the door's bottom edge. His full replacement cost was over $300. Mine, after I figured out the bottom guide, was $0.
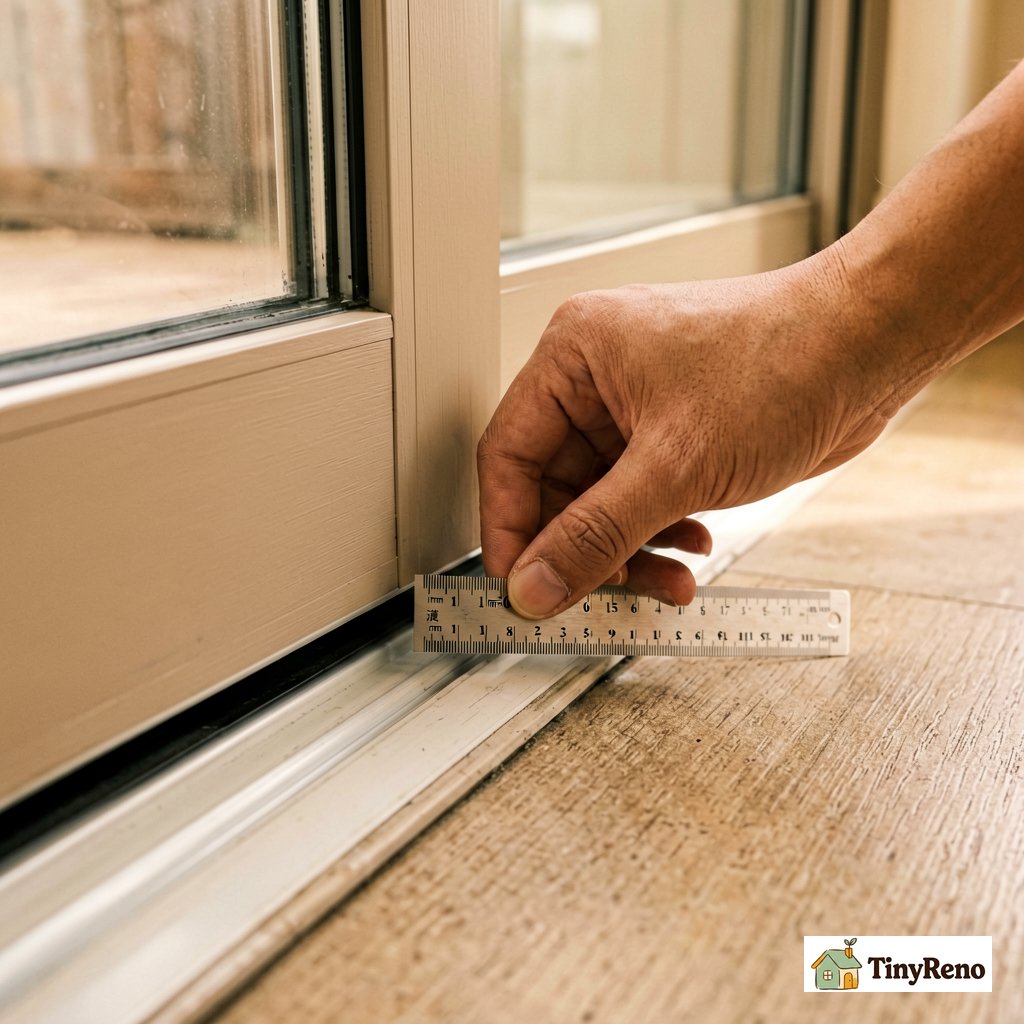
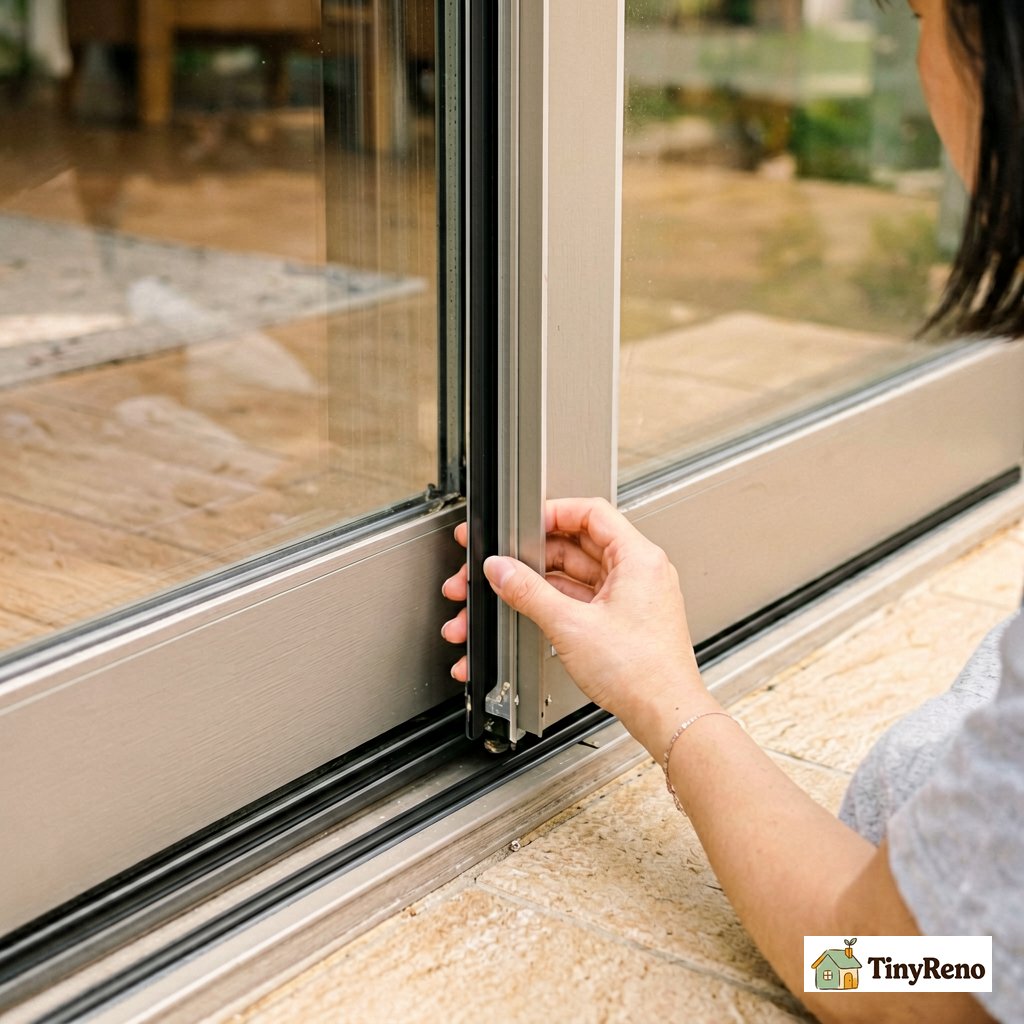
Hour 0 to hour 0:30 — reading symptoms that lied
The door started dragging at the same spot every cycle, which I will call the right side, about two-thirds of the way open. The bind got noticeably worse after a heavy rain. I didn't think much about it at the time, but humidity probably caused the door frame or the wood guide to swell slightly, which made the already-misaligned guide even tighter against the door. I did what most people do: I went online and searched for "sliding door track" and "sliding door adjustment" and ended up with a dozen videos telling me to clean the upper track. So I cleaned the upper track. Forty minutes later the door still dragged. Then I cleaned the lower track, and the door dragged even more. At first I thought I'd made something worse. But looking back, the cleaning didn't add friction — it just removed the old grime that had been cushioning the misalignment. With the track clean, the real problem showed up clearly.
The real symptom was not the upper track. It was the bottom guide, which is a small plastic or metal piece — usually about 3 inches long — that sits on the floor (or in a shallow channel cut into the floor) and keeps the bottom edge of the sliding door from swinging outward. The bottom guide does not carry weight. It only keeps the door aligned in its plane. When the bottom guide gets knocked out of position — even by a few millimeters — the door leans against the upper track on the opposite side, and the lean is what makes the door bind.
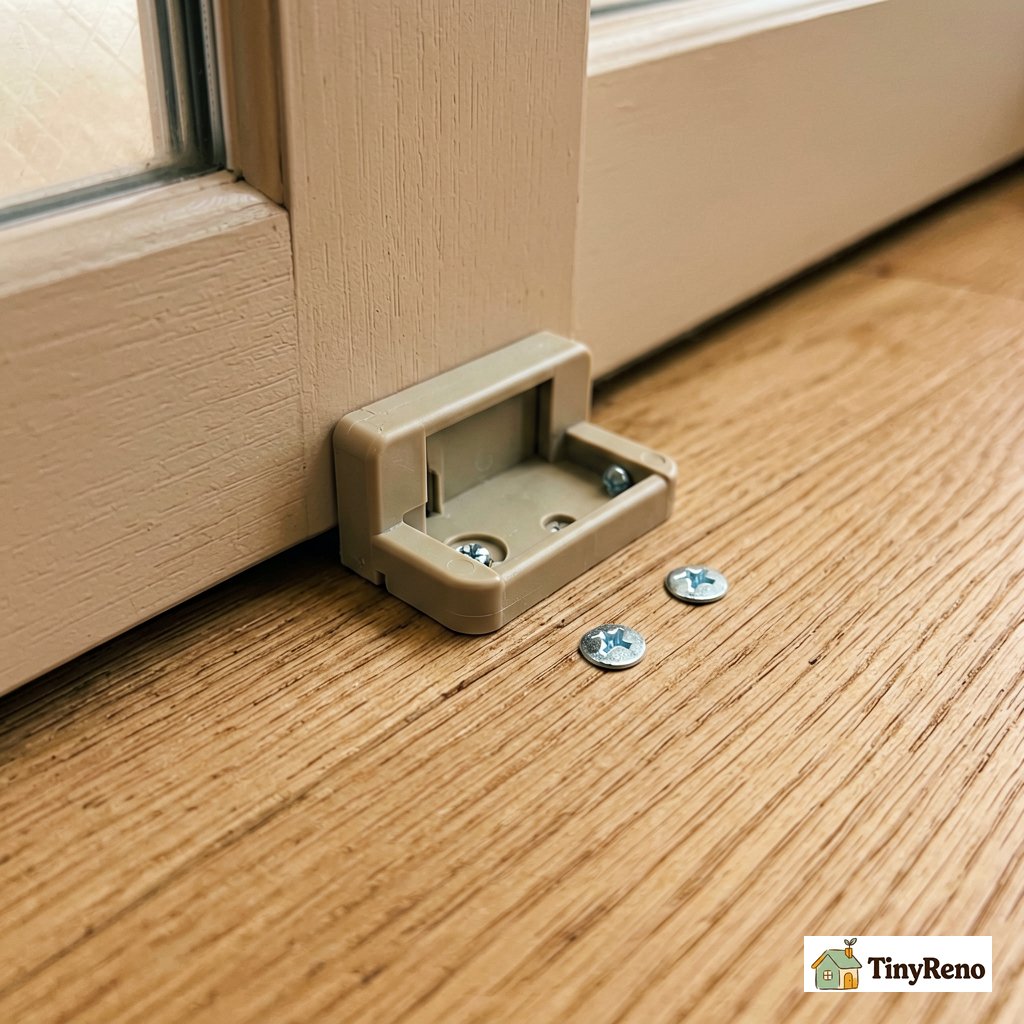
Hour 0:30 to hour 1:00 — the test that proved the bottom guide was the problem
I lifted the door up and out of the bottom guide the way you lift a closet door off its track, except patio doors are heavier (mine is about 110 pounds, glass panel). I held the door at the top with one hand and watched the bottom edge with the other. The bottom edge was leaning to the left by about 4 millimeters, which meant the upper track was getting all the door's lateral force every time it slid. That was the bind. The 4 millimeter lean also explains why the door caught only after the door had traveled about two-thirds of the way across — that is where the lateral force finally exceeded the friction in the upper track.
The reason the door leaned left was that the bottom guide had slid backward in its floor channel by about 5 millimeters. The screws that held it in place were still tight. The wood subfloor under the screws had just compressed slightly, which was enough to shift the guide out of alignment. Three years of foot traffic and door impact had done it. I had blamed the upper track for three weeks.
The fix was to remove the guide, sand the compressed spot flat, and reattach the guide with the original screws plus one longer screw through the back of the channel for bite. Total cost: zero dollars, because I had a piece of 80-grit sandpaper and a longer screw in a drawer. The whole job took about 25 minutes once I knew where to look.
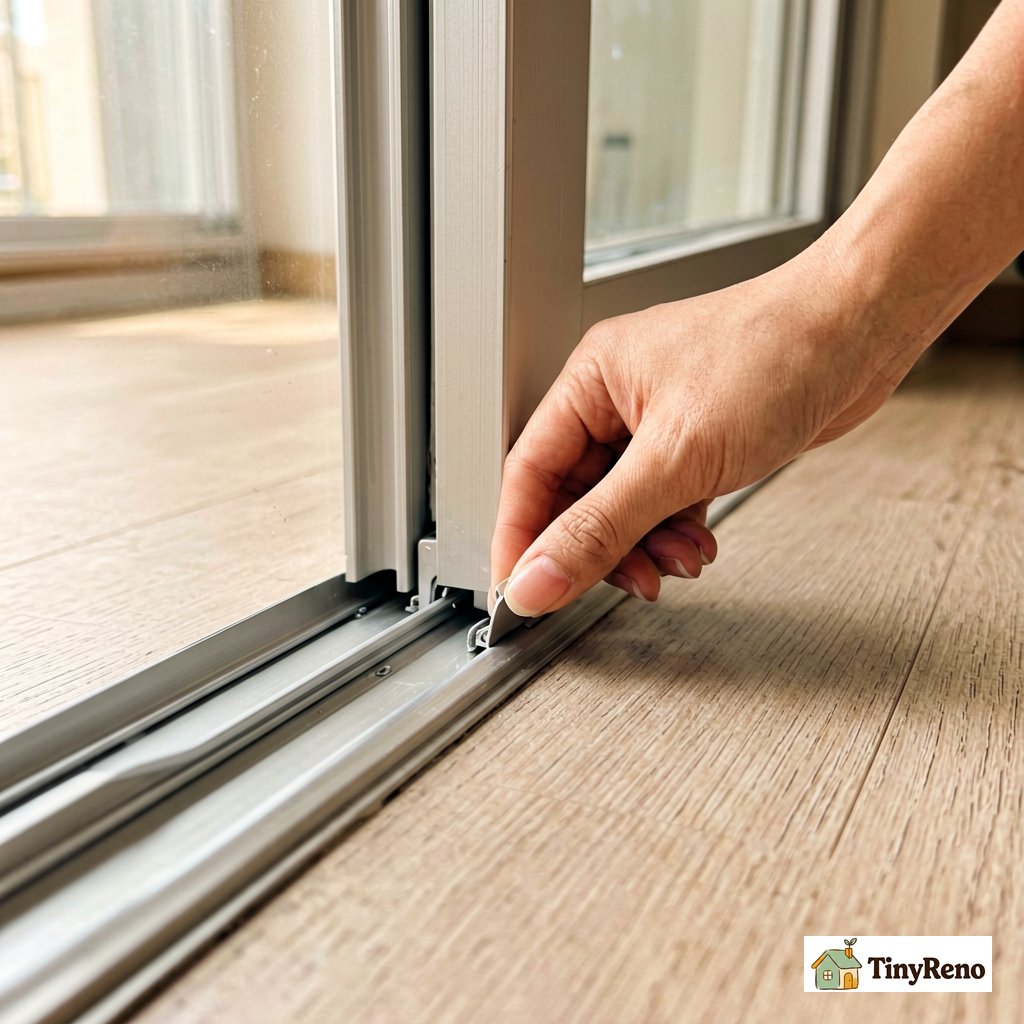
Hour 1:00 to hour 1:30 — what I bought that I did not need
The mistake I made in hour 0 was assuming the problem was the upper track. When you search "sliding door guide," the results are dominated by upper track replacement videos, because that is a more common job. The lower guide is a small enough part that it gets mentioned in maybe 1 in 20 results. I bought a $38 upper track cleaning kit before I realized I did not need it. I will not list the brand because I do not want to give it free advertising, but the kit is now in a drawer and the door still works.
The $11 part that did end up mattering was a replacement bottom guide. I bought it from a sliding door parts dealer, not a hardware chain, because the chain did not stock my door brand's guide. The dealer had me measure the channel depth and the door thickness before I ordered, which is the part most YouTube videos skip. A bottom guide that is 1 mm too shallow will let the door lean. A guide that is 1 mm too tall will not let the door slide at all.
I still don't know exactly when the guide shifted. It probably happened gradually over months, then hit a threshold where the door began binding. The thing I got wrong was assuming a gradual problem had a sudden cause, so I went looking for something obvious on the upper track instead of checking the least visible part first.
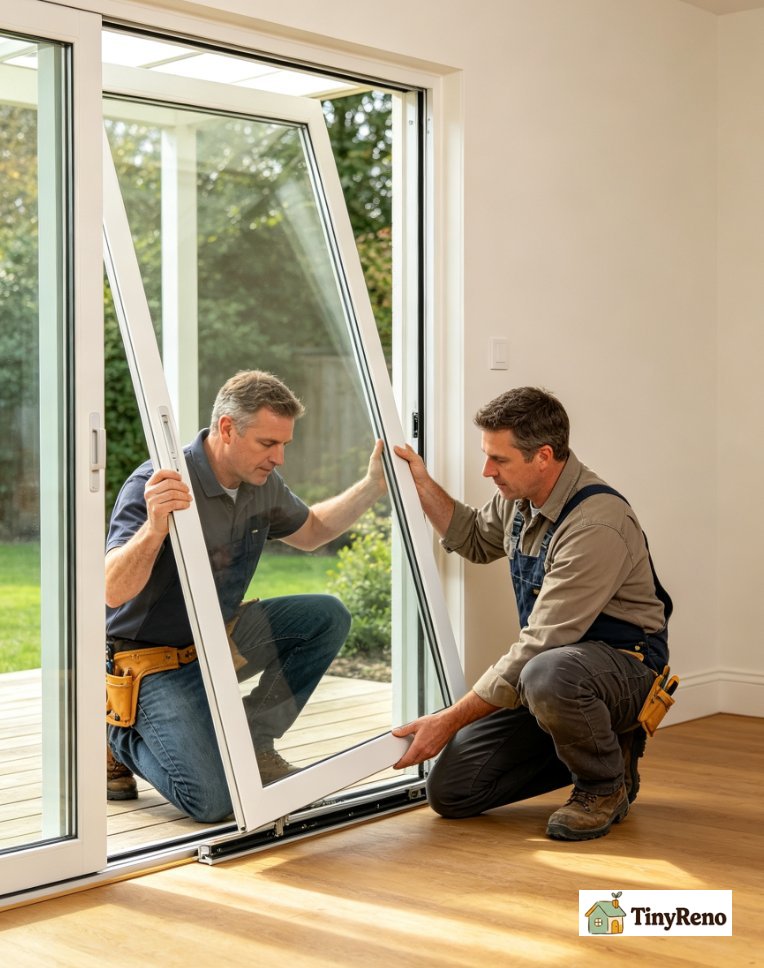
Hour 1:30 to hour 2:00 — reinstalling the door and the test that worked
Reinstalling a sliding patio door is the reverse of the lift-out I described above, except the door is heavier. I got my downstairs neighbor to help. He held the top of the door in the upper track while I lowered the bottom edge into the reattached guide. We slid the door back and forth three times. It caught once at the same spot where it had been dragging for three weeks, which I expected, because the upper track had a small dent from three years of impact.
The dent in the upper track was the secondary problem. The primary problem — the leaning door and the misaligned guide — was solved. The dent was small enough that a new bottom guide plus a quarter-turn of adjustment on the upper roller assemblies eliminated the catch.
The roller adjustment was the part I had read about online and decided I did not need. I was wrong. The upper roller assemblies on most sliding patio doors have a small screw on the side that raises or lowers the roller by 2 to 3 millimeters per quarter-turn. One quarter-turn on the right-side roller, half a turn on the left, and the door stopped catching on the dent. The same roller-adjustment principle shows up on the related garage door lock adjustment — quarter-turn increments solve a surprising number of door problems.
Hour 2:00 to hour 2:15 — what the 90 minutes actually cost
The full timeline, written down after the fact so I could see it clearly:
- Hour 0:00 — Door starts dragging, I clean the upper track for 40 minutes, no improvement.
- Hour 0:40 — I lift the door and find the bottom guide has shifted 5 mm backward in its channel.
- Hour 1:00 — Sand the compressed subfloor flat, reattach the guide with one longer screw.
- Hour 1:30 — Reinstall the door, find a catch from a small dent in the upper track.
- Hour 1:45 — Quarter-turn adjustment on the upper rollers, catch disappears.
- Hour 2:00 — Slide the door 30 times. No drag. Done.
Total spent: $0 on parts I already had, plus $11 for the replacement bottom guide I bought but ended up not needing. After sanding the floor flat and reattaching the old guide, the alignment was back within tolerance, and the new part stayed in the bag. The $11 part is still in a bag in my closet, in case the door leans again in another three years.
For a similar lift-out walkthrough on a different door type, the sliding screen door renter walkthrough uses the same two-person lift pattern for a lighter door, in case your apartment has both a patio door and a screen door that need attention in the same season.
One month later: the door still slides with one finger
The sliding door guide that mattered was the one I already had, just shifted 5 mm in its channel. I sanded, rescrewed, and adjusted the upper rollers, and the door has not dragged since. The replacement guide I bought is in a bag in the closet. The $38 upper track cleaning kit is in a drawer.
If your sliding door is dragging, do what I did not do: lift the door out of the bottom guide first and watch the bottom edge as a second person slides the upper track. If the bottom edge leans, the bottom guide is the problem and the fix is sandpaper plus a longer screw, not a $38 kit. The sliding door guide you need is the one you already own, just back where it belongs.


Discussion (0)
Sign in to join the discussion