

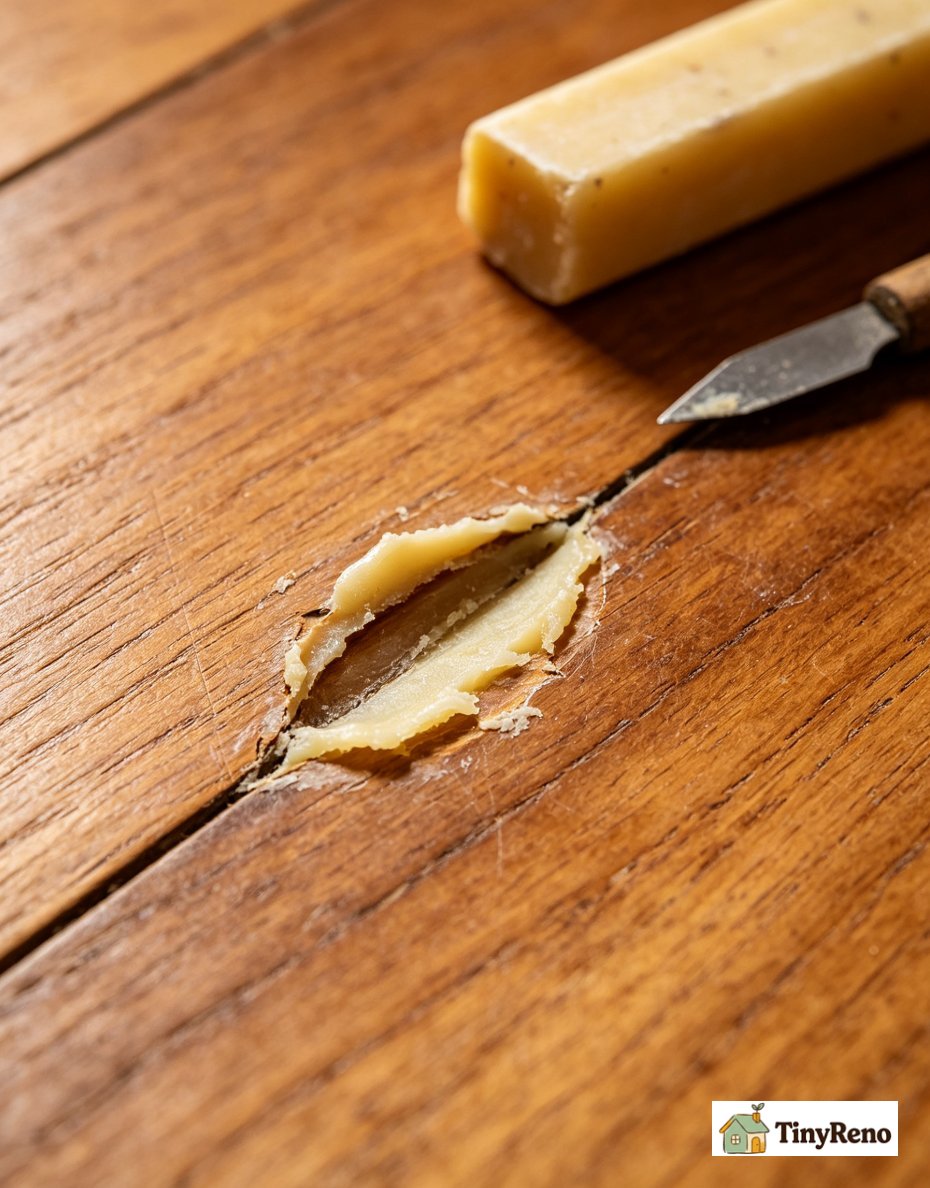
I spent eighty dollars on a hardwood floor repair kit last summer, and six months later every single scratch I'd used it on had either darkened again or pulled loose from the wood. The kit came with twelve wax sticks in graduated colors, a melting tool, a putty knife, and a buffing pad. I followed the instructions exactly. I cleaned each scratch with the included alcohol wipe, heated the wax stick until it was soft, pressed it into the gouge, smoothed it flat with the putty knife, and buffed it. It looked perfect for about three weeks. Then the wax shrank as it cured, the color faded in the sunlight, and each repair became a darker dot inside a now-lighter scratch — like a coffee stain inside a water stain.
This is the guide I wish I'd had before I bought that kit. A hardwood floor repair kit is the right tool for some scratches and the wrong tool for almost all of them. The trick is matching the scratch to the kit — or, more often, matching the scratch to something that costs between zero and ten dollars and works better than wax.
Why the $80 kit failed where the walnut worked
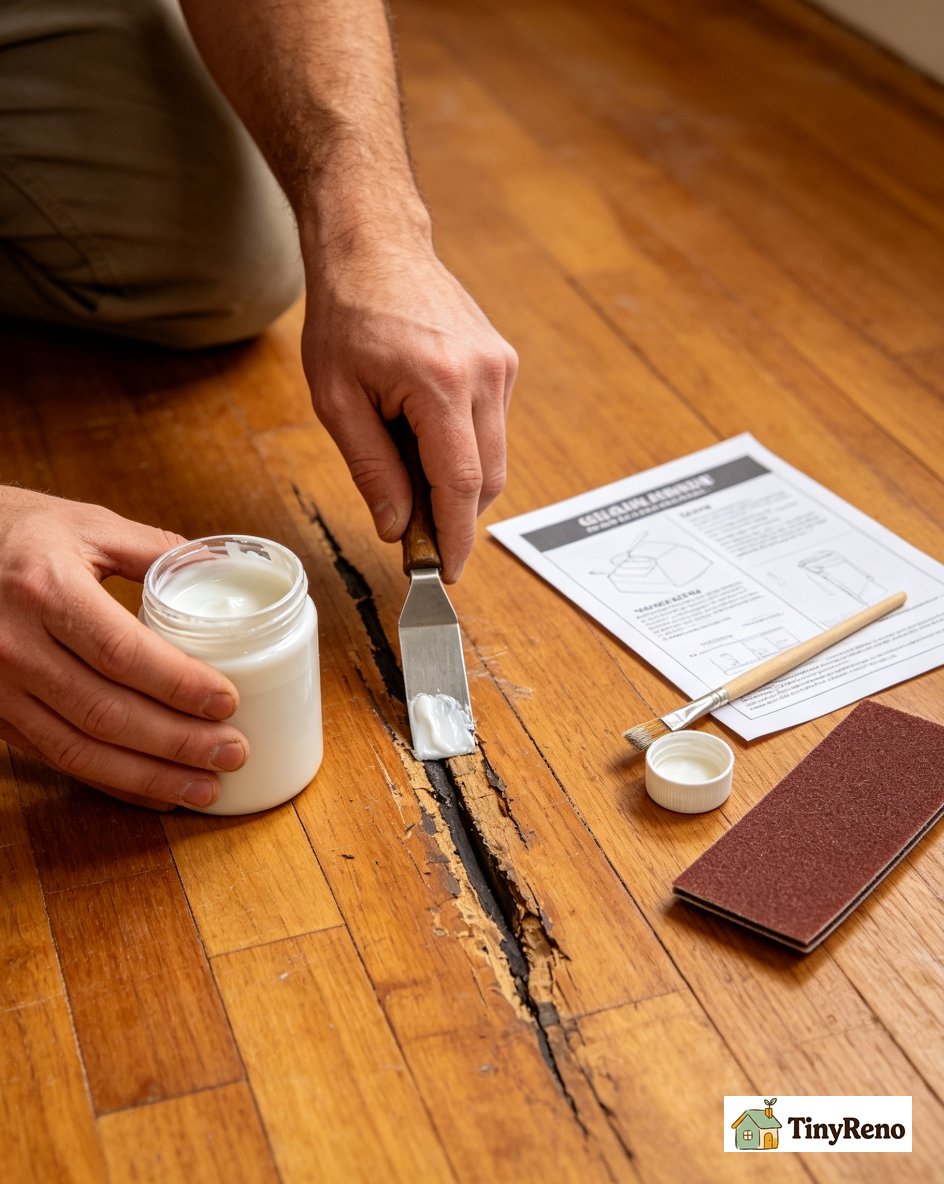
The first scratch I tried to fix was a six-inch gouge along the grain of the oak floor in my living room. Some piece of furniture had been dragged across it during the previous tenant's move-out. The gouge was deep enough that I could feel it catch on my fingernail when I ran my finger across it. The wax stick filled it. The fill looked great. Then, as I said, it shrank.
Wax shrinks when it cures. That's a chemical property of the material, not a quality issue with the kit. The deeper the gouge, the more wax you need to fill it, the more the wax shrinks as it cools. The instructions on the kit don't warn you, but every hardware store employee I asked afterward said the same thing: wax fills are temporary. They buy you six months. They don't buy you a permanent fix.
What works on shallow scratches is a piece of raw walnut. I learned this from a friend who's refinished furniture for twenty years. You rub the meat of a raw walnut across the scratch — the natural oils in the nut darken the raw wood inside the scratch, and the color match is uncanny because walnut oil and oak tannin are chemically related. For shallow scratches (the kind where you don't feel them catch your fingernail), the walnut trick works better than wax. It doesn't shrink. It doesn't fade in the sun. It costs a dollar for a bag of walnuts.
The $80 hardwood floor repair kit sat in my closet for the rest of the lease. I used a bag of walnuts instead.
The middle ground: scratches you can feel but not see deeply
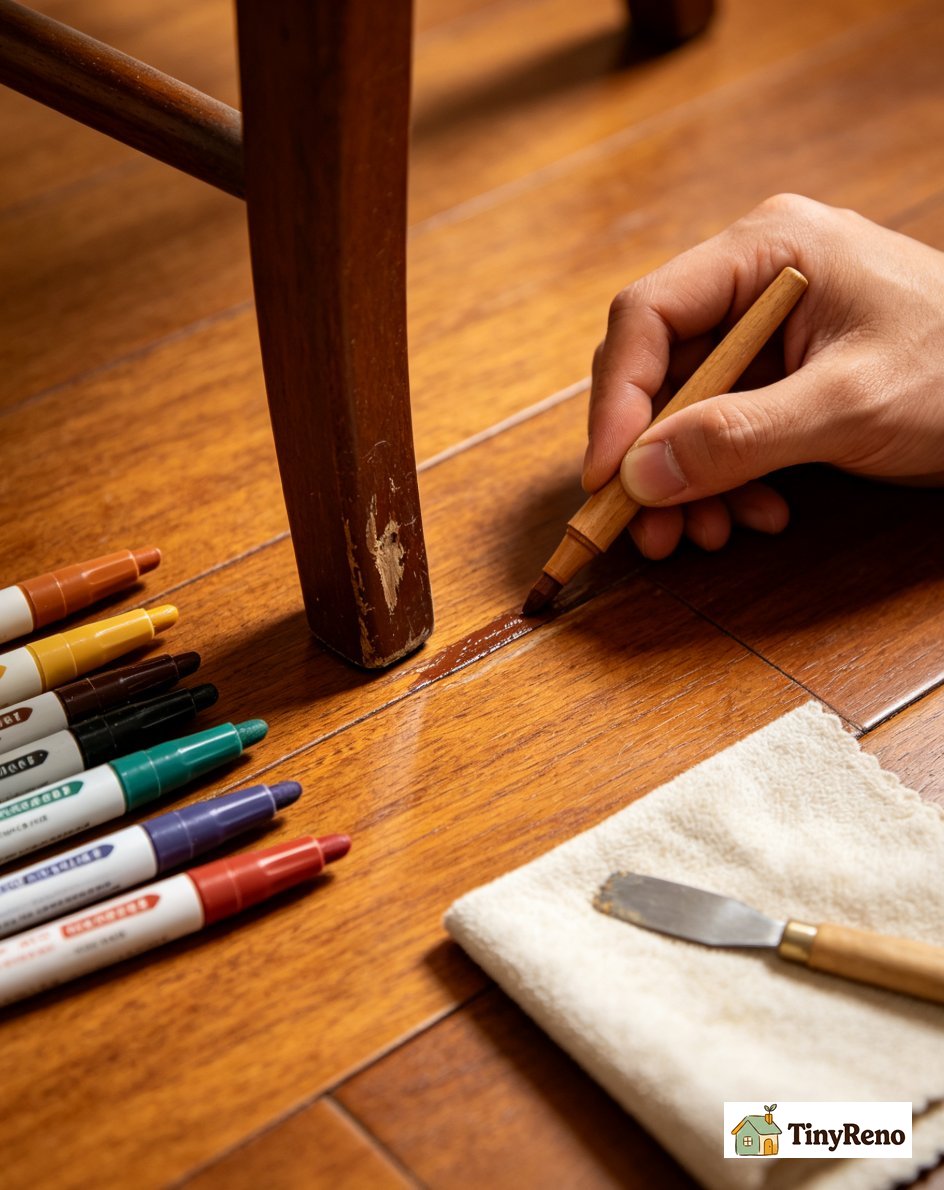
The second scratch I tried to fix was a different category. It was a chair-leg scuff in the dining room — visible, you could see the raw lighter wood inside the scuff, but you couldn't really feel it catch your fingernail. The depth was somewhere between a surface scuff and a deep gouge. The walnut trick didn't darken it enough (the raw wood was exposed too deeply). The wax kit worked, but only temporarily.
The fix that worked was one of the wood filler pencils that come in a small twelve-pack at the hardware store for eight dollars. You rub the pencil across the scratch — it deposits a waxy pigment that bonds to the raw wood. You buff with a soft cloth. The fill is darker and more saturated than plain wax, so it hides the scratch more effectively at first. It will still shrink slightly and it will still fade over months, just less noticeably than a pure wax stick. For a renter who just needs the floor to pass a walkthrough, the pencil is usually good enough. For a scratch you'll still be looking at two years from now, neither wax nor pencil is a permanent fix.
The trick with the pencils is to choose the right color. Most manufacturers offer the twelve-pack with three shades each of four base wood tones — oak, walnut, cherry, and maple. The oak pack matches oak floors. The walnut pack matches walnut floors. If your floor is a custom stain, you'll need to blend two pencils.
The pencil approach also works on darker floors where the walnut trick won't darken enough. But the pencil color fades as it ages, so the repair that looks perfect in month one may look lighter than the surrounding floor by month six. If you're doing this right before a move-out inspection, you're fine. If you're doing it at the start of a two-year lease, expect to touch it up again before you leave. For a deep cherry floor, use a cherry pencil. For an ebony-stained oak, use the darkest oak pencil in the pack. The pigment matches the wood because the manufacturer mixed the pigment to match the wood, not to match an arbitrary color palette.
For the scratches I tried to fix after I learned this — the chair-leg scuffs, the pet nail marks, the places where I dropped something heavy — the pencil pack was enough. The $80 wax kit sat in the closet, unused, for the rest of the lease.
When neither the walnut nor the pencil will work
There is a category of floor damage where a renter kit of any kind is the wrong tool: deep gouges where the wood is actually missing, where you can see the subfloor through the gouge, or where the gouge is wide enough that the wood filler won't hold. These are the cases where the wax kit fails dramatically — you fill the gouge, the wax doesn't bond to the subfloor, the fill pops out within a week.
I tried to fill one of these. It was a deep gouge behind the bedroom door where something had been dragged hard enough to splinter the wood. The gouge was an inch long, an eighth of an inch wide, and you could see raw plywood at the bottom of it. I cleaned it, filled it with wax, smoothed it flat, buffed it. It looked fine. Two weeks later the entire fill had lifted out of the gouge and was sitting on the floor like a piece of chewed gum.
For this kind of damage, the right tool is wood filler (not wax) — a two-part epoxy that bonds to the wood. The filler comes as two tubes, you mix equal parts, you press the mix into the gouge with a putty knife, you let it cure for twenty-four hours, you sand it flush. The cured filler is harder than the surrounding wood and won't shrink or pop out like wax. But epoxy doesn't move with the wood the way wood moves — in a room with big seasonal humidity swings, the edges of an epoxy fill can eventually separate from the floorboards. For a gouge that's small and doesn't run across multiple boards, the risk is low. For a long crack or a fill that spans several boards, a flooring company is the safer call.
For a renter, the question is whether to do the epoxy repair yourself or to call a flooring company. The epoxy repair takes about thirty minutes of active time and twenty-four hours of cure time. The materials cost about twelve dollars. A flooring company service call for the same repair runs between one hundred and fifty and three hundred dollars.
I did the epoxy repair myself. It came out well enough that the landlord didn't notice it during the move-out inspection. The key was matching the stain — I bought three small cans of wood stain in graduated oak tones, tested each on a piece of scrap wood, and applied the closest match with a small brush. The whole repair was about forty dollars in materials. The hardwood floor repair kit I had originally bought was still sitting in the closet.
The third scratch I learned to leave alone
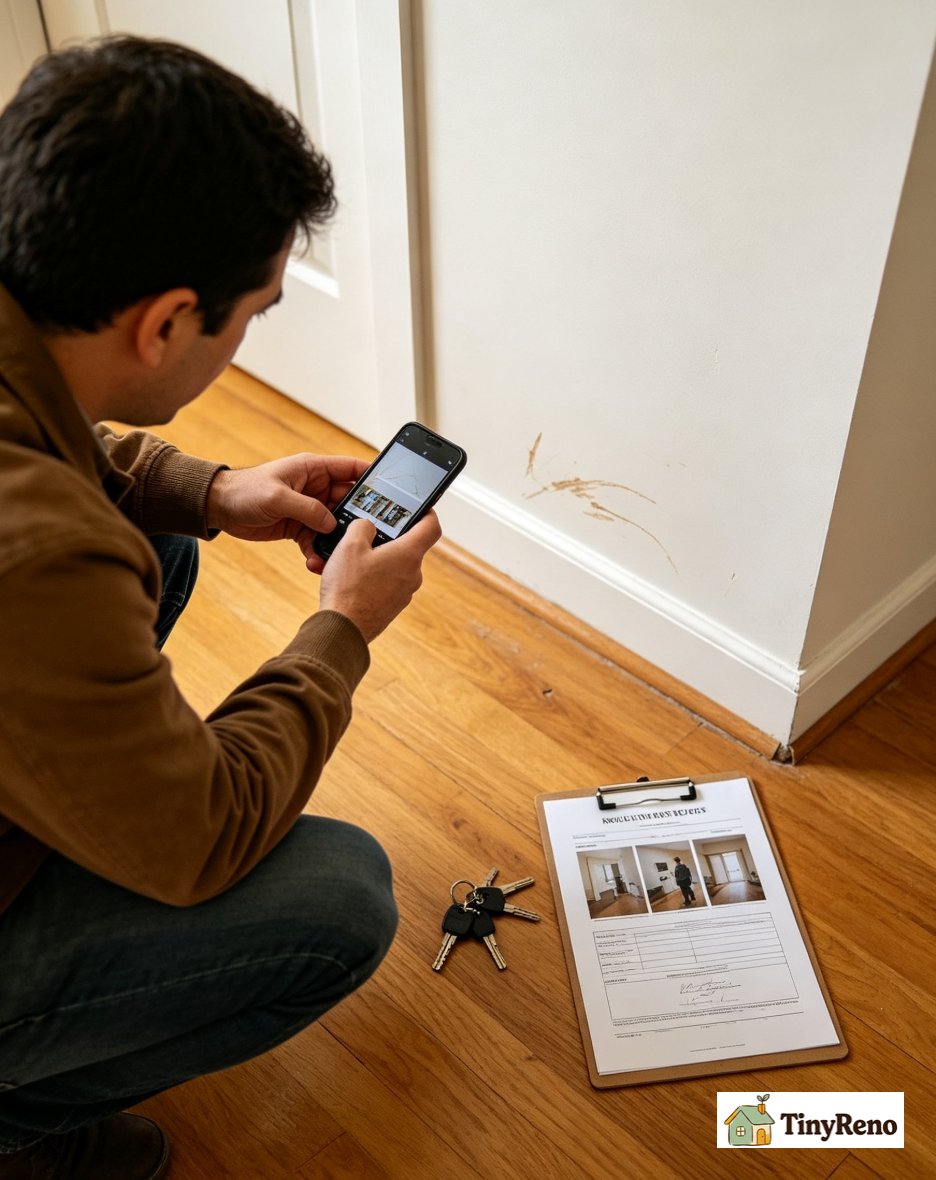
There's a category of floor damage where the renter-friendly move isn't to repair the scratch at all. It's to leave it alone, document it on the move-in inspection form, and let the landlord cover it. Pet damage from a previous tenant, water damage from a leak that's already been resolved, and scratches from a refrigerator dolly are the obvious examples. These are not normal wear and tear. They're damage. They're the landlord's responsibility to fix, not yours.
The mistake most first-time renters make is to repair everything before move-in, so the landlord doesn't notice the pre-existing damage. Then, at move-out, the landlord charges them for the repair because the damage was repaired but the underlying issue wasn't fixed. The repair you did to hide the scratch doesn't satisfy the landlord's obligation to repair the floor properly. It just means the floor looks fine until the landlord sands it down and discovers the underlying damage.
The smarter move is to document pre-existing damage on the move-in inspection form with photos, dates, and notes. Email the inspection form to your landlord and keep a copy. If the landlord doesn't object to the inspection within a week or two, the documentation is your record. At move-out, the same damage is your record of what was already there.
For the scratches that happen during your lease — the chair-leg scuffs, the dropped-can dents, the pet nail marks — a hardwood floor repair kit is the right tool for the medium-depth scratches, a bag of walnuts is the right tool for the shallow ones, and a wood filler epoxy is the right tool for the deep ones. The eighty-dollar kit is the wrong tool for almost everything. Buy the twelve-dollar pencil pack and a bag of walnuts. You'll be ninety dollars ahead and your floor will look better. For a similar walkthrough of the small repairs that are renter-friendly and the ones that are landlord conversations, the renter repair walkthrough covers the broader toolkit. And for the deposit protection strategy that keeps pre-existing damage from being charged to you at move-out, the move-out protection walkthrough walks through the documentation that makes the difference.


Discussion (0)
Sign in to join the discussion