

I bought my first wood floor repair kit before I needed it, on the advice of a friend who'd already been through one move-out. That was 2014, and I was moving into my first apartment with a hardwood floor. The floor had a single six-inch scratch along the grain of the oak in the living room. I asked the landlord about it on the move-in walkthrough. He shrugged. "That scratch has been there for three tenants. It's part of the floor." I documented it on the inspection form. I moved in.
Three years later I moved out. The same scratch was still there, now joined by a couple of small dents from a falling cookbook, a couple of dark marks from my shoes, and one long scuff from when I dragged the couch to vacuum under it. The landlord walked the apartment with me on the way out, looked at the floor for about thirty seconds, and told me I was getting my full deposit back. He said — and I wrote this down because I didn't believe him at the time — "Wood floors are supposed to look lived in. A floor without a single scratch is a floor nobody's been using."
This guide is built around that moment. It's a wood floor repair kit walkthrough for renters who want to know which scratches are theirs to fix, which scratches are the landlord's to fix, and how to tell the difference. It draws on what I've learned from three different leases, four different wood floors, and three different landlords. The wood floor repair kit itself matters less than the judgment about when to use it.
Phase 1 — the move-in walkthrough: when the scratch is the landlord's
The first thing to do with any wood floor scratch isn't to fix it. It's to decide whose it is. The same scratch can be your problem or the landlord's problem depending on whether it was there when you moved in or whether you made it during the time you lived there. The distinction is made on the move-in inspection form, with photos, with the landlord present if possible.
The standard move-in inspection form has a section for each room. For each room, it has a line for "floor condition." Most forms don't have a line per scratch — they have a single line for the whole floor. So you describe the floor in a sentence or two and take photos that show the details. "Living room: oak, satin finish, six-inch scratch along the grain near the south wall, photographed at move-in." Send the form to the landlord by email within a week of move-in. Keep a copy.
If the landlord doesn't respond to the inspection form within a week or two, the form becomes your record. At move-out, the same scratches are documented as pre-existing. The landlord can't charge you for fixing damage that was already there when you arrived.
This is the case where a wood floor repair kit is the wrong tool. The scratch isn't yours to fix. Trying to fix it doesn't satisfy the landlord's obligation to maintain the floor — it just means the floor looks fine until the next tenant moves in and discovers the underlying damage is still there.
For the scratches that the landlord acknowledges as pre-existing — the ones that get documented but never repaired before you move in — your move-out inspection form should reference the same documentation. "Living room: same six-inch scratch as move-in form, unchanged at move-out." The landlord doesn't get to charge you for the same scratch twice.
Phase 2 — the first year: when the scratch is yours and a kit fixes it
The scratches that happen during your lease are yours. Chair-leg scuffs from the dining set. Pet nail marks from the cat's favorite window perch. The dent from the cookbook that fell out of the upper cabinet. The scuff from when you dragged the couch to vacuum. These are normal wear and tear, but they're also your responsibility to address if you want the floor to look good for the rest of your lease.
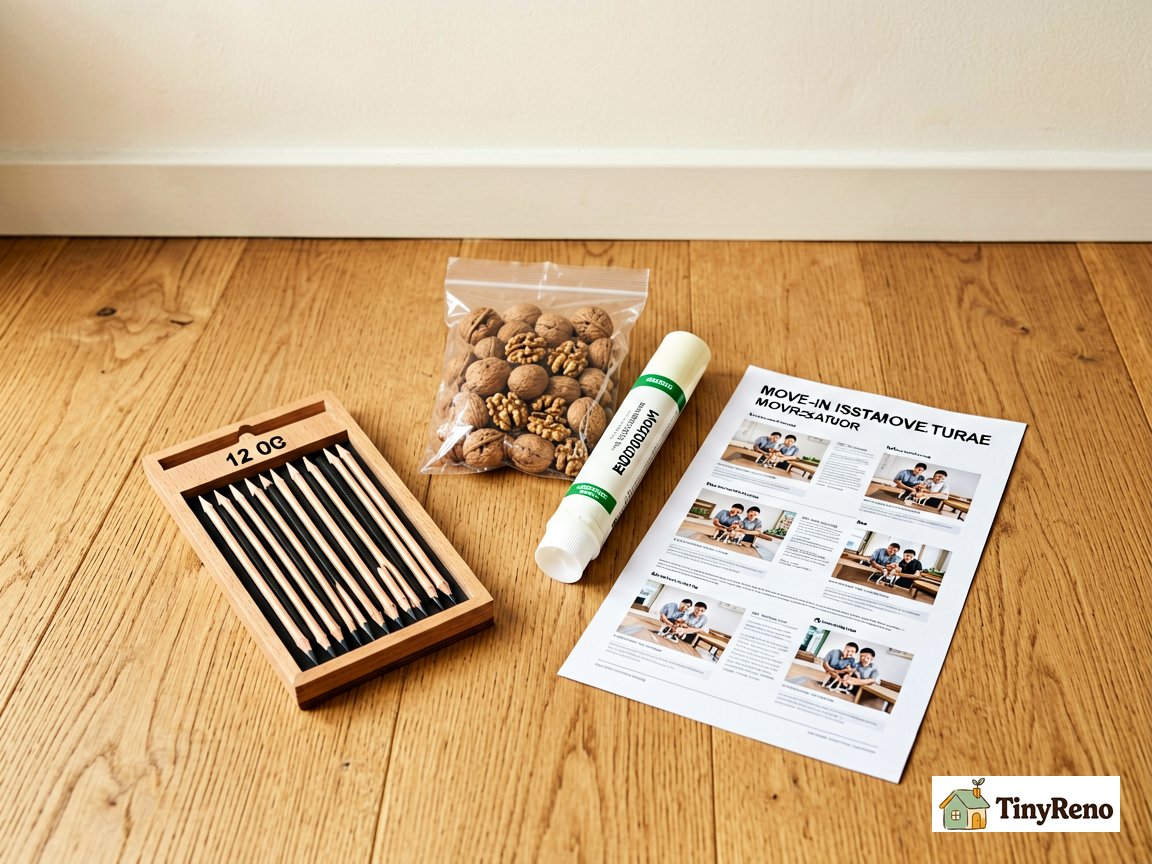
This is where a wood floor repair kit makes sense. The kit — and you want the twelve-dollar pencil pack, not the eighty-dollar wax one — has graduated wood tones that match common floor finishes. You rub the pencil across the scratch, deposit a waxy pigment that bonds to the raw wood, and buff with a soft cloth. The fill doesn't shrink the way wax fills do. The pigment doesn't fade in the sun.
The depth of the scratch determines which tool in the kit to use. For very shallow scratches — the kind you can barely see but not feel — a raw walnut rubbed across the scratch can darken the raw wood enough to hide the mark for a while. It's not permanent, and it won't match the surrounding finish, but it's the fastest zero-cost fix. For anything deeper or more visible than that, use the color-matched pencil from the kit. For medium-depth scratches where you can see the raw lighter wood but don't feel a catch, the matching pencil from the twelve-pack fills the color. For deeper scratches where you can feel the catch and see exposed wood fiber, you'll want the two-part wood filler from the kit (most kits include a small tube of filler) — mix, press into the gouge, let cure, sand flush, restain to match.
The kit doesn't fix everything. A deep gouge where you can see the subfloor through the gouge isn't a kit repair — that's a landlord conversation or a service call. A water stain isn't a kit repair either — that's a peroxide and patience repair, covered in the previous article. But for the common scratches that happen during normal living — chair scuffs, pet marks, dropped object dents — the kit is the right tool.
Buy the kit once, ideally during the first month of the lease before the first scratch happens. Keep it in a kitchen drawer with the rest of your renter toolkit. The kit pays for itself in the first use.
One note on the $80 wax kits: they're not bad products. They're designed for a different job — filling deep, wide gouges where the wood itself is missing. The problem is that most renter damage isn't deep gouges. It's shallow scuffs and medium-depth scratches. For those, a $12 pencil set is faster, blends better, and doesn't leave a waxy sheen that catches the light. Save the $80 kit for a floor restoration project, not a deposit walkthrough.
Phase 3 — the move-out walkthrough: how to read your landlord's face
The move-out walkthrough is the moment that determines whether you get your deposit back. Most renters walk through with their landlord, both parties take notes, and the deposit decision is made on the spot or within a week. The walkthrough usually takes fifteen to thirty minutes per room, with both parties checking the floor, the walls, the appliances, and any fixtures that the lease specifically named.
What I've learned over three leases is that the landlord's reaction to the floor is the single biggest predictor of deposit deductions. Most landlords care about two things: whether the floor is structurally sound (no rotting boards, no water damage that hasn't been addressed, no large gouges that expose the subfloor) and whether the floor looks "lived in" in a way that's consistent with a normal lease term. They don't care about individual scratches. They don't care about minor discoloration. They care about damage that suggests neglect.
This is why the pencil-pack fill is the right tool for most scratches, and the walnut trick is a useful stopgap for very shallow marks. They don't make the floor look brand new. They make it look cared for. They don't make the floor look brand new. They make the floor look like a floor that someone has been living on. The landlord sees a few shallow scratches that have been carefully filled to blend in, and the landlord reads "this tenant took care of the place." The landlord sees obvious wax fills that have darkened since the move-in, and the landlord reads "this tenant tried to hide damage."
If you've done the move-in documentation right, the landlord can't charge you for damage that was pre-existing. If you've done the kit repairs right during the lease, the floor looks lived in but cared for. If you've done both, you usually get the deposit back.
The case where the wood floor repair kit isn't the right tool is when the floor has damage that's beyond what the kit can fix. A large water stain that's discolored an entire room. A deep gouge where the subfloor is exposed. A pet stain that's chemically etched the wood. These are not kit repairs. They're landlord conversations or service calls. Trying to fix these with a kit will leave obvious damage that the landlord will charge you for.
Phase 4 — the landlord's perspective, from a landlord
I called the landlord who gave me my full deposit back — the one who said "wood floors are supposed to look lived in" — and asked her what she actually looks for during a move-out walkthrough. She told me something that reframed how I think about the whole kit-vs-no-kit decision.
She said: "I'm not looking for a floor without scratches. I'm looking for a floor that's been cared for. A floor with a few well-maintained scratches means the tenant was here and the tenant was paying attention. A floor with no scratches at all means the tenant either refinished the floor before they left — which I'm going to notice, because the finish will be different from the surrounding floor — or the tenant covered damage with a kit that's the wrong color, which I'm also going to notice."
The right kit work, in other words, is invisible. The landlord can't tell you filled the chair-leg scuff. The landlord just sees a floor that looks like itself, with a few small marks that read as normal living.
The wrong kit work — a wax fill that's the wrong color, a pencil that's two shades too dark, a wood filler patch that's been sanded flush but not restained — is obvious. The landlord sees the patch. The landlord assumes there's underlying damage. The landlord charges you for the repair that they assume you were trying to hide.
The difference between the right kit work and the wrong kit work is mostly color matching. Take the kit to the hardware store and compare each pencil to your actual floor in the store's natural light. Most pencils look different on the floor than they do in the package. The right color is the one that disappears when you rub it across an inconspicuous spot on the floor.
For the rest of your lease, the wood floor repair kit is the right tool for the medium scratches, the walnut trick is the right tool for the shallow ones, and the two-part wood filler is the right tool for the deeper ones. The eighty-dollar wax kit is the wrong tool for almost all of them. The move-in inspection form is the right tool for the pre-existing damage that isn't yours to fix. The landlord's face during the move-out walkthrough is the right tool for knowing whether you did the work right.
For more on the broader renter toolkit — the documentation strategy that protects your deposit, the repairs that are renter-friendly, and the calls you should let the landlord make — the renter repair walkthrough covers the categories I keep coming back to. For the specific kind of damage that no kit can fix — water stains from leaks, pet stains that have etched the wood, subfloor exposure from deep gouges — the deposit protection walkthrough covers the documentation strategy that keeps these pre-existing problems out of your move-out charges.


Discussion (0)
Sign in to join the discussion