

Replacing door hinges had been on my to-do list for the same six weeks my bathroom door had been squeaking. I kept meaning to oil it. Then one morning the latch stopped catching at all. I came back from a run to find the door standing open and the bathroom unlocked. That was the morning I started replacing door hinges instead of oiling them.
The whole job took me ninety seconds for the top hinge and another minute for the bottom one, including the time it took to walk to the toolbox. I've since watched two friends do the same fix and each one turned it into an afternoon project — one because she tried to be too careful, the other because she skipped the step that actually matters. This guide is what I wish I'd had before either of them started: a time-stamped walkthrough of replacing door hinges the renter way, without losing your deposit, your Saturday, or your patience.
00:00 — Decide whether you actually need to replace the hinge
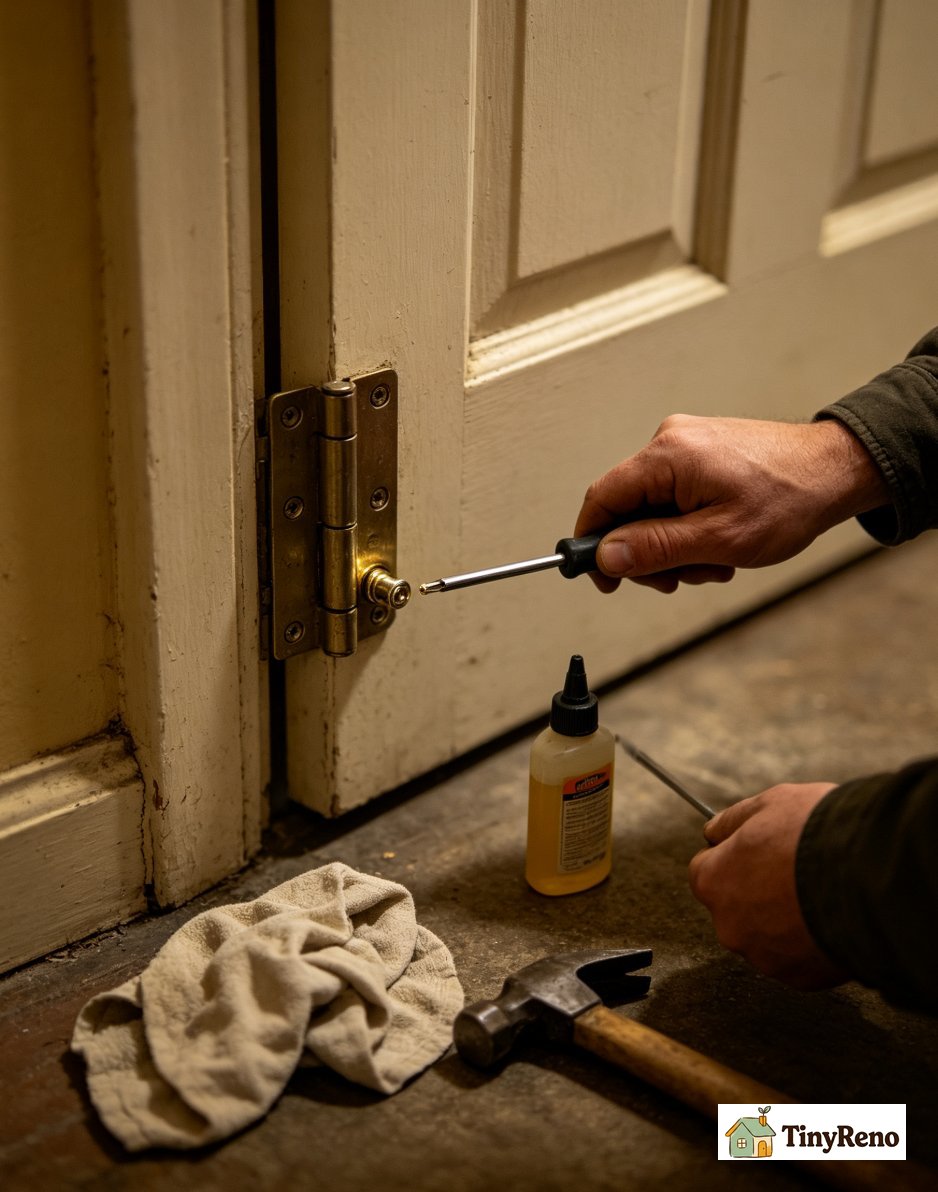
Most squeaky doors don't need a new hinge. They need a drop of oil. The hinge pin — the long metal rod that runs through the two halves of the hinge — wears against the hinge knuckle every time the door moves. After ten or fifteen years of that, the metal has polished itself smooth and the friction is audible. A drop of 3-in-1 oil or WD-40 on the pin, worked in by opening and closing the door a few times, will silence the squeak without touching the hinge itself. Don't use cooking oil — it goes rancid, gets sticky, and attracts dust and bugs. If you don't have 3-in-1 oil or WD-40, a drop of mineral oil is a better substitute than anything from the kitchen.
So before you commit to replacing door hinges, lift the door slightly off its pins by wedging a flathead screwdriver under the bottom of the hinge pin and tapping upward with a hammer. Slide the pin out partway and look at it. If it's shiny metal with a thin coating of rust, oil it and slide it back. If the pin is pitted, bent, or worn down to half its original thickness, the hinge itself has gone. Replace it.
There's also the case where the hinge isn't failing — the door is. If the wood around the screws is splintered and the screws won't hold, the problem is the door frame, not the hinge. You'll see daylight between the hinge plate and the wood, or you'll be able to wiggle the plate with your fingers. In that case, your fix is longer screws, not a new hinge.
My colleague Ren lost a Saturday to this. He watched a YouTube tutorial on replacing door hinges, drove to the store, came home with a new hinge, took off the old one — and discovered the real problem was that the screws had stripped out of the frame. The new hinge did nothing. He ended up buying longer screws anyway. The whole project took him four hours and three trips to the hardware store.
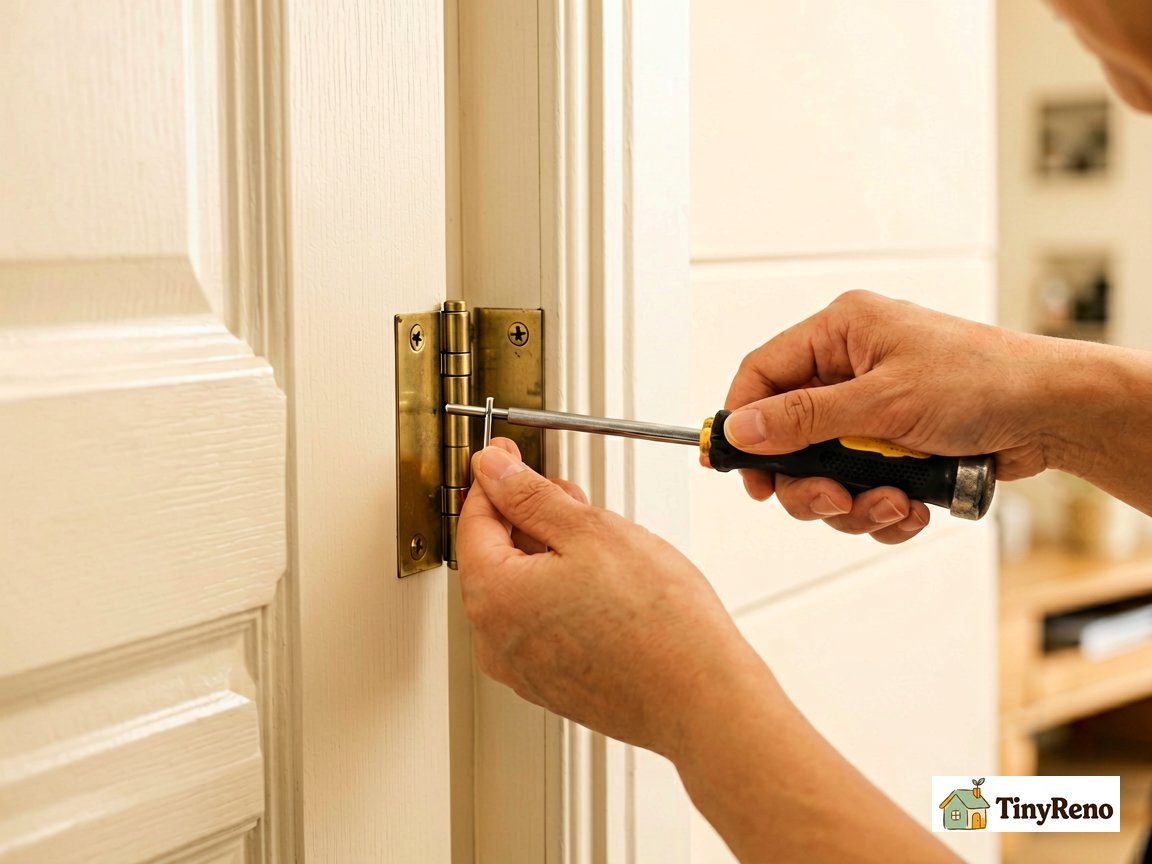
02:30 — Get the right replacement before you start
The hinge you need is determined by the door. There are three measurements that matter:
- Corner style: Most interior doors use a 5/8-inch radius round corner or a square corner. Take the old hinge to the store and lay the new one over it. The shape should match exactly, or the hinge won't sit flush in the mortise.
- Size: Interior doors usually take a 3.5-inch hinge (measured from top to bottom of the hinge plate). Exterior and heavier doors take a 4-inch hinge. Don't guess. Hold the new hinge against the old one.
- Finish: Match the finish of the rest of the hardware in the room — usually satin nickel, oil-rubbed bronze, or polished brass. If you can't match it, satin nickel blends with almost anything.
You do not need to replace all three hinges on a door unless all three are worn. Most interior doors have three hinges — top, middle, and bottom. Some older doors or lighter closet doors have two. The middle hinge carries more load than most people expect, so if you hear squeaking, don't assume it's only the top one. The middle hinge actually carries the most load on a three-hinge door, because it sits closest to the door's center of gravity. If you're going to replace only one hinge, start by checking the middle one — but honestly, if one hinge is worn, the other two are probably close behind. Replacing the whole set is the safer move for a door you use every day.
A single replacement hinge costs between three and eight dollars at any hardware store. A two-pack runs between six and fifteen. If your hinges are a non-standard size, you'll pay more — but for a typical interior door in a rental, you should walk out for under ten dollars.
05:00 — The actual replacement, hinge by hinge
The replacement itself is faster than the trip to the store. Here's the sequence that worked for me:
- Support the door. Open it about 45 degrees and wedge something under the bottom edge — a stack of books, a shoebox, a 2x4 if you have one. The hinge pins take the door's weight only when the door is closed. Once you pull a pin, the door wants to fall.
- Tap out the bottom hinge pin first. Use a flathead screwdriver and a hammer. Rest the screwdriver tip under the bottom of the pin head, tap upward. The pin should slide up and out within three or four taps. If it won't budge, the pin is corroded — spray a little WD-40 at the top of the hinge and wait ten minutes before trying again.
- Tap out the top hinge pin. Same method. Once both pins are out, the door lifts free.
- Unscrew the old hinge plates. Three or four screws each, depending on the hinge. Keep the screws — they may fit the new hinge.
- Screw the new hinge plates into the same mortises. If the old screws were stripped, see the packing guide below. Otherwise drive the screws until snug. Don't overtighten — the wood will split.
- Set the door back on the hinges. Align the top hinge knuckles first, drop the top pin in, then the bottom. Tap the pins down with a hammer until they sit flush.
The whole sequence, if the old screws come out clean and the new ones go in tight, takes about ten to fifteen minutes per hinge. If you have to pack a stripped hole or fight a corroded pin, plan on twenty. The first hinge you ever replace will always take the longest — by the third one, you'll have the rhythm down.
08:00 — What to do when the screws won't hold
About half the time you replace a hinge in an older rental, the screws come out of the frame and the holes are too wide to grip the new screws. This is where most renter DIY guides lose you, because the usual advice is "drill new pilot holes" — which works in solid wood but not in the soft pine that most rental door frames are made of.
The packing trick works on the same principle as the one for loose screws elsewhere in the door. Take two or three wooden toothpicks, dip them in a tiny drop of wood glue (white Elmer's works), and pack them into the stripped hole. Break them off flush. Wait five minutes for the glue to set. Drive your new screw into the packed hole. The toothpicks give the screw threads something to bite into, and the glue keeps them from backing out again.
For wider or deeper stripped holes, a golf tee works better than a toothpick. For the worst case, where the entire screw hole has crumbled away, you can fill it with a plug of wood cut from a paint stir stick, glued in, and sanded flush before you drive the new screw.
15:00 — What I tell my neighbors now
I've helped my neighbor Dana replace door hinges twice in the last year. The first time was on her bedroom door — it took us ten minutes. The second time was on her closet door — same hinges, same process, same ten minutes. She's now the person in our building who other renters text when their door starts squeaking.
The lesson, after watching three doors and a handful of friends: the difference between replacing door hinges in ninety seconds and spending an entire Saturday on it is almost always one decision made at the start. Take the old hinge to the store. Match the screws before you buy the hinge. Pack the stripped holes before you assume the wood is ruined. And if the hinge isn't the problem, don't replace it — fix the actual problem.
If your door issue goes beyond the hinge — say, a frame that's actually cracked, or a door that's warped beyond alignment — the door frame repair walkthrough covers the renter-safe way to handle the wood. And if the squeaking is happening on a shower door, not a closet door, the shower door repair guide walks through the same hinge-swap logic for glass doors.


Discussion (0)
Sign in to join the discussion