

The shower grab bar placement that failed Daniel began with a handyman mistake on a Saturday morning in March. The grab bar pulled out of the wall a moment later. Not the way you'd expect — not slow, not gradual, not with a warning crack. It was instant. One second my friend Daniel was reaching up to adjust the showerhead, and the next second he was on the shower floor with the bar in his hand and three ceramic tiles broken around the mounting point. The grab bar had been installed by his landlord's handyman six months earlier, into what the handyman thought was wall stud. The handyman was wrong. The bar had been screwed into the wall between two studs — and not into the wood. In a shower, the wall behind the tile isn't regular drywall. It's cement board or water-resistant backer board, which is even worse at holding a screw than drywall is. The handyman had driven the screws into the backer board between the studs and called it done. Six months later, under Daniel's weight, the screws pulled clean out. The bar supported 195 pounds of static load but not 195 pounds of dynamic load applied at an angle.
The fall broke Daniel's wrist. The fall broke three tiles. The fall required Daniel to move out of the apartment for two weeks while the landlord repaired the wall and retiled the shower. The landlord charged Daniel $480 for the repair because the bar was installed a day after Daniel moved in at the landlord's verbal approval and Daniel had no written record that the placement was the landlord's choice. The deposit was gone. The wrist took eight weeks to heal. The whole thing could have been avoided if the bar had been installed in the right place on the wall.
This is the story of correct shower grab bar placement, told from the standpoint of someone who learned the rules from a physical therapist the day Daniel got out of his cast.
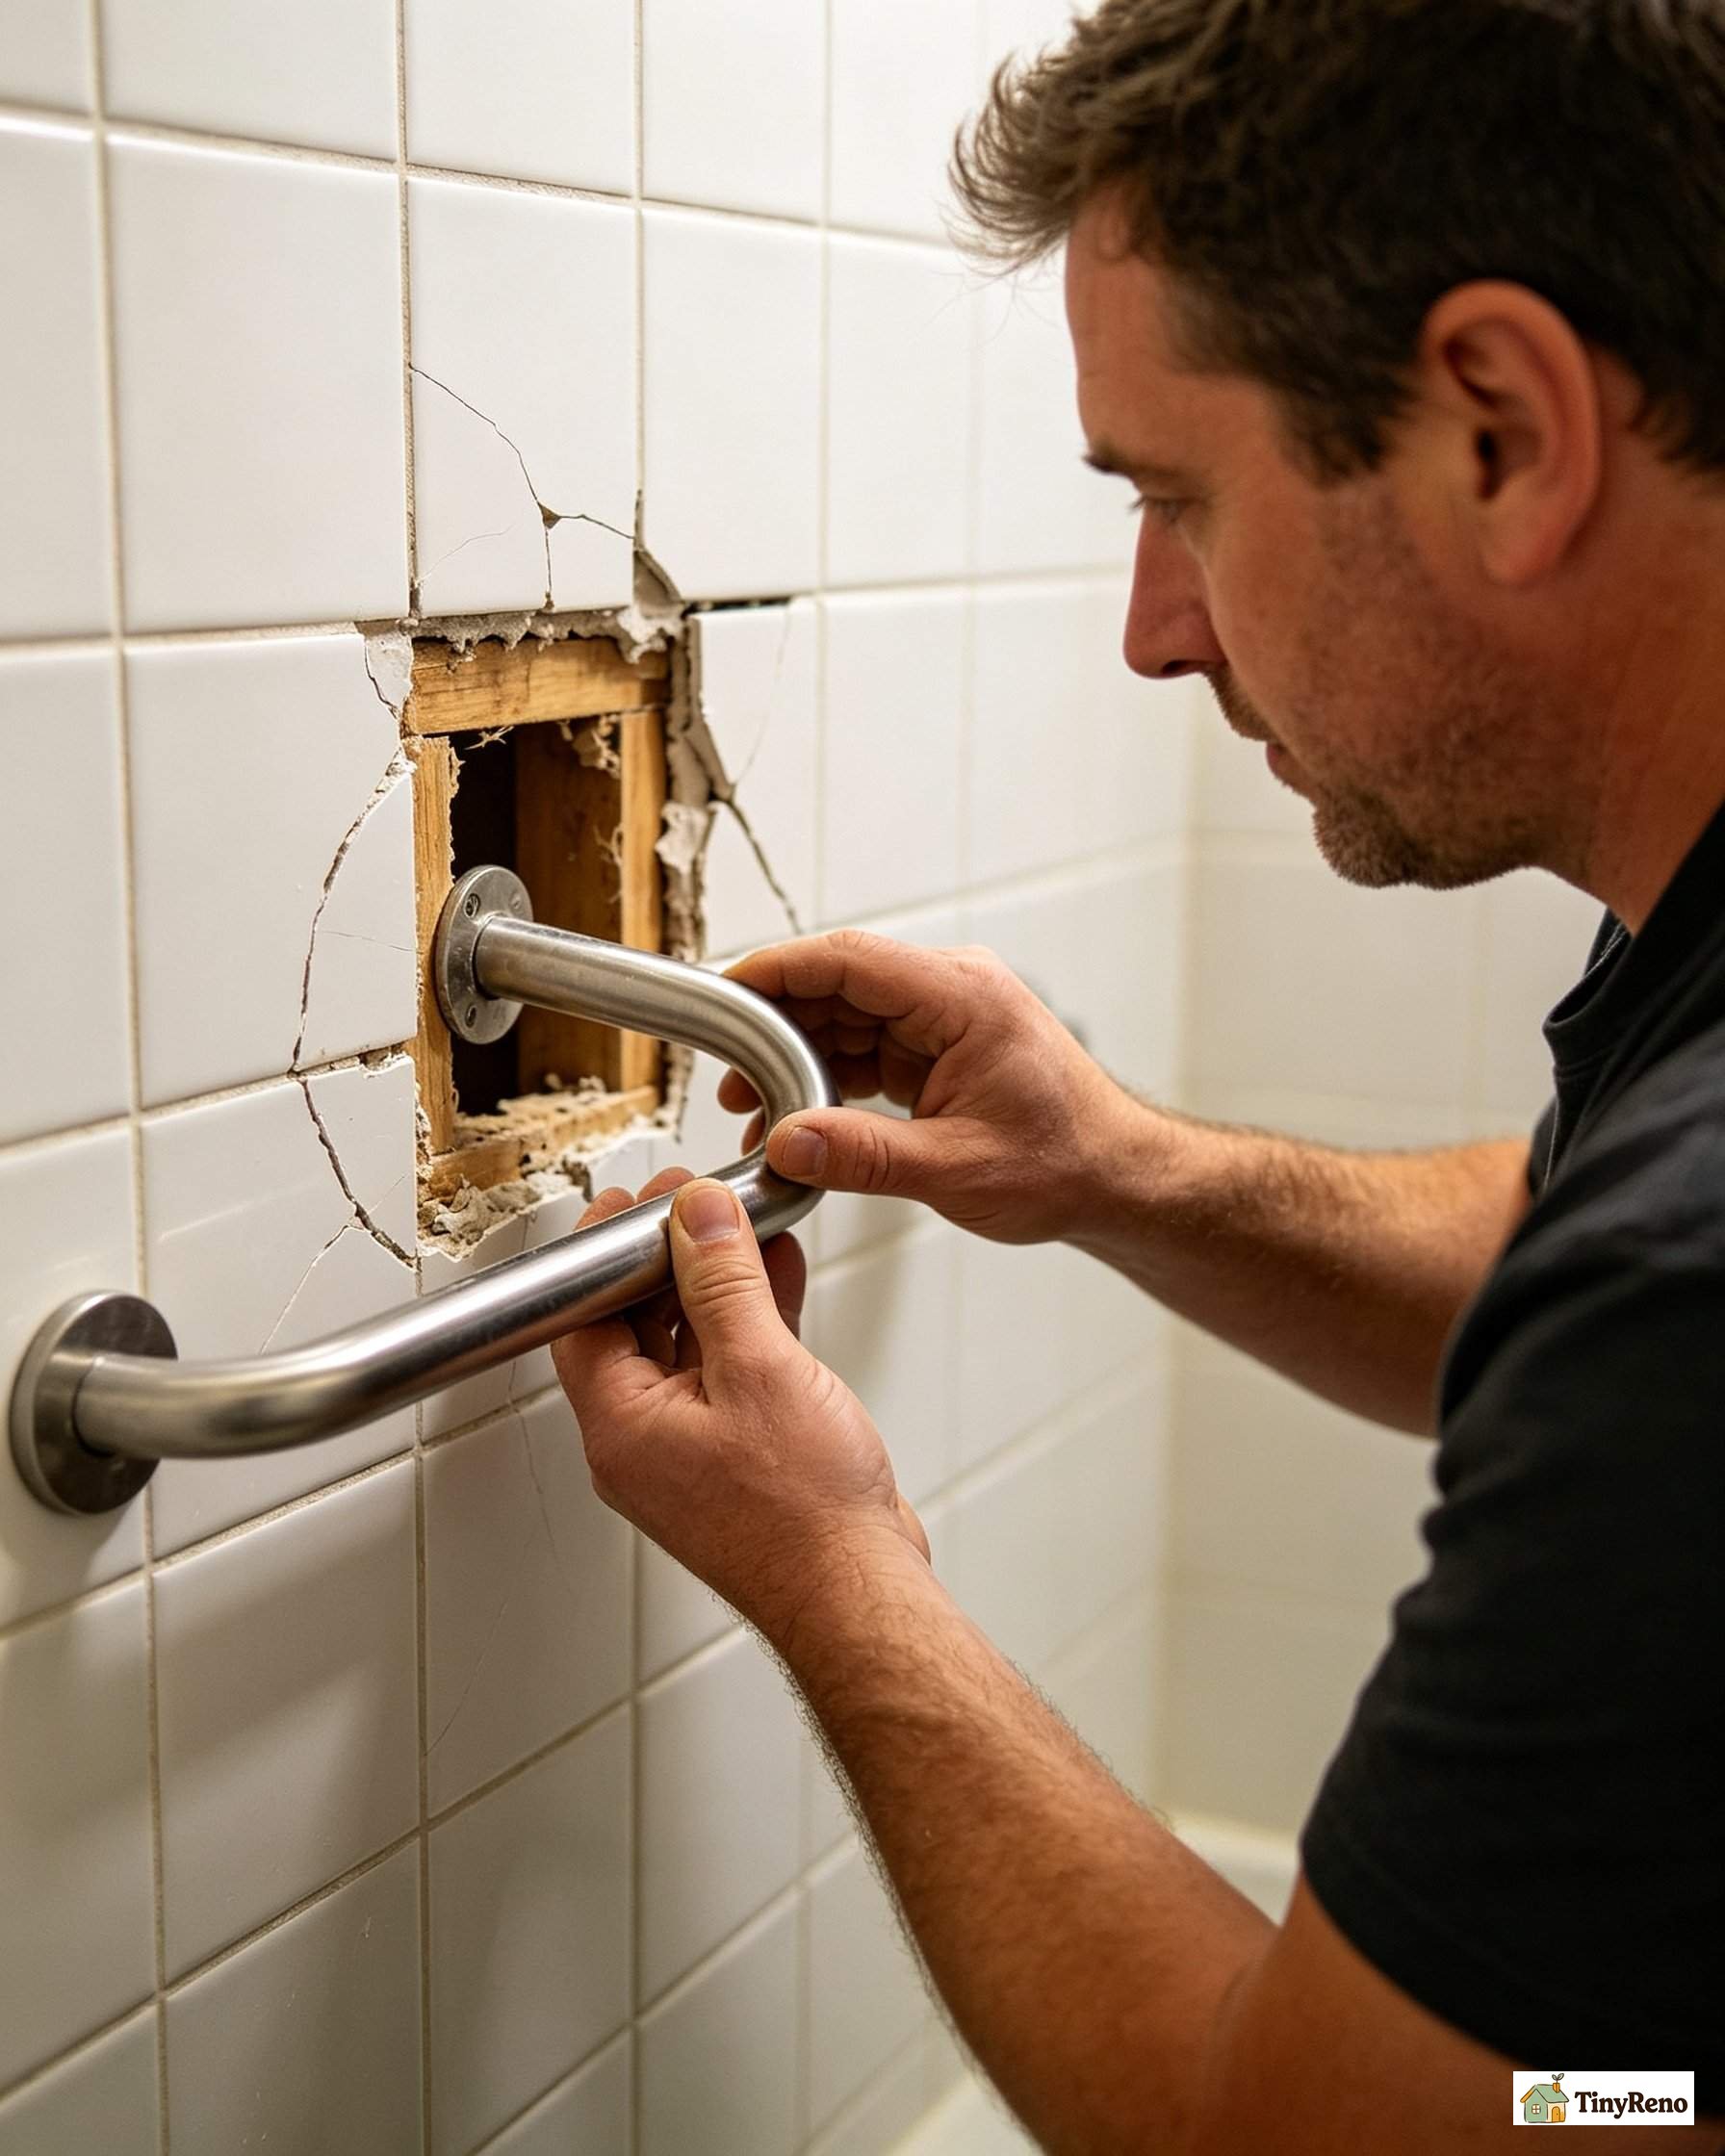
The Bar That Almost Killed Daniel
The bar Daniel's handyman installed was a 18-inch straight grab bar mounted horizontally on the shower back wall, 36 inches off the shower floor, screwed into what turned out to be drywall. Three months later, a separate vertical bar was mounted on the shower side wall next to the shower valve, also into drywall. The mounting points looked solid to the eye. The mounting points failed under load.
The physical therapist who looked at Daniel's x-rays said the placement was wrong on three counts. First, a grab bar that's only mounted into drywall can hold 30 to 50 pounds of straight-down pull but only 10 to 20 pounds of pull at an angle — which is the load direction when someone slips and grabs the bar mid-fall. Second, a horizontal bar alone provides nothing to grab when the fall is sideways or backward. Third, the height of 36 inches was too low for Daniel's 6'1" frame — the bar should have been at 42 inches for someone that tall.
The placement rules the therapist gave Daniel during his recovery are the placement rules any renter should follow before before a grab bar goes on the wall. They are not optional. They are the difference between a bar that holds and a bar that pulls out at the worst possible moment.
Rule 1: Vertical Bar at the Shower Entrance
The first bar goes vertically at the shower entrance, on the wall opposite the shower door (or the open side of a curtained shower). The bar runs from 36 inches off the shower floor to 60 inches off the shower floor. The user grabs it at chest height when stepping over the shower curb.
Mounting this bar requires hitting two wall studs. Standard wall studs are 16 inches apart on center. A 24-inch vertical bar hits two studs if the bar's mounting holes line up with the stud centers. If the studs are 24 inches apart, a 24-inch bar still hits two studs. If the studs are non-standard (some pre-1960 apartments), measure with a stud finder before buying the bar.
The vertical entrance bar is the most-used bar in any shower accessibility setup. It's the bar the user grabs every time they enter or exit the shower. It absorbs the most force across the longest period. It's the first bar to install if budget is limited to one.
Rule 2: Horizontal Bar on the Back Wall
The second bar goes horizontally on the shower back wall, opposite the showerhead. The bar runs from 32 inches off the shower floor to 40 inches off the shower floor (using a 24-inch bar mounted with its top at 40 inches). The user grabs it when standing under the shower and needing to steady themselves while washing their hair.
This is the bar Daniel's handyman mounted. It was in the right position (horizontally on the back wall, 36 inches off the floor) but in the wrong wall material. The handyman had screwed into drywall between studs, not into the studs themselves. The screws held for six months under static load and failed in a tenth of a second under dynamic load.
The mounting for this bar also needs two studs. A 24-inch horizontal bar hits two studs if the studs are 16 inches apart. If the studs are 24 inches apart, you need a 36-inch bar to hit two studs. If the studs are non-standard, the only safe option is to install a grab bar mounting bracket that spans three studs — these are available at medical supply stores for $40 to $80 and they work in any stud configuration.
Rule 3: Angled Bar at the Shower Corner
The third bar is the optional one and the one most renters skip. It goes at a 45-degree angle in the back corner of the shower, between the back wall and the side wall. The bar runs from 36 inches off the floor to 48 inches off the floor at the corner. The user grabs it when stepping sideways to rinse off or when turning around in the shower.
The angled bar is the bar that prevents the sideways fall. The other two bars prevent the forward and backward falls. The angled bar is the difference between a three-bar setup and a two-bar setup. Most renters start with the two-bar setup and add the angled bar in month two when the user has recovered enough to feel confident enough to turning without holding on.
The angled bar mounts diagonally, which means the mounting screws don't line up with vertical stud centers. The standard solution is a diagonal mounting bracket — a piece of metal that screws into two vertical studs and accepts the grab bar at the 45-degree angle. The bracket adds $30 to the install cost but works with any stud configuration.
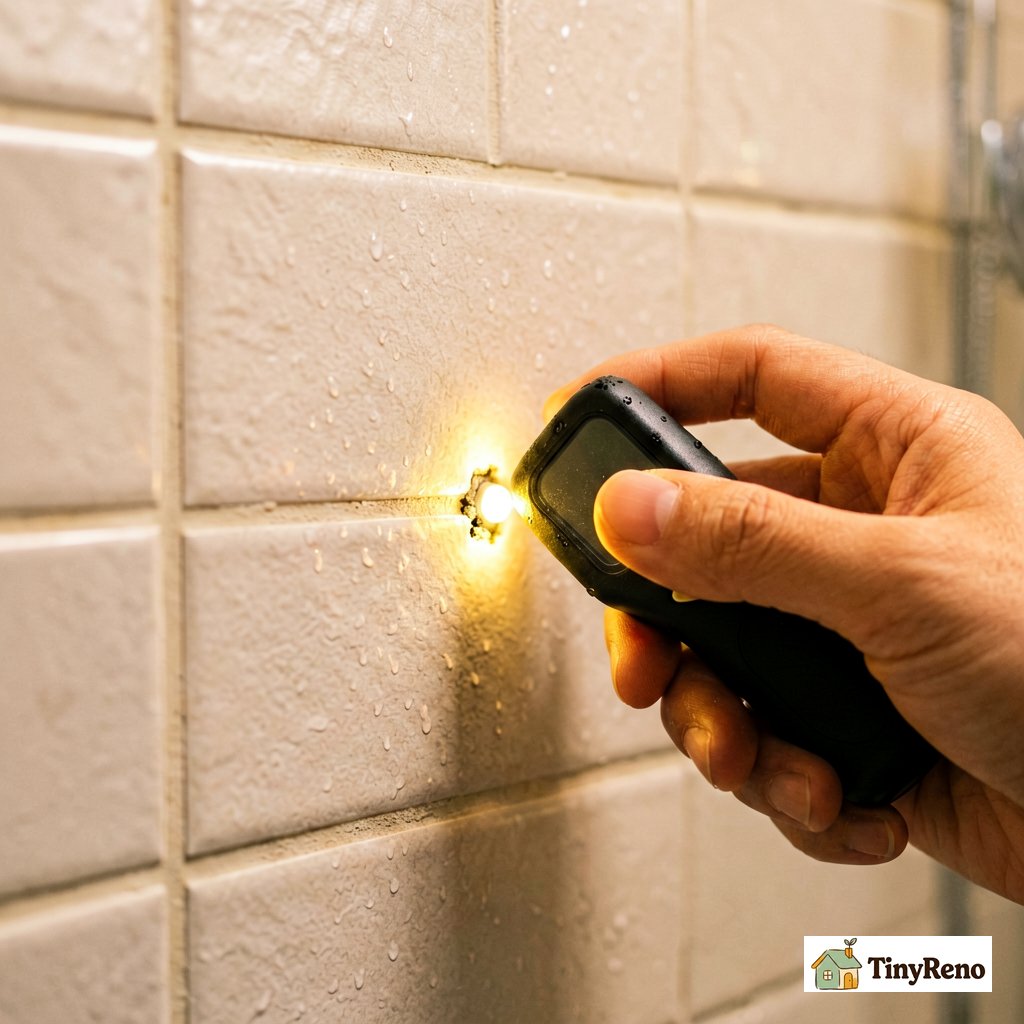
The Stud Question (Where Daniel's Handyman Went Wrong)
Before I get to the placement rules, let me connect the dots between Daniel's fall and the rules that came out of it. The physical therapist flagged three things: the bar was screwed into the wrong material, the bar was too short to be useful for anything except a forward pull, and the bar was mounted too low for someone Daniel's height. The three rules below fix all three problems. The vertical bar at the entrance solves the height and reach problem. The horizontal bar on the back wall solves the material problem by mounting into studs. And the angled bar at the corner solves the direction-of-fall problem by giving Daniel something to grab no matter which way he goes down.
Every grab bar mount needs to hit wood. The bar's mounting screws need to bite into wood that runs vertically behind the tile, not into the hollow space between two wood pieces. The way to find wood is a stud finder — a $20 tool from any hardware store. Run the stud finder across the wall slowly at the height where you plan to mount the bar. When it first beeps, mark that spot — that's one edge of the stud. Keep sliding until the beeping stops, and mark that spot too — that's the other edge. The center is halfway between the two marks. If you just mark the first beep and drill there, you might catch the edge of the stud instead of the center, and the screw will pull out under load. Mount the bar so its screw holes line up with those marks.
If the bar's screw holes don't line up with any stud center, don't mount the bar at that height. Move the bar up or down by 1.5 inches and re-scan. The stud finder beeps at stud centers, but studs are 1.5 inches wide. Anywhere within that 1.5-inch window is a valid mounting point.
If no stud center is reachable at any height on the wall you want to mount on, that wall is unusable for a direct-to-stud grab bar mount. The alternative is a mounting bracket that spans multiple studs (described in rule 2), or a floor-to-ceiling tension pole that doesn't require wall mounting at all.
The tension pole is the renter-friendly solution. One thing to be clear about: a tension pole is not as strong as a properly mounted grab bar screwed into studs. It's a better choice for a renter because it leaves no trace, but it's a compromise. If the user has significant balance problems or weighs more than 250 pounds, the landlord should be asked — in writing — to install real grab bars into the studs. The tension pole is for renters who need moderate support and want their deposit back. It's not a replacement for proper medical-grade hardware. It runs from the shower floor to the ceiling, held in place by spring tension. No screws. No holes. It comes with a grab bar handle partway up that the user grabs. The downside is the ceiling contact point can leave a mark on a popcorn ceiling or a painted ceiling that's hard to clean. The upside is it works in any shower and leaves no permanent trace when removed.
The Renter Section (Where the Landlord Comes In)
A grab bar screwed into the wall is a modification to the apartment. The landlord's move-out inspection will see the screw holes. The landlord will charge for patching and repainting unless you patch and repaint the holes yourself before the inspection.
Patching a screw hole is a 10-minute job with a $6 tube of spackle and a small putty knife. Sand the spackle smooth, touch up the paint, and the wall looks new. The landlord's inspector will not notice the repair unless the original paint color was custom-matched.
The tension pole alternative leaves no trace at all. Remove the pole, wipe the ceiling contact point with a damp cloth, and the ceiling looks new. The pole weighs 8 to 12 pounds and fits in a closet when not in use.
For Daniel, after his fall, the therapist recommended the three-bar setup with the optional angled corner bar, all mounted into studs with the 36-inch bar that came out of the wall replaced by a 24-inch bar at the correct stud centers. Daniel's new apartment has all three bars installed at the correct heights. He's used them for four months without an incident. The tension pole alternative sits in his closet as a backup for when he travels.
- Vertical bar at the entrance (36-60 inches)
- Horizontal bar on the back wall (32-40 inches)
- Angled bar in the corner at 45 degrees
The shower grab bar placement rules the therapist gave Daniel are the same rules any renter should follow: vertical bar at the entrance, horizontal bar on the back wall, angled bar at the corner, every bar mounted into studs, every hole patched at move-out or every bar swapped for a tension pole. The placement is the part the handyman got wrong. The placement is the part that's worth getting right.


Discussion (0)
Sign in to join the discussion