

Types of wood cabinets puzzled me the day I moved into a 1987-built rental two Septembers ago. The kitchen had four kinds of wood cabinets in it and zero labels for any of them. I learned that the hard way after my first contact-paper attempt bubbled up overnight on the upper-left door. The landlord's maintenance guy shrugged when I asked. So I took four sample doors down to a local lumber yard on Division Street and asked the wood-floor guy to cross-section them for me. He charged me $14 and gave me the kind of education that doesn't come in a renovation blog.
Types of wood cabinets vary wildly in older rentals, and most renters don't know which one they're looking at until something fails. If you're staring at four mismatched doors right now and wondering what kinds of wood cabinets are even in your kitchen, you're not alone. Types of wood cabinets in U.S. rentals aren't a marketing choice — they're a survival signal. The grain tells you what kind of finish is sitting on top, what kind of stain soaked in 30 years ago, and whether contact paper, peel-and-stick wallpaper, or paint will actually stick without sanding. Get this wrong and your "weekend refresh" becomes a security-deduction letter. Get it right and you walk out with your deposit. This renter's guide covers the four types of wood cabinets you will most likely meet, the 60-second test that tells them apart, and the renter-safe upgrades each one will tolerate.
Why Wood Type Matters Even When You Can't Replace the Doors
First, a clarification that took me a while to get right: most rental cabinets are sealed — they have a coat of polyurethane or lacquer on them. That's why they've survived decades of kitchen grease. So when I say oak's open grain causes problems for contact paper, I'm not saying air is passing through the wood. Here's what I missed that first week: the bubbling contact paper wasn't a product defect, and it wasn't really about the wood grain either. It was about what was already on the surface. That upper-left door had years of cooking oil and hand grime worked into the finish — the same invisible film that builds up on any cabinet near the stove. I'd wiped it with a damp cloth, which made it look clean but did nothing to remove the grease. The adhesive bonded to the grease, not to the finish, and the paper lifted within a day. Oak's texture didn't help, but the real culprit was prep. Once I started cleaning with rubbing alcohol before applying paper, the same oak door held the same paper for months.
Here's what I missed that first week: the bubbling contact paper wasn't a product defect. It was the wood.
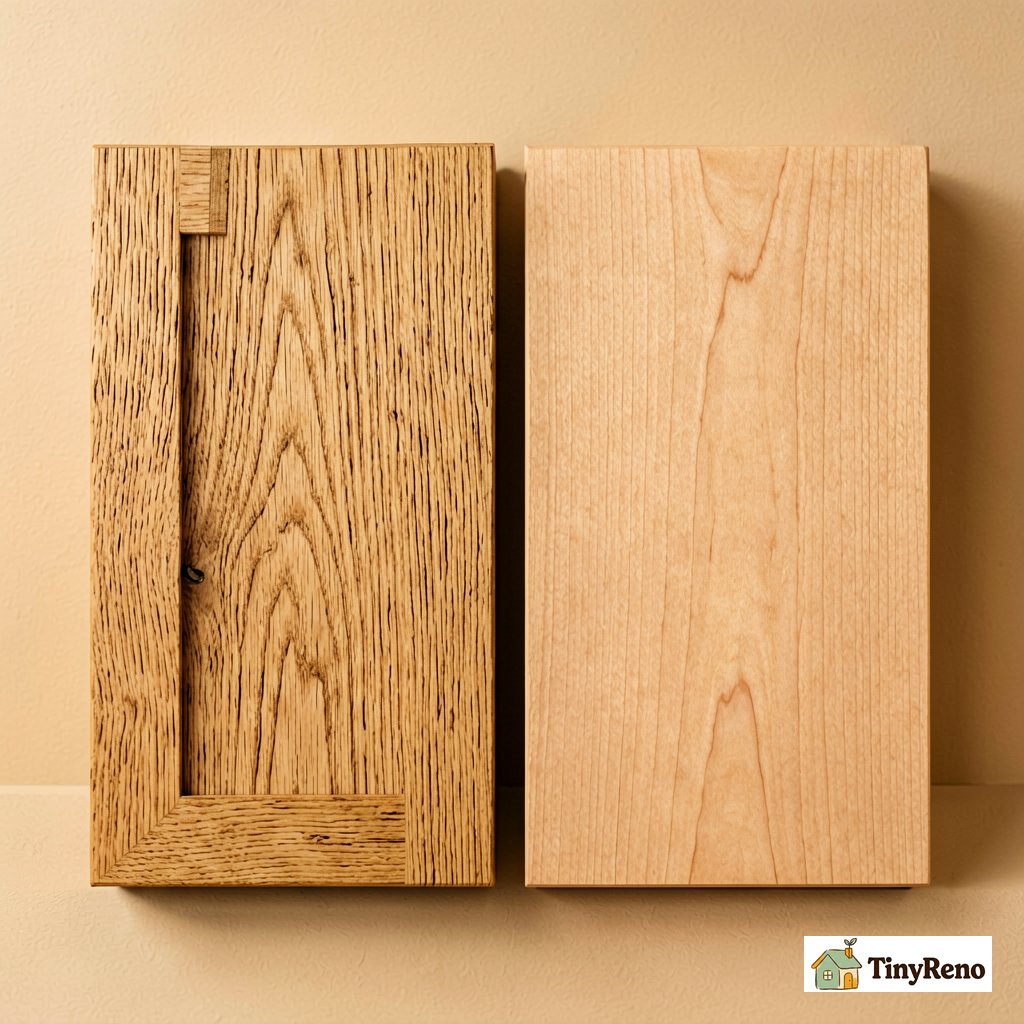
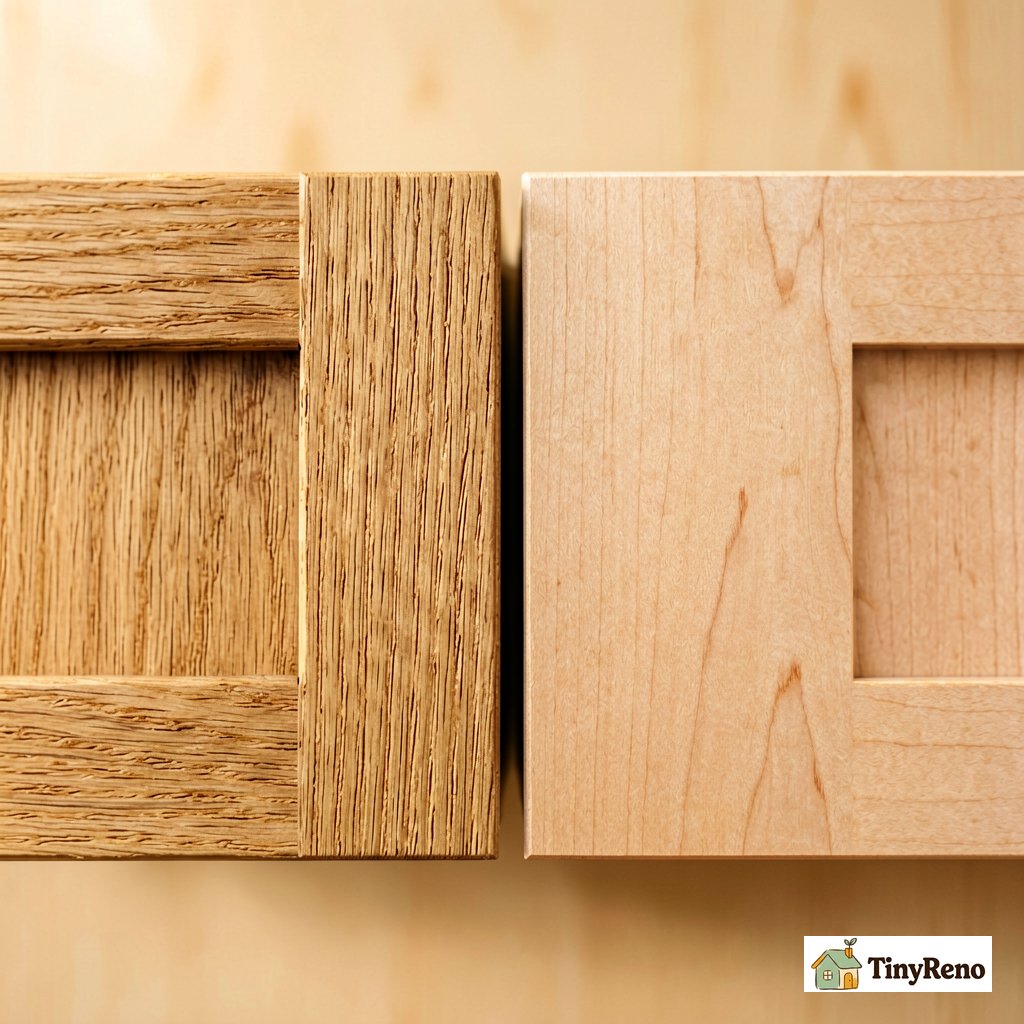
Oak has an open grain — even under a coat of polyurethane, you can feel the ridges and valleys of the grain pattern. When you press contact paper onto that uneven surface, the adhesive only makes contact on the raised parts. The valleys leave tiny air gaps, and as the room warms and cools, those gaps expand and contract until the paper starts to lift. It's not air escaping from the wood — it's air trapped in the texture. You peel it off in frustration and discover you've also pulled off a thin layer of the cabinet's original finish.
Maple is the opposite. The grain is so closed you can run your palm across it and feel almost no texture. Contact paper sits flush. Adhesive bonds evenly. The same paper that failed on oak in 18 hours held on maple for the entire 11 months I lived there.
This is the whole game. The four woods you'll meet in older rentals each behave differently under anything you put on them. If you learn to read the grain in 60 seconds, you save your weekend and your deposit.
The 4 Most Common Woods in U.S. Rental Cabinets
At the lumber yard, the floor guy laid my four sample doors on the workbench and pulled out a hand lens. He pointed out four things I would have never noticed on my own.
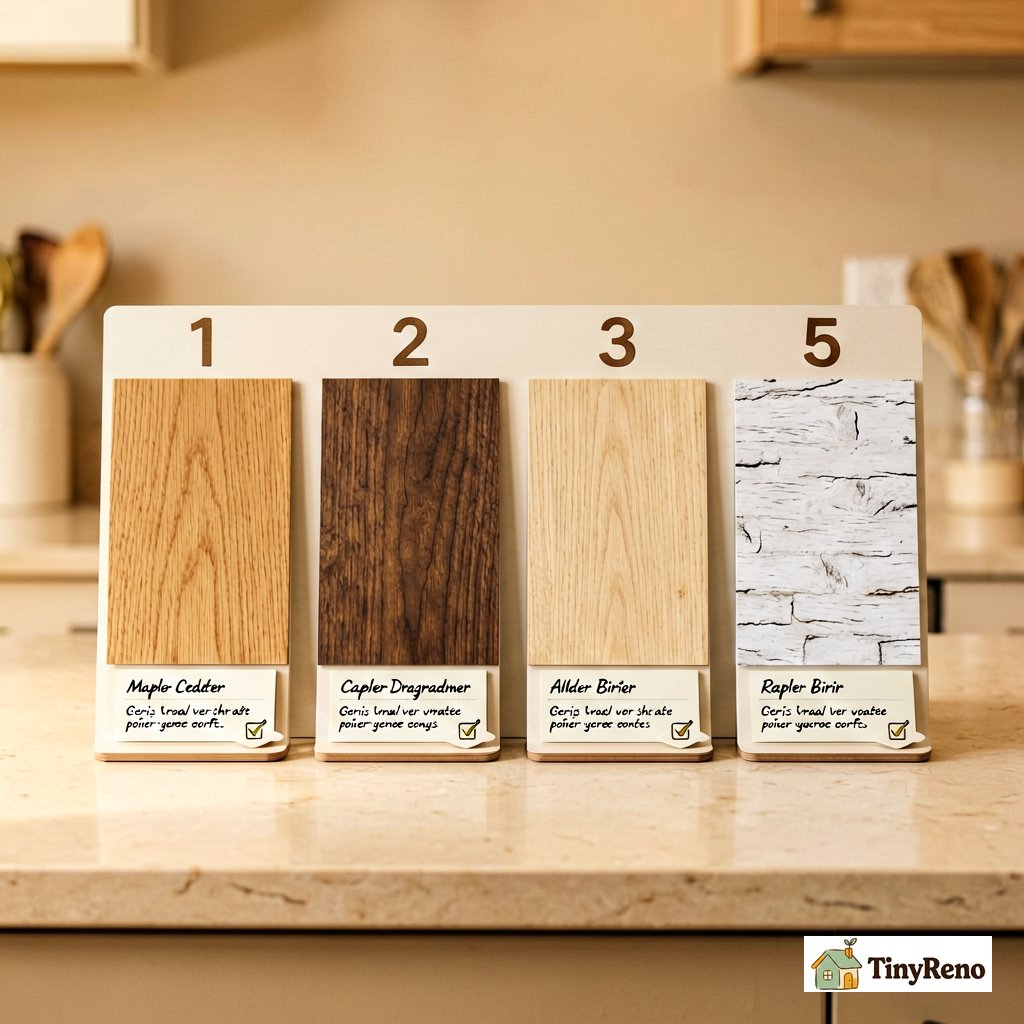
Oak — the open-grain heavyweight. You'll recognize oak by the dramatic streaks — long, dark cathedral patterns that look like topographic lines. Touch it and your fingers catch on the grain like sandpaper. Oak was the default cabinet wood from the 1950s through the early 1990s in most U.S. rentals built before 1995. The finish is usually a thin coat of polyurethane that has yellowed over 25-35 years.
Maple — the smooth, quiet workhorse. Maple looks pale, almost blonde, with a grain so fine it looks like the wood was drawn with a mechanical pencil. Run your thumb across it and your thumb comes away clean. Maple took over from oak in newer construction starting around 1995 and dominates anything built after 2000. It's also the cabinet type that contact paper loves best.
Alder — the soft, knotty middle ground. Alder has a warm, slightly reddish cast with small, dark knot clusters scattered like pepper flakes. The grain is soft and uniform — no big cathedral patterns. Alder shows up in mid-tier apartments from the late 1990s onward, and it scratches if you look at it sideways. Be careful with anything that requires pressure.
Birch — the pale impersonator. Birch looks a lot like maple at first glance — pale, smooth, minimal pattern. The give is the price tag: birch was the budget cabinet wood of the 2000s, and you can spot it in apartments built between 2000 and 2015 when developers cut costs. Birch sometimes has a yellowish tint; maple stays paler. Real test: drop water on both. Birch drinks it faster.
He charged me $14 for the cross-section analysis and didn't charge me for the lesson. I went back to the apartment and labeled each cabinet door with a small piece of painter's tape: OAK, MAPLE, ALDER, BIRCH. From then on I treated each one differently.
The 60-Second Field Guide: Touch, Look, and Water-Test
You don't need a lumber yard for this. My friend Jamie shipped me four samples in a flat-rate box last spring and I figured out which was which sitting on my kitchen floor in a bathrobe. Here's the three-step test that works on the four types of wood cabinets renters actually meet.
- Look at the grain pattern. Long, dark cathedral streaks → oak. Almost no visible pattern, pale → maple or birch. Small dark knots scattered evenly → alder.
- Run your thumb across the surface. Catches on grain → oak or alder. Smooth as glass → maple or birch.
- Drop a single drop of water on the door. If it beads up and rolls off, the surface is well-sealed — that tells you almost nothing about the wood species, because a sealed finish protects any wood. If it soaks in quickly, the finish is worn or missing, and the cabinet needs more care before you put anything on it. In a rental, a water test tells you more about the condition of the finish than the type of wood. Use the grain and touch tests for identification.
If you want a 90% shortcut: most rentals built before 1995 are oak. Most built between 1995 and 2005 are maple or alder. Most built after 2005 are birch or maple. The cross-section is overkill unless you're staining or painting.
Renter-Safe Upgrades That Respect the Grain
My coworker Marcus tried contact paper on his apartment's oak cabinets last winter. He left for a four-day trip and came back to four doors of bubbled-up vinyl that peeled off in his hands. The landlord sent him a $480 deduction letter the next month. If you're facing oak cabinets specifically and want a full walkthrough of safe paint-based refresh options, the painted kitchen cabinets rental guide covers the two-day transformation Marcus wished he'd found first.
I tried the same paper on my maple doors the same weekend. Eleven months later the paper was still on. The difference was the wood.
Here's the upgrade-by-wood-type chart that took me three apartments to figure out:
- Oak (pre-1995 rental): Skip contact paper. Skip peel-and-stick wallpaper. For oak, the honest answer is: hardware swap only. A bonding primer plus paint can work, but you need to rough up the surface for the primer to grip — and on a thin veneer door, sanding through is a real risk. Most renters aren't willing to gamble a $2,400 door replacement on a paint job. If you're in that group, do the hardware swap and call it done. Most renters aren't. Hardware swap only.
- Maple (1995-2010 rental): This is your playground. Contact paper works. Peel-and-stick wallpaper works. Even removable wallpaper panels work if you score the surface with a utility knife before applying.
- Alder (mid-tier, 1998+): Gentle only. Don't sand aggressively. Removable wallpaper panels can work if you're careful with pressure. Hardware swap is the safest.
- Birch (budget, 2000-2015): Smooth enough for most contact papers. But if the original finish is glossy polyurethane, be careful — peeling the paper off later can take the finish with it. A better approach is to clean the surface with rubbing alcohol before applying, which gives the adhesive more grip without scratching the finish. I don't recommend scoring the surface. The scratches are permanent, and if the paper still fails, you've damaged the door for nothing.
The pattern: smoother grain = more options. Open grain = hardware swap only.
The 15-Minute Hardware Swap
Saturday morning, my girlfriend and I drove to the ReStore on Hawthorne. We picked out eight matte-black cup pulls at $2.50 each. Back at the apartment, we unscrewed the old brass knobs with a Phillips head, measured the existing hole spacing (most rentals use the standard 3-inch or 96mm center-to-center), and screwed in the new hardware. Fifteen minutes including the coffee refill.
Total cost: $20. Total change: the kitchen looked like someone cared. The landlord, who came by for the annual inspection two weeks later, didn't say a word about the hardware — it counted as a "cosmetic refresh," not a modification. I got my full deposit back.
The only failure mode here is buying hardware that doesn't match the existing hole spacing. Measure twice. Or, if the holes don't match any standard size, fill them with a small dowel plug and drill new holes — but that's a "ask the landlord first" upgrade, not a stealth one. If your real bottleneck is inside the cabinets rather than the doors, the kitchen cabinet organizers renter edition walks through the shelf-and-bin stack that fits standard 12-inch and 18-inch deep cabinets without drilling anything into the walls.
3 Things to Never Do to Wood Cabinets
I almost sanded my oak cabinet doors on a Sunday in March. I had a palm sander in the garage, a 120-grit pad, and the conviction that "smooth oak = paint-ready oak." I called the lumber yard first.
The floor guy laughed for four full seconds. "You're about to sand through the veneer," he said. "Most cabinet doors from the 80s aren't solid oak. They're oak-veneered MDF or plywood. The oak layer is 0.5 millimeters thick. You sand through that, you've got MDF showing, and there's no coming back. Your landlord will replace the entire door set, and you'll get a $2,400 deduction."
I put the sander back in the garage.
Don't do this: Three things that will cost you your deposit.
- Don't sand oak or birch cabinet doors. Veneer is thin. You can't undo it.
- Don't use oil-based stain. It penetrates deep into the grain and cannot be removed without sanding. Even "touch-up" stain migrates.
- Don't use construction adhesive or heavy-duty mounting tapes. When the lease ends, you will be the one explaining the torn finish to your landlord.
Each of those three moves breaks the wood in a way that can't be fixed without replacing the door. And replacing the door means buying a door that matches a 30-year-old style — which means buying a salvaged door, paying a carpenter to fit it, or paying the landlord's contractor. None of those are renter budgets.
The safe move on every rental: identify the wood, respect the grain, and treat the cabinet as if your deposit depends on it. Because it does.


Discussion (0)
Sign in to join the discussion