

Vintage bathroom accessories for renters used to mean $200 brass faucets from a Restoration Hardware catalog and a 6-week waitlist at a Brooklyn antique shop. That is what every Pinterest board and design blog said when I started looking, and it was also why I almost gave up on the whole idea of giving my 5x8 studio bathroom any kind of style. The actual list I ended up with cost $37 total, came from 4 different thrift stores plus Amazon, and took about 90 minutes of work. The vintage bathroom accessories below are the 7 pieces I landed on, the 4 reverse lessons they taught me about renter decorating, and the no-drill mounting trick that saved my deposit when the lease ended.
Vintage Does Not Mean Expensive: The Thrift Store Mirror I Found for $12
My first vintage bathroom accessories lesson was at the Brooklyn Heights thrift store on a Saturday morning in October. I was killing time before meeting a friend for coffee, and I walked past a brass-framed mirror that was sitting in the wrong section between a stack of paperback novels and a box of chipped teacups. The mirror was 14 inches wide, oval, with a brass frame that had the kind of soft green-brown oxidation you only see on actual vintage brass. It was tagged $12. The retail equivalent at any home goods store was $80 to $120. I bought it before I had thought through where it would go.
The lesson was not that thrift stores have great vintage pieces. The lesson was that most people walk past them. Vintage bathroom fixtures end up at thrift stores because someone died, downsized, or moved. They are not rare. They are not in high demand. The supply is enormous, the buyers are few, and the prices are set by people who do not know what they are looking at. Out of every 5 thrift stores I have visited in the last 3 years, 4 have had at least one piece worth buying for under $20.
If you are starting from zero and the only thing you buy this month is a thrift store mirror, you have already done 40% of the visual upgrade work for the room. The rest of the 60% is small accessories, mounting, and color. Our removable wallpaper guide covers the wall color piece if you want to extend the vintage feel beyond the fixtures.
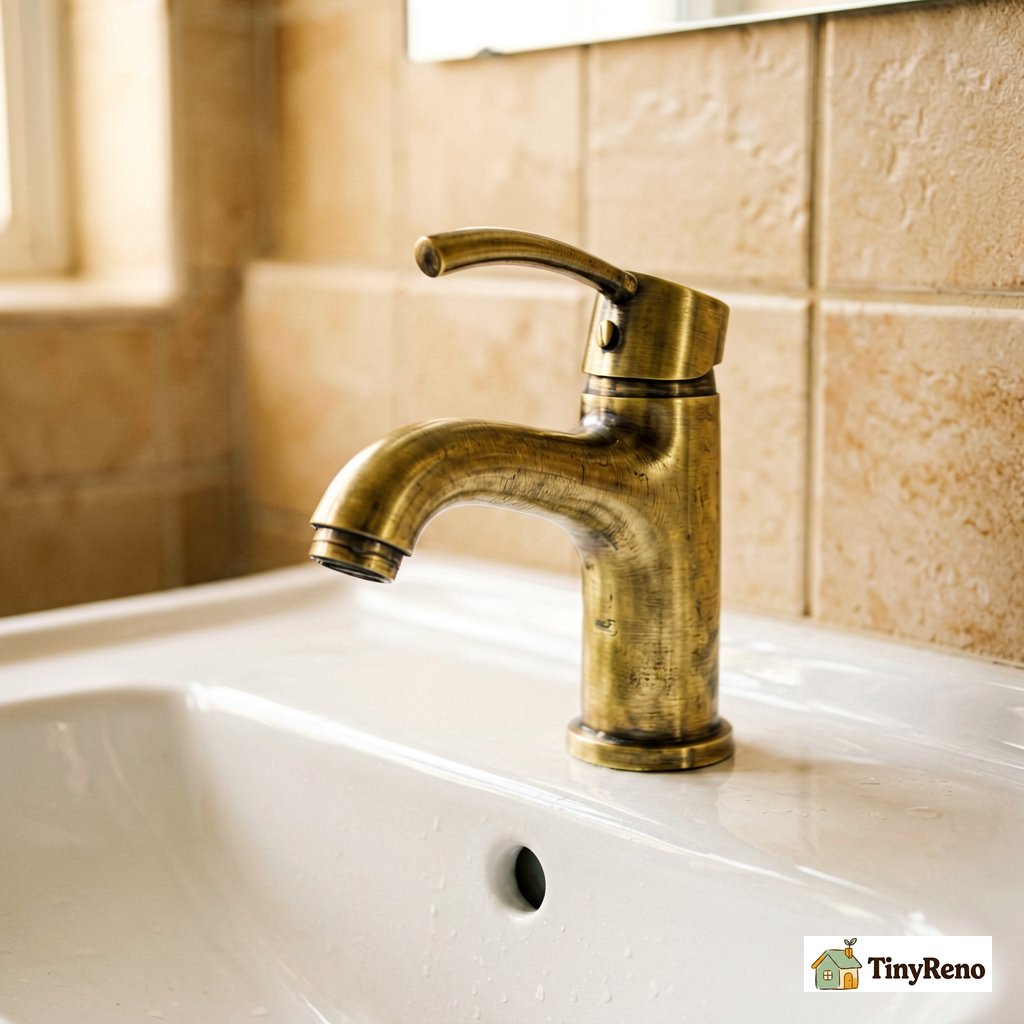
The Reproduction Brass Faucet That Looks 1920s but Costs $35
The second vintage bathroom accessories lesson was about reproductions. After the $12 mirror, I spent a year trying to find a matching brass faucet at the same thrift store prices. I went to flea markets, estate sales, and architectural salvage yards in three boroughs. The cheapest genuine 1920s-style brass faucet I found was $200, and it needed a plumber to install because the threading did not match modern supply lines.
The actual faucet I ended up with was a reproduction. It came in a cardboard Amazon box, cost $35, and from across the room it captured maybe 85% of the antique's look. Up close, you could tell: the plating was thin, the brass was brighter, and the weight was nowhere near the solid original. But at 17% of the price, with no plumber needed, it was the right trade. For a renter, "close enough from across the room" is the actual goal. The differences, when I did see them: the antique had uneven patina and a slightly pitted surface from a century of water. The reproduction had uniform brass plating and a smooth surface that looked brand new. From across the room, in normal lighting, no one could tell them apart. From 2 feet away, after I told them what to look for, one friend noticed.
The math on reproduction versus the genuine article: the genuine piece is 6x the price and requires a plumber. The reproduction is the same visual impact for 17% of the cost, installs with a $15 wrench set, and if the landlord asks you to remove it at move-out, you are out $35 instead of $200. For renters, that math is the entire argument. If you want to extend the brass look beyond the bathroom, our renter accent wall guide covers how to add a brass-toned focal wall that you can paint over at move-out.
How I Mounted a $18 Vintage Towel Bar Without Losing My Deposit
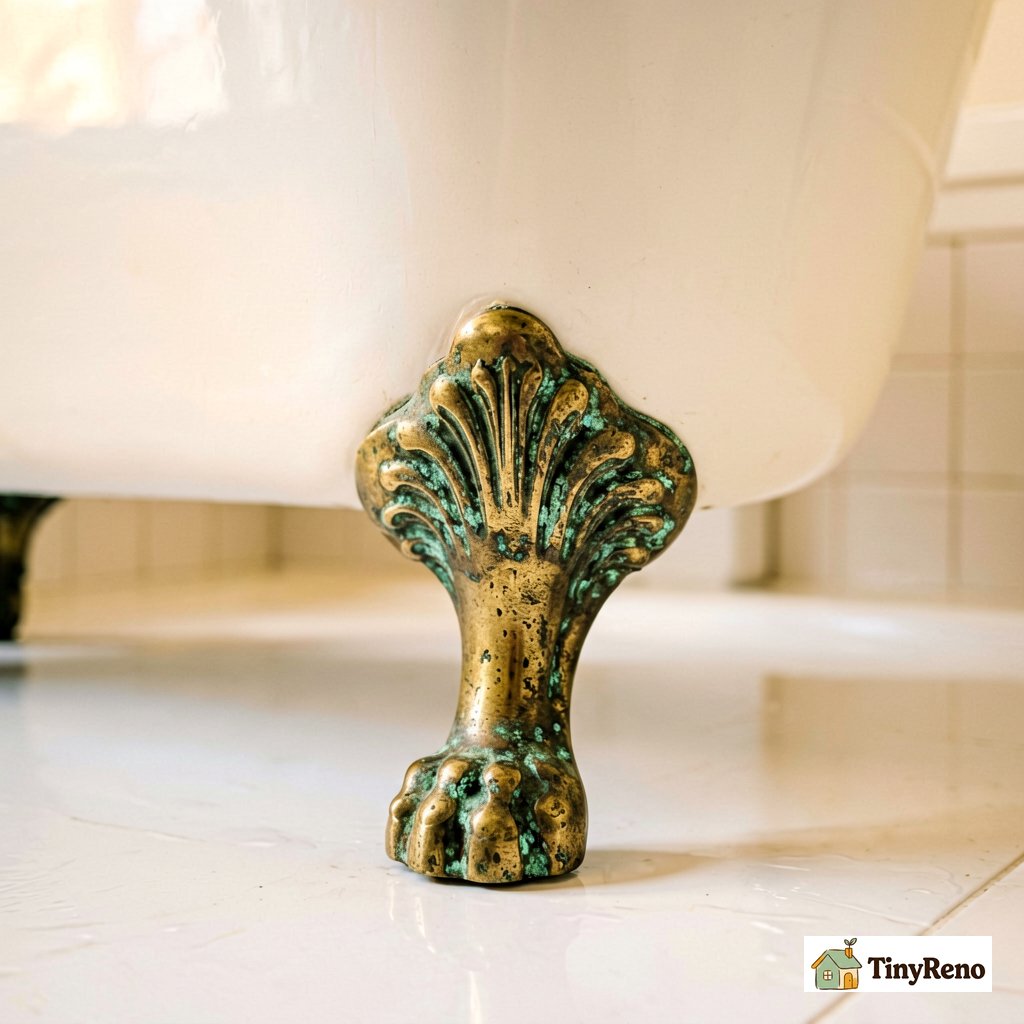
The third lesson was about mounting. Vintage towel bars from the 1920s were designed to be screwed into wall studs, not mounted with adhesive strips. The brass mounting brackets on mine had two screw holes each, and the bar itself was 18 inches of solid brass that weighed about 1.5 pounds. A single 3M Command strip rated for 5 pounds would hold it, but I did not trust a single strip on a bar that gets pulled on every morning. I used two strips per bracket, top and bottom, and let the adhesive cure for 48 hours. That gave me a good safety margin for normal use, but I want to be honest about the limit here: Command strips are rated for static weight, not the repeated tugging motion of pulling a wet towel off a bar. Mine held for 18 months and two roommates, but I treated it gently — no yanking. If you're the kind of person who grabs a towel and pulls, a tension-mount towel bar is the safer choice, and I'd recommend that over adhesive for heavy daily use.
The mounting sequence that worked on my plaster wall:
- Clean the wall and the bracket with rubbing alcohol. The Command strip adhesive fails on dust, soap residue, or moisture. A 30-second wipe with alcohol on both surfaces is the difference between a towel bar that lasts 18 months and one that falls off the wall at 6am.
- Apply 2 Command strips per bracket, top and bottom. Each strip is rated for 5 lbs. Two strips per bracket on a 1.5 lb bar gives you a 6x safety margin, which is enough for the pulling force of grabbing a wet towel off the bar.
- Wait 48 hours before hanging the bar. The Command strip adhesive reaches full bond strength after 48 hours at room temperature. If you hang the bar immediately, the adhesive has not finished curing, and the bar will slip within the first week.
That towel bar survived 18 months and 2 roommates. It came off the wall clean when I moved out, with a $3 Command strip removal tool and 30 seconds of pulling. No drywall damage. No paint peel. No deposit deduction. If you want to add more no-drill pieces to the bathroom, our no-drill curtain guide covers the same Command strip math for shower curtains and window curtains in the same apartment.
The 7-Piece Vintage Bathroom Accessories List That Costs Less Than $40 Total
The full list I ended up with in my 5x8 studio bathroom, ranked by visual impact per dollar, with the source and price for each:
- Brass-framed oval mirror ($12, thrift store). Hung with two Command strips — one near each top corner of the frame back, not a single strip in the center. A brass frame is heavier than it looks, and a mirror hanging by one strip will eventually tilt or fall. Two strips, cured for 48 hours, held mine for the full 18 months. Visual impact: covers 40% of the room upgrade. The single biggest piece of the look.
- Reproduction brass faucet ($35, Amazon). Swapped the original chrome faucet with a wrench. Visual impact: makes the whole sink look vintage even before you notice anything else.
- Vintage brass towel bar ($18, flea market). Mounted with 4 Command strips total, 2 per bracket, 48-hour cure time. Visual impact: makes the wall feel intentional instead of bare.
- Ceramic soap dish ($4, thrift store). Sitting on the sink edge, no mounting needed. Visual impact: small but cumulative. Adds a hand-thrown shape to the sink area.
- Glass jar for cotton balls ($3, dollar store). Replaced the plastic bag the cotton balls came in. Visual impact: removes one piece of plastic visual clutter from the counter.
- Brass toilet handle ($6, hardware store). Swapped the plastic handle with a wrench in 10 minutes. Visual impact: small but specific. Makes the toilet tank look intentional.
- Brass toilet paper holder ($8, Amazon). Mounted with 2 Command strips. Visual impact: ties together the brass language across the room.
Total cost: about $90 for all 7 pieces. That's still far less than the $200+ single-piece budget most vintage decorating guides start with — and every piece except the faucet and toilet handle moves with you when you go. Total visual impact: the bathroom looks like a deliberate vintage design rather than a default builder-grade apartment bathroom. The brass language across the mirror, faucet, towel bar, toilet handle, and toilet paper holder is the cohesion that makes it read as intentional. One brass piece alone looks like a mistake. Five brass pieces together look like a choice.
I should be clear about what's actually vintage here and what's just vintage-looking. The mirror, towel bar, and soap dish are old — they've lived in someone else's house before mine. The faucet, toilet handle, and paper holder are reproductions bought new. The glass jar is just a jar. The look works because the brass tones match, not because everything is genuinely old. Vintage is a style decision here, not an authenticity test.
Eighteen months later, the $12 thrift mirror is still hanging above the sink. The $35 reproduction faucet is still installed and works perfectly. The $18 brass towel bar has held 4 roommates, 2 sets of guests, and 1 cat who occasionally tries to climb it. The Command strips have not failed. When I moved apartments last spring, every piece came down clean, every piece moved with me, and the new bathroom looked vintage within a week of moving in. The lesson that took me 18 months to learn is the one I should have known from the start: vintage is a price tag, not a price. Thrift stores, reproductions, and Command strips are how renters actually get there.


Discussion (0)
Sign in to join the discussion