

The first time I asked myself can you caulk over caulk I was twenty-two, in a railroad apartment in Bushwick with a bathtub that had a strip of blackened bead running along the seam where the tub met the tile. The landlord had not recaulked in what looked like a decade. I bought a tube of kitchen-and-bath silicone, watched a YouTube video, and laid a fresh white bead right on top. It looked great for about three weeks. Then the new layer started to peel away from the existing one in long strips, taking chunks of the old rubber with it, leaving a gap that was actually worse than what I started with.
The question of whether you can caulk over caulk has a real answer, and the answer is sometimes yes and sometimes absolutely not — the difference depends on what kind of caulk is underneath and what condition it is in. The advice I usually see online is too simple. Either "never caulk over" or "just go for it, what could go wrong." Both are wrong about half the time. Here is what actually matters.
The Short Answer
The shortest answer to can you caulk over caulk is this: yes if the existing layer is silicone and in good condition, no if it is latex or acrylic and you want to use silicone. The fresh bead needs to form a continuous seal with what's underneath. Silicone does this best with silicone because the two surfaces are chemically identical and bond tightly as the new layer cures. Latex and acrylic can sit on top of the same material, but the bond is weaker — it's more like stacking two layers of paint than creating a single continuous piece. That's why it works in dry areas but fails where water hits daily.
You cannot reliably put silicone over latex or acrylic, because silicone will not bond to a water-based caulk. The fresh layer will look fine for a few weeks and then start to peel away in strips, exactly like what happened to me in Bushwick. I had put silicone over what turned out to be acrylic painter's caulk — the cheapest option, which is what most landlords and contractors reach for first.
You can sometimes caulk latex over latex, or acrylic over acrylic, but the bond is weaker than a fresh application on a clean surface. I have done this in low-stakes areas like along a baseboard where water exposure is minimal and it has held for years. I would not do it in a shower or tub where water hits the seam daily.
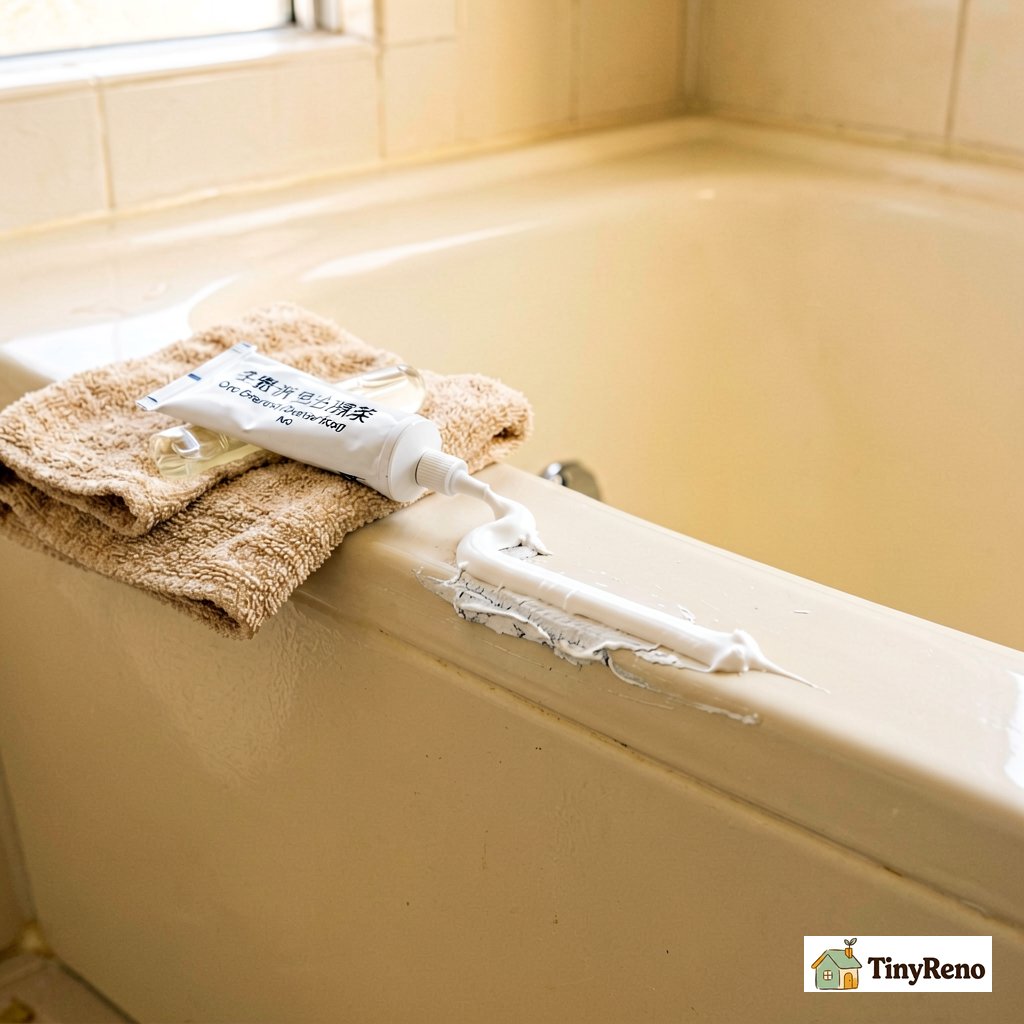
That is the whole framework. The rest of this article is the practical version — how to identify which caulk is underneath, when to seal over it, and when to remove the existing layer first.
Before you buy anything, check your lease. In most rentals, recaulking a tub or shower is the landlord's job — a failed caulk line can cause water damage that costs thousands, and landlords prefer to handle it themselves rather than let a tenant make it worse. Kitchen counters and window frames are different: those are usually fine for renters to handle. If you're not sure, send a photo to your landlord and ask. The worst thing that can happen is they say "I'll send someone," and you've saved yourself an afternoon and a tube of caulk.
Why the Old Caulk Matters So Much
The bond between two layers of caulk depends on chemistry, not pressure. When you press a new bead onto the existing one, the new caulk needs to either chemically fuse with what's underneath or mechanically grab onto a rough surface. Silicone bonds to silicone because the two surfaces are chemically compatible — the new layer cures against the old one and the two form a continuous, watertight seal. It's not a solvent weld the way you'd get with PVC pipe. It's more like pouring fresh silicone into a mold made of cured silicone: when the new layer sets, it holds on tight because the two surfaces match each other perfectly. Latex and acrylic do not do this — they cure by water evaporation, so the new layer is essentially just sitting on top of the existing layer like a coat of paint. This is the chemistry that decides whether can you caulk over caulk actually works.
That is why my Bushwick bead peeled. The new silicone could not fuse with the acrylic underneath. After about three weeks the new layer had cured, contracted slightly as it cured, and lost its grip on the slick surface. Once water started getting in between the layers, the new bead had nothing holding it to the substrate and it came off in strips.
The condition of the old caulk matters too. If the old caulk is cracked, peeling away from the wall, moldy, or shrinking back from the edges, no new layer on top will hold. You are essentially caulking onto a surface that is already failing. I have tried this in a panic on a Friday night before guests came over and the new layer failed within a month every time. Save yourself the round trip and do the proper removal first.
How to Tell What the Old Caulk Is
Before you decide whether to caulk over the old bead or remove it, you need to know what kind of caulk you are dealing with. There are three common types in renter bathrooms and kitchens, and they all look similar when cured.
Silicone is the most common in tubs, showers, and sinks because it is waterproof. You can identify it by feel — silicone is rubbery, slightly stretchy, and stays flexible. Press your fingernail into an inconspicuous corner. If it gives slightly and bounces back, it is probably silicone. Silicone also tends to yellow over time, especially the cheaper clear kind.
Latex and acrylic caulks are water-based and common along baseboards, window trim, and anywhere paint will go over them. They feel harder and less flexible than silicone — when you press them they do not give at all. They also tend to take paint well, which is how you can tell in a finished room — if the caulk line is painted the same color as the trim, it is almost certainly latex or acrylic.
If you genuinely cannot tell, there is a chemical test that works most of the time. Put a small drop of mineral spirits on a rag and rub it on the caulk in a hidden spot. If the caulk becomes tacky or smears, it is latex or acrylic. If nothing happens, it is silicone. Mineral spirits will not affect cured silicone.
When You Can Caulk Over It
The straightforward case is silicone over silicone in good condition. I do this regularly in my current apartment because the bathroom was recaulked properly before I moved in and the original bead is still flexible and well bonded after four years. When I see a small gap appear at one end of the tub seam, I clean the old bead with isopropyl alcohol, let it dry, and lay a thin new bead right on top. It has held for two years without issue.
The cleaning step matters. Even silicone needs a clean surface to fuse to. Wipe the old bead down with isopropyl alcohol on a rag, then let it dry completely — in a dry bathroom, fifteen to twenty minutes is enough. In a humid bathroom, give it thirty minutes or hit it with a hair dryer on the cool setting for a minute. If the surface feels even slightly cool or damp to the touch, wait longer. The new bead needs a bone-dry surface to bond properly. Do not use a household cleaner like Windex or 409 because the residue will interfere with the bond. Mineral oil, soap film, body oils from the shower, all of these will prevent fusion.
The bead thickness matters too. A new bead over an old bead should be thinner than the old bead, not thicker. If you lay a thick new bead on top of an old bead, the new bead will slump and sag before it cures and you will have an ugly, uneven result. I run my finger along the bead with light pressure to keep it as thin as possible — ideally under 2 millimeters, about the thickness of a nickel. If you can feel a noticeable bump where the new bead sits on top of the old one, it's too thick and it will sag before it cures.
When You Have to Remove the Old Caulk First
You have to remove the old caulk first if any of these are true. The old caulk is peeling away from the wall or the tub at any point along the seam. The old caulk is moldy and you cannot clean the mold off — if it has penetrated into the caulk, no amount of surface cleaning will fix it and you are just covering up a problem. The old caulk is latex or acrylic and you want to use silicone. Or the existing bead is more than one layer thick already.
Removing old caulk is not as hard as people think. The tool you want is a plastic caulk removal tool, which costs about $3 at any hardware store. The plastic will not scratch the tub or the tile the way a metal putty knife will. Slide the tip under the edge of the old bead and work it along the seam — most old caulk comes off in long strips once you get under one edge.
For stubborn spots where the old caulk has hardened in place, a razor scraper held at a low angle works. Be careful with the razor on a fiberglass tub — the blade can cut into the surface and leave permanent marks. On a porcelain tub or tile it is fine. For silicone specifically, there is also a chemical caulk softener that you can apply, leave for a few hours, and the old bead peels off more easily. I have used 3M Caulk Remover with mixed results — it works on latex and acrylic but barely touches silicone.
After removing the old bead, clean the surface thoroughly with isopropyl alcohol to remove any residue. Let it dry completely before applying new caulk — I give it at least an hour, longer if the bathroom is humid. The substrate needs to be clean and dry for the new caulk to bond properly. If there is any old caulk residue left, the new bead will not seal against it and you will be doing this job again next year.
The Right Caulk to Use
For tubs, showers, sinks, and any wet area, use 100 percent silicone labeled kitchen-and-bath or tub-and-tile. Do not use the cheap general purpose silicone — it does not contain the mildewcide that bathroom caulk needs. GE Silicone II and DAP Kwik Seal Ultra are the two brands I have used and they both hold up. A standard 10.1 oz tube costs about $6 and covers one tub or one shower.
For baseboards, window trim, and anywhere you will paint over the caulk, use a paintable siliconized acrylic or a pure acrylic caulk. These take paint and they clean up with water before they cure. The siliconized versions have a small amount of silicone for flexibility and they hold up better over time than pure acrylic. DAP Alex Plus is the brand I keep on hand for this.
Do not mix and match. If the existing caulk is silicone, use silicone. If it is latex, use latex or acrylic. Do not put silicone over latex and do not put latex over silicone. This is the single biggest mistake people make and it is the one that left my Bushwick bathroom worse than when I started.
Knowing When to Call the Landlord
In a rental, recaulking a tub or shower is usually a landlord responsibility. Most leases put bathroom caulking under "landlord maintenance" because a failed caulk job can lead to water damage that costs thousands. If the seam in your tub is moldy, peeling, or has clearly not been replaced in years, that is a habitability issue and you should report it in writing before you try to fix it yourself.
That said, there are some caulk jobs a renter can handle. Replacing the caulk along a kitchen counter backsplash is reasonable renter territory. Recaulking a window frame where the old caulk has cracked is also reasonable. Recaulking a tub is more borderline — technically most leases say the landlord handles it, but in practice most landlords are happy if the renter does it and does it well. If you do it yourself, take photos before and after so you have a record in case there is a deposit dispute at move out.
Can you caulk over caulk is not really a yes-or-no question. It is a four-part question — what the existing layer is made of, what condition it is in, what you are sealing with, and whether the joint sees water. If I'd known those four questions at twenty-two, I would have looked at that blackened bead in Bushwick, realized it was acrylic under my new silicone, and peeled the old layer out before I ever opened the new tube. Instead I learned the hard way, three weeks later, watching my fresh white bead come away in long rubbery strips. Don't do what I did. Ask the four questions first. Get all four right and a fresh bead on top of what's already there will hold for years. Get any of them wrong and you will be redoing the job in a month — and probably dealing with water damage you caused in the meantime.


Discussion (0)
Sign in to join the discussion