

I learned how to clean a non stick pan the wrong way first, at nineteen, working a Saturday brunch shift at a diner on Flatbush Ave. The egg stuck and my manager told me to "scrub it good." Twenty seconds in, the black coating came off in curly strips and floated in the dishwater like fish skins. I got written up for ruining a $40 pan. That was the day I learned the surface does not behave like stainless steel — and most of the rules I use now come from that one mistake.
If you have ever scrubbed the pan with a green pad and watched the surface turn cloudy, or wondered why your eggs started sticking six months in, this is for you. Most of the damage I see on rental pans is from cleaning, not from cooking. The fix is mostly about what you don't do.
Why Most Non Stick Pans Die Early in Rentals
I keep a tally when I stay at friends' places — at least three out of five rentals I visit have a pan with a scratched, blotchy interior, usually sitting on top of the fridge because nobody trusts it anymore. The pan is rarely dead from cooking. It died from how it was cleaned.
There are three things that destroy the coating faster than anything else. The first is abrasive scrubbers — steel wool, magic eraser, brillo pads, even the rough side of a regular sponge. The second is the dishwasher. Most renter dishwashers run hot enough cycles that the coating degrades in six months to a year. The third is cooking spray. Non stick sprays like PAM leave a polymerized film that builds up over time and makes the surface stickier than when you started.
I learned the cooking spray thing the hard way. My roommate in Sunnyside kept spraying our one good pan every time she made eggs, because she said the eggs were sticking. After about four months the pan looked like it had been painted with a thin brown lacquer. I scrubbed it for twenty minutes with baking soda and a soft sponge and watched half the residue come off — but only half. The pan was never the same.
The Three Things You Actually Need
You do not need special cleaners. You need three things that are already in your kitchen. A soft sponge — the smooth side only, never the scrubby green side. Dish soap — any kind, but the cheaper ones like Dawn or Seventh Generation work fine. And warm water.
That is it. If you want to bring in a fourth tool, a wooden spoon or silicone spatula helps scrape off stuck bits without touching the surface. I keep a small silicone scraper next to my dish soap for this exact reason. It cost me four dollars at the grocery store and has paid for itself five times over.
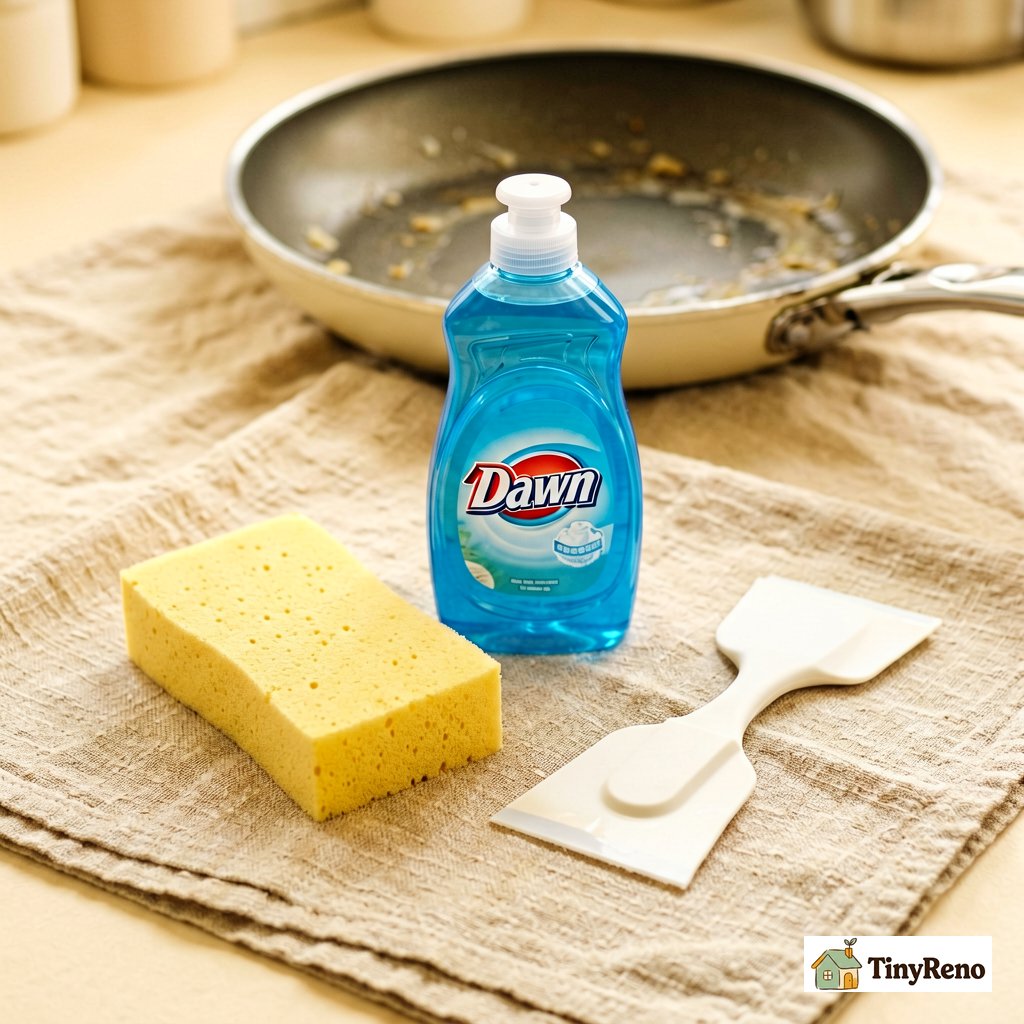
What you do not need: baking soda paste for routine cleaning. I see this advice all over Pinterest and it is wrong for a coated pan. Baking soda is mildly abrasive. On stainless steel it polishes beautifully. On a non stick surface it slowly grinds down the finish. Save it for the spot treatment later, not everyday cleaning.
The Actual Cleaning Method
Here is the routine I have used on my current pan for two years, and it still releases eggs with a tiny shake. This is the actual how to clean a non stick pan method I rely on. Let it cool down first — running cold water on a hot surface can warp the base, and a warped base is the slow death of even a brand new pan. I wait about five minutes, until it is warm but not hot to the touch.
Then I run warm water into the pan over the sink, squirt in a small amount of dish soap, and let it sit for two or three minutes. If anything is stuck — cheese, a burnt edge of egg, rice — the warm soak loosens it without me having to scrub at all. After the soak I take the smooth side of a soft sponge and wipe in slow circles. No pressure. I am not trying to scour anything, I am just moving the soapy water around.
Rinse under warm running water and dry immediately with a dish towel. The drying step matters because hard water spots will bake on the next time you heat it. In my Sunnyside apartment the water was so hard I had to dry every single dish to avoid spots — it was annoying but the pans looked new for years.
If you want to be extra careful, put a paper towel inside the pan after drying. It absorbs any residual moisture overnight. This is what the diner manager taught me the day after I ruined my first pan, and I have done it ever since.
Spot Treatments for Stubborn Stains
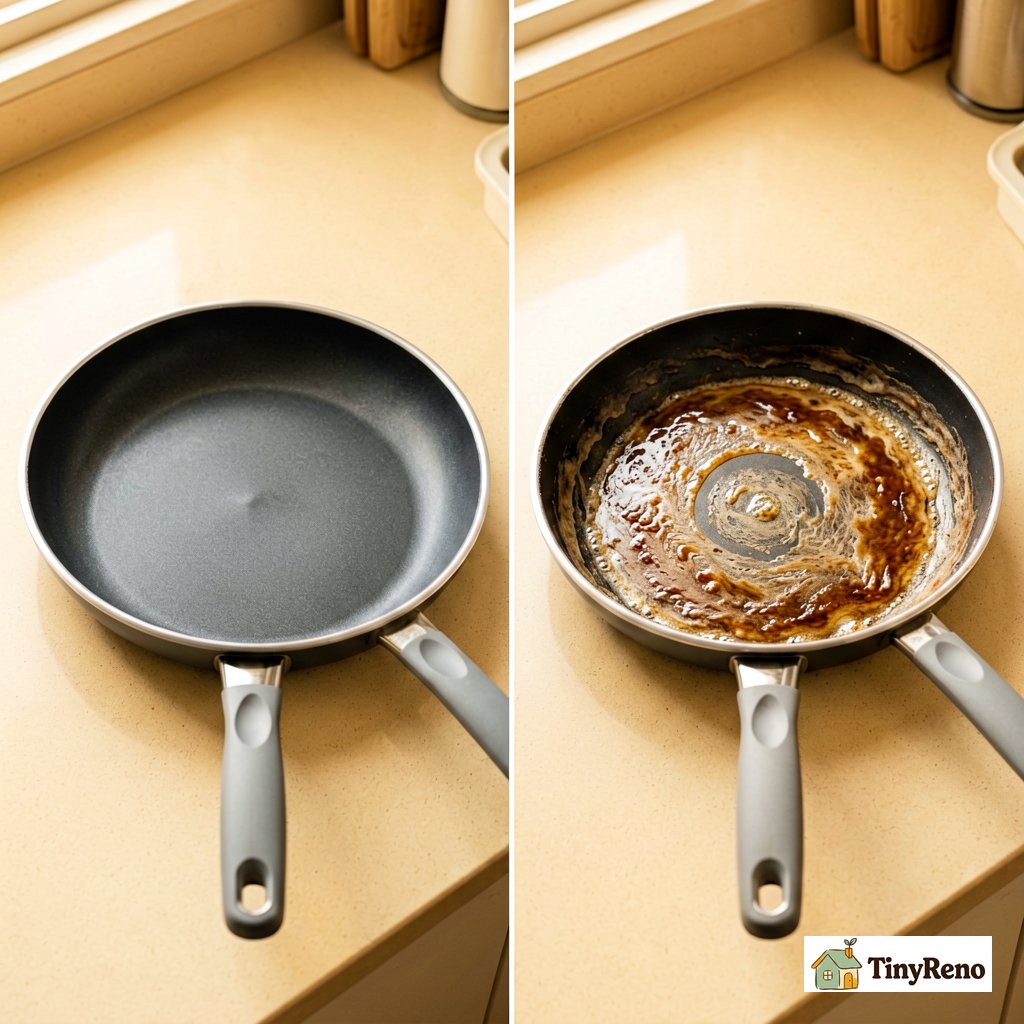
Sometimes food really does stick. Burnt cheese on the bottom of a pan is a classic. Or you buy a used pan from a neighbor and it has that mystery brown film I described earlier. For these you can use baking soda — but as a spot treatment, not as a daily cleaner. Sprinkle a tablespoon of baking soda into the pan with a few drops of water, let it sit for ten minutes, then wipe gently with the soft sponge.
For the brown polymerized film from cooking spray, you need something stronger. Boil a mixture of water and white vinegar in the pan — about one cup of water to half a cup of vinegar. Let it boil for three to four minutes, then pour it out and let the pan cool. Most of the film will wipe off with a soft sponge. You may need to repeat once. This worked on my roommate's pan after two rounds and got about eighty percent of the film off.
For really stubborn burnt-on residue, I have used a paste of baking soda and a tiny bit of dish soap, applied with a soft cloth and left overnight. In the morning it wipes clean. This is the most aggressive thing I do to the finish and I do it maybe twice a year. Most people who ask how to clean a non stick pan end up here with burnt cheese or polymerized film — both are fixable, but neither happens on a healthy surface, so spot treatments should be rare, not routine.
When to Stop Cleaning and Replace the Pan
A worn out pan cannot be cleaned into working order. There is a point where no amount of baking soda or vinegar will make eggs slide again, and continuing to cook on a flaking surface is a health concern. The coating on modern nonstick pans is not toxic if swallowed in small amounts — the flakes pass through your system without being absorbed. The real danger is overheating the pan to the point where the coating begins to break down and release fumes. That's why a heavily scratched or flaking pan should be replaced: not because the flakes are poisonous, but because the damaged surface can't cook evenly and may overheat more easily in the exposed spots.
Here is how I tell when a pan is done. The first sign is the coating looks patchy or has visible scratches you can feel with your fingernail. The second sign is even a thin layer of oil and a preheated pan cannot release an egg without sticking. The third sign is the pan has a slight wobble on a flat surface — the base has warped from too many hot-cold cycles. Any one of these means it is time to replace.
I replace my main pan every two to three years. I treat it gently — no dishwasher, no metal utensils, no cooking spray, soft sponge only — and it lasts. The same pan my roommate ruined in four months I have had for two years and it still looks new. The difference is not the piece, it is the cleaning method.
If you are renting and the pan came with the unit, document its condition when you move in. Take a photo of the bottom with the brand and a timestamp. If it dies during your lease, you have evidence it was not your cooking that killed it. This saved me $35 on my last move-out in Astoria — my landlord tried to charge me for a "ruined" non stick pan that was already scratched when I moved in two years earlier.
The routine is not complicated. It is mostly restraint — resisting the urge to scrub, resisting the dishwasher, resisting the cooking spray. Three small things to avoid and one simple routine, and your pan will outlast your lease. If you remember nothing else about how to clean a non stick pan, remember this: the gentlest method is the longest lasting one.


Discussion (0)
Sign in to join the discussion