

The week before Thanksgiving last year, my friend Sasha offered to help her sister strip the peel-and-stick wallpaper that had been up in the kitchen for three years. They started at8 a.m. with high hopes and a butter knife, and by noon they had learned four separate lessons the hard way abouthow to remove peel and stick wallpaper without ruining the drywall behind it. They tried four methods on the same kitchen, kept notes on what worked and what pulled chunks of wall with it, and by the end of the day had the whole room back to paint-ready. Here are the four methods in the exact order they tried them, what each one is best for, and the four wall surfaces you should test on a hidden corner before you commit to any of them.
The Corner Peel Method That Removes Fresh Peel-and-Stick Wallpaper in Minutes
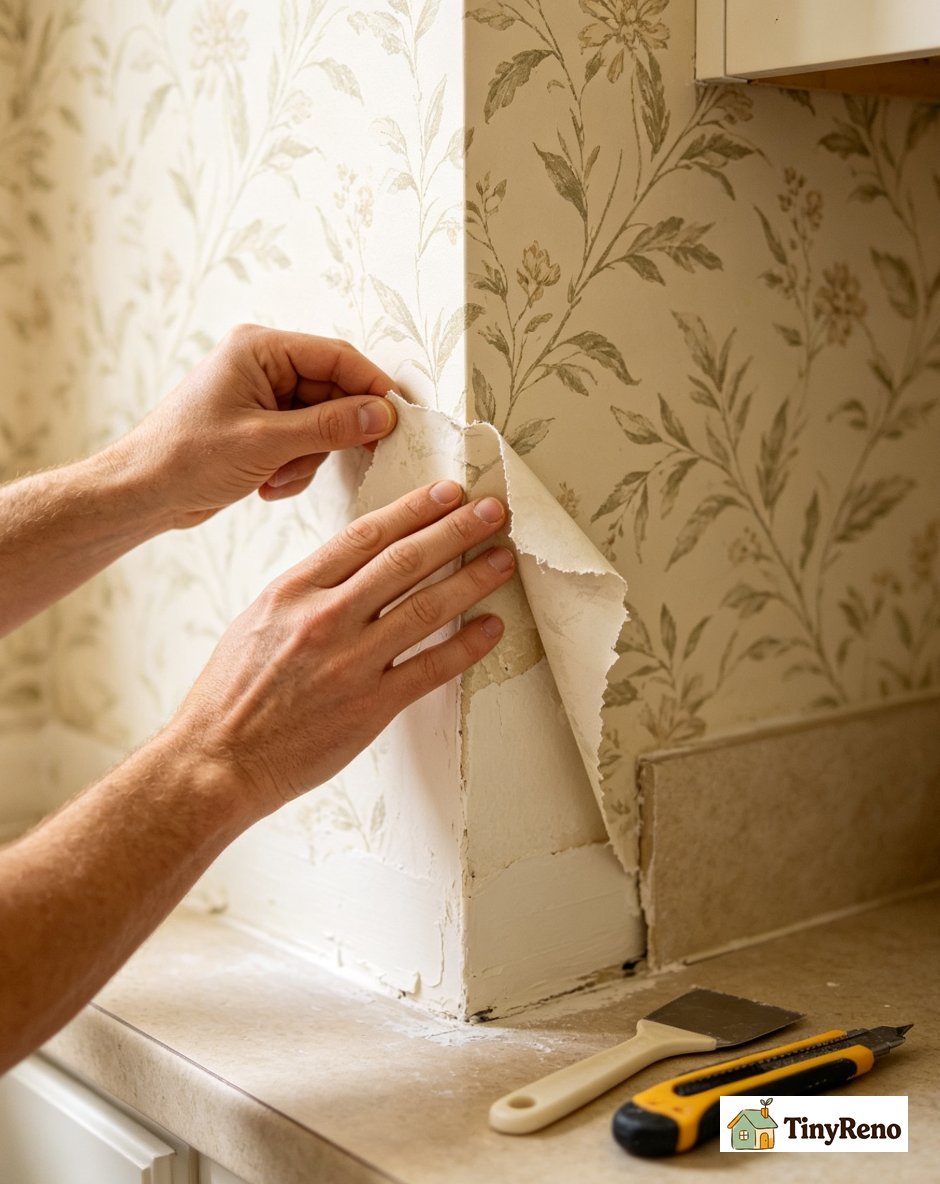
Sasha's first wall was the one her sister had wallpapered herself in early2021, and it had never been touched since. The paper was a botanical print on a smooth painted drywall, applied with a quality brand (Tempaper, $1.89 a square foot at Home Depot), and it had held up perfectly in the steam and heat of a kitchen for almost three years. The corner peel method is the one to try first on any peel and stick wallpaper that has been up less than two years, because if the adhesive is still active, the paper comes off in large sheets, leaves almost no residue, and takes maybe ten minutes for an entire wall.
Start at a top corner near the ceiling, where the paper naturally lifts slightly because of gravity. Use a fingernail to pick up the corner, or if it is stuck firmly, slide a plastic putty knife or a utility knife with a fresh edge under the edge to get the lift started. Do not use metal on drywall if you can avoid it, because a metal edge will dig into the paper facing of the drywall and create a divot you will then need to patch and repaint. Once you have about an inch lifted, grip the paper with both hands close to the wall and pull straight down at roughly a 45-degree angle, parallel to the wall, not out away from it. Pulling out away from the wall is what causes the paper to tear and the adhesive to stay on the drywall. Pulling down and parallel keeps the adhesive on the back of the wallpaper as it peels.
If the paper starts to tear before you reach the bottom of the wall, stop, re-grip closer to the wall on the still-attached portion, and continue the same 45-degree pull. Sasha's first wall came down in four large pieces totaling about 35 square feet, in roughly twelve minutes, and the drywall underneath looked like it had never been papered. That is what the corner peel method should feel like when it is working.
The Heat and Pull Method for Old or Stubborn Peel-and-Stick Wallpaper
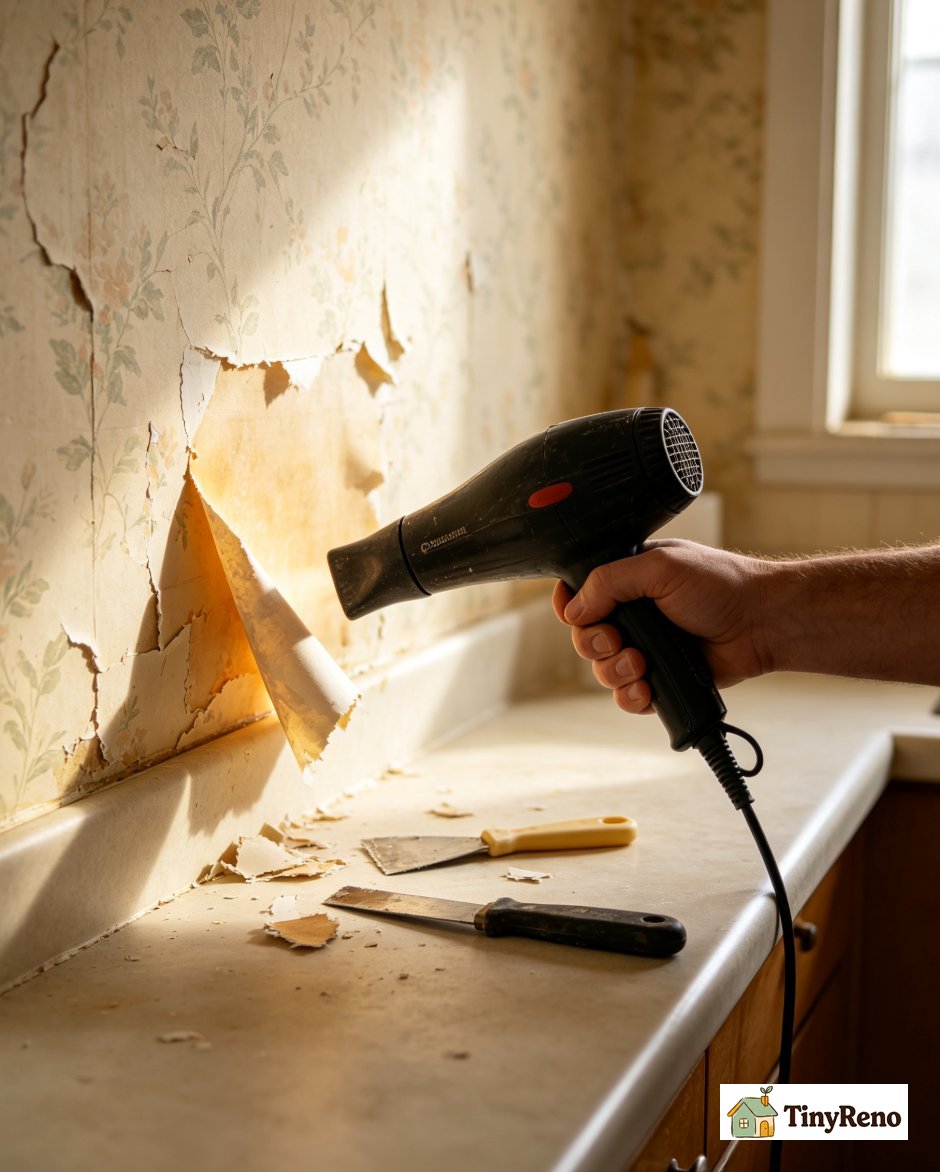
The second wall was a different story. This paper had been up since2019, had survived two kitchen remodels, and was a different brand (a budget no-name from Amazon). When Sasha tried the corner peel, the paper tore within an inch and the adhesive stayed glued to the drywall. That is when you switch to the heat and pull method, which is the right answer for any peel and stick wallpaper that has been on the wall more than two years, in direct sunlight, or in a humid room like a bathroom or above a stove.
The point of the heat is to soften the rubber-based adhesive so it releases from the drywall. A regular hair dryer on its highest setting works for most home situations. Hold the dryer about six inches from the surface, move it in slow circles to heat a roughly twelve-inch square section for thirty to forty-five seconds, and then immediately try the corner peel again on that warmed section. The adhesive should now feel slightly tacky rather than rock-hard, and the paper should release in larger pieces with the same 45-degree pull technique. Work in small sections so the heat does not have time to cool before you pull.
For very old or very stubborn paper, a clothes iron on a low setting (with a towel between the iron and the paper to protect the wall) works faster than a hair dryer, but it is a higher-risk method because too much heat can scorch paint underneath or even damage the drywall facing. Sasha ended up finishing the second wall with the hair dryer method, working in sections, in about an hour. The drywall came through clean again, which is what you want, but the time difference between the first wall and the second wall (twelve minutes versus an hour) is what tells you how much the age of the installation matters.
Warm Water and Sponge for Cleaning Sticky Residue After Wallpaper Removal
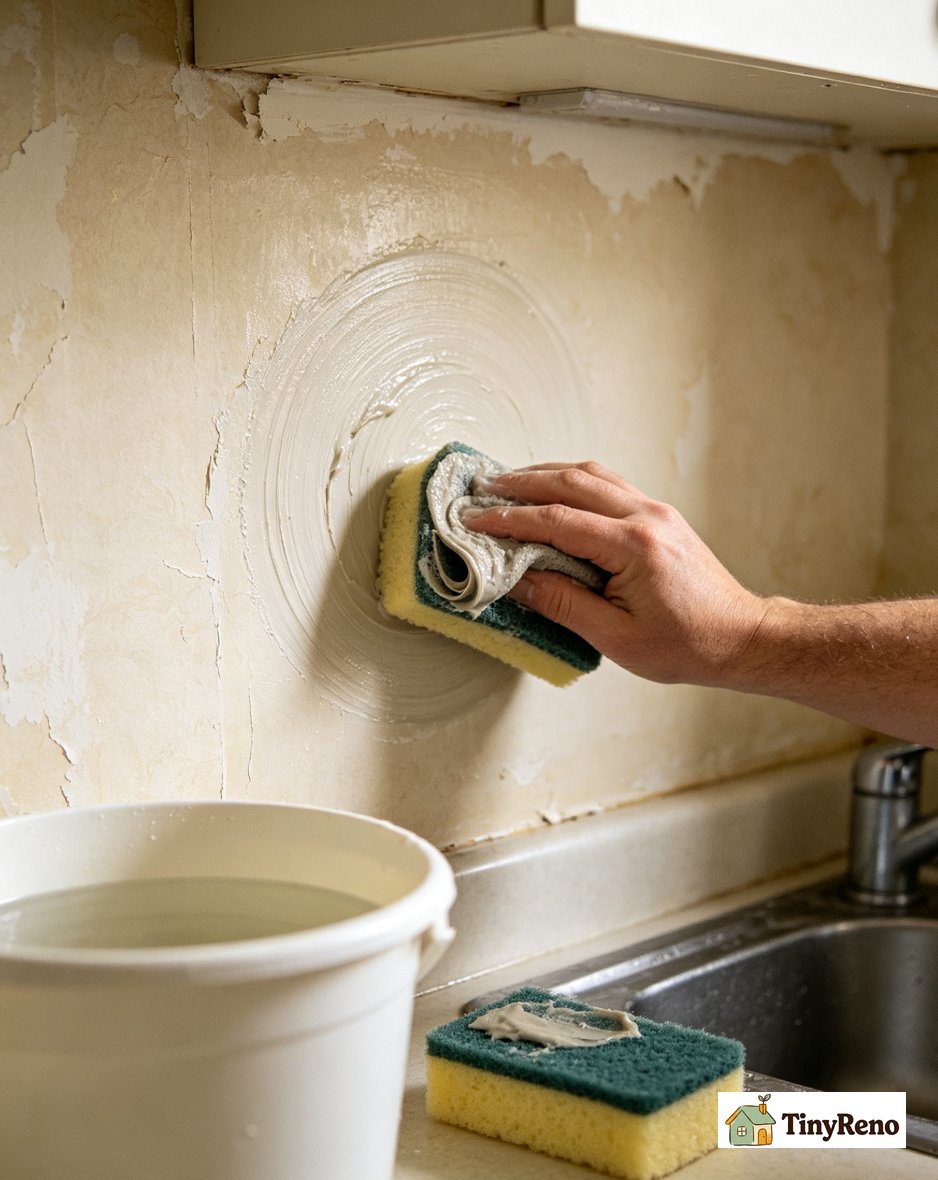
Even when the paper peels off cleanly, mostpeel and stick wallpaper leaves a thin layer of adhesive residue on the wall, and that residue is what turns into a problem when you try to repaint over it. Paint will not adhere to sticky residue evenly. You will see roller marks, fish-eyes, and color blotches wherever the residue is thickest, and within a few months the new paint will start to peel in those exact spots. This is why the third step matters as much as the first two. You have to clean the residue before you paint.
For most walls, plain warm water and a microfiber sponge is enough. Fill a bucket with the hottest tap water you can stand to put your hand in, dip the sponge and wring it out so it is damp but not dripping, and hold the damp sponge against the residue for about thirty seconds to soften it. Then wipe in slow circles with moderate pressure. The residue will ball up and roll off onto the sponge like wet rubber cement. Rinse the sponge frequently, and refresh the water when it gets cloudy. For a typical kitchen wall, this takes twenty to thirty minutes of patient wiping, but it leaves the wall ready for primer and paint.
If the residue is in the texture of an orange peel or knockdown wall, a magic eraser works better than a sponge because the melamine foam can reach into the low spots without scratching the high spots. Sasha tested both on the same wall section. The sponge left a faint sheen of residue in the deeper texture. The magic eraser pulled it all the way out. If you are going to repaint a textured wall, plan on using the magic eraser. Rinse the wall with a clean damp sponge after the magic eraser to remove any foam residue.
Solvent-Based Adhesive Remover for the Most Stubborn Wallpaper Residue
The fourth wall was the one that nearly cost Sasha a drywall patch. It was the wall behind the stove, where years of cooking grease had soaked into both the wallpaper and the adhesive, fusing them into something closer to enamel than to paper. After forty minutes of heat and pull, Sasha had removed about half the paper, and the rest of the wall was covered in a sticky brown residue that warm water would not touch. That is when you reach for a solvent-based adhesive remover, the last resort before calling a professional.
The two most common options are Goo Gone Original ($5 at Walmart or any grocery store) and3M General Purpose Adhesive Remover (about $8 at Home Depot). Both work the same way. Apply the solvent to a microfiber cloth or directly to the residue, let it sit for three to five minutes to dissolve the adhesive, and then wipe in slow firm strokes. The residue will turn liquid and come off onto the cloth. Switch cloths frequently, and work in sections of about two square feet at a time so the solvent does not dry before you wipe.
There are three warnings worth knowing before you reach for the solvent. First, ventilate the room. Open windows, run a fan, and keep the door closed to the rest of the house. The fumes are strong and persistent. Second, test the solvent on a hidden spot of the wall first, because some paint finishes (especially flat or matte) will dull or discolor when the solvent touches them. Third, after the residue is gone, wipe the wall down with a clean damp cloth to remove any solvent film before priming. Priming over a solvent film is what causes paint adhesion failures two coats later. Sasha finished the fourth wall in about forty-five minutes with Goo Gone, and it was the only wall that needed a coat of primer before paint. The other three walls went straight from cleaned drywall to paint.
Four Wall Surfaces Where Peel-and-Stick Wallpaper Will Damage the Drywall
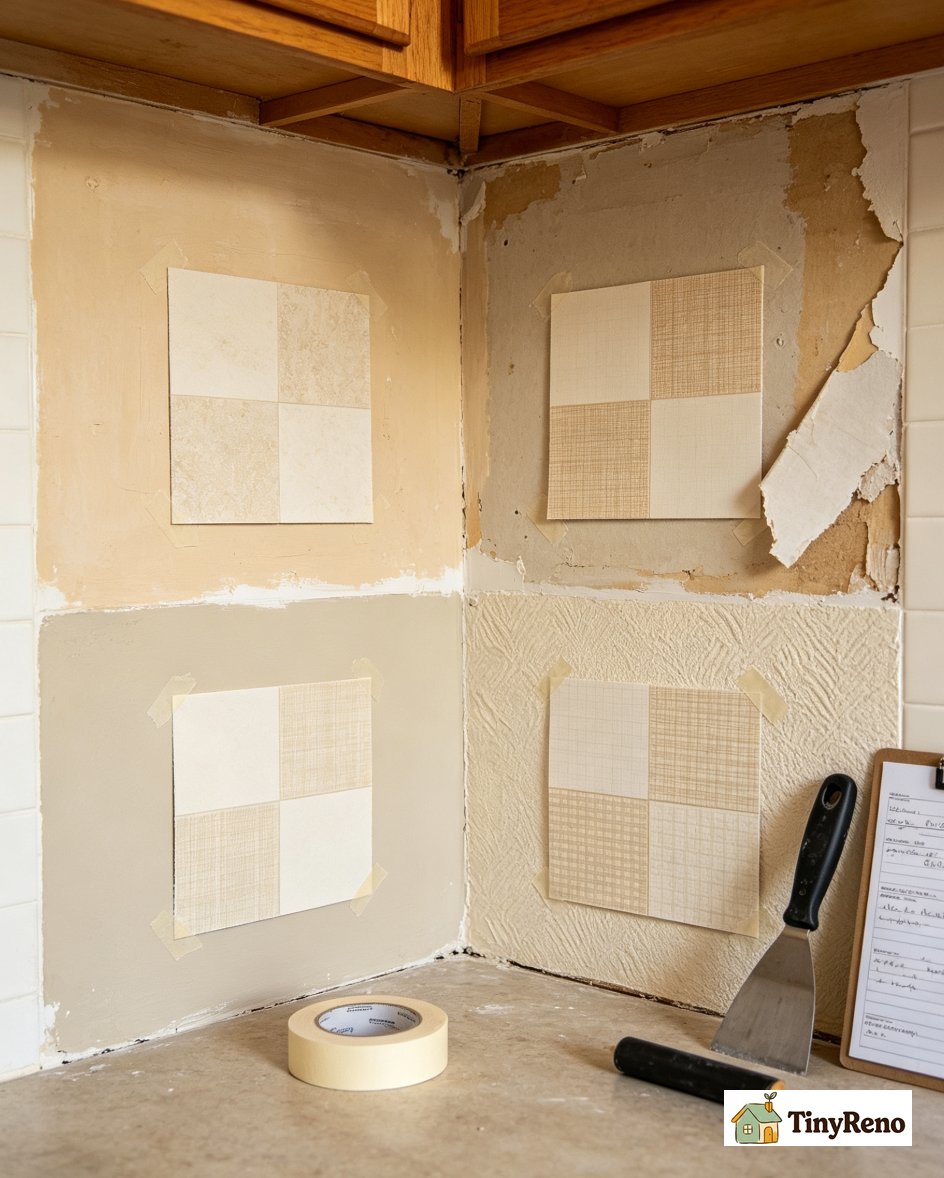
Before you commit to any peel and stick wallpaper, peel and stick, or even start to remove what is already on the wall, you need to know what is behind it. Not all drywall is the same, and the four surfaces below are the ones where peel-and-stick wallpaper will cause damage when it is applied or removed. The test is simple. Pick a hidden spot (behind a piece of furniture, inside a closet, or behind a future fridge), apply a 4 by 4 inch sample of the wallpaper, wait48 hours, and try to peel it off. If the drywall facing comes up with the paper, you have a problem wall and you should not paper the rest of it.
Unprimed drywall. Bare drywall that has never been primed and painted is the worst surface for peel-and-stick wallpaper. The adhesive soaks into the paper facing of the drywall and fuses with it, and when you try to remove the paper, the top layer of drywall comes with it. You will see fuzzy brown paper where there used to be a smooth white wall, and the only fix is to skim coat the whole area with joint compound, sand, prime, and repaint.
Pre-1980 drywall in older homes. Drywall from before about1980 was made with a different paper facing that is more brittle, and it tends to delaminate when peel-and-stick is removed. If your house was built before1980 and the walls have never been skim coated or resurfaced, expect drywall damage when you remove peel-and-stick.
Flat or matte paint. Flat paint has very little binder, which means the paint layer itself can peel away with the wallpaper. Satin, semi-gloss, and gloss paints are much safer because the binder holds the paint film together under the stress of removal.
Textured walls (popcorn, orange peel, knockdown, stucco). Peel-and-stick does not adhere well to heavy texture and tends to release unevenly, which means removal pulls chunks of the texture off with it. If you have a popcorn ceiling and want a wallpaper feature, see our guide to popcorn ceiling surfaces instead of applying wallpaper directly. Stucco and knockdown walls can usually be papered if you skim coat them smooth first, but the cost of the skim coat often exceeds the cost of just hiring a professional installer.
How to Get Landlord Approval Before You Remove or Apply Peel-and-Stick Wallpaper
If you are renting, the right time to bring up wallpaper is before you put it up, not when you are trying to take it down. Most landlords are happy to approve removable wallpaper because it does not damage the wall, but they want to know what is going up and where. Sasha's sister rents her apartment, and Sasha helped her draft the email below. It worked, and the landlord approved a botanical-print accent wall within24 hours, no deposit required.
The email should include three things. First, a specific description of the brand and pattern of the wallpaper you want to use, ideally with a link to the product page and a photo of the sample. Most landlords will approve a removable wallpaper brand like Tempaper, Chasing Paper, or Wall Pops on sight. Second, the exact wall or walls you plan to cover, with a sketch or photo. Third, your plan for removal at the end of the lease, including the four methods above and your commitment to leave the wall paint-ready. If you can write those three things clearly, you will almost never get a no.
When it is time to move out, repeat the same process in reverse. Send the landlord a photo of the cleaned wall the same day you finish removing the paper, and ask them to inspect within 48 hours so there is no surprise at move-out. The four methods Sasha tested will get you to a paint-ready wall on any of the safe surfaces, and the48-hour corner test will tell you before you commit whether the surface underneath is one of the four dangerous ones. The week before Thanksgiving, Sasha's sister had a clean kitchen and a fresh coat of paint. The wallpaper came down. The drywall stayed. That is what "comes off cleanly" is supposed to mean.


Discussion (0)
Sign in to join the discussion