

How to remove screen sliding door? I learned this the hard way last May when my neighbor called to ask if I'd dropped something heavy. I had. The sliding patio screen door — about thirty pounds of aluminum, mesh, and corroded rollers — had bounced off the top track and slammed onto the tile floor. If you've ever stood in front of a sliding screen door wondering which tab to pull, this is what four tries and one dropped door taught me about patio screen doors.
My First Attempt at Removing a Sliding Screen Door
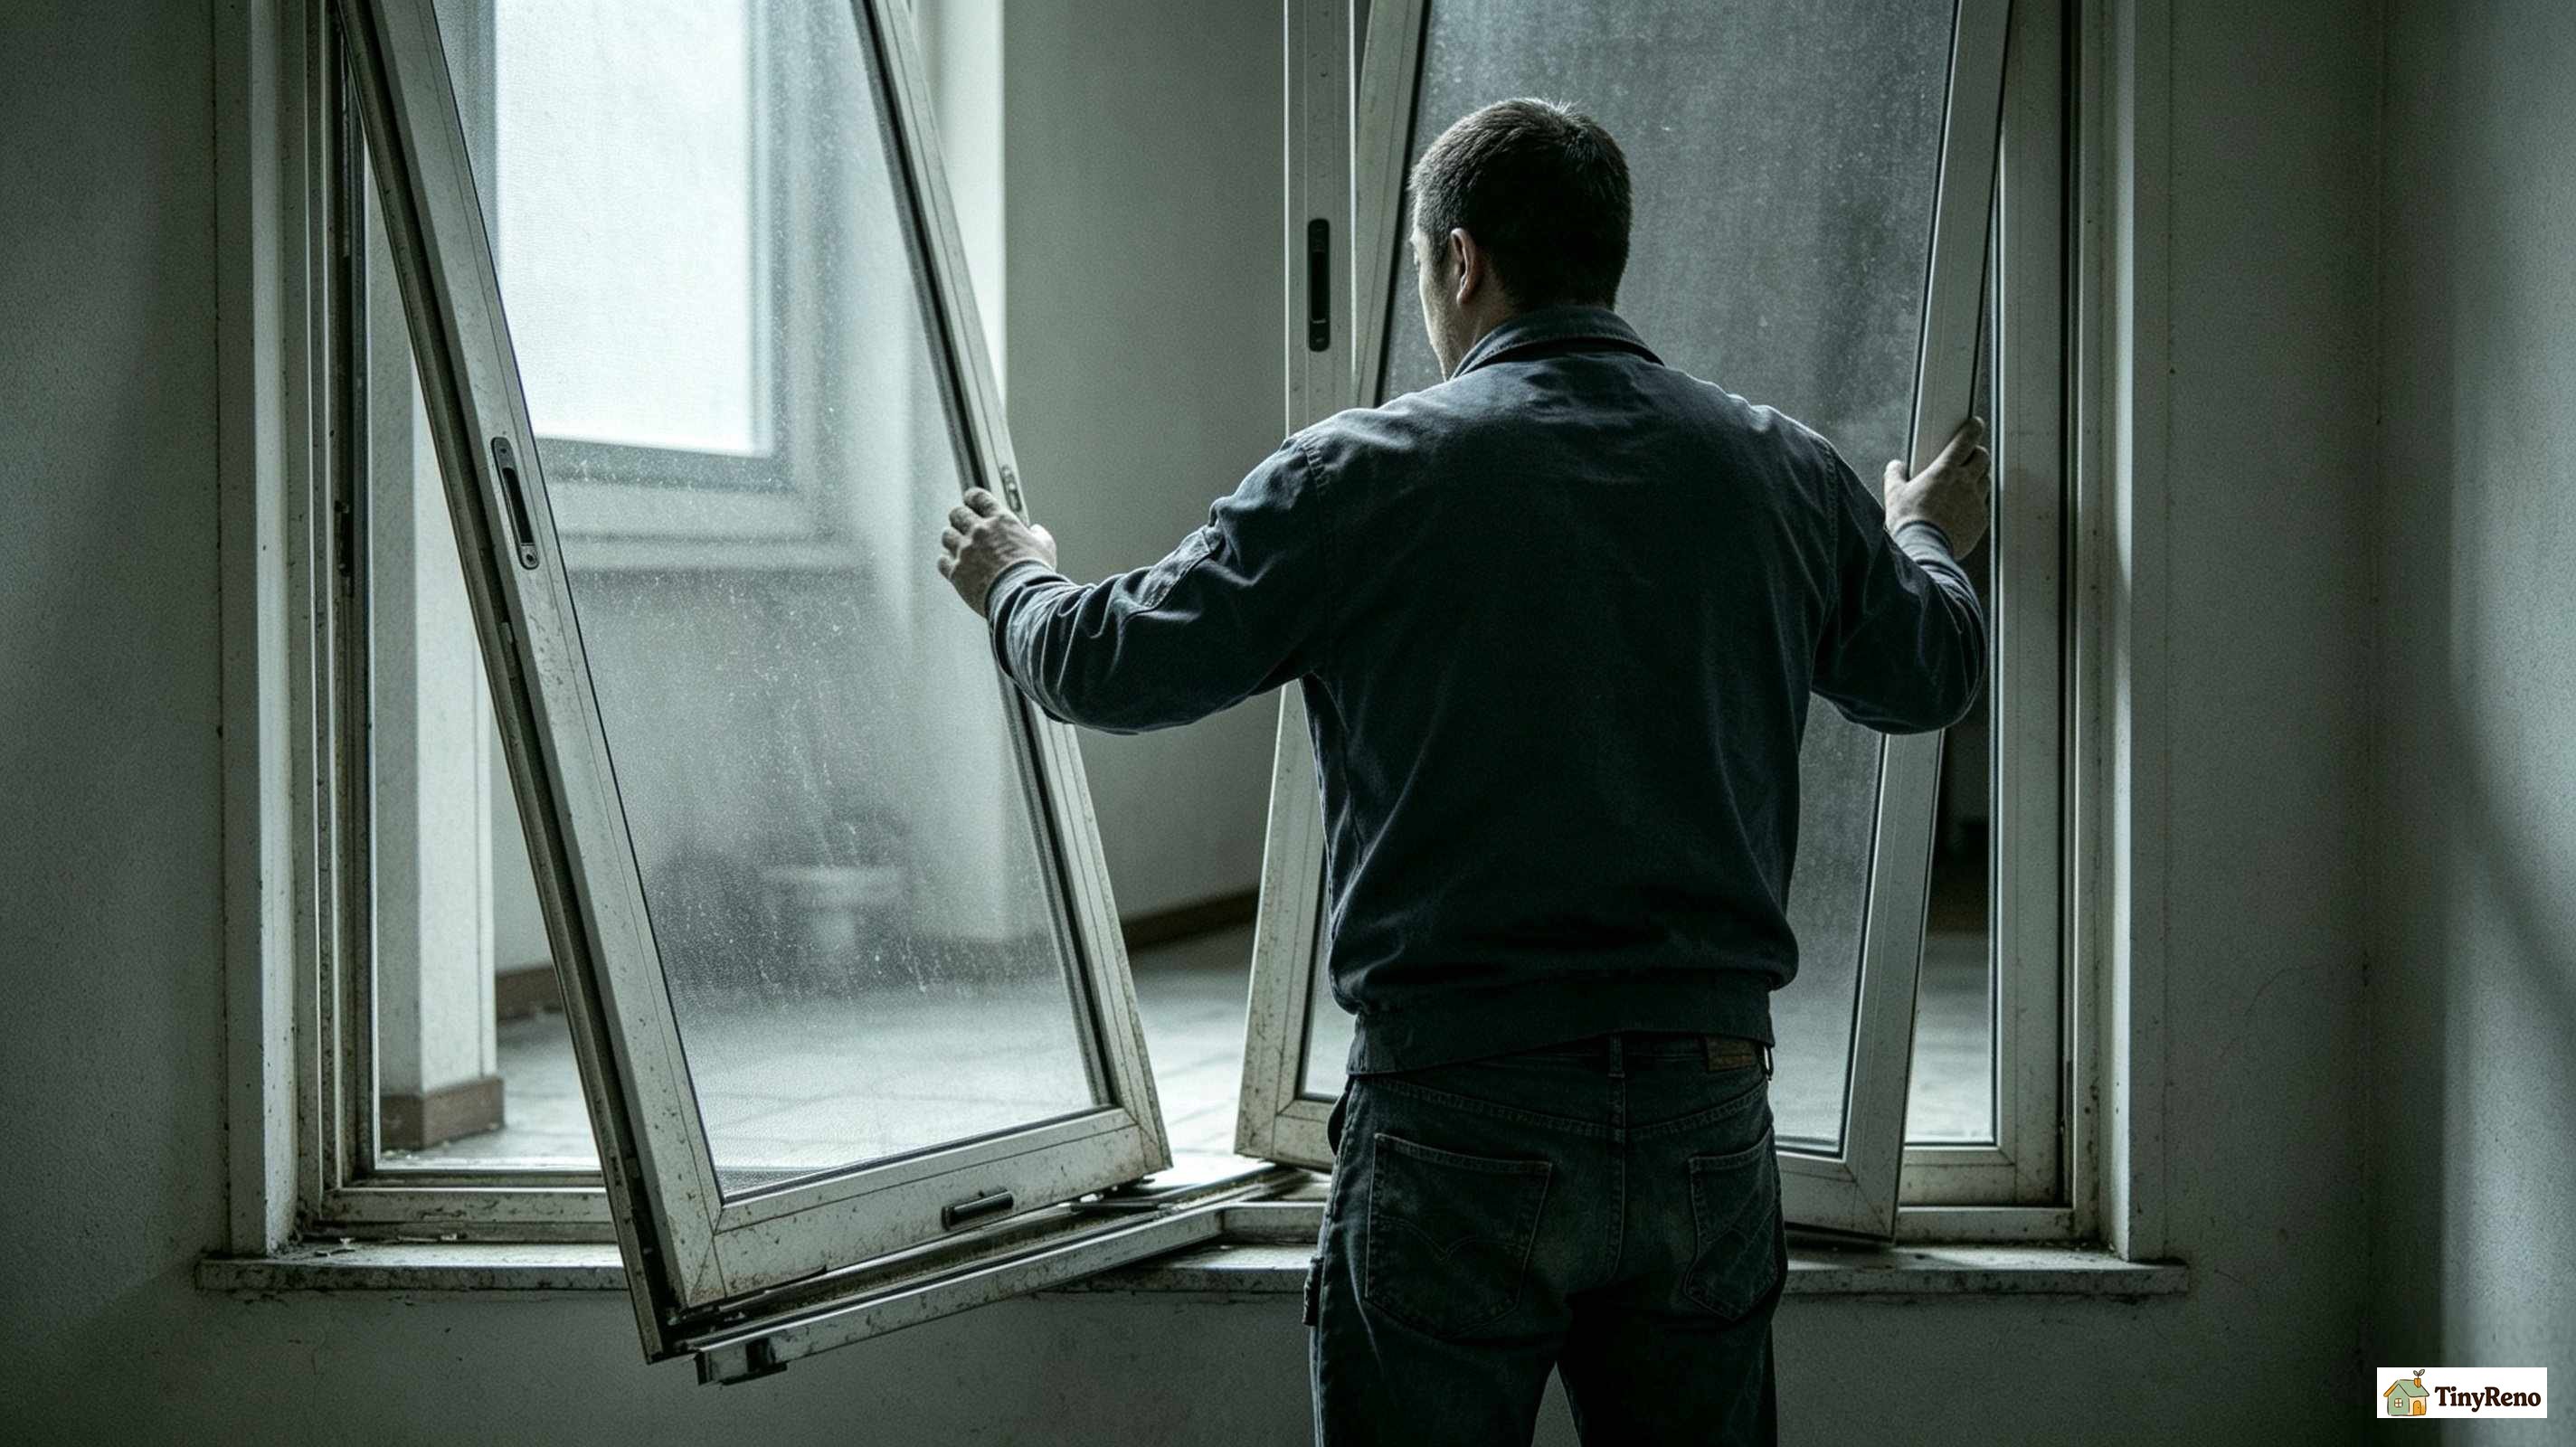
The screen door had been sticking in the track since I moved in. Not stuck-shut the way a painted window is stuck-shut — just slow, rough, and loud every time I slid it. I figured the track had grit in it, and the way to clean the track was to remove the door first.
I had removed window screens before. I'd refinished wood window sashes. I thought a sliding screen door would be the same idea but bigger. It is not the same idea but bigger. It's a completely different mechanical system, and I didn't realize that until the door was already on its way to the floor.
I tried to lift the door straight up out of the bottom track the way I'd lifted window screens before. The screen moved about a quarter inch and then jammed. I pulled harder. The top of the door tilted forward, the bottom edge stayed in the track, and the whole door pivoted down on its bottom edge like a falling fence panel. It hit the tile floor with the kind of metallic clang that travels well in a rental building. Mike downstairs asked about it through the ceiling vent.
The screen door was fine. The tile was fine. My ego was bruised. And I had learned, in retrospect, that the question of how to remove screen sliding door requires more preparation than just grabbing the frame and pulling. By the end of that weekend I had removed, cleaned, and reinstalled the screen door correctly — and I'd made every mistake that someone new to the process can make. Here's what I'd do differently if I had it to do over again.
Why a Sliding Screen Door Is Not Just a Big Window Screen
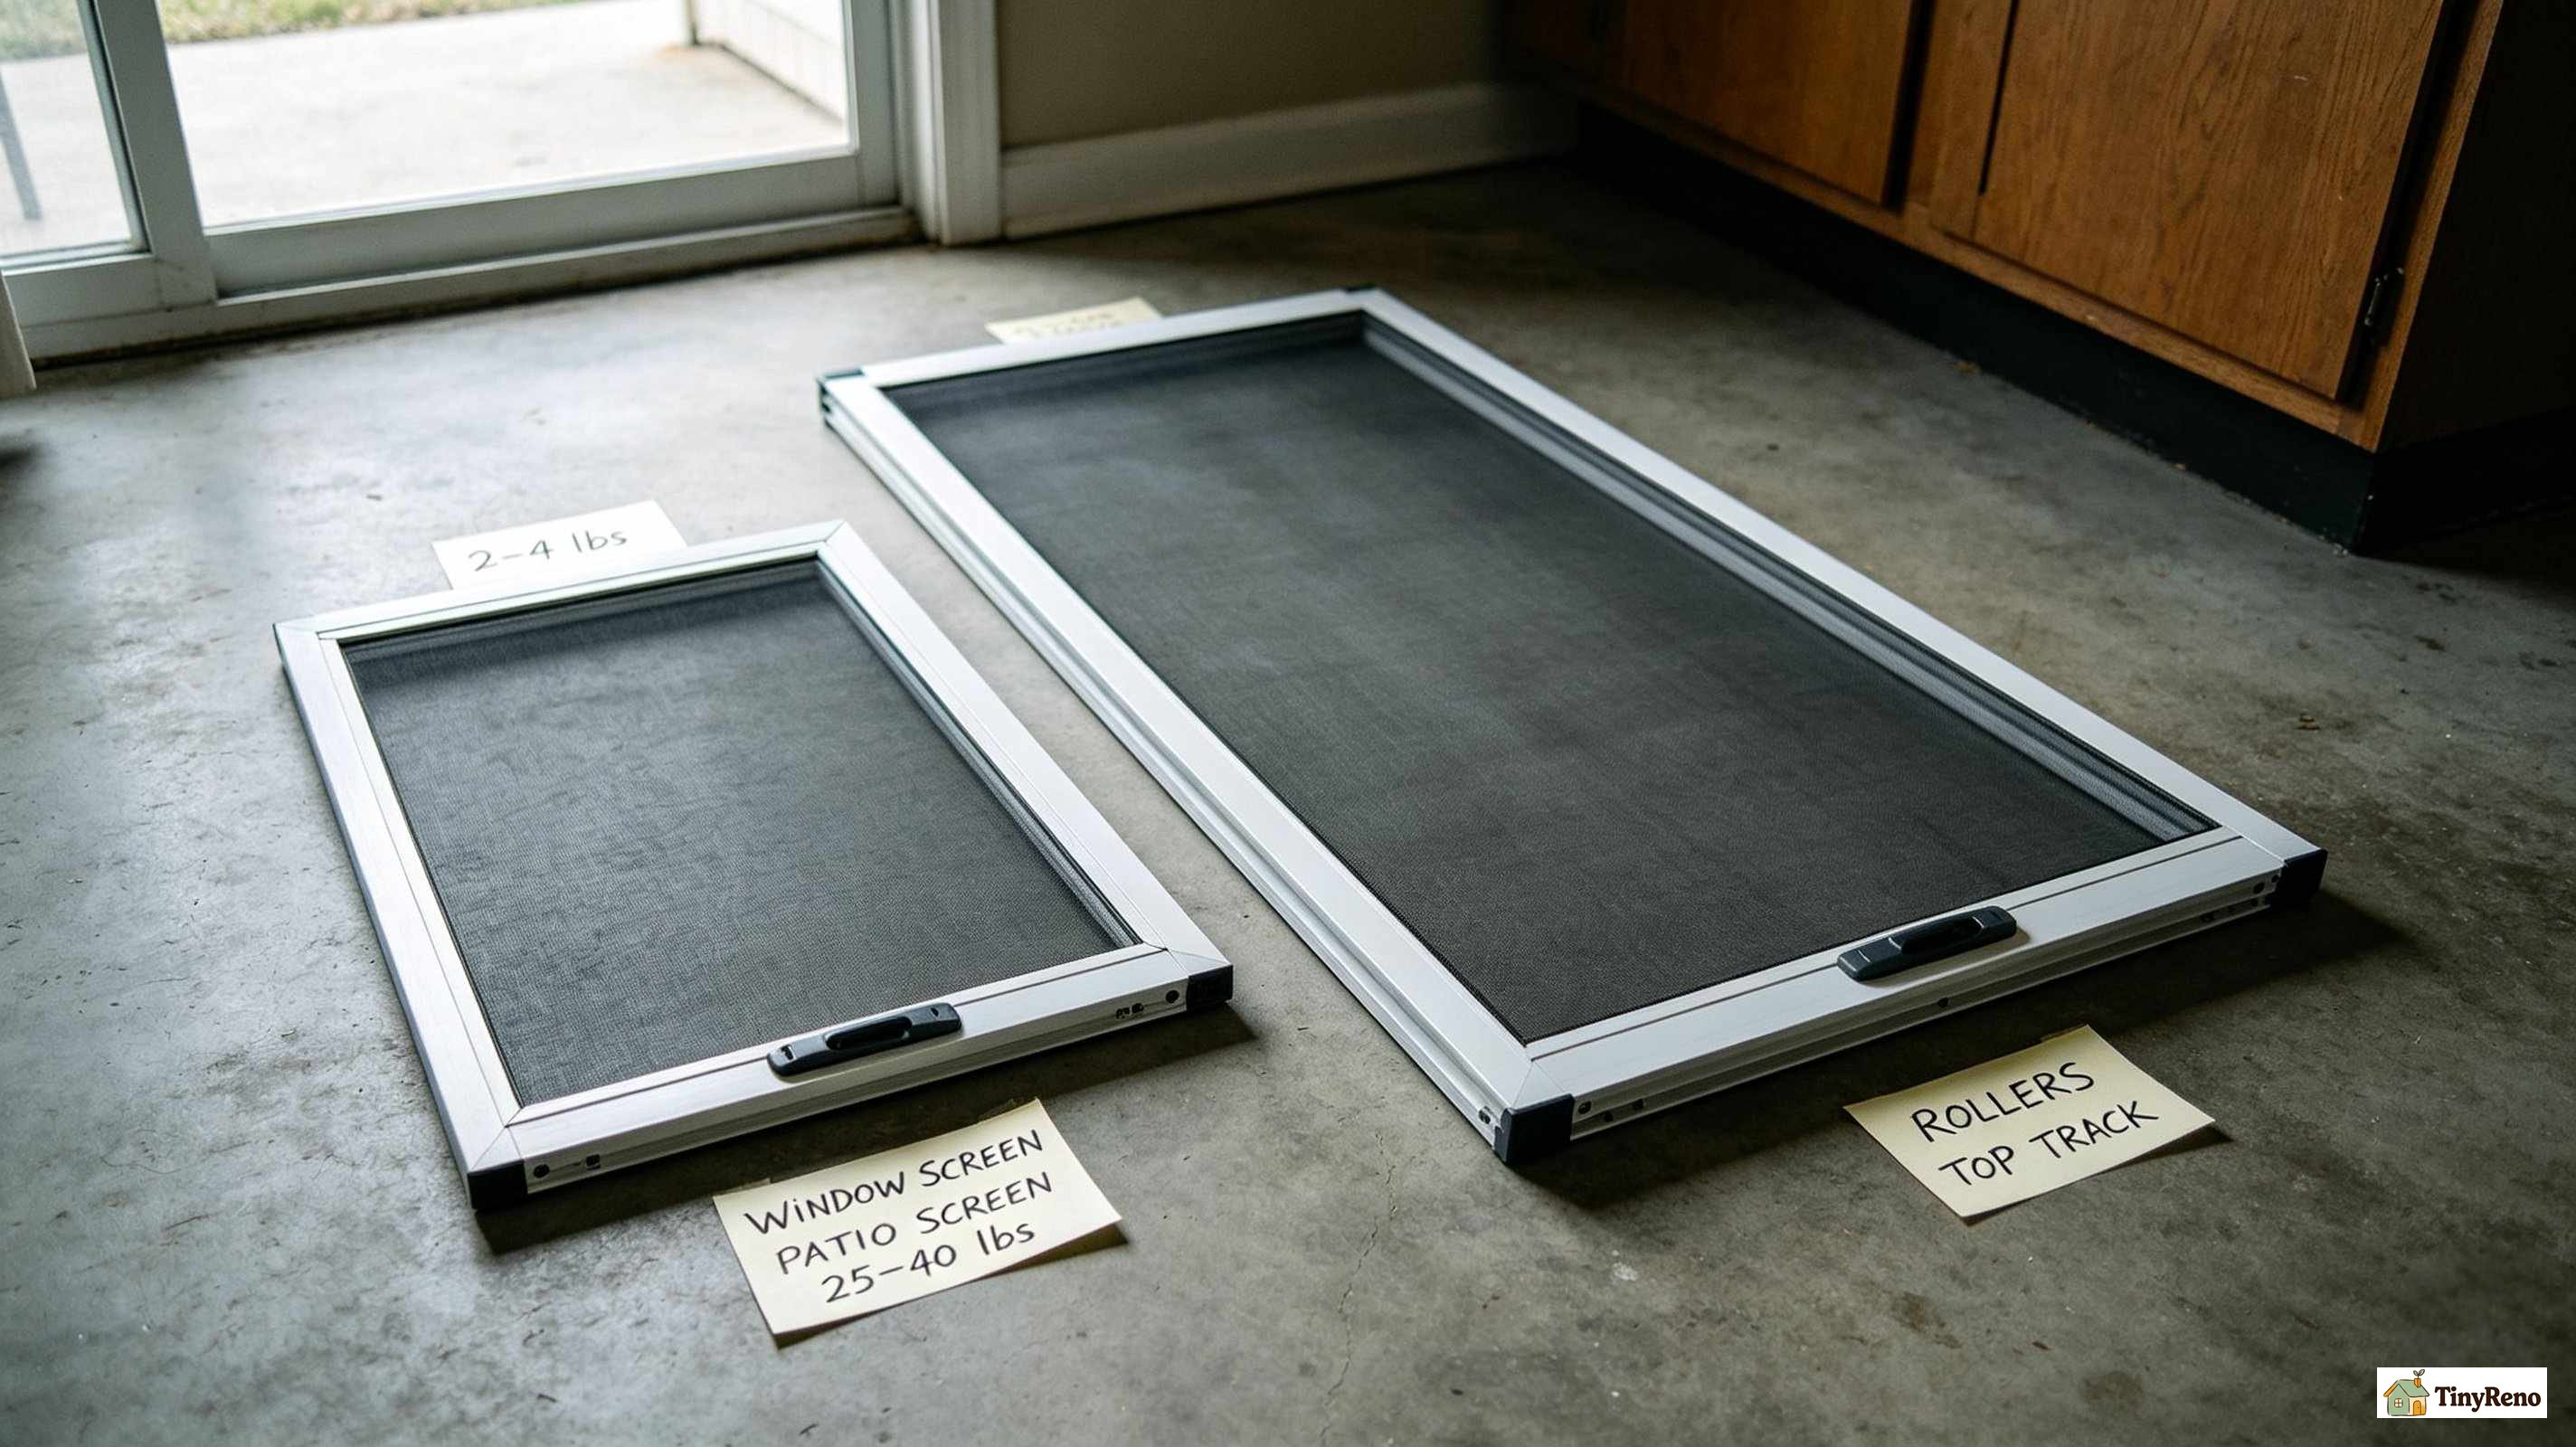
A window screen and a sliding patio screen door share about 30 percent of their anatomy. They both have a frame, mesh, and a way to engage with the channel in the window or door. After that, they're different mechanical systems entirely.
The window screens most renters deal with are between two and four pounds. They have spring tabs on the top edge that compress during installation and lock the screen into the channel. The removal sequence is "compress tabs, lift out." It's something I cover in more detail in my window screen reinstallation guide.
A sliding patio screen door, by contrast, weighs between twenty-five and forty pounds depending on the frame material and the glass or mesh infill. It rolls on two rollers or wheels at the bottom — not spring tabs. It has a single pull-tab on the top edge rather than two spring tabs. And it sits in two tracks at the top and bottom of the door frame, not a single channel. The removal sequence is "lift up, swing out, lower to ground." Different motion, different balance point, different risk of dropping it on the floor if you don't know what you're doing.
The reason this matters for the question of how to remove screen sliding door is that the mechanical difference changes which mistakes hurt you. A window screen that's installed wrong just falls out of the channel. A sliding screen door installed wrong — meaning lifted from the wrong angle, or swung out before the rollers clear the bottom track — falls onto whatever is below it. Usually your floor, sometimes your foot.
Try #1: I Pulled the Wrong Tab
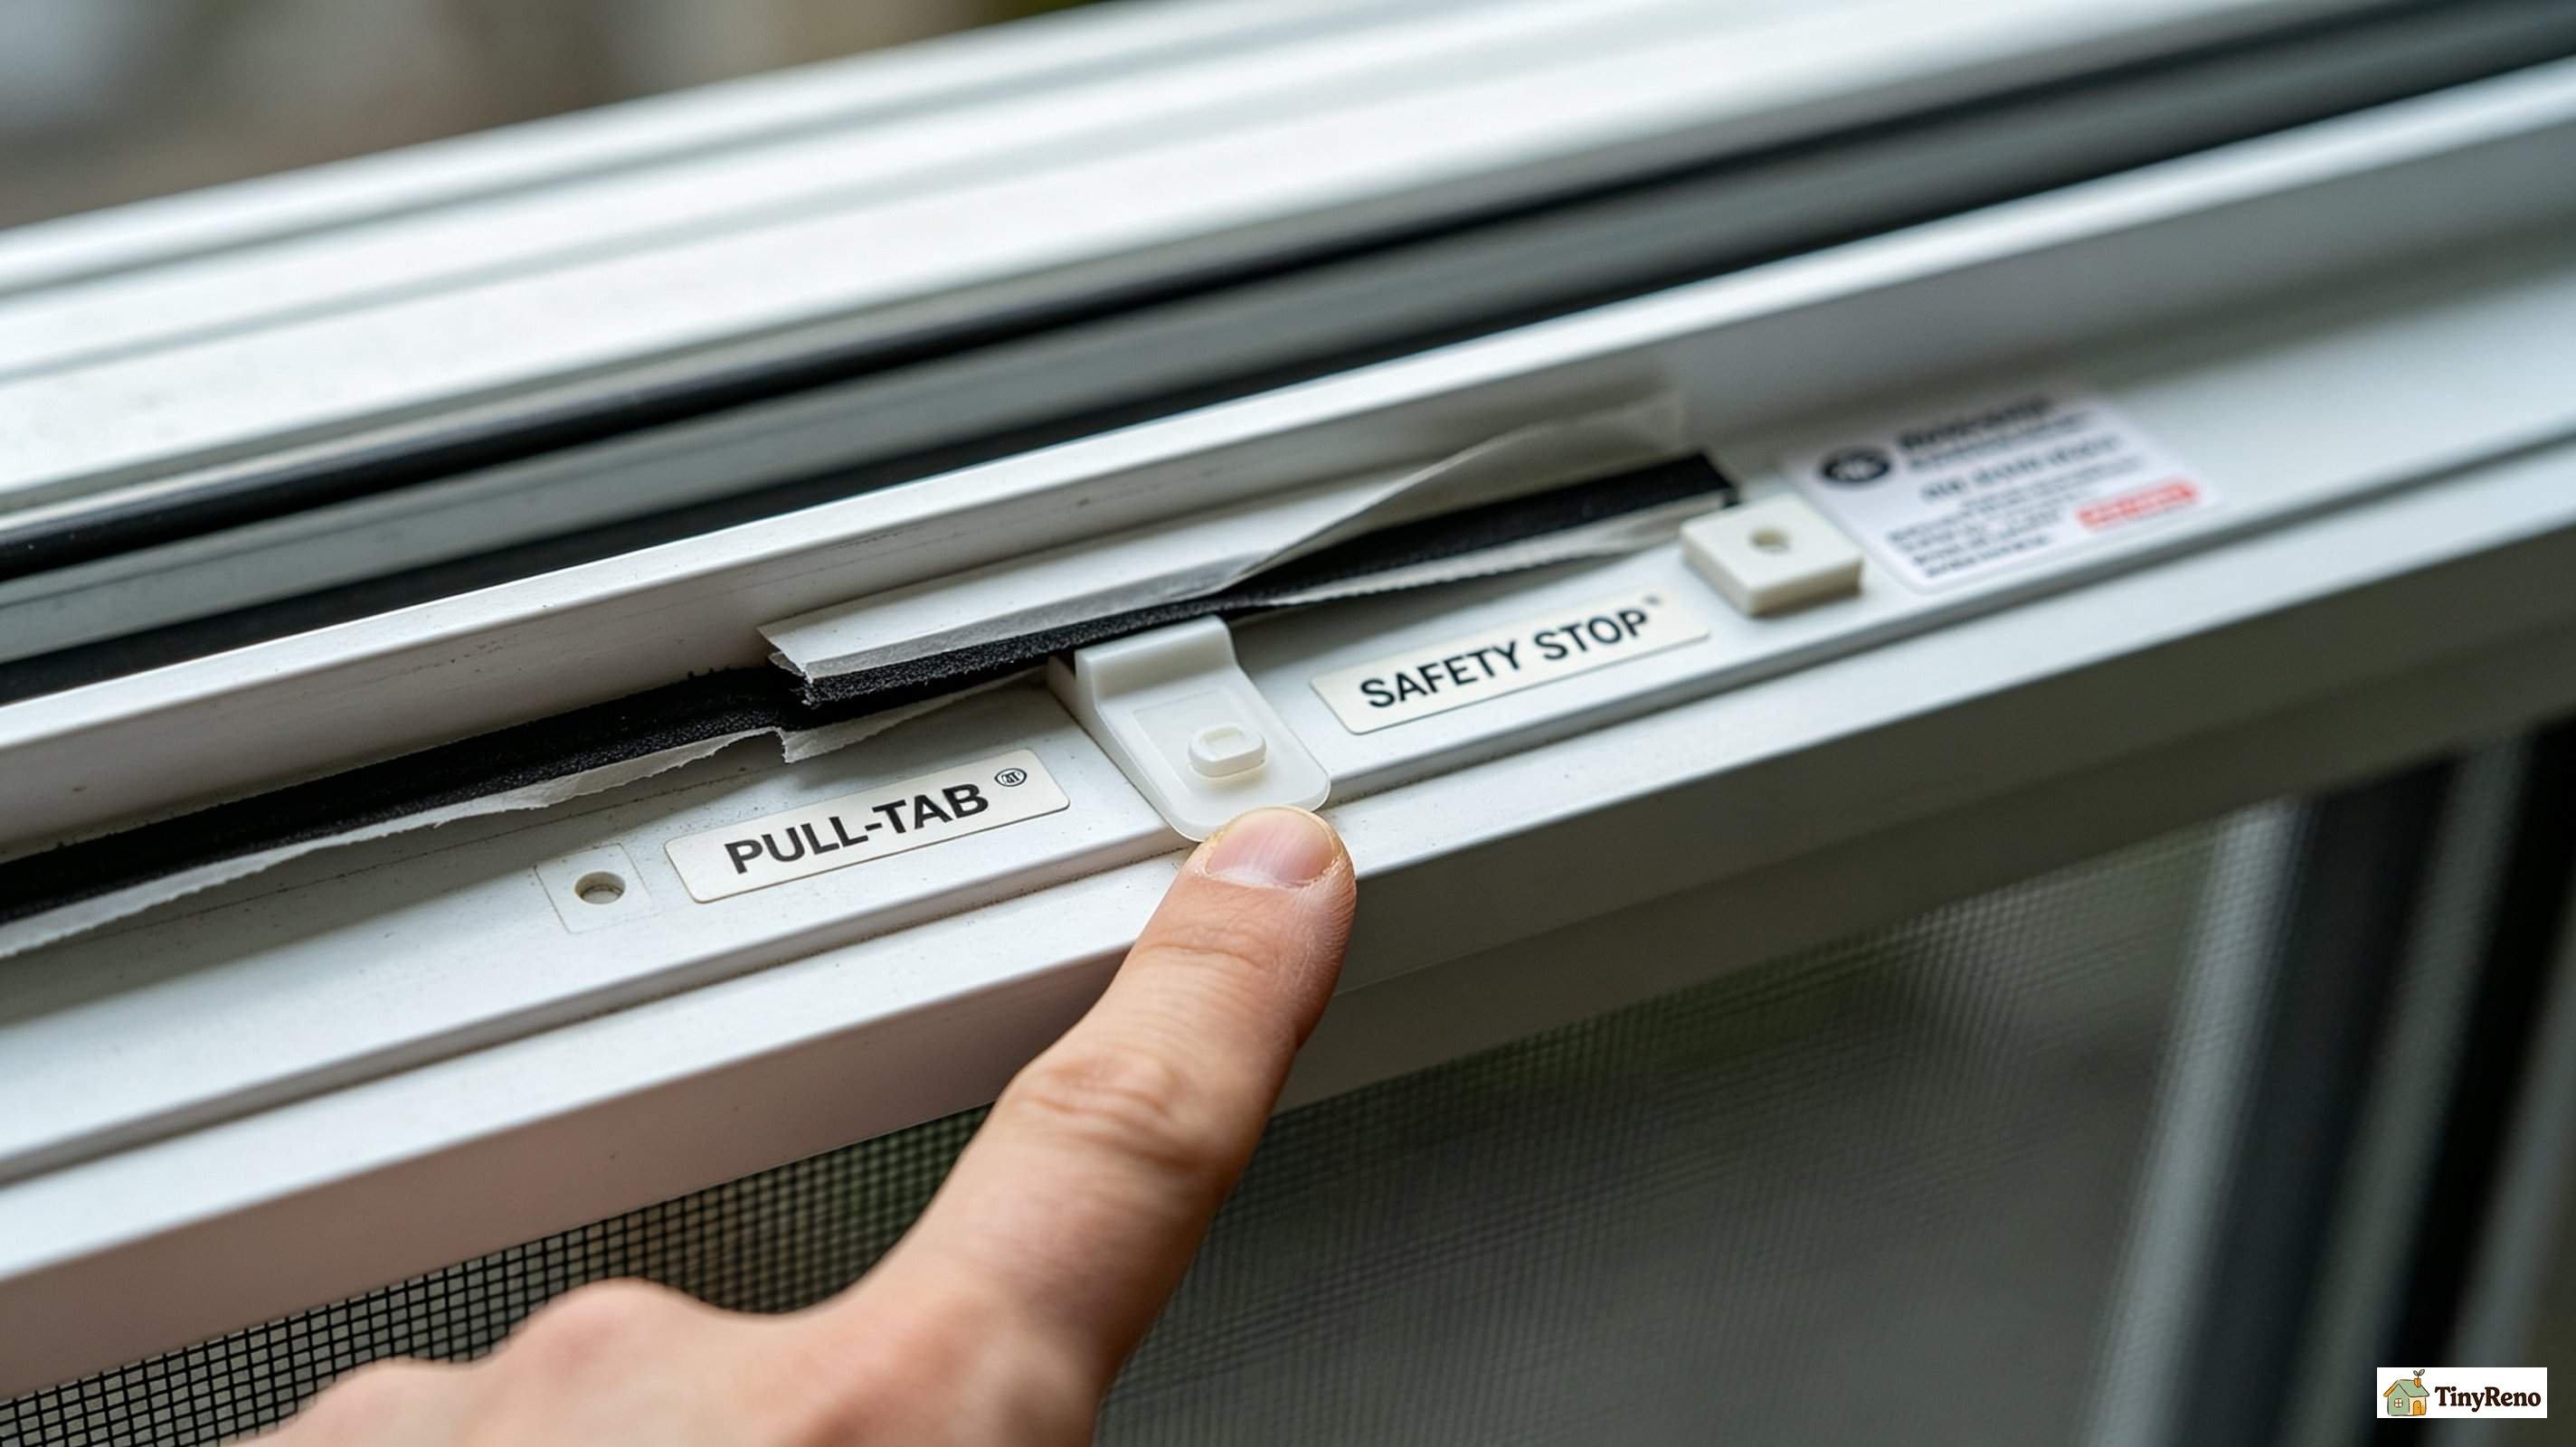
After the dropped-door incident, I went back to the screen and looked at the top edge more carefully. There were two tabs visible — one on the left side, one on the right. They looked almost identical to me. I assumed both were pull-tabs and that pulling them simultaneously would release the door.
It turns out that only one of those tabs is the actual pull-tab. The other is a safety stop — a small spring-loaded clip that holds the door in the track to prevent it from jumping out during normal use. Pulling the safety stop releases the door from the track. Pulling the pull-tab releases it from the upper channel. You need to release both for the door to come out, but you need to release them in the right order. Pull the pull-tab first, then the safety stop.
I had assumed they were the same thing and had been trying to figure out why neither tab was doing what I wanted. The screen door's manufacturer — a company called Precision Door — had helpfully printed the install and removal sequence on a tiny sticker on the inside of the top rail. The sticker was hidden under the same weatherstripping I'd been too lazy to remove when I first started looking. Once I peeled back the weatherstripping, the sequence was right there in four steps with arrows.
If you've never looked at the manufacturer's sticker on your sliding screen door, do this before you do anything else. The sticker is almost always on the inside of the top rail, hidden under a piece of weatherstripping. The model number, the install sequence, and the safety stop vs pull-tab labels are all printed there. Pull that weatherstripping back, take a photo of the sticker with your phone, and you have the answer to how to remove screen sliding door without breaking anything.
Try #2: The Wheels Came Off (and How to Put Them Back)
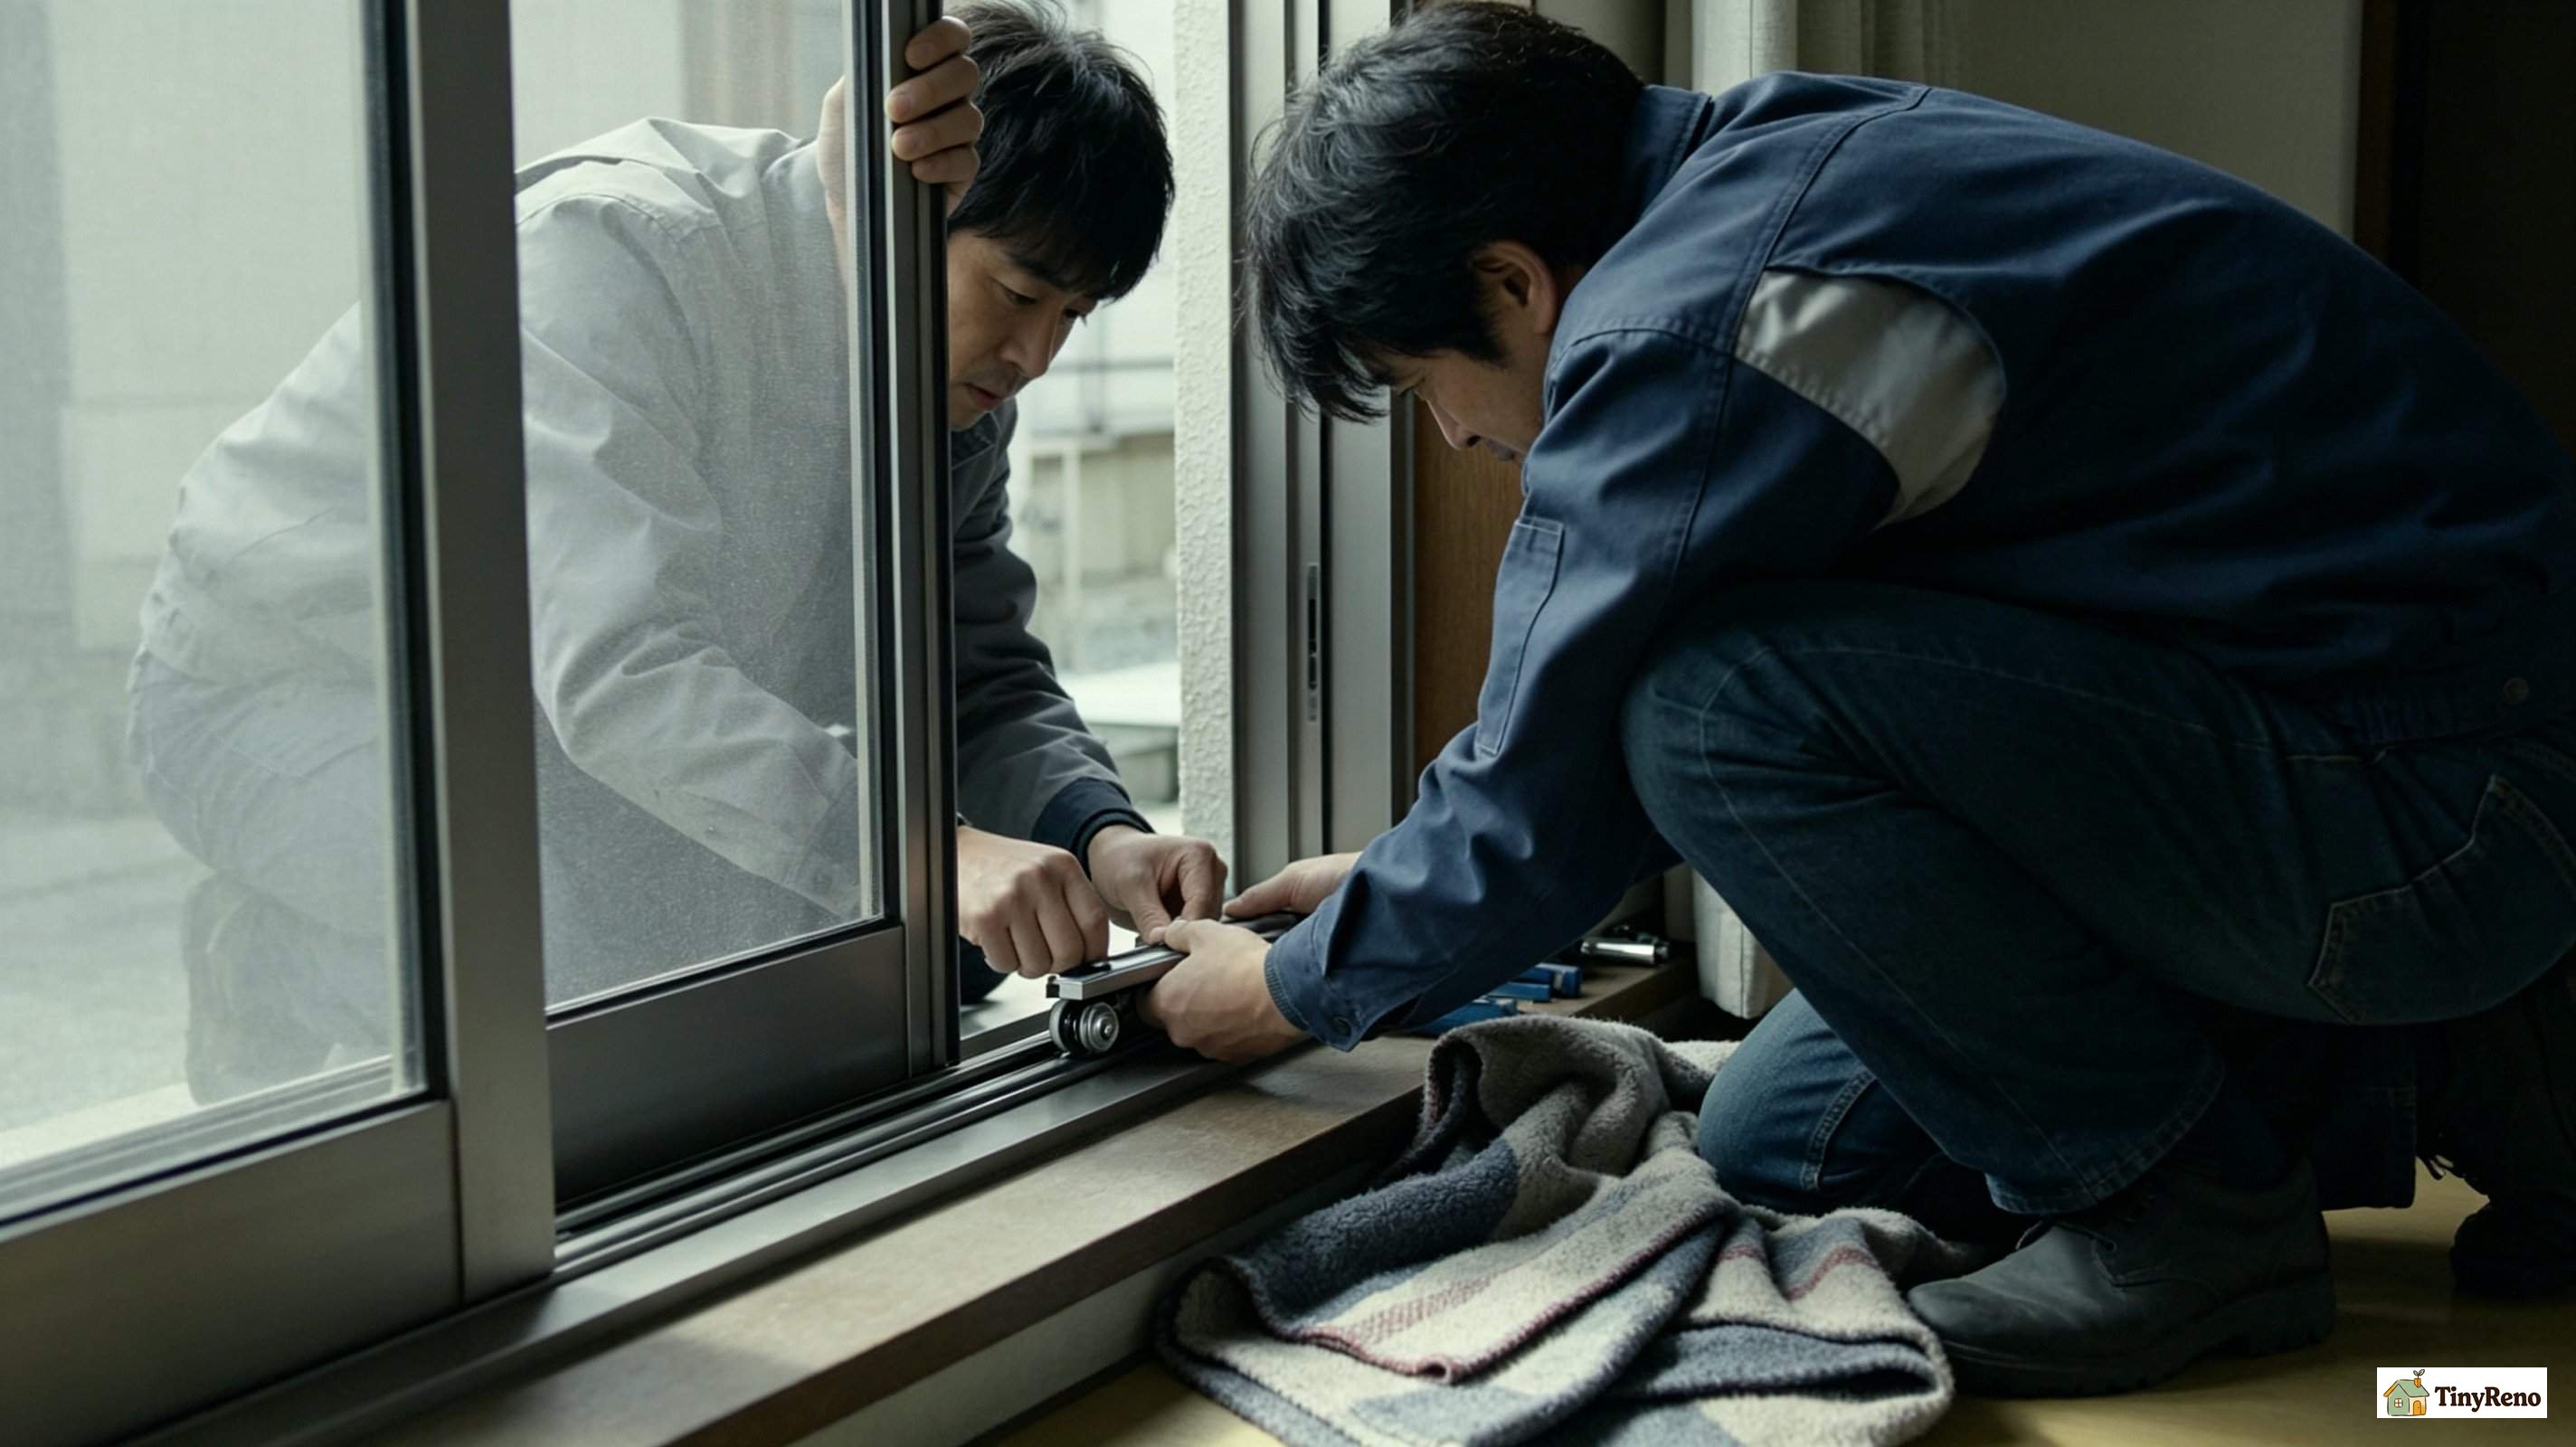
Once I'd identified the correct pull-tab and safety stop, the door came out of the track in about thirty seconds. I set it down on a folded blanket on the floor — sliding screen doors are too heavy and too long to lean against a wall while you work on them — and started cleaning the tracks. That's when the second problem showed up.
The rollers on the bottom of the door had started to pull away from their housings. Sliding screen door rollers are not designed to last forever — they're usually a plastic wheel on a plastic axle, and after ten or fifteen years of seasonal use they start to wear. When I lifted the door out of the track, one of the rollers came out of its housing entirely and rolled under the fridge.
This is where I called Mike. He's the kind of person who knows that sliding screen door rollers snap back into their housings with a specific motion — what he called the "twist and snap." You press the roller back into the housing at the same angle it came out, twist it about a quarter turn clockwise until you feel it catch, then snap it back to the locked position. The whole thing takes about five seconds once you know the motion.
The bigger lesson here is about when to call for help. The roller fix was something I could have figured out on my own in about fifteen minutes of trial and error, but Mike had it done in five seconds. More importantly, if I'd forced the roller back into place wrong, I could have cracked the housing, which would have meant a $30 replacement part and a trip to the hardware store. If you're at the point of forcing something and you're not sure what you're doing, that's the moment to either look up a YouTube tutorial or call a friend. Forcing it is the single most expensive option, even when it works.
Try #3: Cleaning the Track, Finally Getting It Right
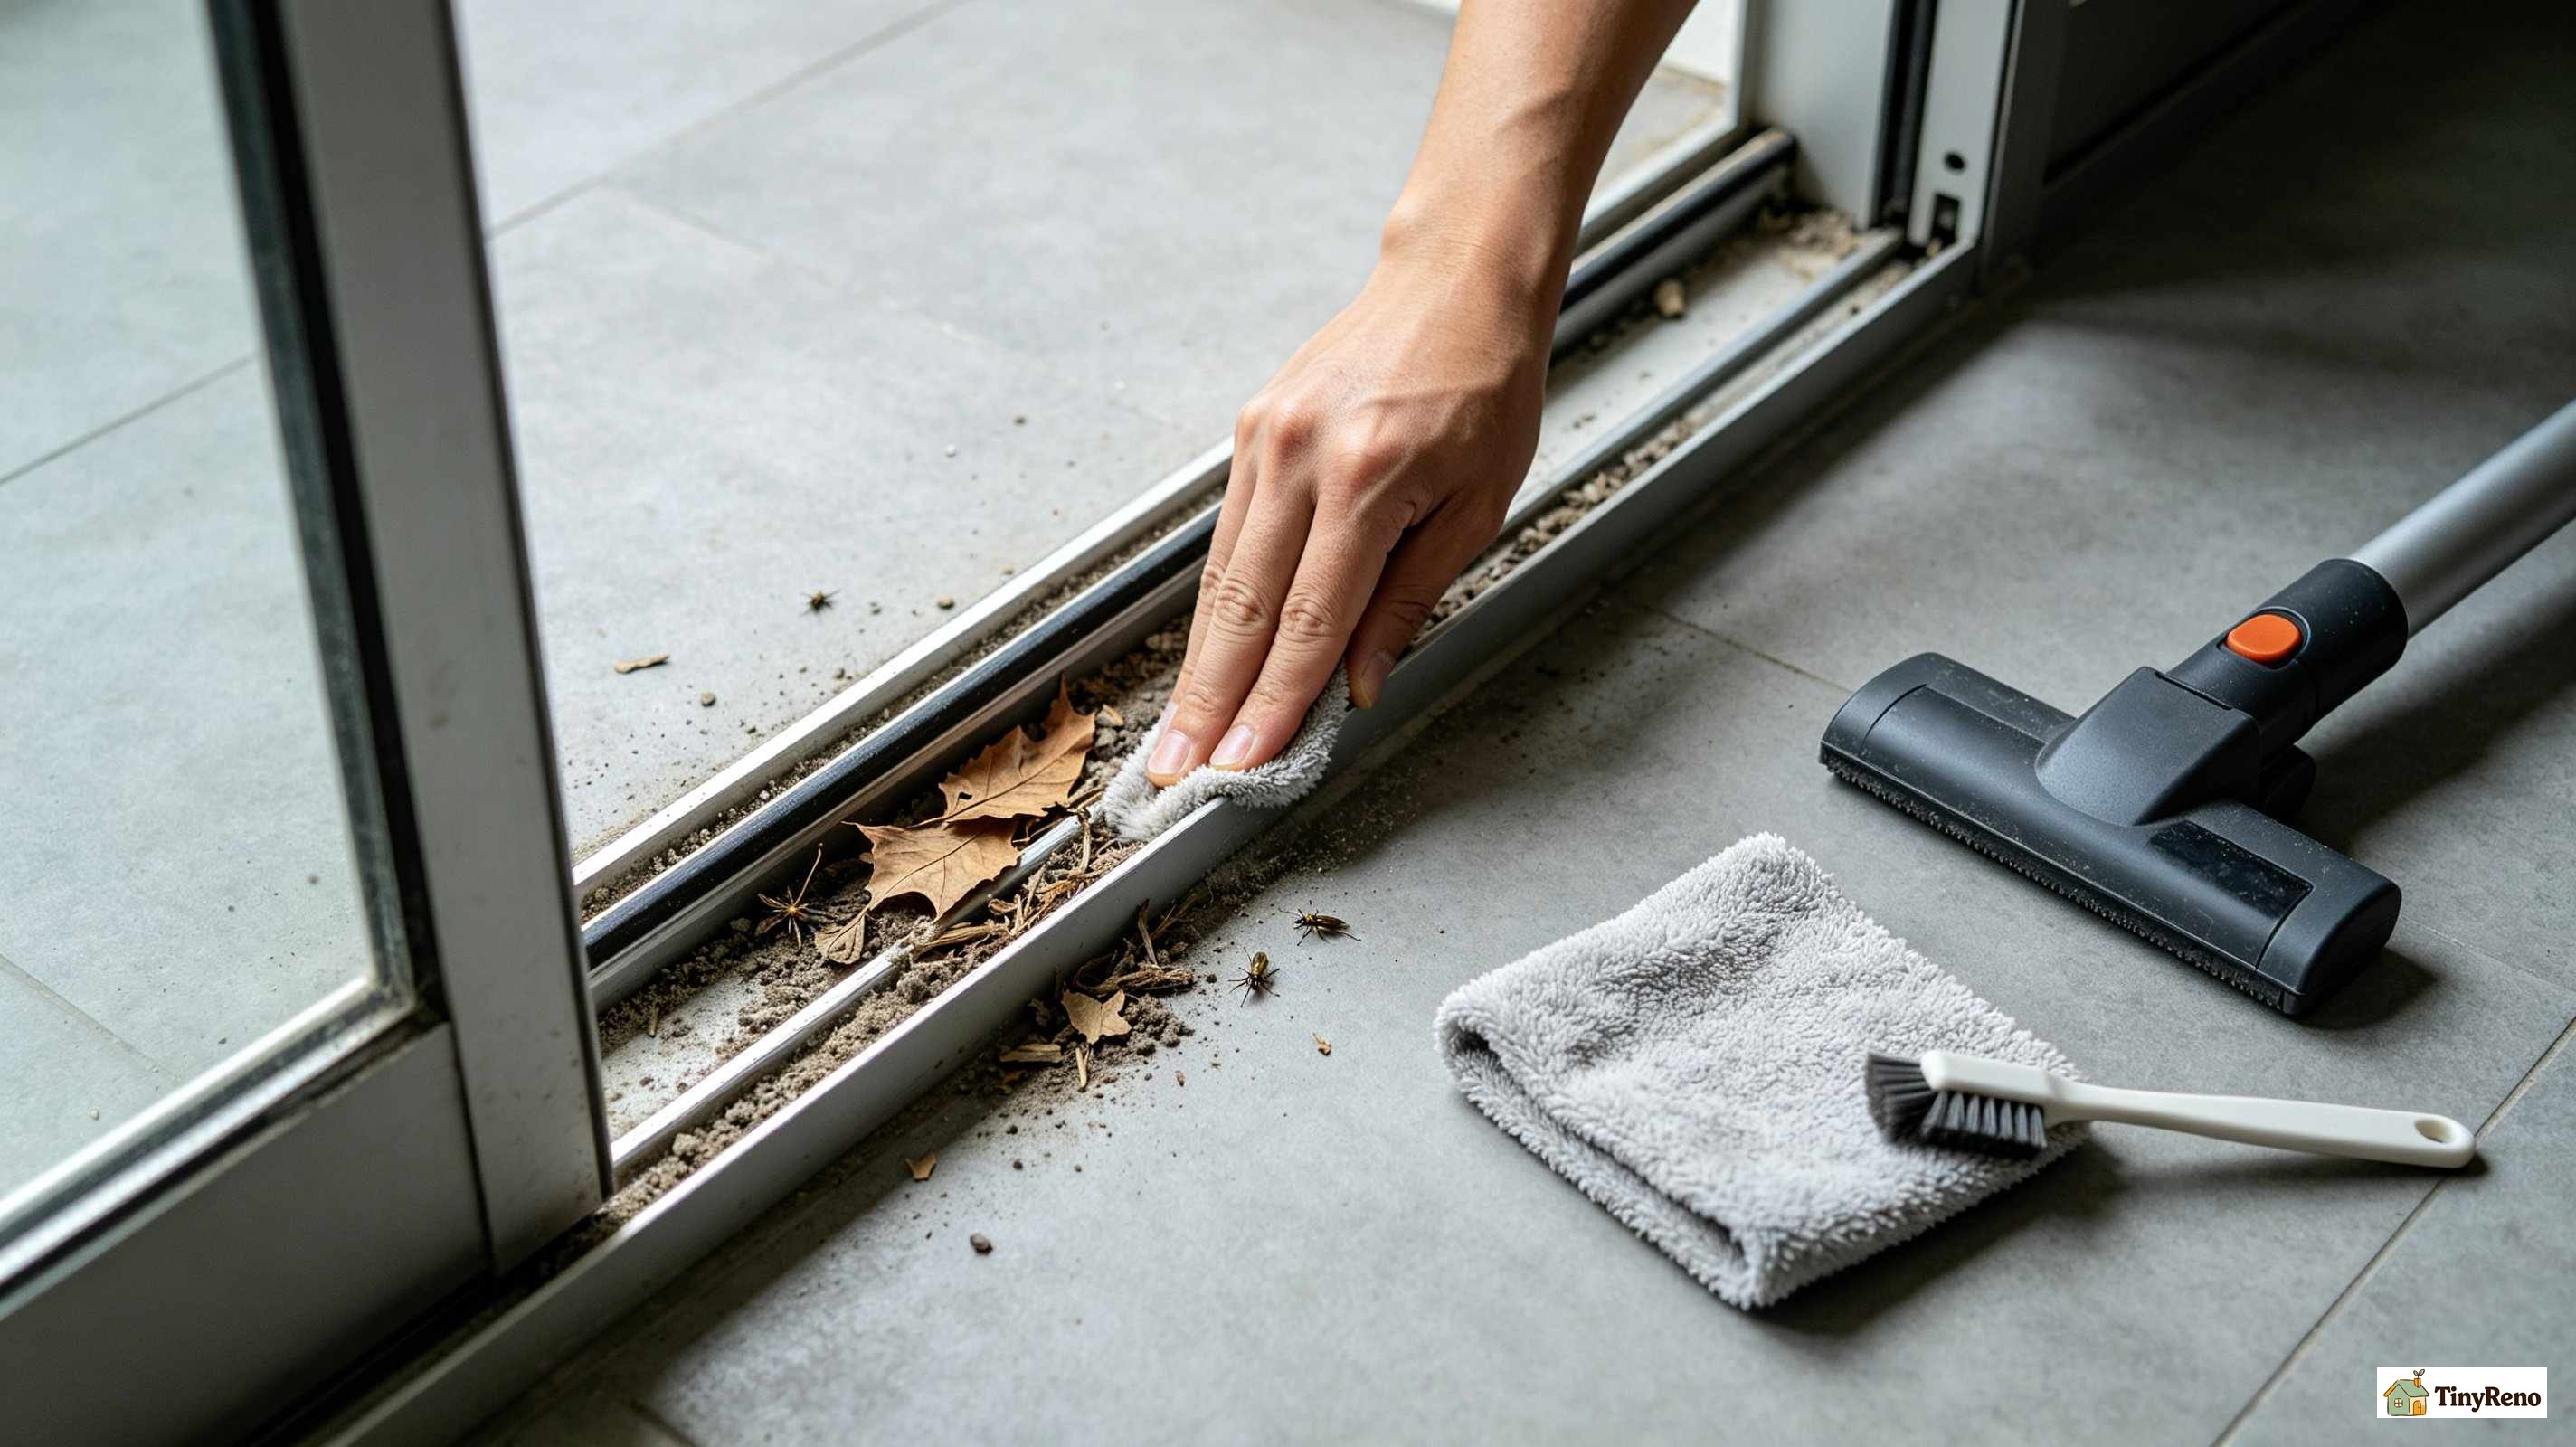
With both rollers re-seated and the door set aside on the blanket, I started cleaning the track. The bottom track had a thick layer of grit mixed with old dead ladybugs and a few stray leaves from the courtyard below. The top track was cleaner but still had a layer of dust that had probably been there since before I moved in.
Cleaning the track is a four-step process that takes about fifteen minutes per side. First, vacuum the bottom track with a crevice tool attachment. Get into the corners where the bottom track meets the side jambs — that's where most of the grit hides. Second, wipe the track down with a damp microfiber cloth. Don't use any cleaning product — the residue can affect how the rollers roll. Third, run a dry microfiber cloth through the track to remove any remaining moisture. Fourth, dry-fit the door by sliding it back into the track without re-engaging the safety stop. If it slides smoothly, you're ready to fully reinstall.
The result, after the third weekend in a row of working on this door, was that the screen actually slid like a screen door should — smooth, quiet, with the rollers barely making a sound against the track. The grit had been acting like sandpaper every time the door moved. This is the same logic behind my guide on drafty windows — most of the friction and noise problems renters assume are mechanical issues are actually grit issues that a vacuum can solve.
Once the door was back on the track, I had to figure out what to do with it during the summer. Window AC season is also sliding screen door storage season. If you're putting a window AC unit in and need to remove the screen door for the season, lean it vertically against an inside wall rather than laying it flat on the floor or storing it in a closet. Laying it flat puts stress on the rollers and the frame joints. Storing it vertically, with a folded towel under the bottom edge to protect the rollers, is the safest option.
If You're Doing This Right Now (and Want to Skip My Mistakes)
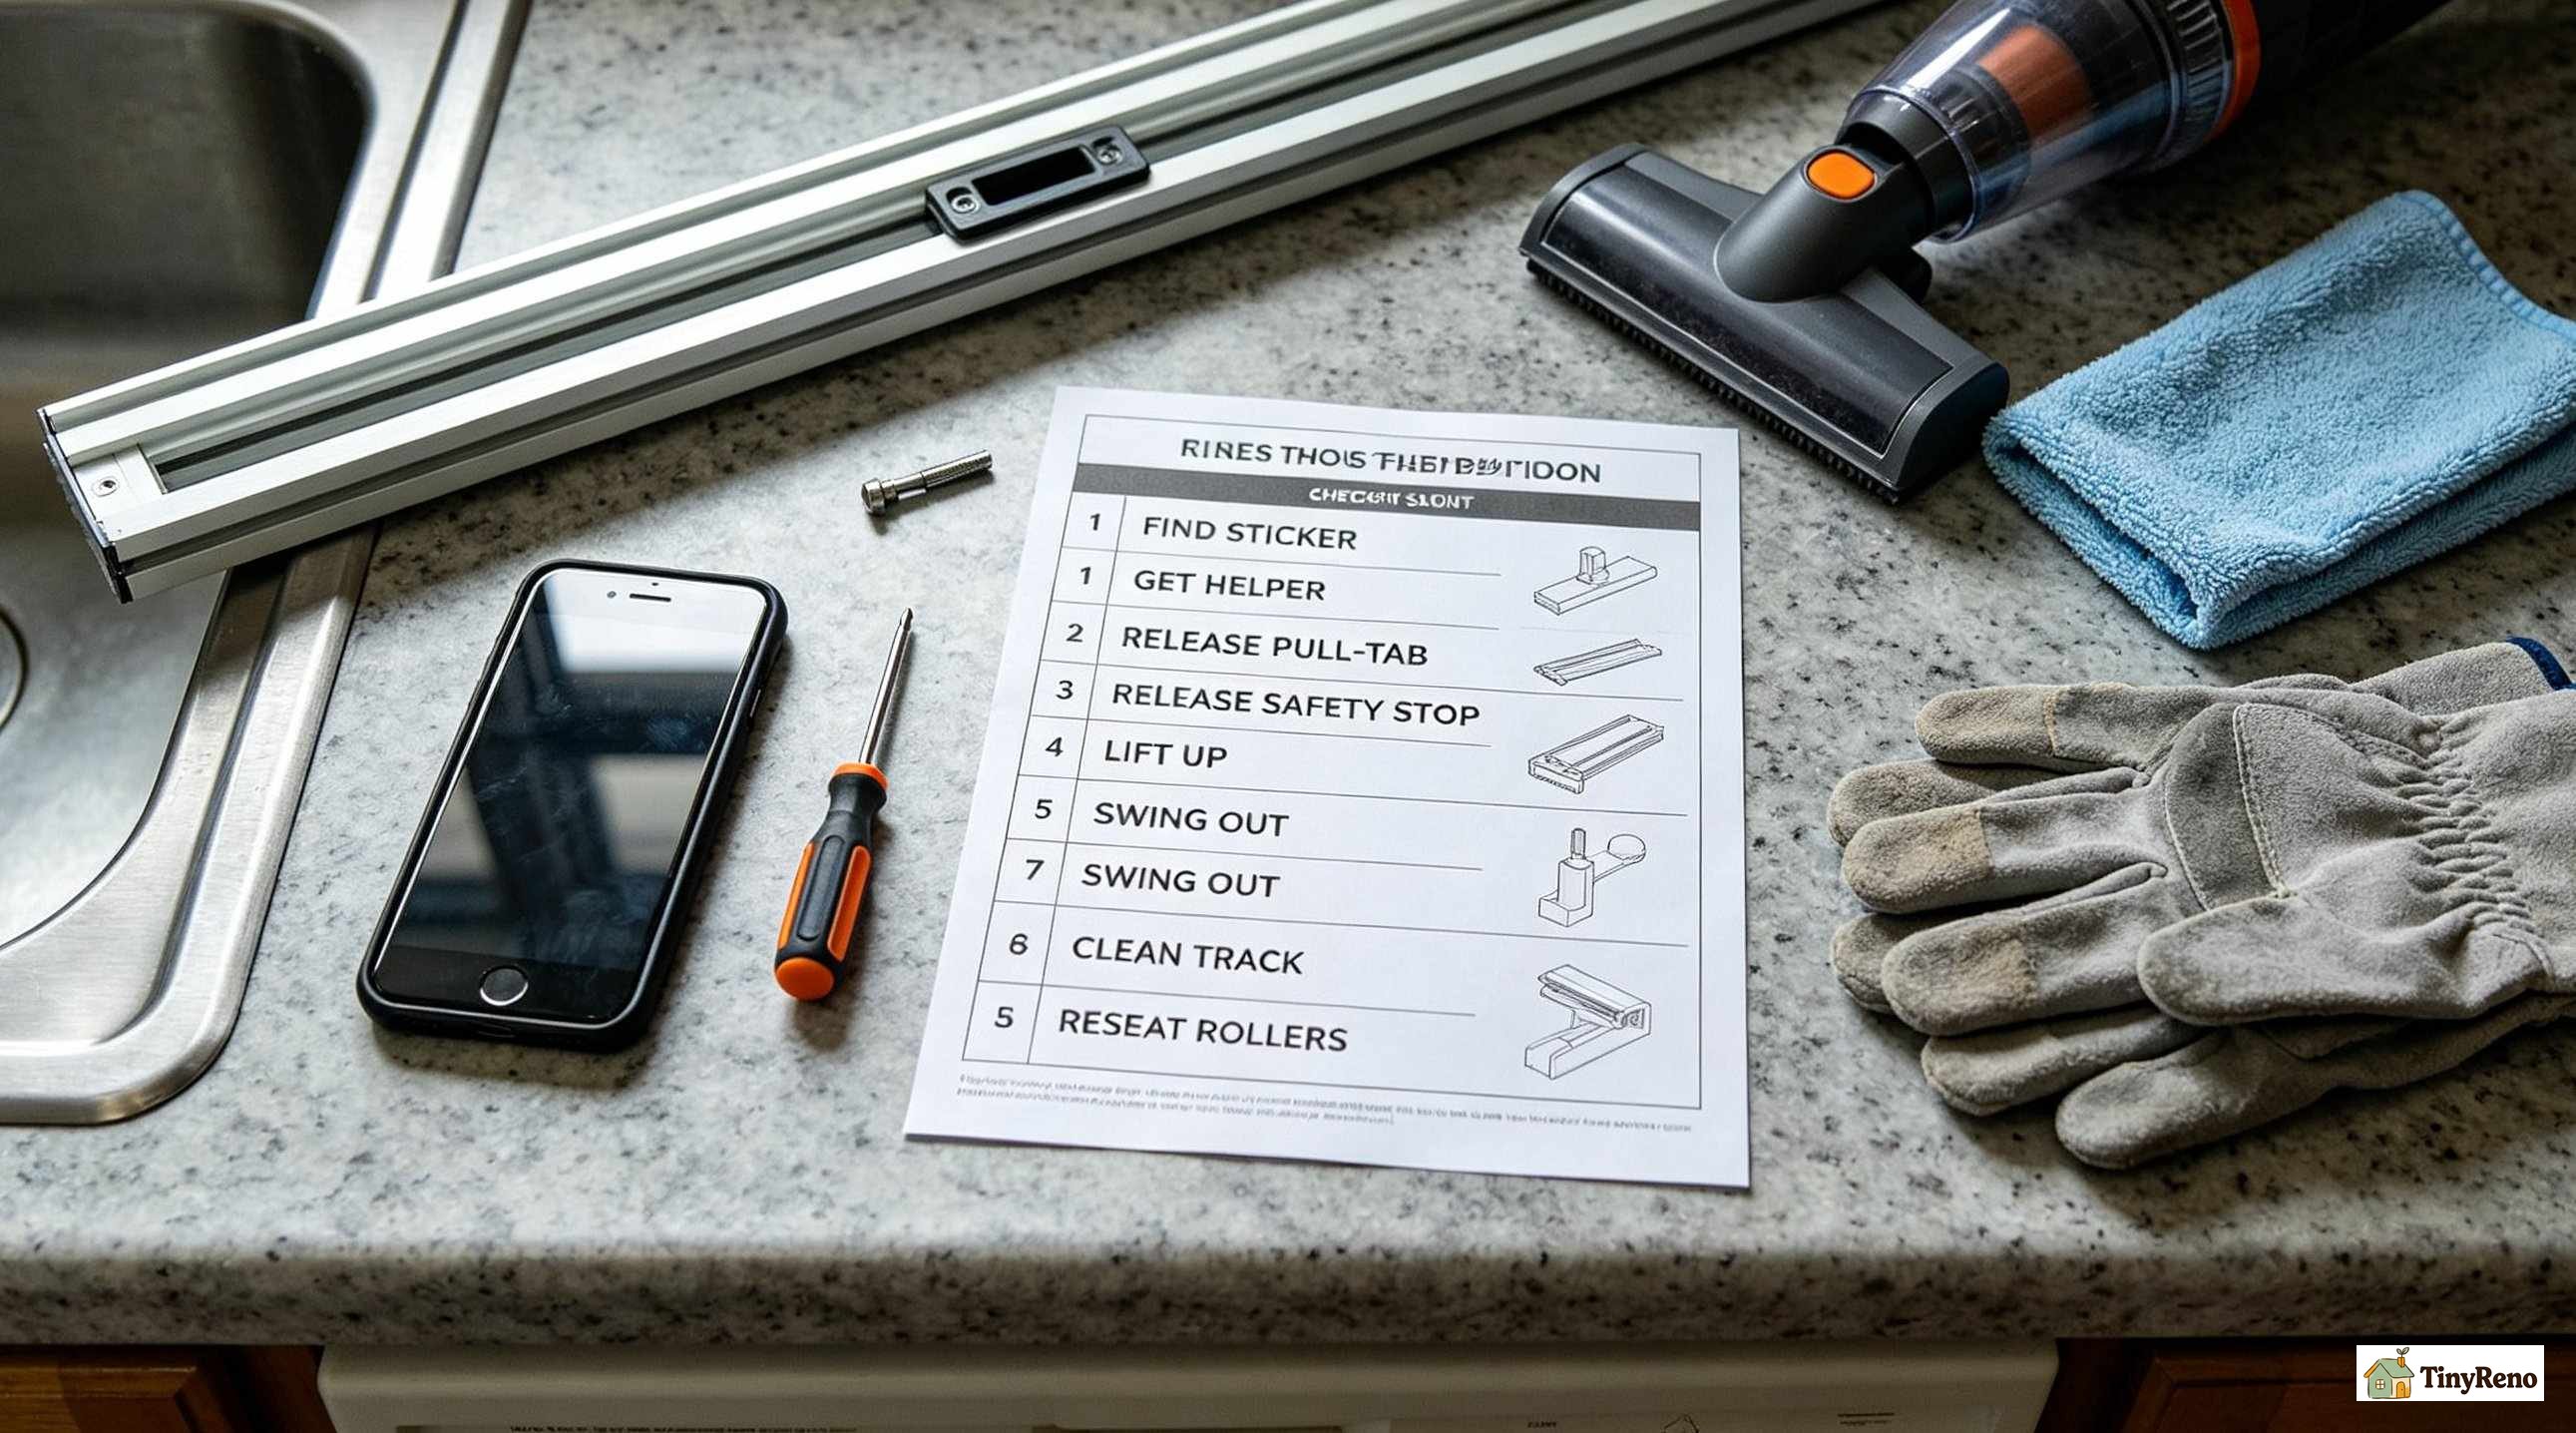
Here's the order I'd follow if I had it to do over again, and the time it should take.
First, find the manufacturer's sticker. It's usually on the inside of the top rail, hidden under a strip of weatherstripping. Peel back the weatherstripping, take a photo of the sticker, and read the removal sequence before you touch the door. (The same logic applies to window screens — my window screen reinstallation story is the proof that reading the sticker first saves an entire afternoon.)
Second, get a helper. Sliding screen doors are heavy and awkward. A second person holding the bottom of the door while you work the top saves you from the dropped-door-on-the-floor moment I had. The whole removal takes about ten minutes with a helper and twenty without one.
Third, identify the safety stop and the pull-tab. They look similar but they do different things. The safety stop is usually the smaller, less obvious tab. The pull-tab is the one that moves noticeably when you press it. Pull the pull-tab first, then the safety stop. The door will then lift up out of the bottom track.
Fourth, lift the door straight up and swing the bottom inward. Set it down on a folded blanket or towel on the floor — never directly on tile or hardwood, where the corner can scratch the surface.
Fifth, vacuum both tracks thoroughly. The grit in the tracks is what was making the door hard to slide in the first place. Cleaning them is the same fix as for stuck windows and the same logic as cleaning the channel before reinstalling a window screen.
Sixth, if a roller pops out while you're lifting the door out, don't panic. Press it back into the housing at the same angle it came out, twist a quarter turn clockwise, and snap it back. That's the "twist and snap." It works on most sliding screen doors made in the last thirty years.
Seventh, before you reinstall, photograph everything — the rollers, the track, the door in its out-of-track position, the cleaned track. That photo set is your move-out documentation and your insurance against a deposit dispute if anything goes sideways.
The dropped-door moment was preventable. The roller-popping-out moment was preventable. The hour I spent trying to figure out which tab was the right tab was preventable. If you're about to ask how to remove screen sliding door for the first time in your rental, give yourself an hour, get a second person, and read the manufacturer's sticker before you do anything else. The screen door is heavier than you think and the consequences of getting it wrong are more expensive than they look.


Discussion (0)
Sign in to join the discussion