

Wood window sashes — that's what I inherited when I moved into my current apartment in 2019, and they may have saved me more money than any other feature of the unit. If you've ever wondered why an old building has wooden sashes when every new construction uses vinyl, or whether your cracked painted sash is something to fix or something to flag, this is what five years of renting in a 1940s building has taught me.
The First Time I Noticed What a Sash Actually Was
I moved in October 2019. The two bedroom sashes were painted white, with hairline cracks running across the bottom rail and small patches of bare wood where the paint had chipped at the corners. I assumed these were bad windows that needed replacing. I emailed the landlord asking for new windows. The reply came back the same day: "These are original 1940s sashes — DO NOT replace them. The frames are solid wood. The paint is the only thing that needs attention. I will have the maintenance team look at them in the spring."
I was a little incredulous at first. New windows seemed obviously better than old ones. But the landlord, who is now in his 60s and has owned the building for 22 years, sent me a photo from the original 1940s construction. The frames were solid old-growth Douglas fir — a wood you basically cannot buy anymore in new construction. The sashes were the kind of quality that would cost $1,500 per window to replicate today.
What I had been looking at was not a "broken window." It was a window whose paint surface had aged out and needed refreshing. The sash itself — the wooden frame that holds the glass and slides up and down — was in perfect condition. That's when I started paying attention to what a wood window sash actually is, and why it matters.
What Wood Window Sashes Actually Are
The word "sash" confused me for the first six months I lived there. I thought the sash was the window. The sash is actually the part of the window that moves — the rectangular wooden frame that holds the glass and slides up and down inside the larger fixed window frame.
A traditional wood window sashes assembly in a double-hung window has three main components. First, the two sashes themselves — top and bottom — each a wooden frame surrounding a pane of glass, joined at the corners using traditional mortise-and-tenon joinery rather than staples or nails. Second, the sash cords: braided ropes or chains that connect each sash to a counterweight (cast iron, sometimes lead) inside the wall cavity on either side of the window. The third component is the counterweight itself, hidden inside the wall, which makes the sash feel nearly weightless when you lift it.
Why wood? Three reasons. First, wood is dimensionally stable in a way vinyl isn't — old-growth wood, in particular, resists swelling and shrinking across humidity cycles better than modern engineered lumber or vinyl. Second, wood can be repaired. A cracked corner can be patched with epoxy and re-mortised. A vinyl frame with a cracked corner has to be replaced entirely. Third, wood window sashes can be refinished dozens of times over their lifespan — the same sash can be sanded, primed, and repainted every 10 to 15 years for a century or more.
This is also why I treat condensation differently on wood sashes than on vinyl. On a vinyl window, a little moisture between the panes is a manufacturing defect and the unit needs to be replaced. On a wood sash, condensation is a paint and weatherstripping problem, not a sash problem — and the fix is maintenance, not replacement.
The Bathroom Sash I Refinished for $50
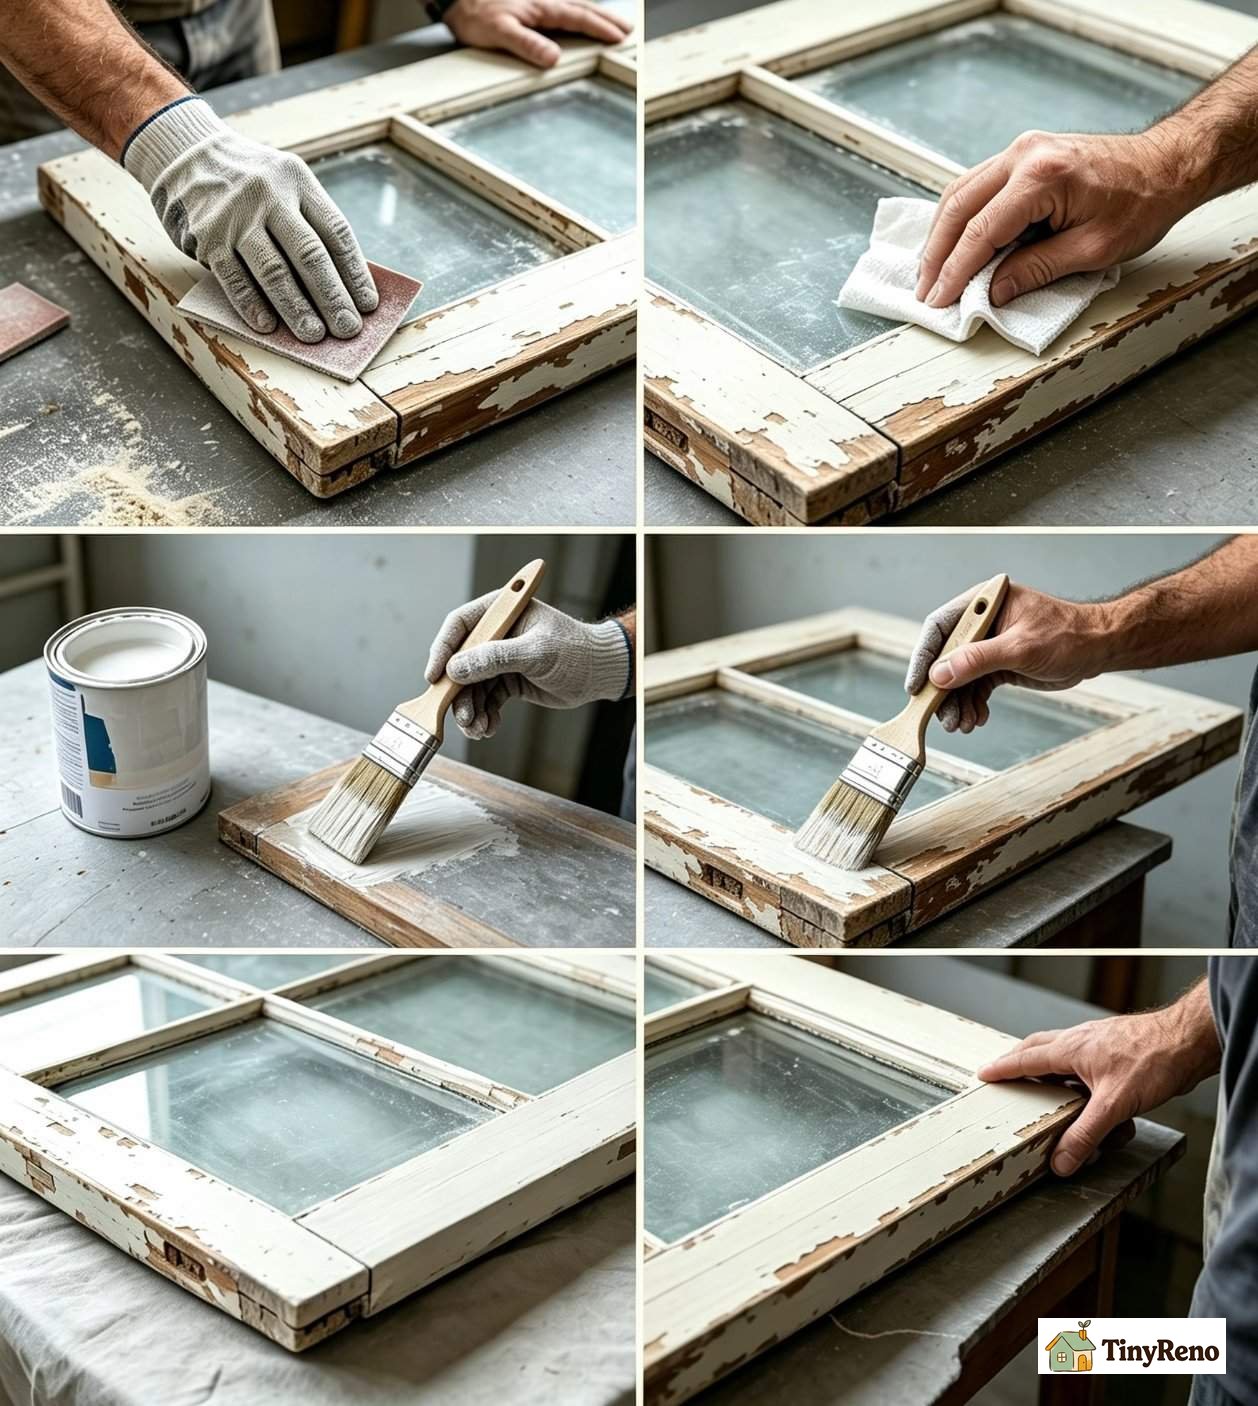
By 2021, the bathroom sash was in worse shape than the bedrooms. The bottom rail had a palm-sized patch where the paint had peeled away entirely, exposing bare wood that had turned gray from moisture. I assumed this was rot. The landlord came up to look and said, "That's not rot. The wood is fine. You just need to refinish it. I'll give you $50 for paint if you do the work yourself."
I'd never refinished a sash before. The landlord walked me through the steps in about ten minutes. First, lightly sand the entire sash with 120-grit sandpaper, just enough to remove the flaking paint and feather the edges of the bare patch. Second, wipe it down with a tack cloth to remove sanding dust. Third, apply one coat of of oil-based primer — not latex — over the entire sash, including the previously painted areas. The oil base is what seals the wood against moisture. Fourth, let the primer dry for 24 hours, then apply two thin coats of exterior-grade paint (the landlord specified Benjamin Moore's exterior semi-gloss). Fifth, let the second coat dry for another 24 hours before putting the sash back in.
The whole project took a Saturday and a Sunday. The $50 covered a quart of primer, a quart of paint, and a pack of 120-grit sandpaper. The bathroom sash has now been through three more winters without a single new paint chip. That's the kind of return on $50 of work that almost no replacement option can match — and it left the original 1940s wood in place rather than swapping it for a builder-grade vinyl unit that would have lasted 15 years at best.
The same paint discipline applies to smaller wood repairs. If you've ever dealt with cat scratches on a wood surface and learned to fix the wood before painting over it, refinishing a sash is the same principle at a larger scale: address the wood first, then seal it properly with the right primer and paint.
The Sash Cord That Snapped on a Tuesday
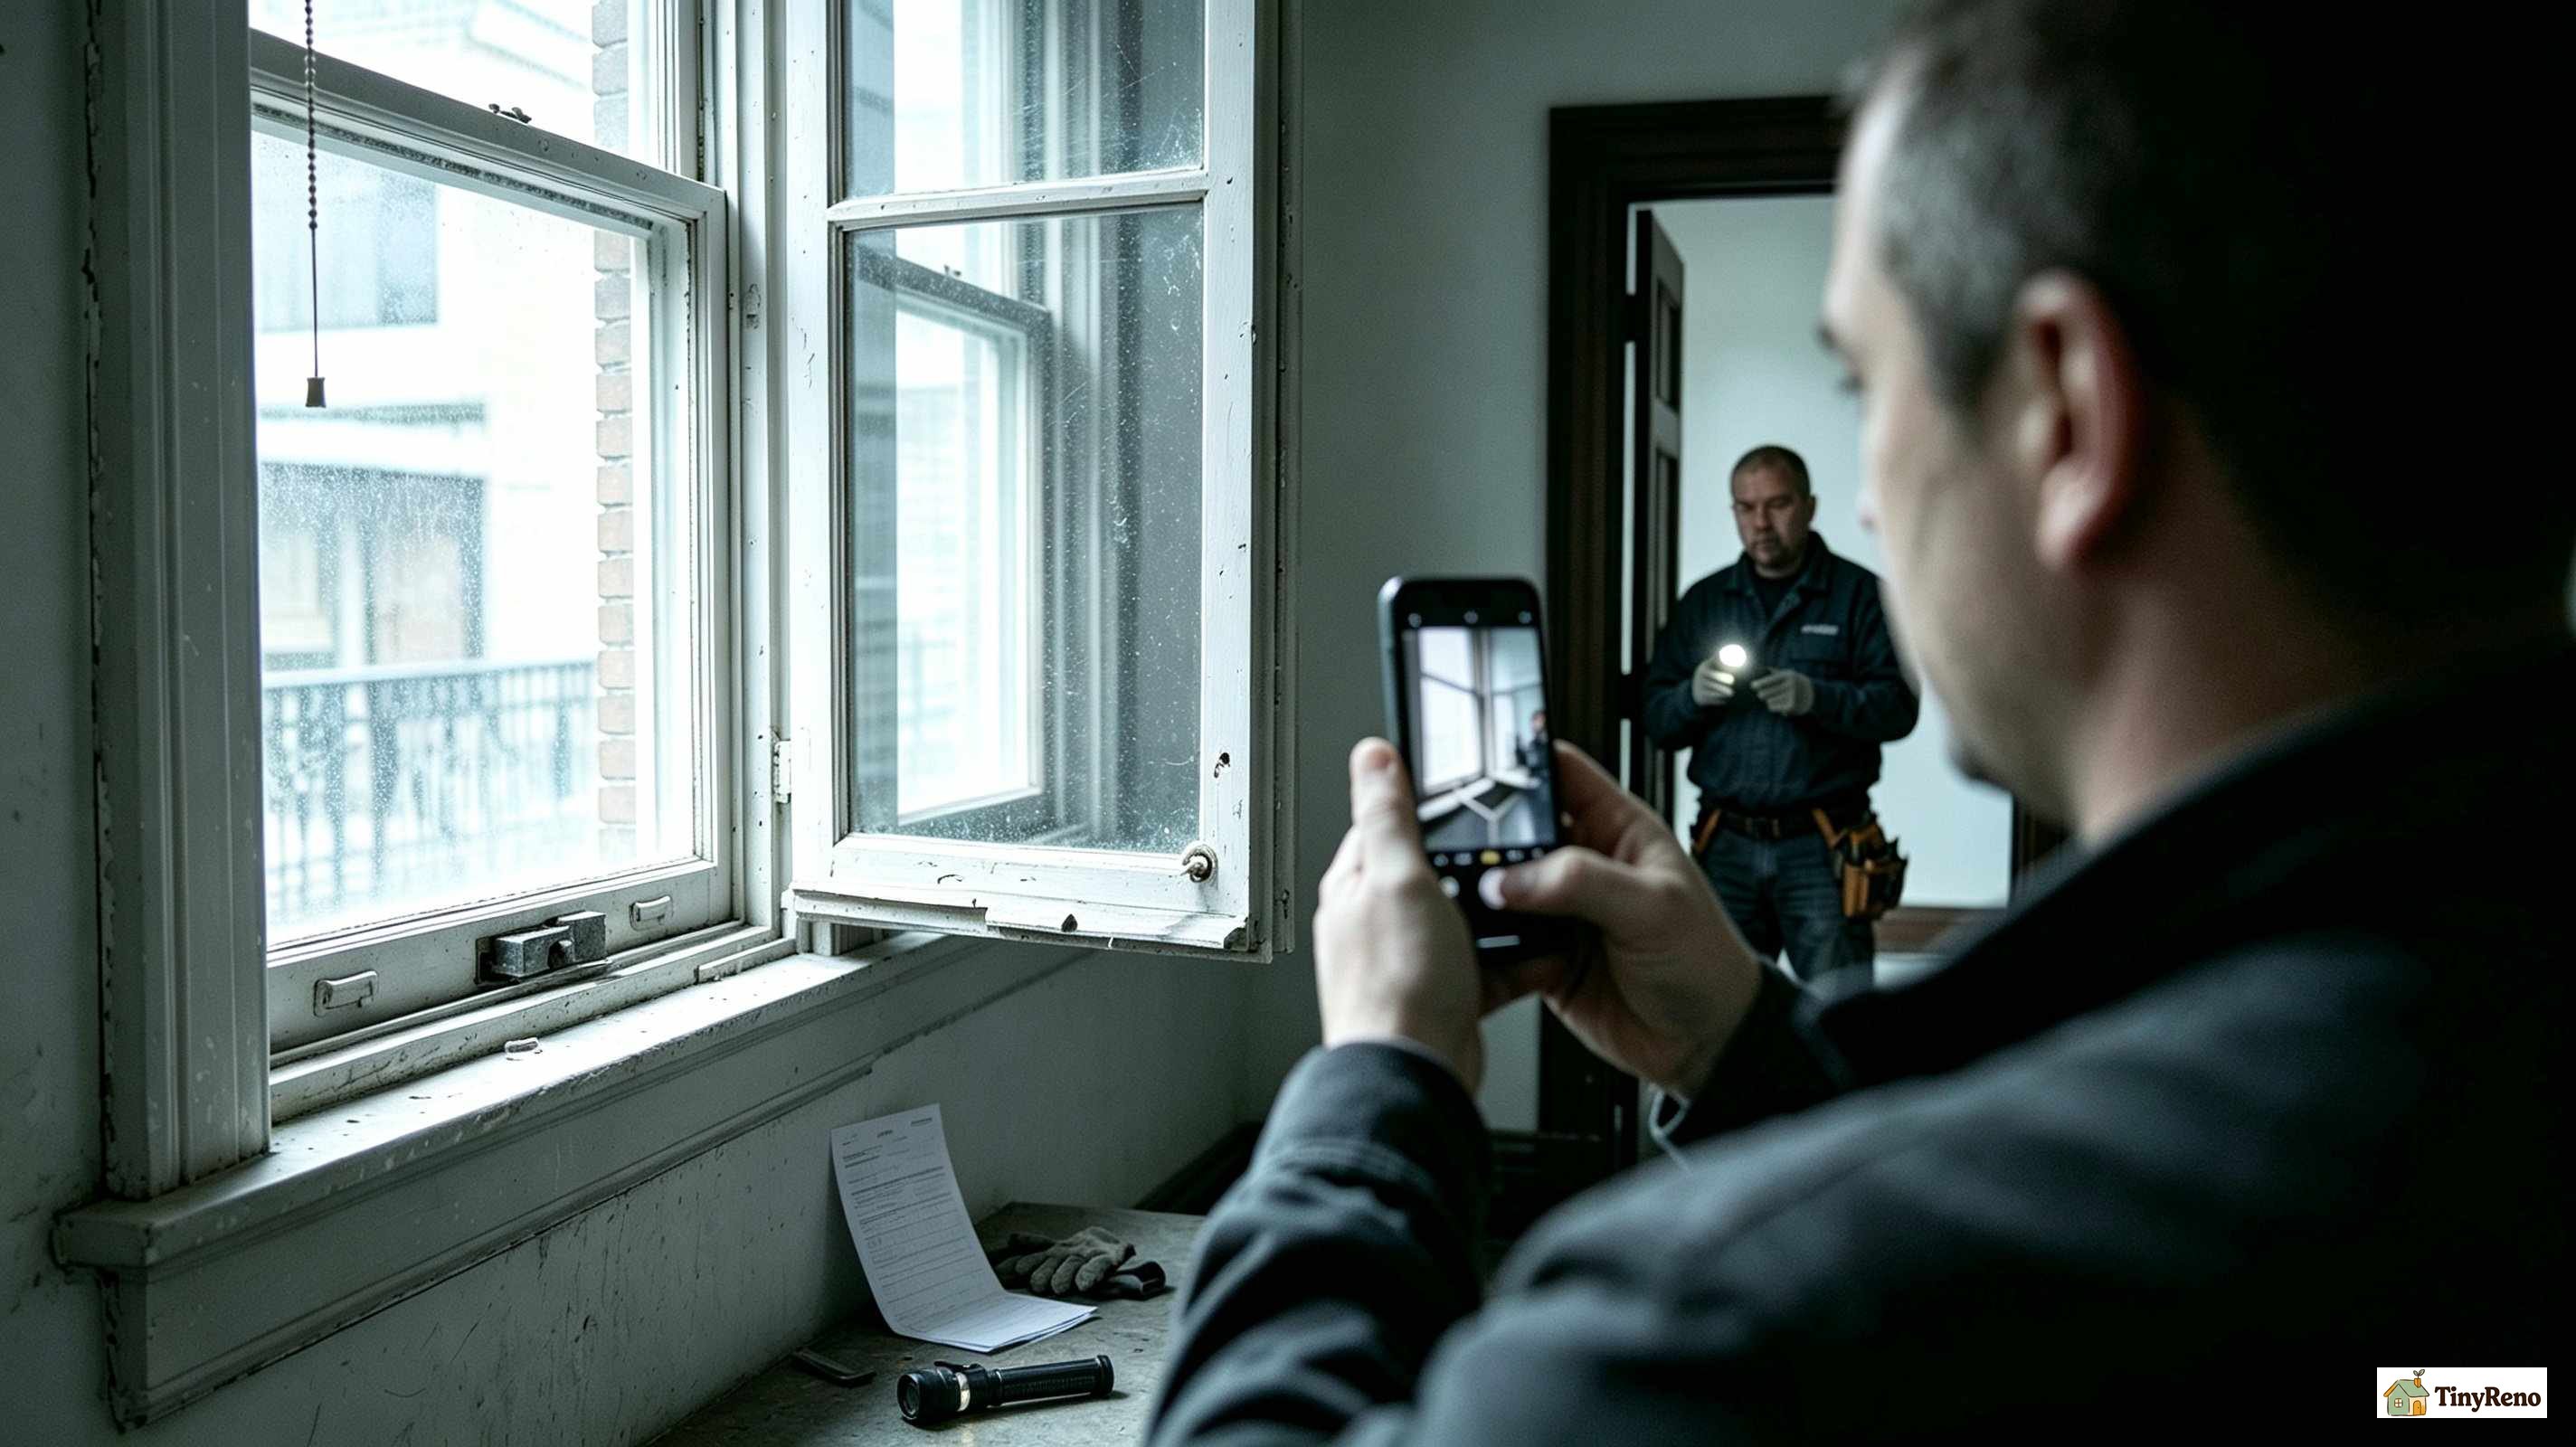
In March 2022, I opened the bathroom sash one morning and the bottom sash dropped about six inches inside the frame, then jammed. I tried to lift it back up. It would not move. I pulled the sash stops and tried to tilt the sash out — the same way I had successfully removed the sash for refinishing a year earlier — and discovered one of the sash cords had snapped.
This is the classic "old house" repair. Sash cords have a service life of 30 to 50 years, depending on the original cord material and how dry the wall cavity is. My building was 80 years old. The cords had been replaced once before, in the early 1990s, according to a notation the landlord found in his files. Twenty-five years later, one of them finally failed.
I did what I'd learned to do with any structural window issue. I emailed the landlord with a photo and a description of the symptom — "the bottom sash dropped six inches and won't move, looks like the cord on one side may have snapped." The landlord had the building maintenance team out within 48 hours. They removed the sash stop on the broken side, reached into the wall cavity through the access panel in the frame, retrieved the cast iron counterweight, replaced the sash cord on that wood window sashes assembly, and had the sash operating again in about 30 minutes. Total cost to me: zero. Total cost to the landlord: about $20 in cord and 30 minutes of labor.
This is the kind of repair a renter should never attempt on their own. Sash cords are inside the wall. Working in that cavity requires knowing where the counterweight is positioned so you don't lose it down the framing, and knowing how to reattach the cord to the sash with the right knot. A mistake here can drop the counterweight into a wall you'll never get it back out of, or fail to attach the cord correctly so the sash falls the next time you open it. If your sash drops unexpectedly, treat it the same way you'd treat any structural window issue — document it with photos, send a written maintenance request, and let the landlord handle the fix.
Refinish, Replace the Sash, or Replace the Whole Window?
My neighbor Mike bought a 1920s Craftsman bungalow two doors down and spent his first summer doing exactly what I was doing — staring at wood sashes and wondering what to do with them. He laid out the three options in a way that stuck with me.
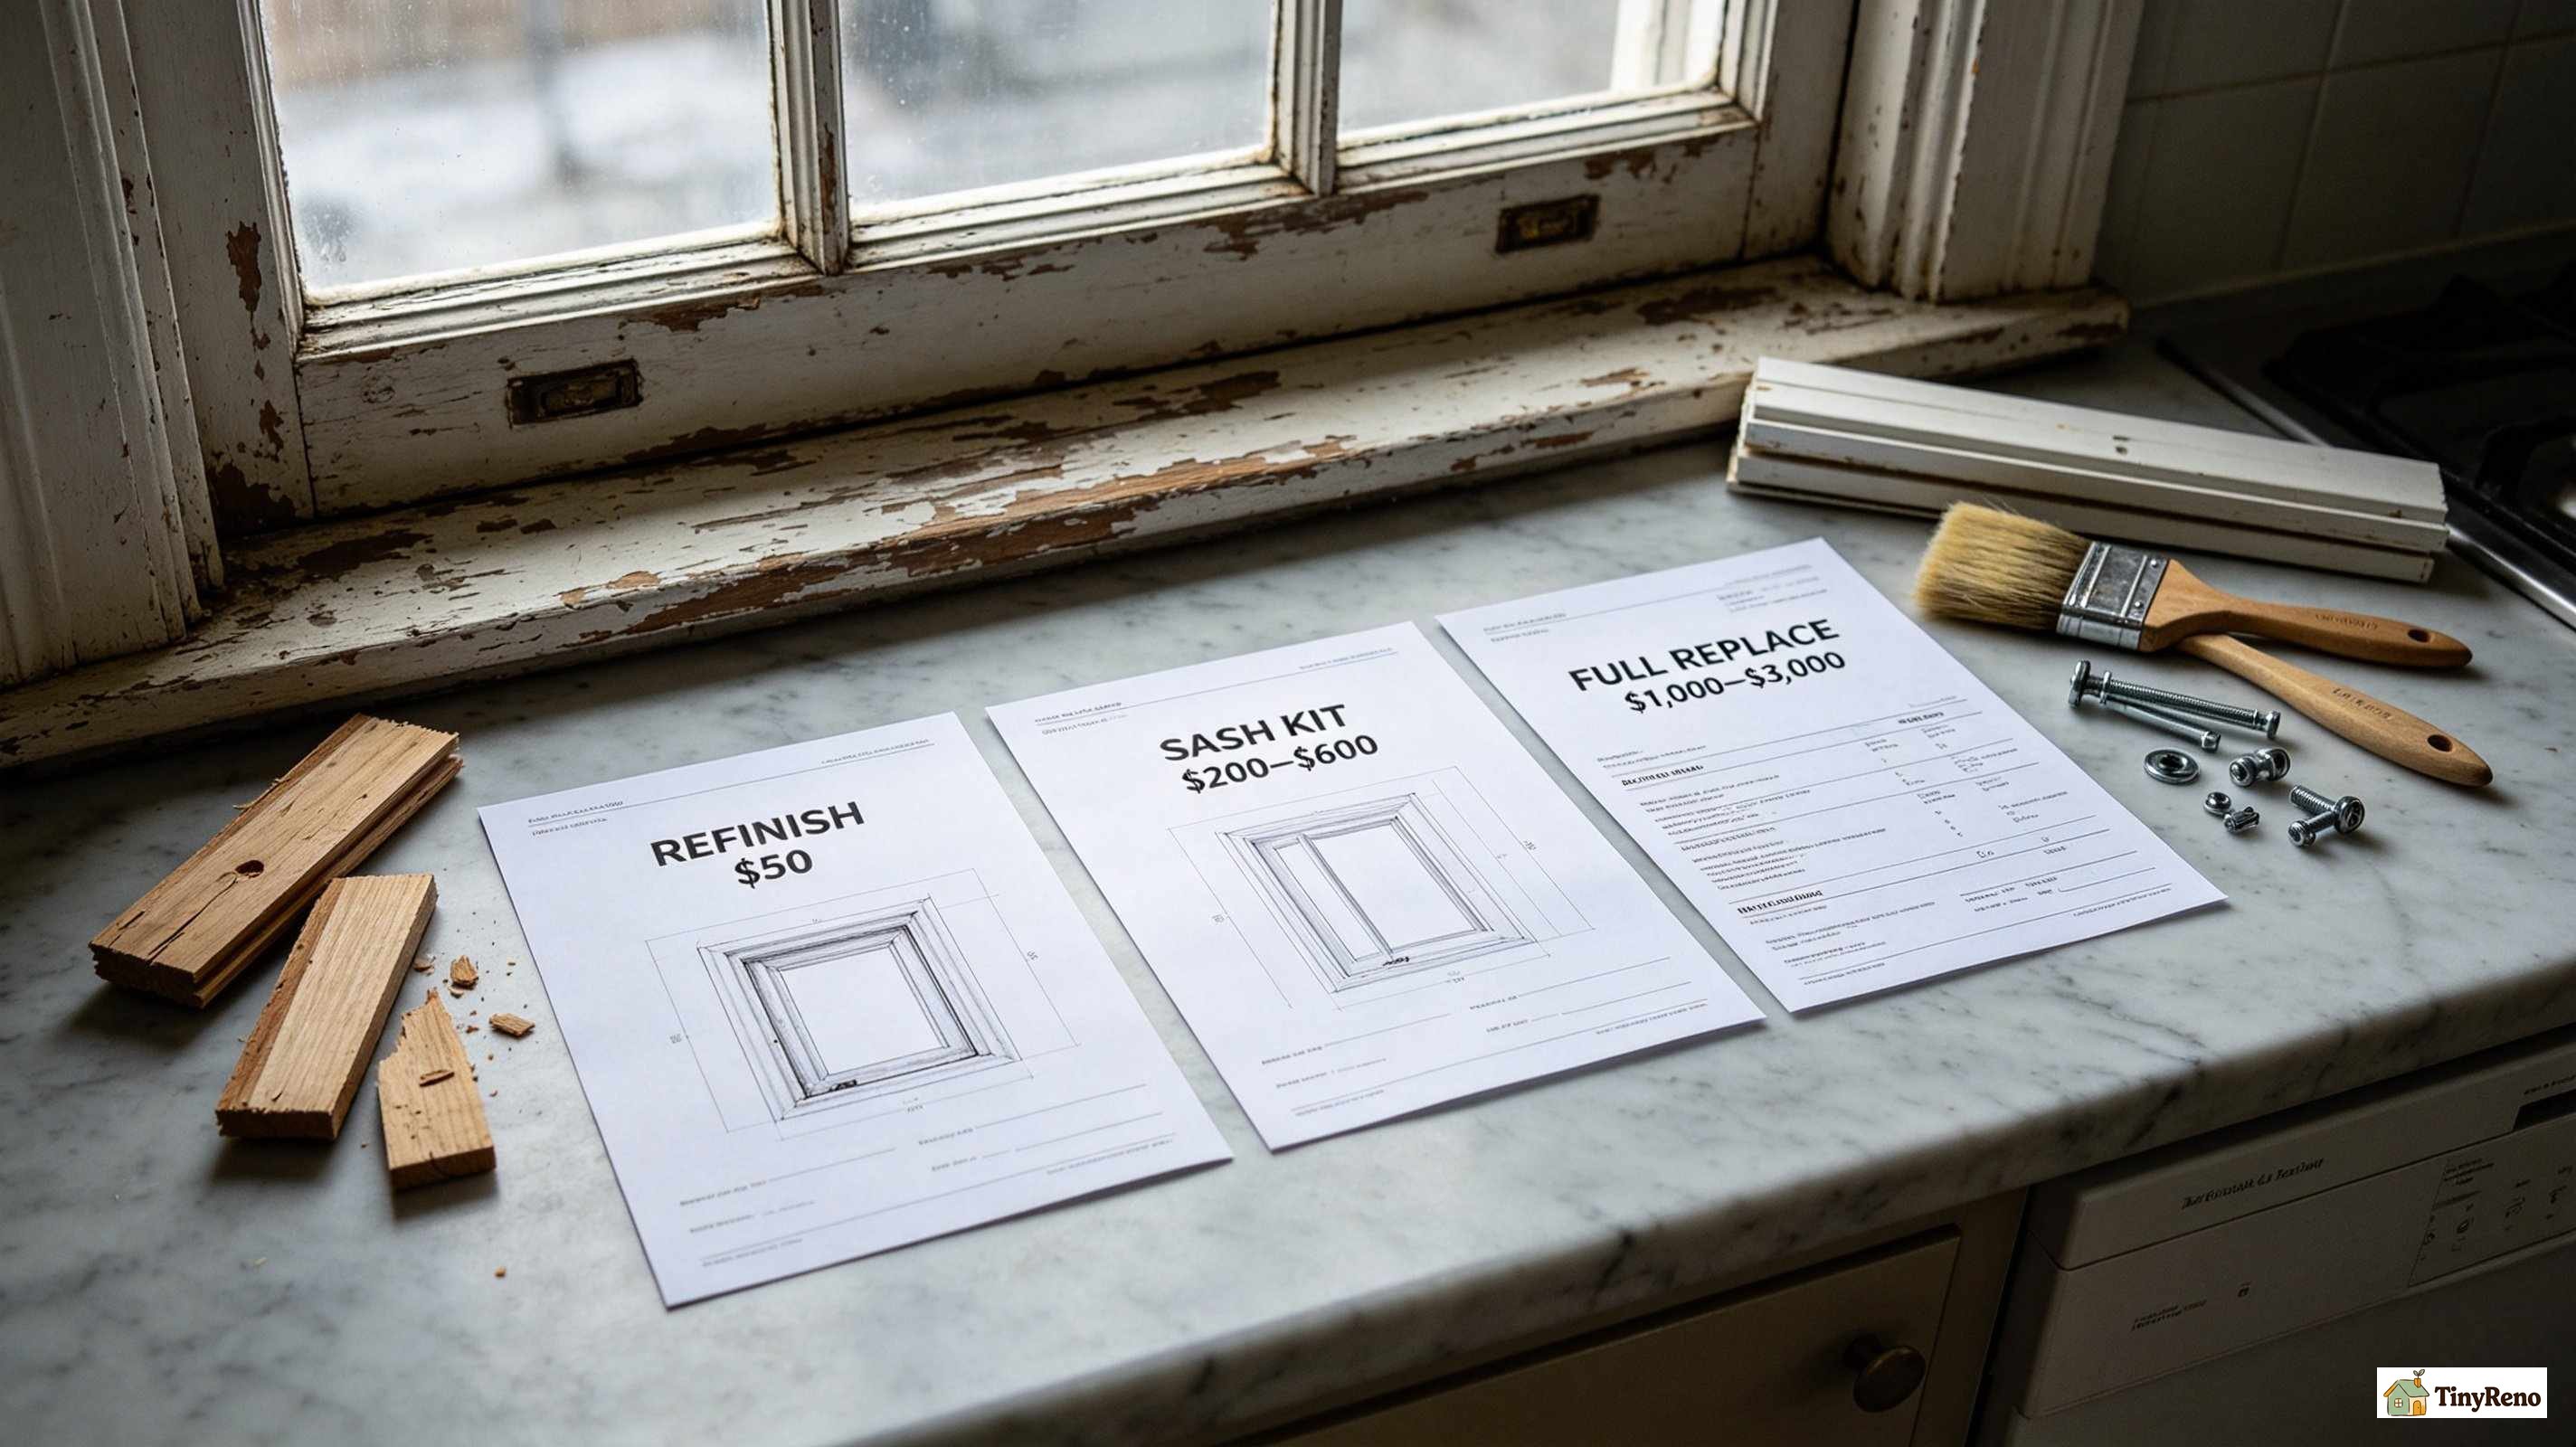
The first option is refinishing, the $50 path I took with the bathroom sash. Sand, prime, two coats of exterior paint, reinstall. This works when the wood itself is solid and only the paint surface has aged out. Most wood sashes built before 1970 fall into this category if they've been maintained at all. Refinishing extends the life of the sash by another 10 to 15 years per cycle.
The second option is sash replacement kits — the sash itself, the glass, and the weatherstripping, sold as a unit by specialty window companies like Marvin or Andersen. Cost ranges from $200 to $600 per sash depending on size and glass type. This is the right call when the wood has actual rot (not just paint chipping), the joints are coming apart, or the glass has failed. It's a contractor's job, not a renter's. In a rental, this is the landlord's decision — and your job is to give them enough documentation to say yes.
The third option is full window replacement — new frame, new sash, new glass, all the way down to the exterior trim. Cost is $1,000 to $3,000 per window installed. This is almost never the right call on a wood sash that's 50 to 80 years old. If the frame and sash are still solid, you're paying to replace perfectly good wood with a vinyl or fiberglass unit that will last 15 to 25 years before needing the same replacement again. The same logic applies to drafty windows in general — the visible problem is rarely the actual reason to replace.
The decision matrix I now use, walking into any rental with old windows, is: is the wood solid? If yes, refinish. If no, ask the landlord about a sash replacement kit. If the landlord suggests full window replacement, ask whether the existing wood has actually been assessed by a window contractor. Most of the time, the answer is that nobody has looked closely, and the assumption that "old = bad" is doing the decision-making. The same logic applies to wood siding repair in older rentals: old-growth wood is one of the few building materials that improves with age if you keep it sealed.
What I'd Tell a Renter Moving Into an Old Building
If you're moving into a building built between 1940 and 1980, the windows are almost certainly wood sashes, and they're almost certainly older than you are. Treat them accordingly.
First, do a visual check the day you move in. Look for paint cracks along the bottom rail, soft wood at the corners, water stains on the sill, and any sash that doesn't slide smoothly. Photograph each window and email the landlord with a single message — "here are the conditions of the windows at move-in." That paper trail matters at move-out, and it gives the landlord a baseline for what maintenance is normal wear vs. tenant damage.
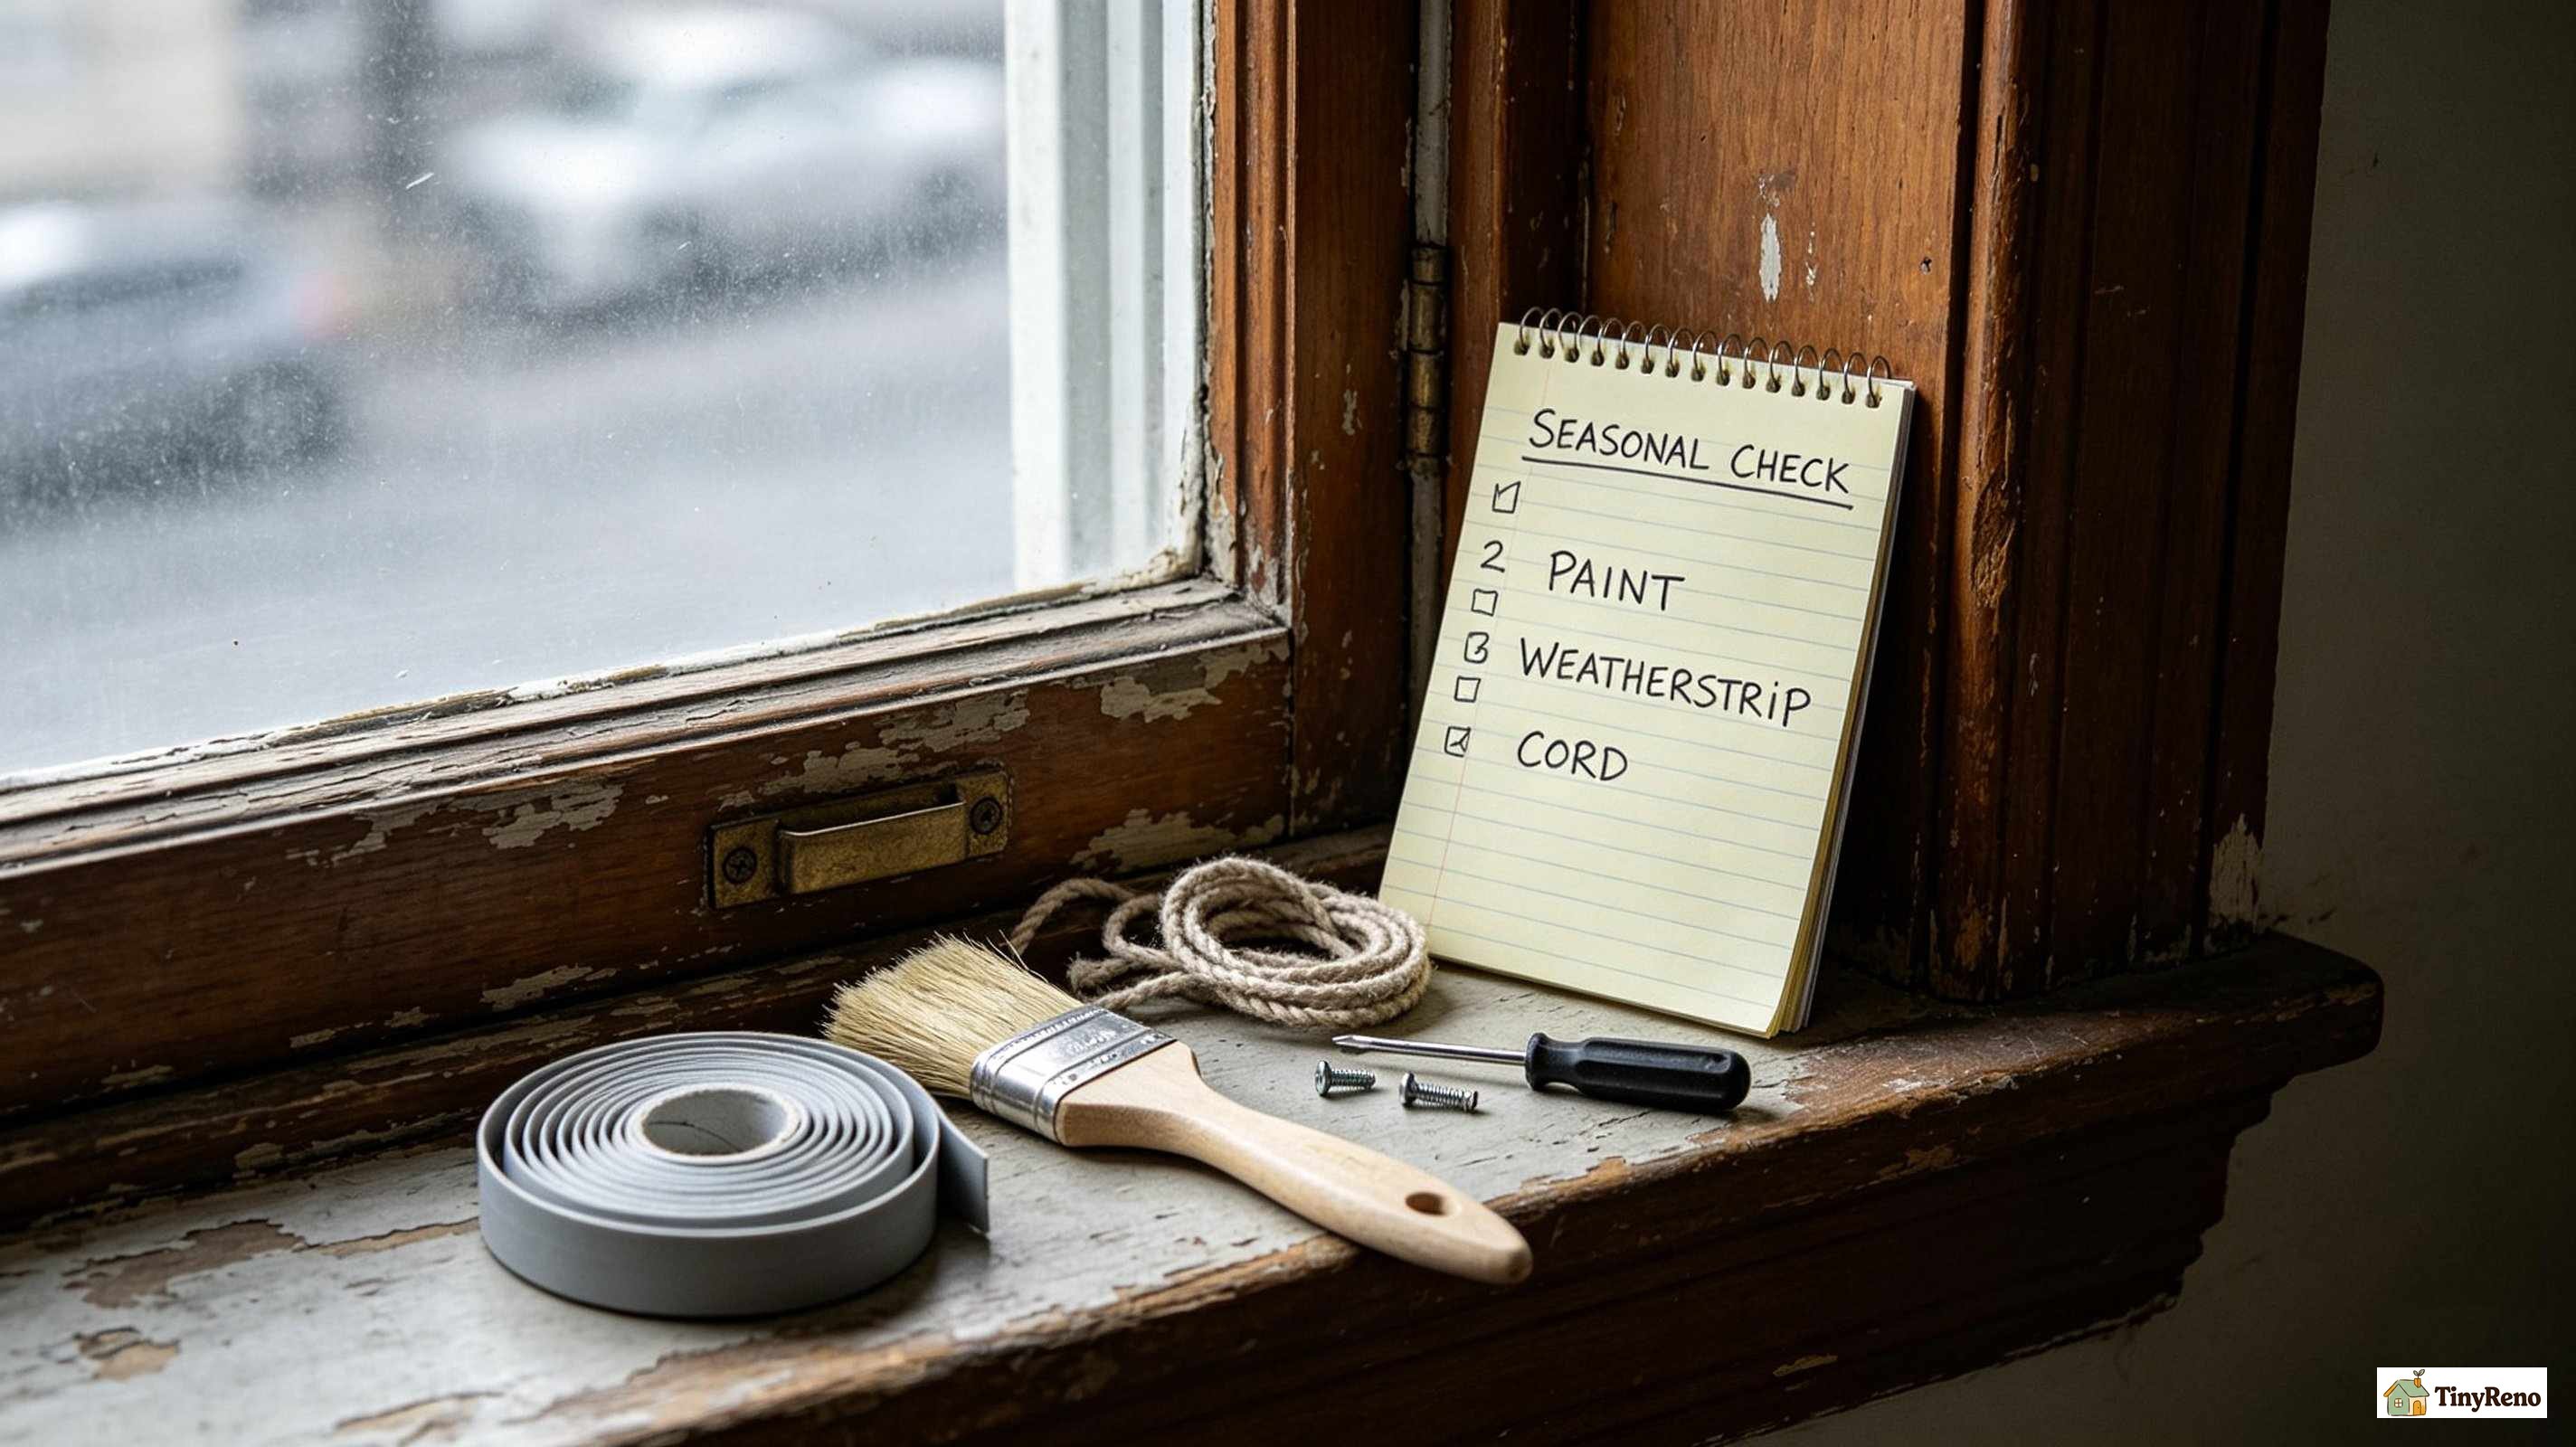
Second, don't paint over problems. If the wood is exposed, prime it before you paint. If the sash cord feels frayed, send a maintenance request. If the sash is painted shut, that's a different problem and a different fix — covered in my stuck window guide. The same applies to wood in other parts of a rental: the way you maintain a wood sash is the way you maintain wood siding, hardwood floors, and wood trim, and the principles don't change. Wood wants to stay dry, sealed, and out of standing water. Paint it well, fix small problems quickly, and don't let moisture sit.
Third, learn what your windows are made of before you do anything irreversible. Pull the sash out once — even just for a cleaning — and look at the corner joinery. If the corners are mortise-and-tenon with wooden pegs, you have a high-quality wood sash that's worth keeping. If the corners are stapled or glued, you have a newer composite sash that may not be worth refinishing. Either way, you're now the kind of person who knows what a sash is. And if you've ever watched a hardwood floor buckle from a water leak, you already understand that wood in old buildings moves with moisture — your sash does the same thing, just on a smaller scale.
Five years, four sashes, one snapped cord, and a bathroom that looks better than it did when I moved in. The wood in old buildings is the kind of thing that doesn't get made anymore. A $50 can of paint is what stands between you and that wood lasting another 80 years, or a contractor invoice for $1,500 that replaces it with something that won't.


Discussion (0)
Sign in to join the discussion