

How do you put a screen back in a window? I learned this by getting it wrong four times in one weekend, including one phone call to my old landlord that I still think about at least once a month. If you've ever spent an hour fighting a screen frame, this is the story of how I finally got it, and what I wish I'd known before I started.
The 8-Month Pile in the Storage Closet
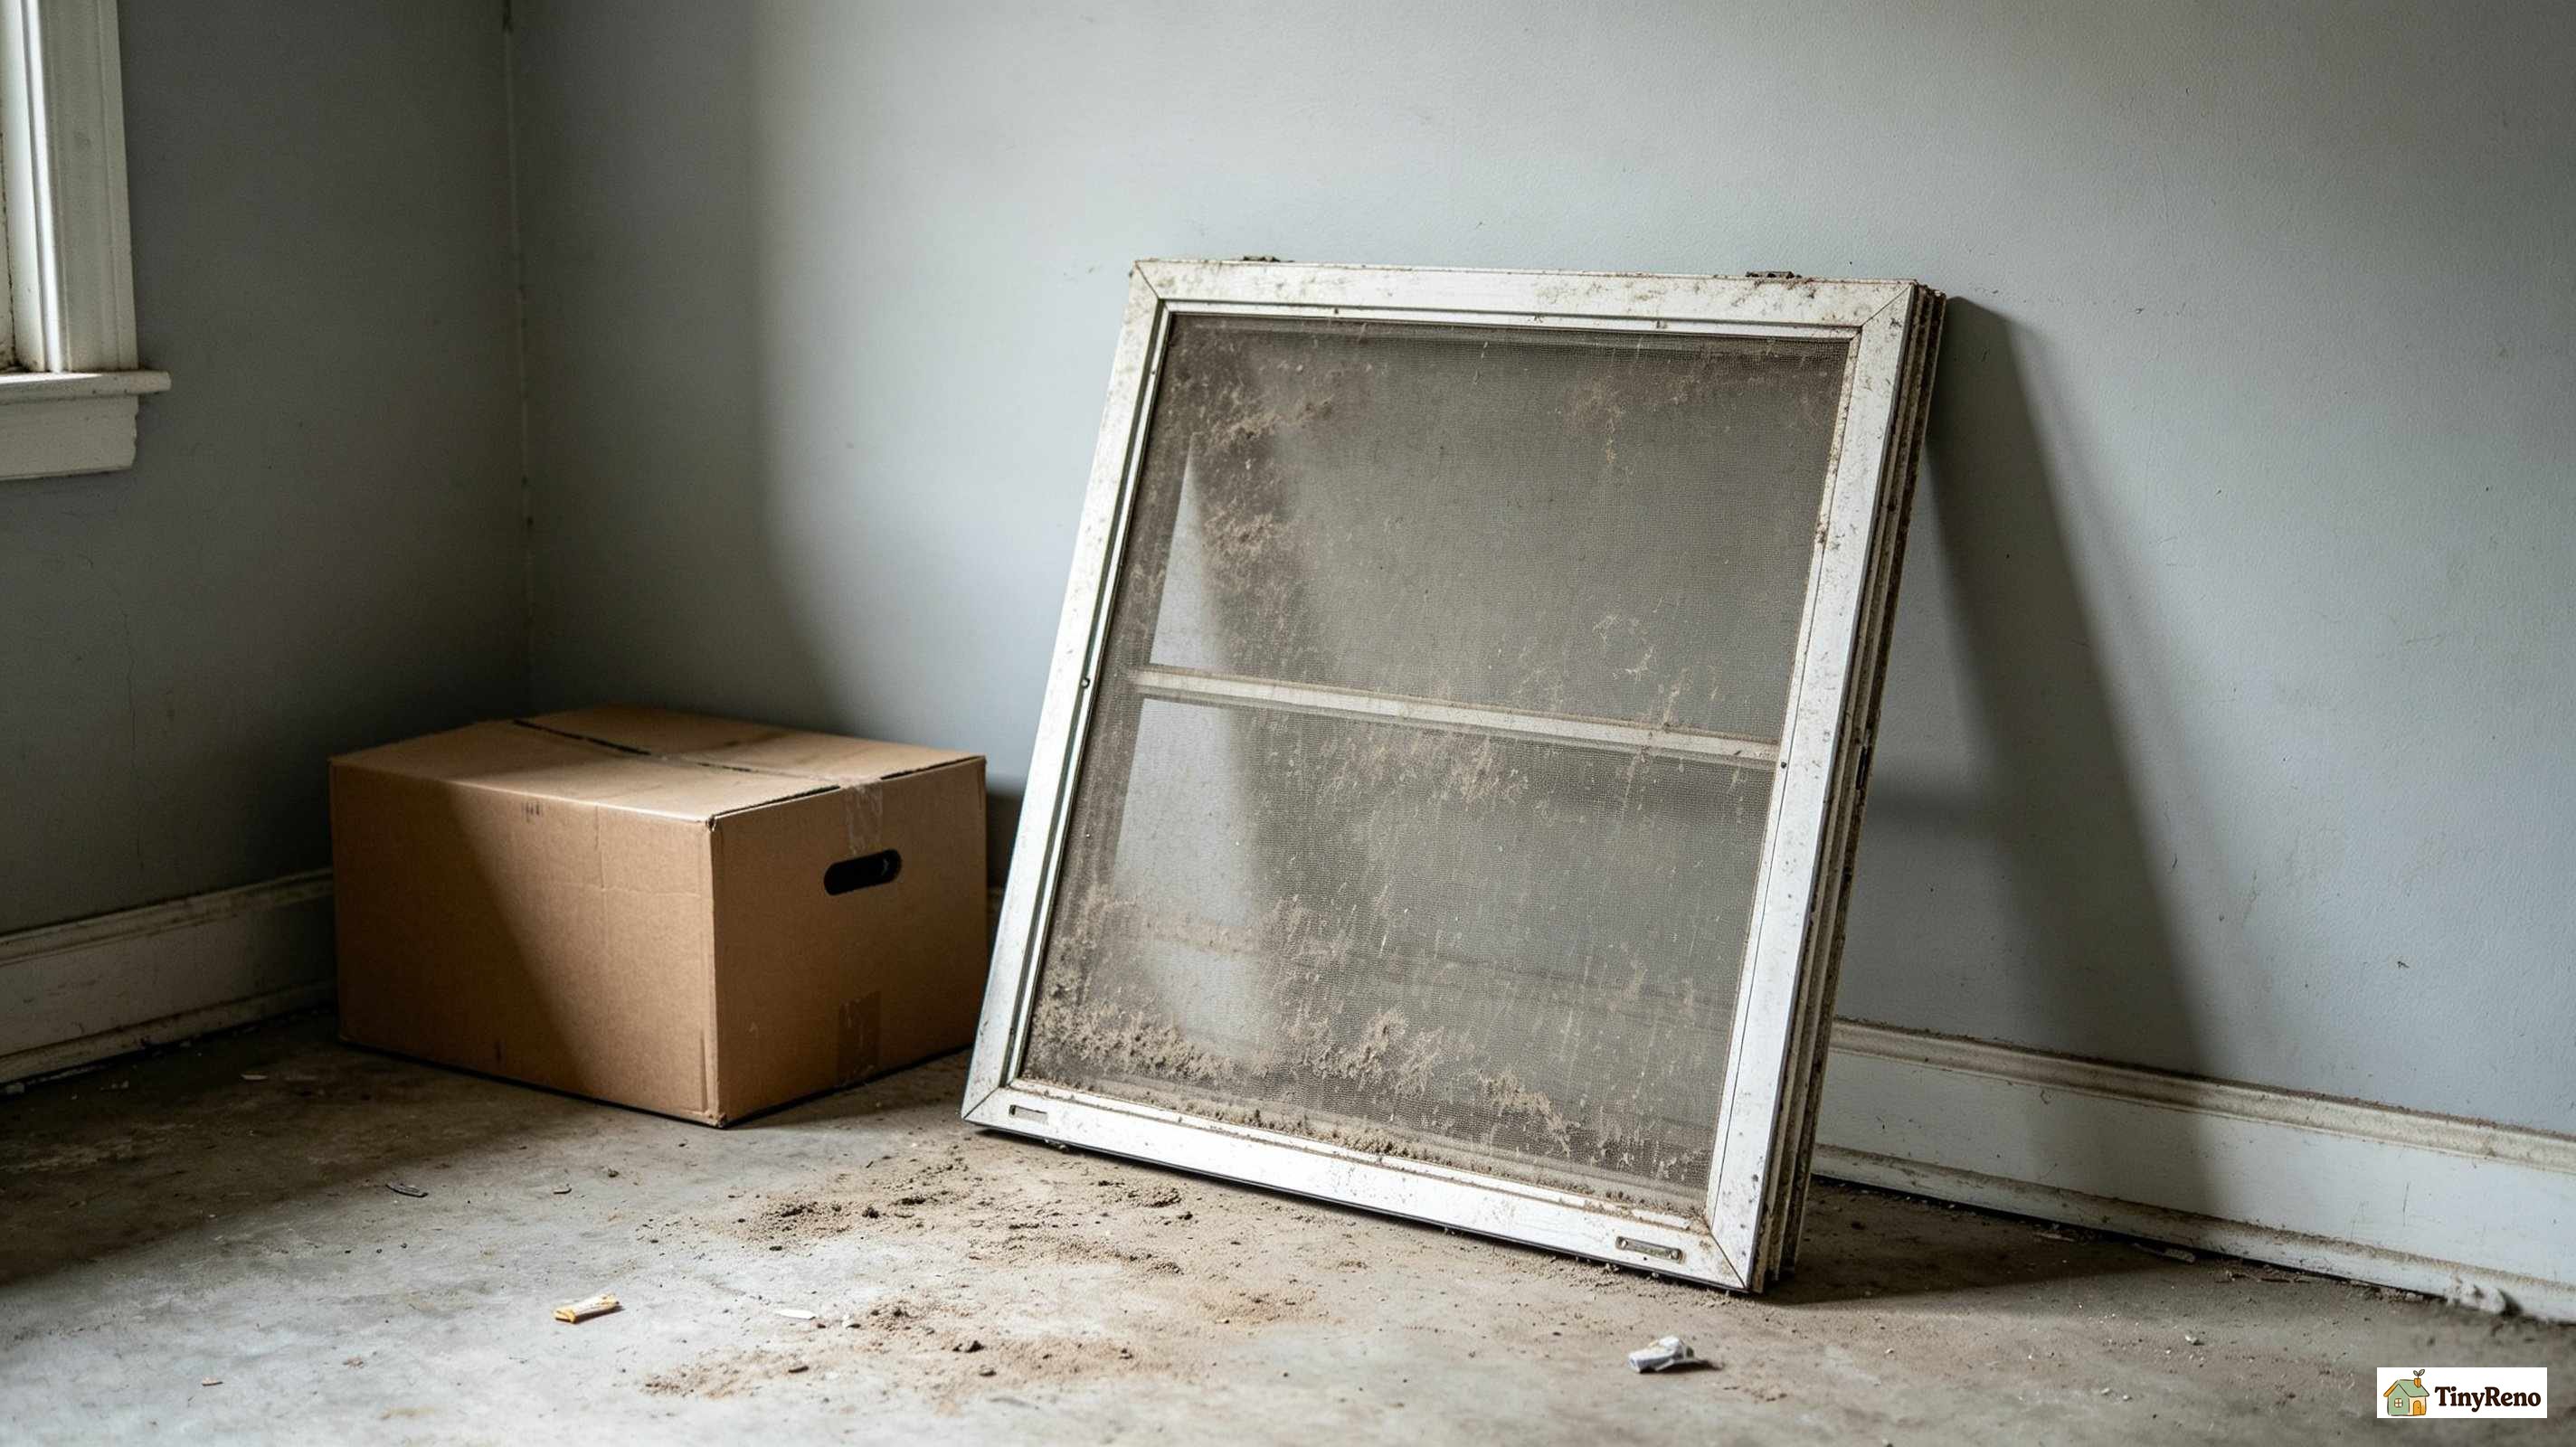
I removed all three window screens from my apartment in late October and leaned them against the wall of my storage closet, the same way I had the year before. They stayed there for eight months. By the time I went to put them back in — the first warm Saturday in May, with the windows flung open for cross-breezes and the cat already eyeing the fire escape — the screens were covered in a fine gray layer of closet dust, the corner labels were curling off, and one of the spring tabs had a tiny piece of paint chipped off where I'd forced it last fall.
I figured it would take twenty minutes total to put three screens back in. It took me most of a Saturday afternoon, plus a phone call to my old landlord that ended with him asking if I'd ever looked at the manufacturer's label. I had not. The labels were right there, tucked under the spring tabs on every screen, with the model number, the install direction, and a tiny exploded-view diagram that would have saved me the entire afternoon.
If you're looking at a screen you took out five, six, eight months ago and wondering where to start, here's how I figured it out — by getting it wrong, then right, then wrong again.
Try #1: The Spring-Pull Screen (Installed Upside Down)
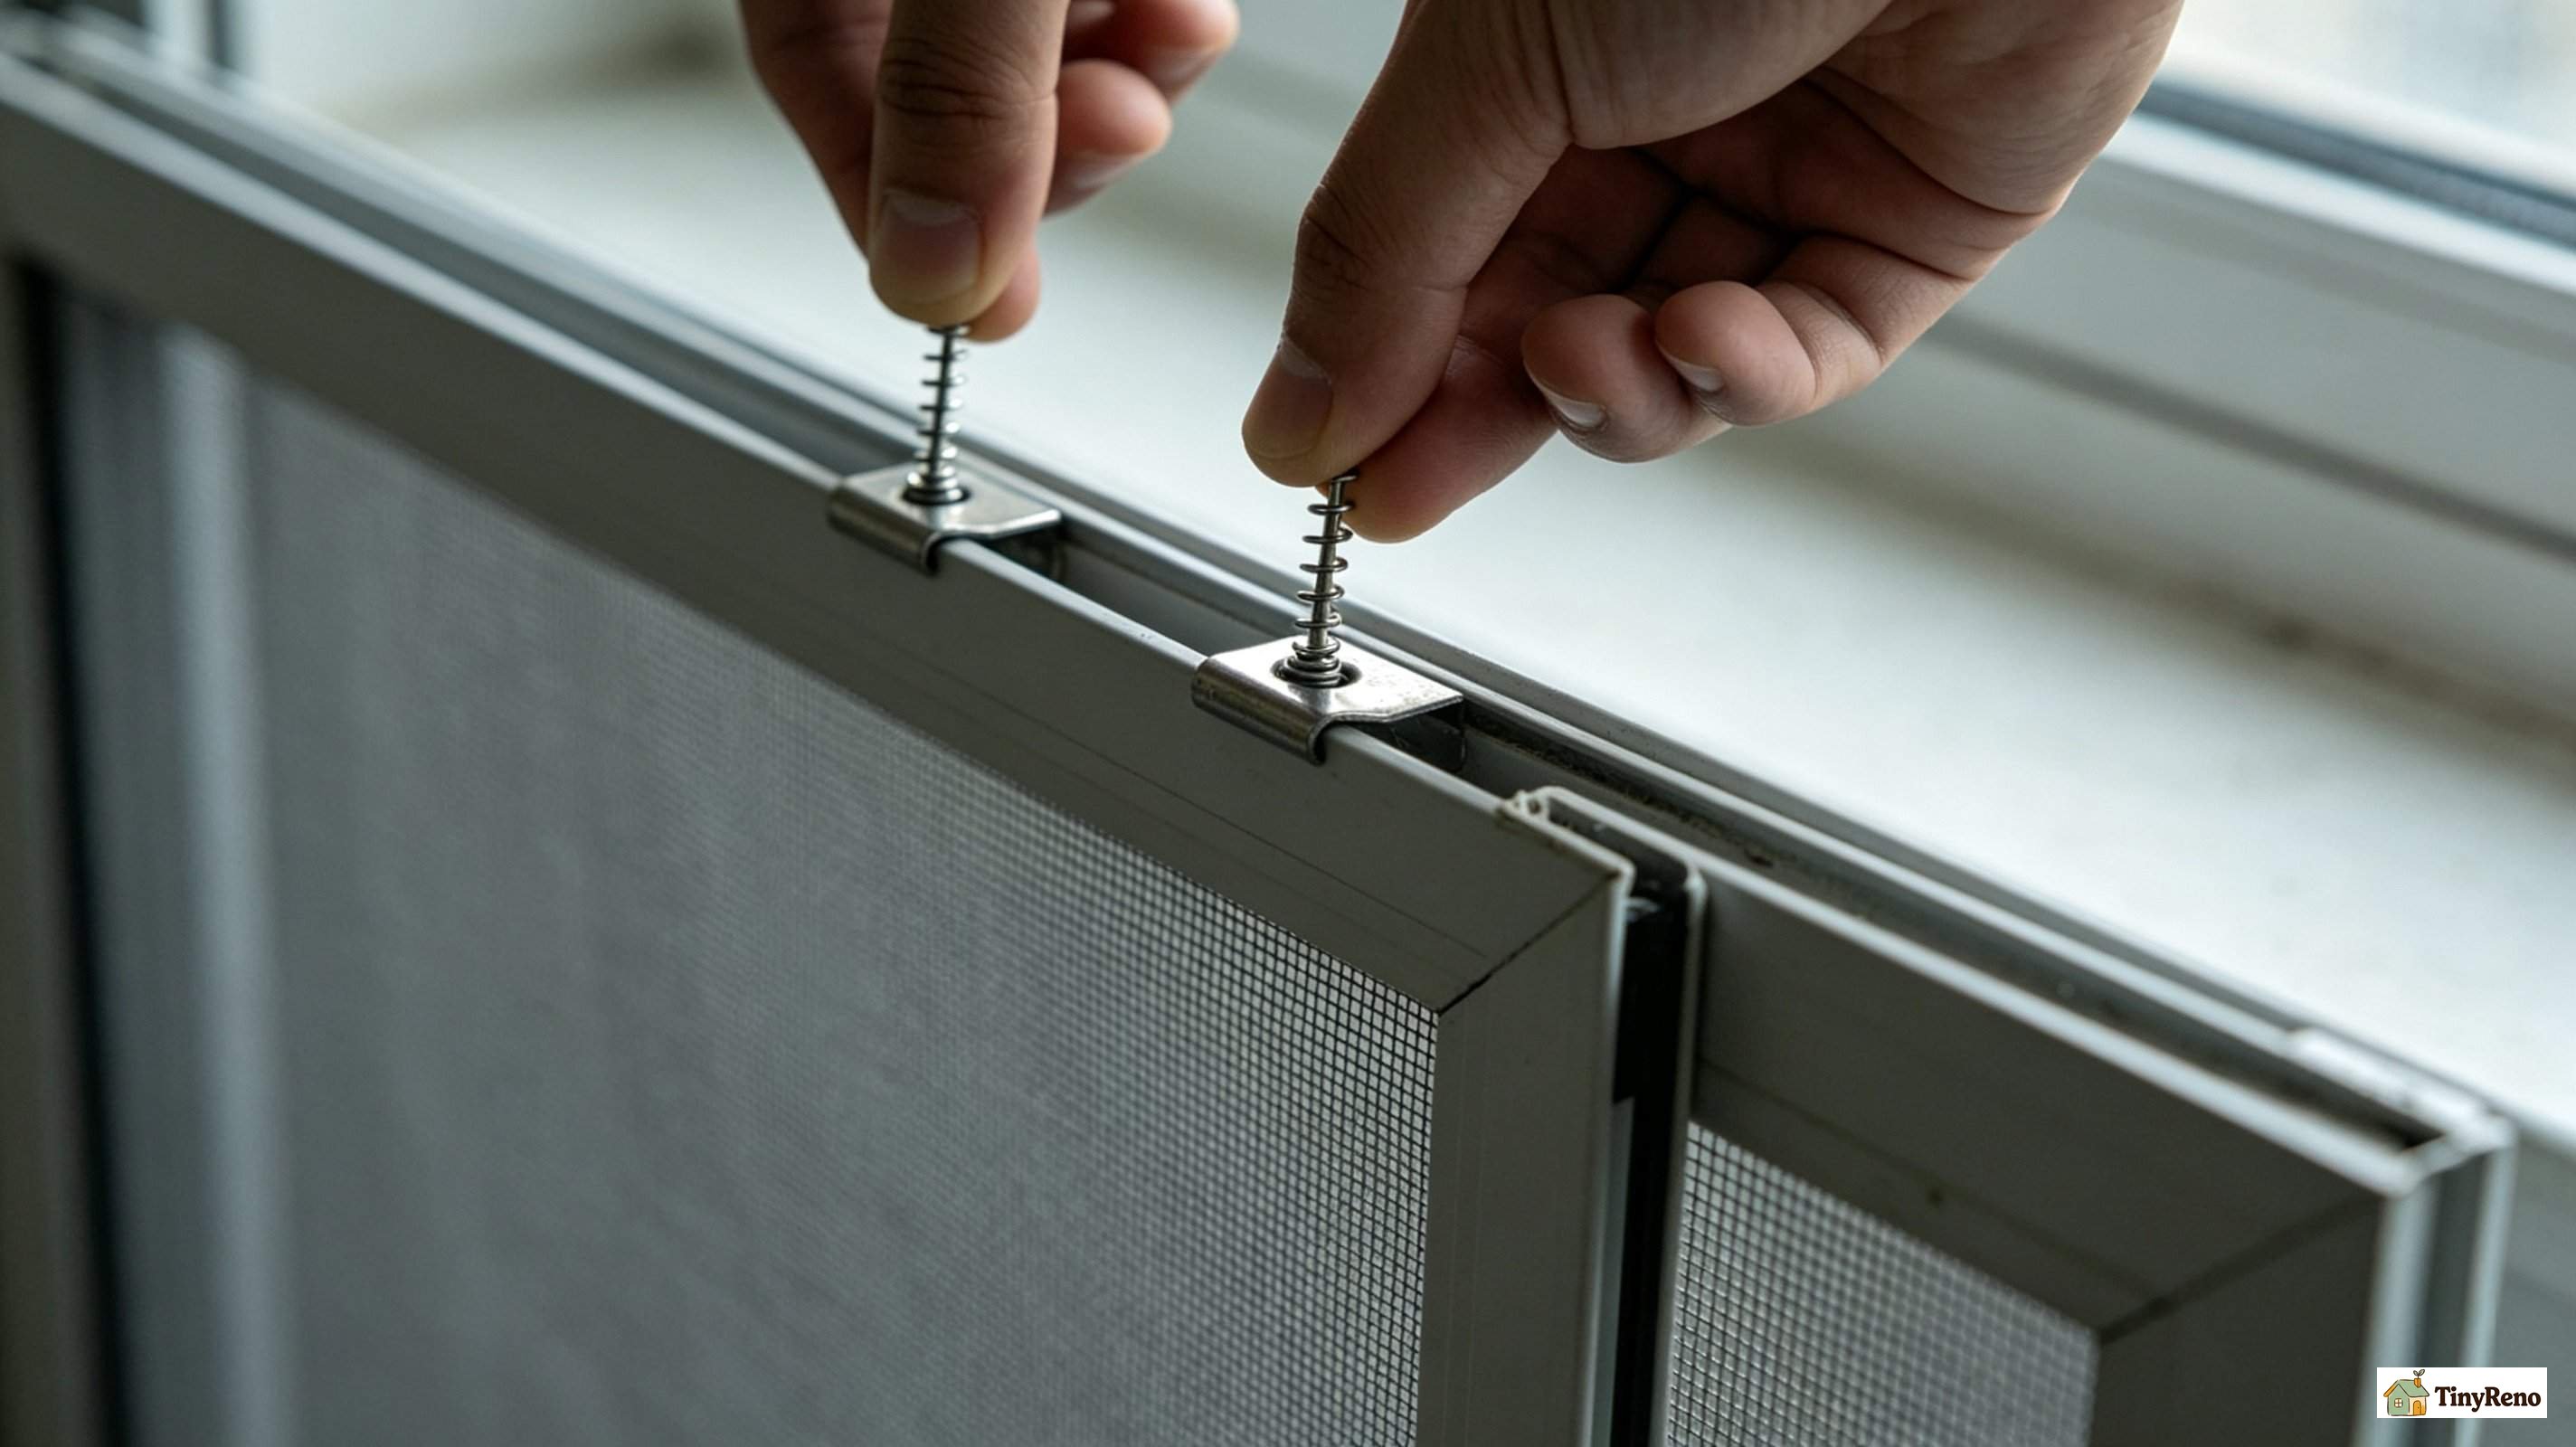
The first screen was a spring-pull type — the most common, with two small metal tabs on the top edge that compress when you push them inward and lock into the channel when you release. I'd taken this screen out in October without paying attention to which way the tabs were oriented, which is the single biggest mistake you can make on a spring-pull screen.
I installed it with the spring tabs on the bottom, facing into the room. The screen went into the channel sort of OK, but the tabs didn't compress the way they were supposed to and the screen kept popping out. I tried a second time, with more force. The right spring tab slipped out of my thumb and shot across the room, hitting the wall above the radiator with a metallic ping that brought my downstairs neighbor Mike up to check on me. Mike's five-year-old daughter, who was visiting, took one look at the screen and said, "Papi, it's upside down. The tabs go on the outside.".
I was holding the screen as if I were inside the apartment looking out. I should have been standing outside the window looking in. The spring-pull screens is designed to be installed from the outside, with the tabs facing up toward the top of the channel. You compress both tabs simultaneously with your thumbs, lift the screen up into the channel, and release. The whole operation takes about forty-five seconds once you have it oriented correctly. Total time on my first attempt including Mike's daughter's tutorial: about forty-five minutes.
If you're fighting a screen that won't seat, the first thing to check is the tab orientation. Tabs up, outside the channel, both compressed at once. If that's right and the screen still doesn't seat, the channel probably needs cleaning — which is the same logic behind my guide on not replacing drafty windows. Half of "the screen won't fit" problems are actually "the channel has grit in it" problems. The same grit also feeds the moisture that creates window condensation issues, so cleaning the channel when you reinstall the screen solves two problems at once.
Try #2: The Sliding Patio Screen (With Wheels That Came Off)
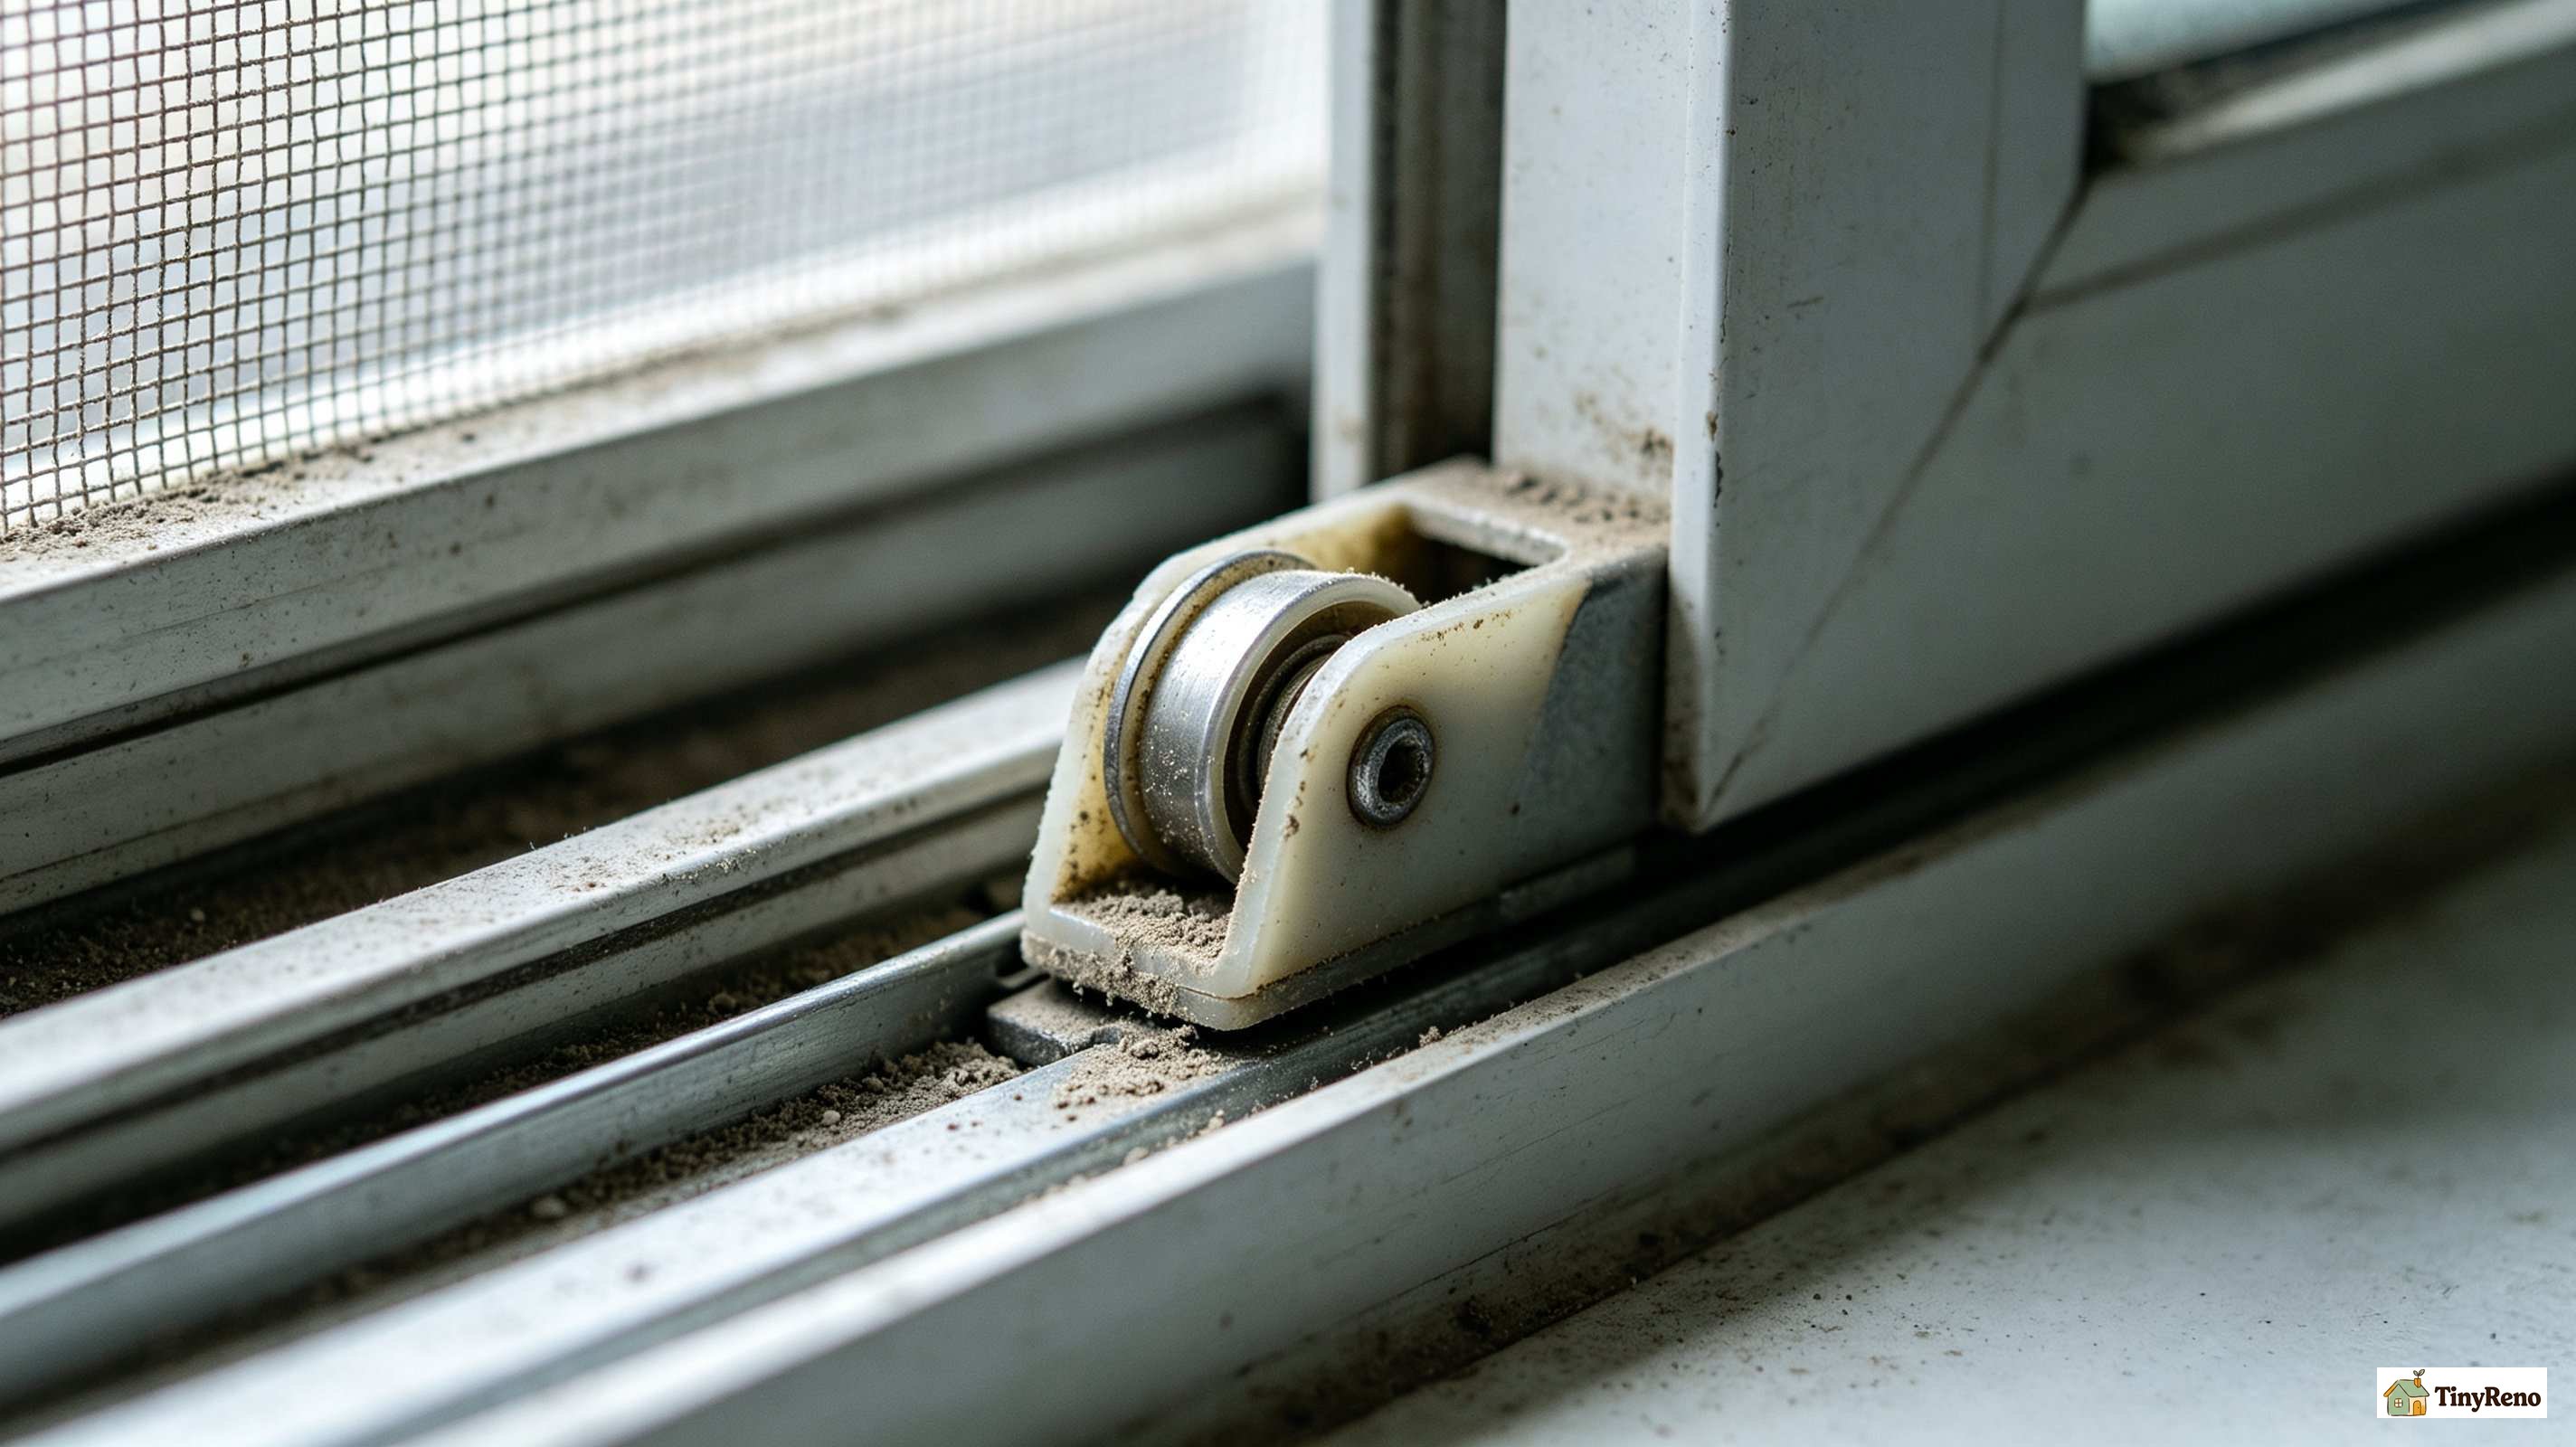
The second screen was the one on the sliding patio door. Spring-pull screens is one thing — sliding patio screens are a different mechanical system entirely. They don't tilt. They have small wheels or rollers on the bottom edge and a single pull-tab on the top. The installation sequence is "lift up into the top track first, then swing the bottom inward, then lower the rollers into the bottom track."
I figured this out about ninety seconds into the install, when the rollers on the right side came out of the bottom track and the screen pivoted down on the left roller like a seesaw. I caught it before it hit the floor, but the left roller popped out of its housing and rolled under the fridge. I spent fifteen minutes on my hands and knees with a flashlight before I gave up and called building maintenance.
The maintenance guy who came up was about sixty, named Cesar, and had a tool belt that looked older than my apartment. He looked at the screen for about three seconds, picked up the loose roller, clicked it back into its housing with his thumb, lifted the screen up into the top track, swung the bottom in, lowered the rollers into the bottom track, and slid the screen left and right twice to confirm it tracked cleanly. Total time: about thirty seconds. He looked at me and said, "You don't have one of these in your apartment, do you?" I did not.
If you're installing a sliding screen and the rollers won't stay in the track, the rollers themselves are usually the problem — not the screen, not the track. Most sliding screens have plastic housings that crack after ten years of seasonal use, and the rollers just fall out. You can replace the rollers for about $4 at any hardware store. If your screen is older than ten years, that's the first thing I'd check. Learning how do you put a screen back in a window when the rollers have never worked right is a different problem from learning it on a screen that just needs cleaning.
Try #3: The Embarrassing Phone Call to My Old Landlord
By the third screen, I had given up trying to figure it out on my own. This was a flat push-in screen — newer style, no spring tabs, the screen just slides up into a deeper channel and friction holds it. I'd removed it in October the same way I removed the others, and somewhere along the line I had convinced myself that flat push-in screens had to be installed from the inside, like a removable AC unit, which is the opposite of how they actually install.
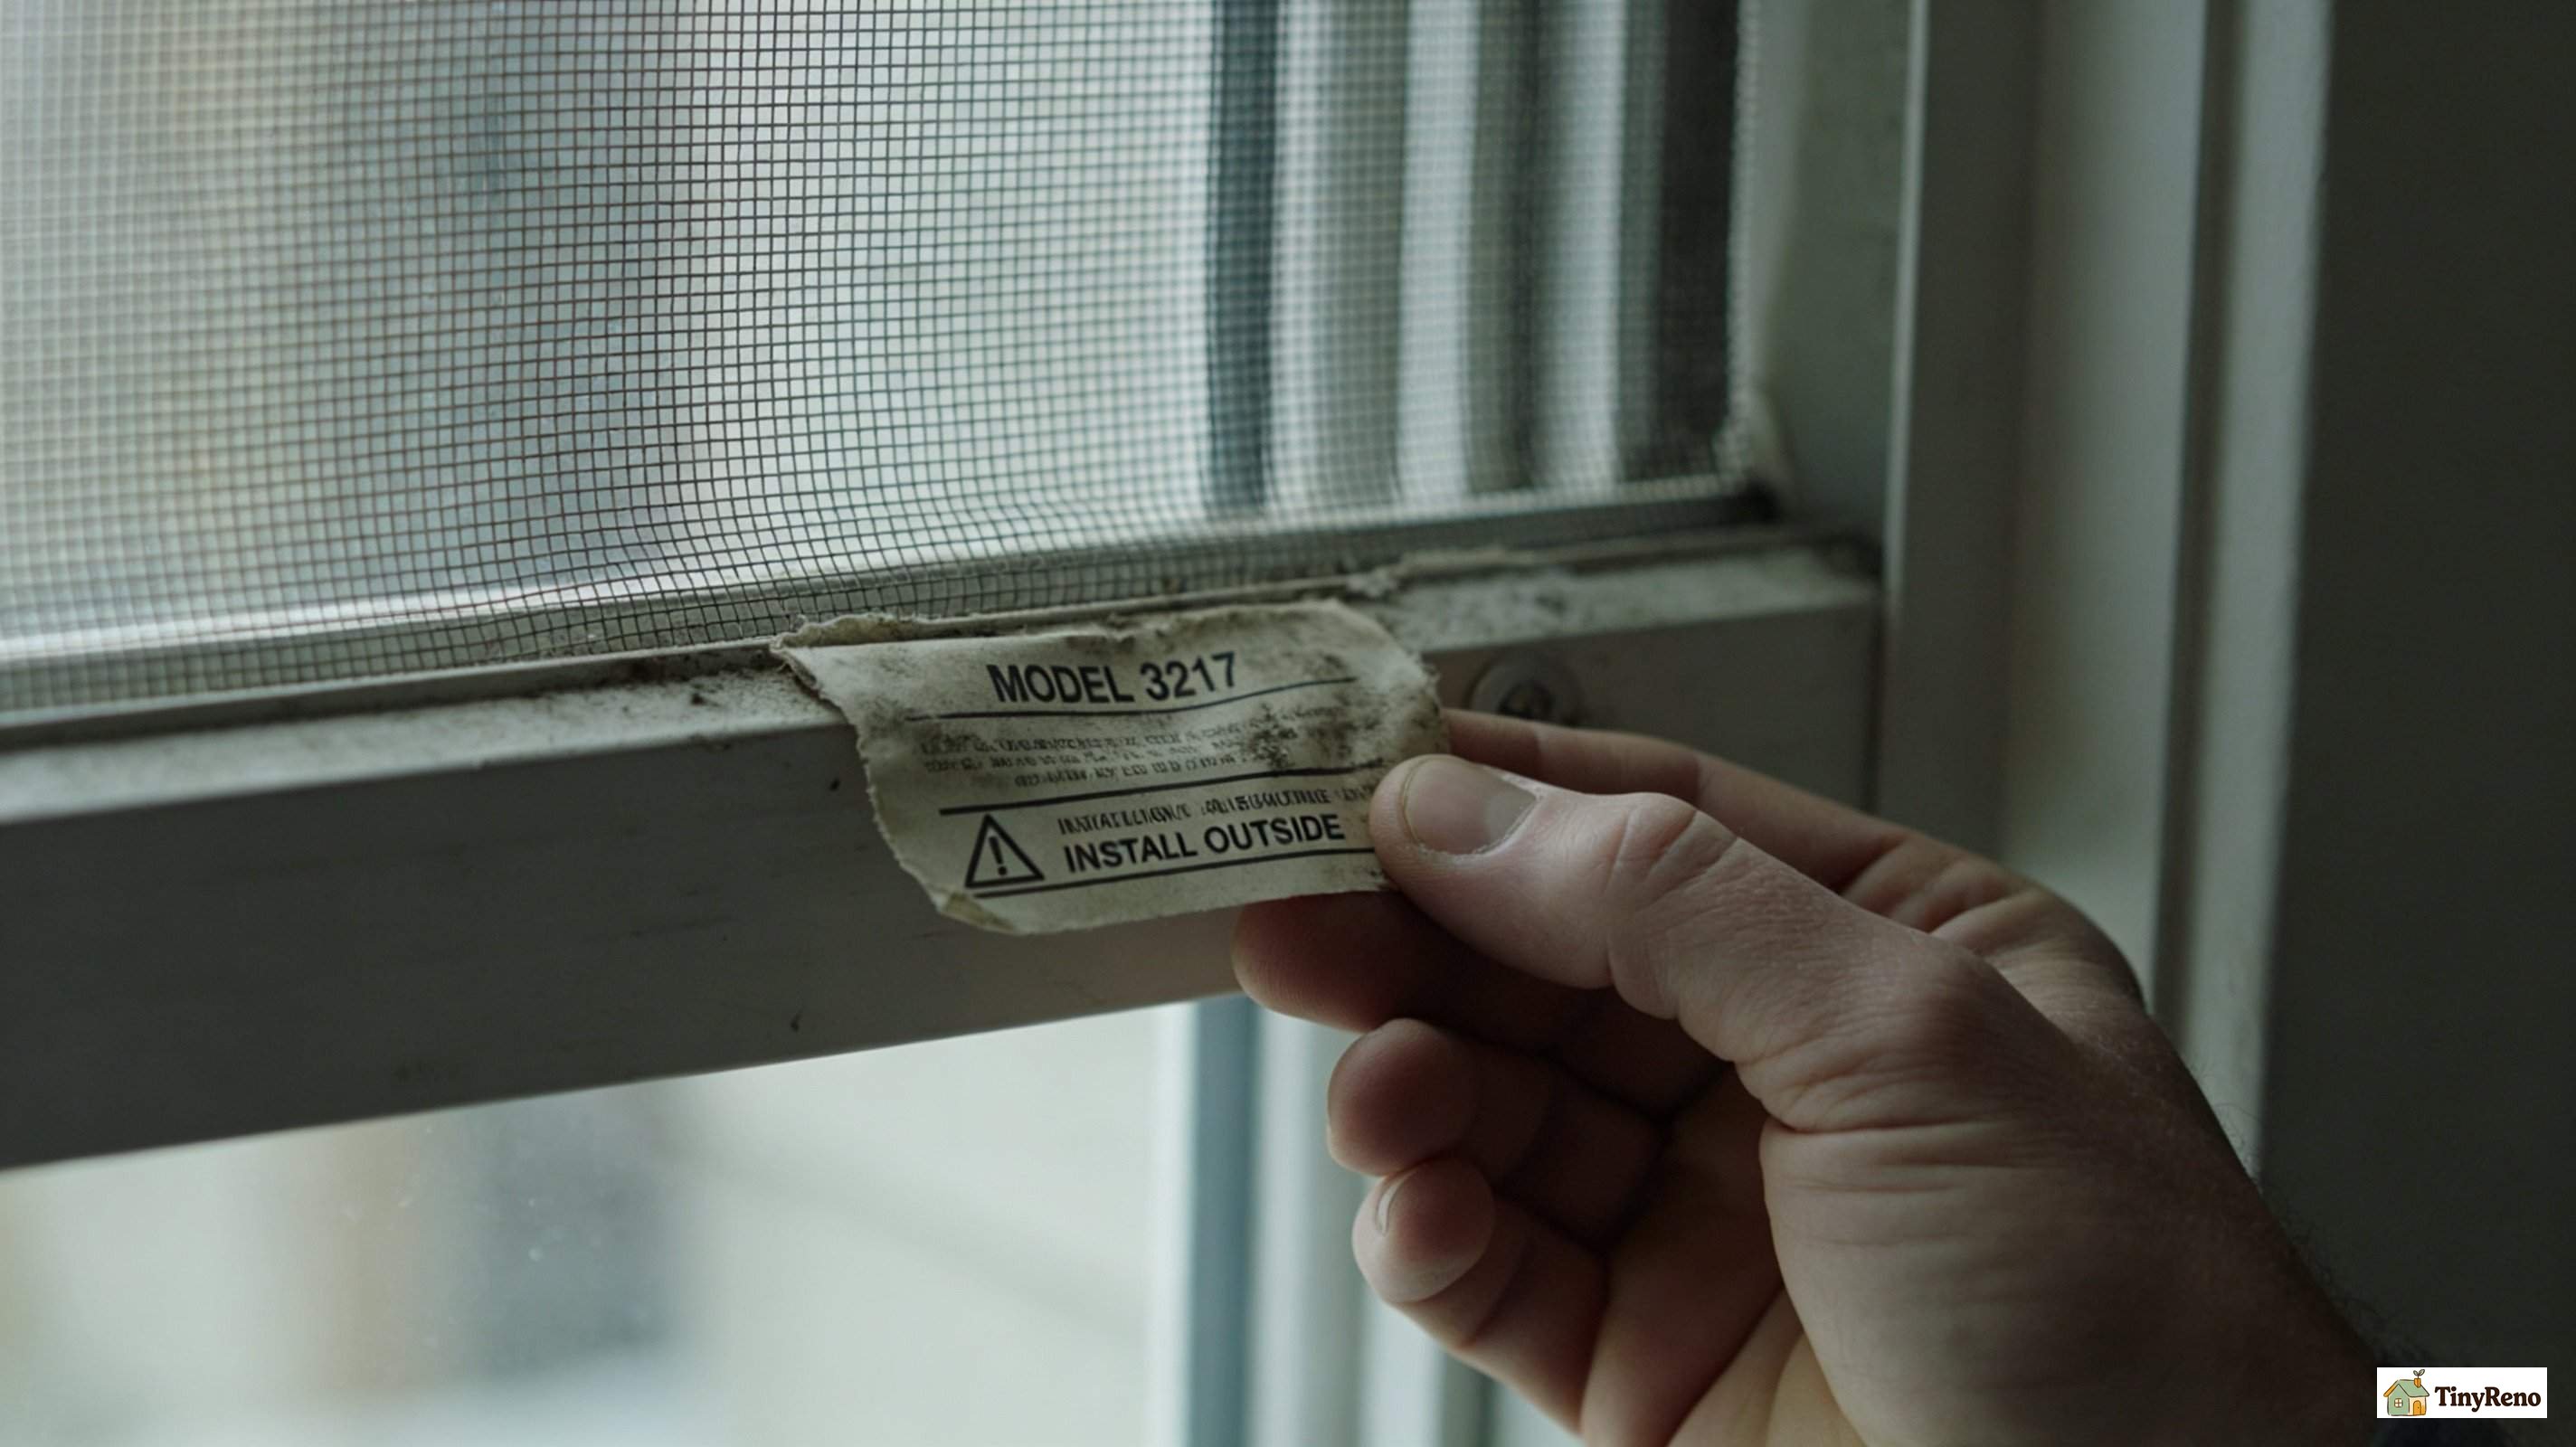
I called my old landlord, who had moved to a different building but still answered the phone when I called about maintenance questions. I explained the situation. He said, "Honey, have you looked at the manufacturer's label? It's right there on the corner of the screen, under the spring tabs." I peeled back the corner tab on the third screen. There was a sticker with a model number, a tiny exploded-view diagram, and the words "INSTALL FROM OUTSIDE — TABS UP" in bold capital letters. I had been holding the screen upside down for the entire conversation.
The label had been there all along. Every screen has one — usually tucked into one of the bottom corners, hidden by the frame itself or the spring tabs. Some labels have the install direction printed in plain English. Some have a QR code that links to a YouTube video. Some just have a model number you can Google. Once I read the label on screen three, it took about ten seconds to install.
If you've never looked at the manufacturer's label on your screens, take one out, find a corner, peel back any tape or sticker, and look for a model number or a QR code. Three out of four screen install problems I've had in five years of renting were solved by reading that label first. The fourth was solved by calling the landlord, which is what the label was telling me to do in the first place.
Try #4: The Window AC Season (and Why Screens Keep Coming Out)
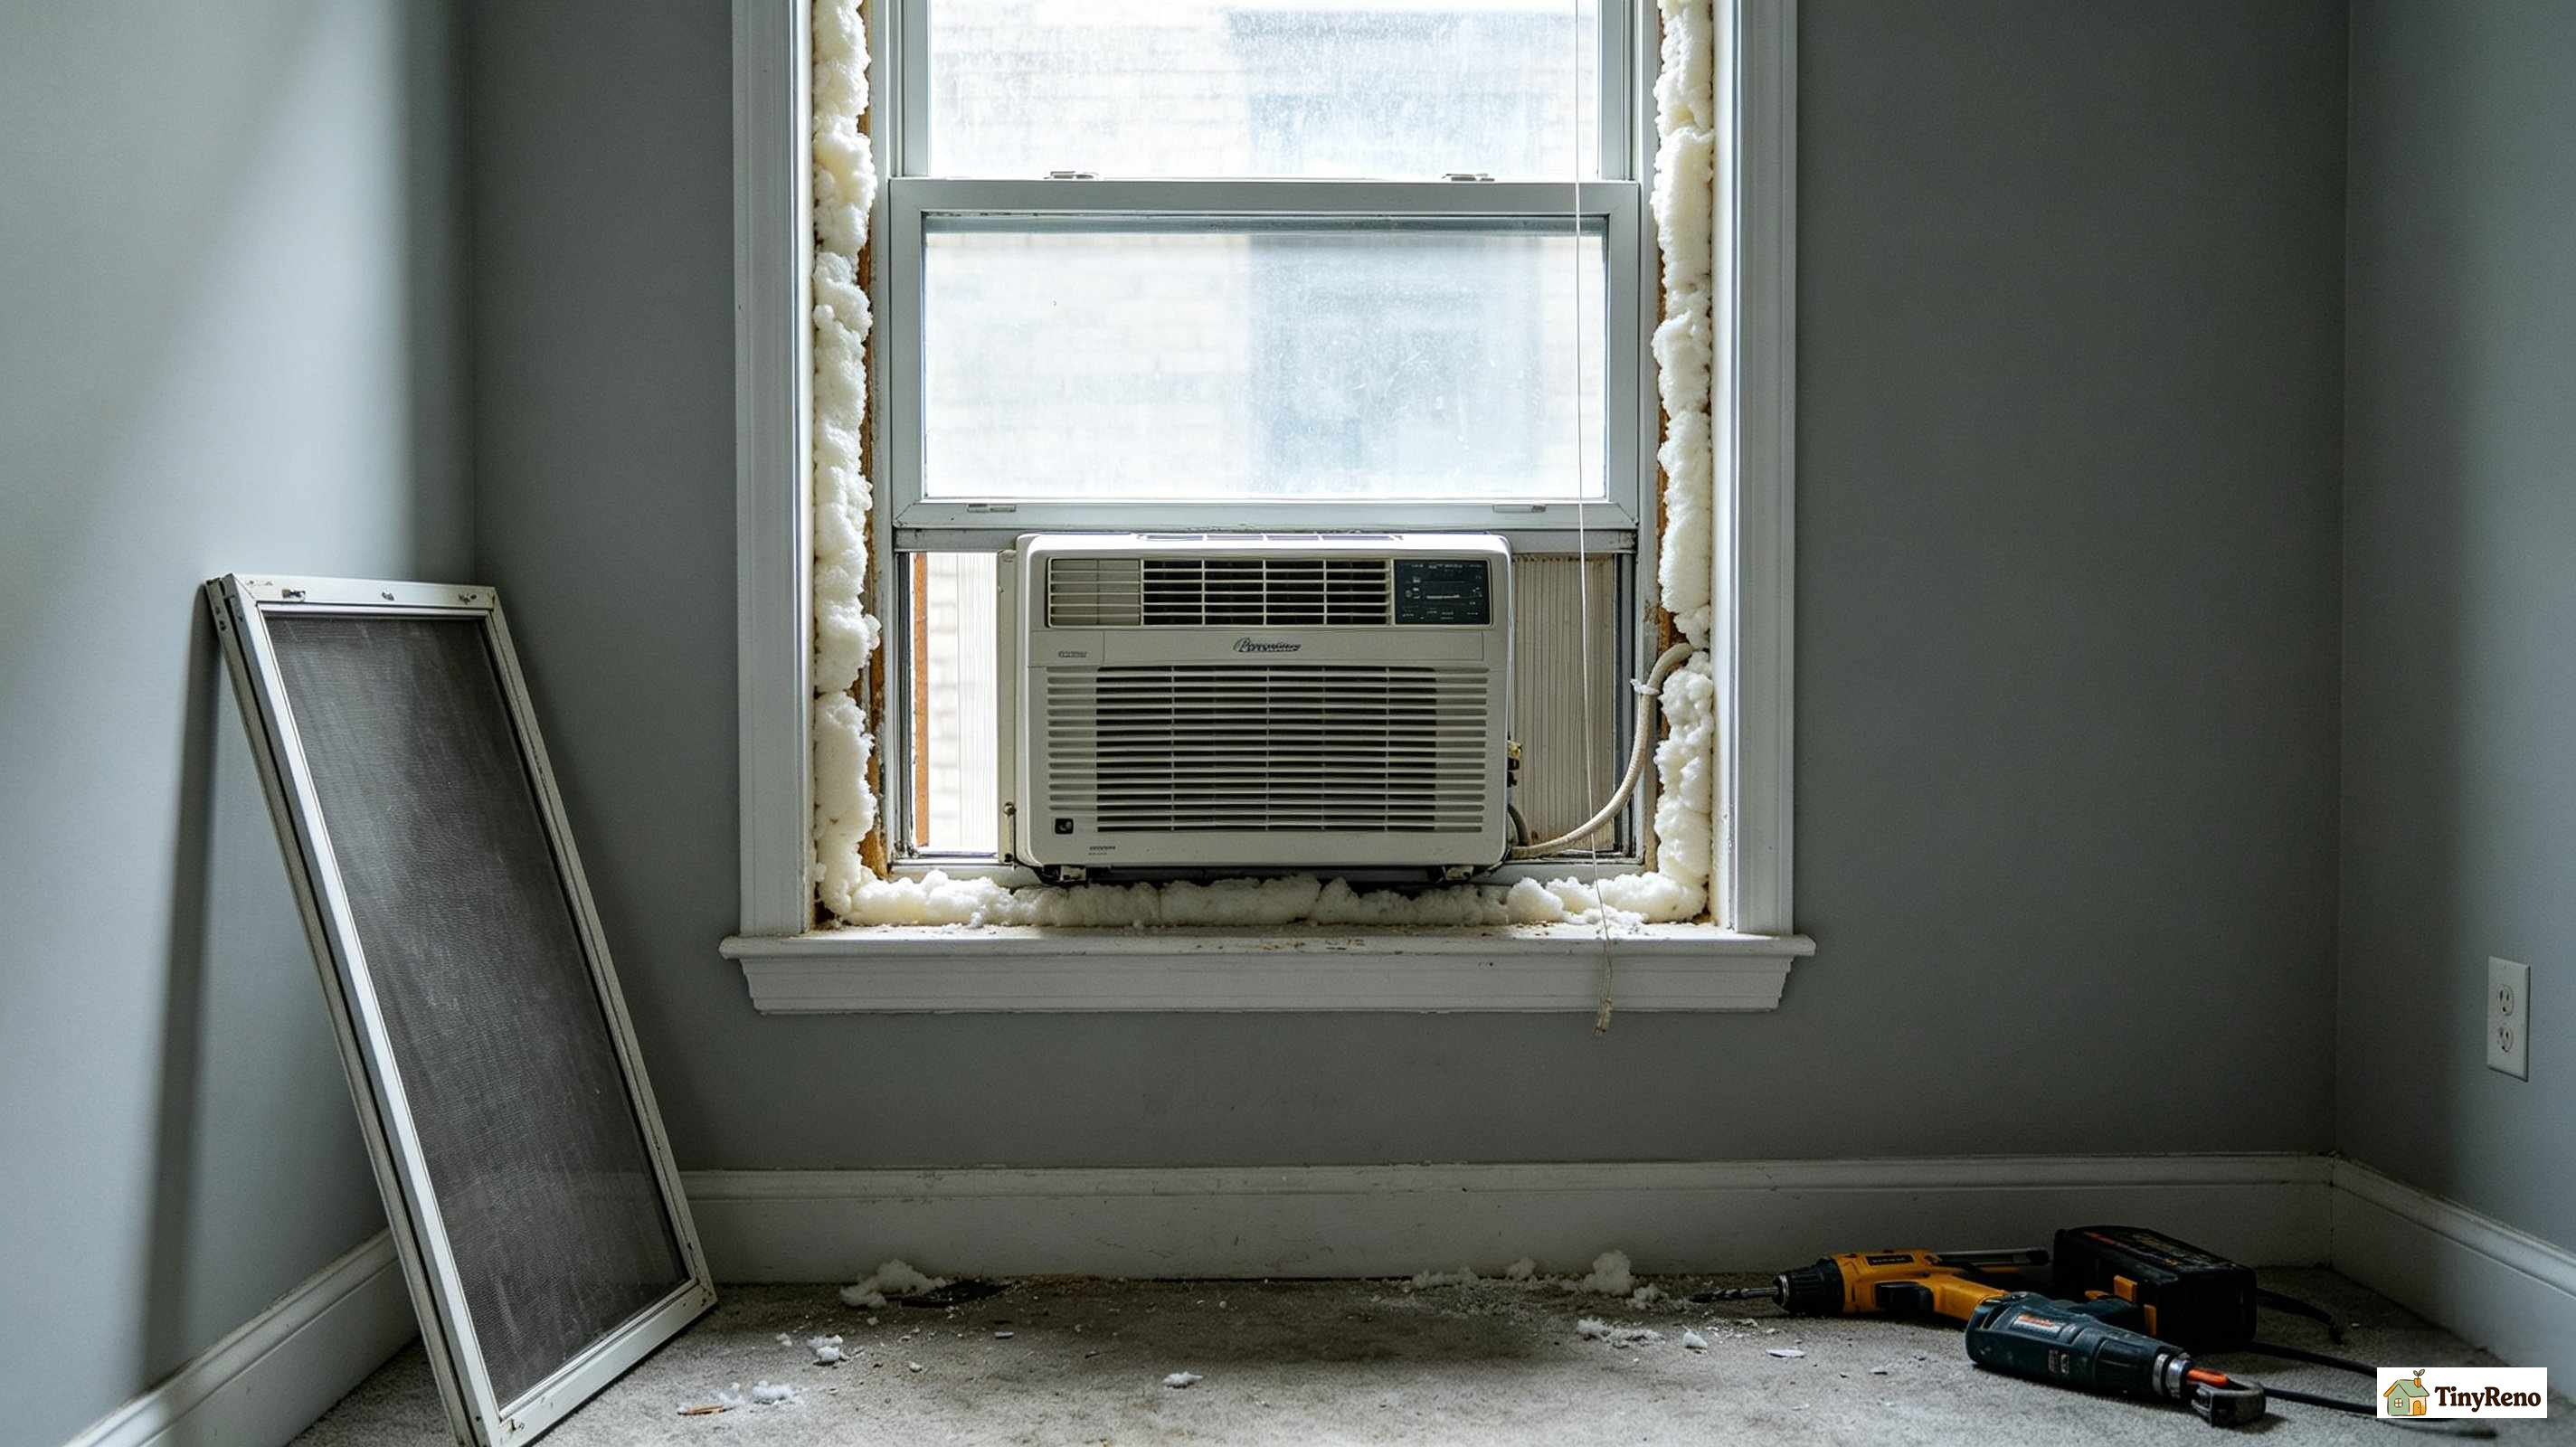
Once all three screens were back in, I thought I was done with them for the year. Then July hit. I bought a window AC unit for the bedroom, which meant removing the bedroom screen, mounting the AC in the window frame, and sealing the gaps around the AC with foam insulation. The screen went back into storage for two months while the AC was in use. By September, when the AC came out and the screen went back in, I'd forgotten everything I'd learned in May.
I tried to install the bedroom screen with the spring tabs facing inward. Twice. It didn't seat. I tried it with the tabs on the outside but compressed only one at a time. That also didn't seat. I was about to call building maintenance again when I realized my phone was right there. I pulled up a thirty-second YouTube tutorial on spring-pull screen installation, watched it, and installed the screen correctly on the first try.
This is the pattern with screens. You install them once a year — May or June to put them back, September or October to take them out. The interval is long enough that muscle memory doesn't help, and short enough that you forget what you learned. If you're going to install a window screen once and not touch it for eight months, the maintenance trick that actually works is: take a photo of the screen installed correctly, and save it in a phone album labeled "screens." That way next year you can pull up the photo, match the orientation, and skip the YouTube tutorial entirely.
This is also the same logic behind my guide on stuck windows — the fix is usually simple, but only if you can remember it six months later when the season comes around again. Screens are the same way: figuring out how do you put a screen back in a window in May is one thing; remembering the same sequence in September after the AC came out is another.
If You're Doing This Right Now (and Don't Want My Whole Saturday)
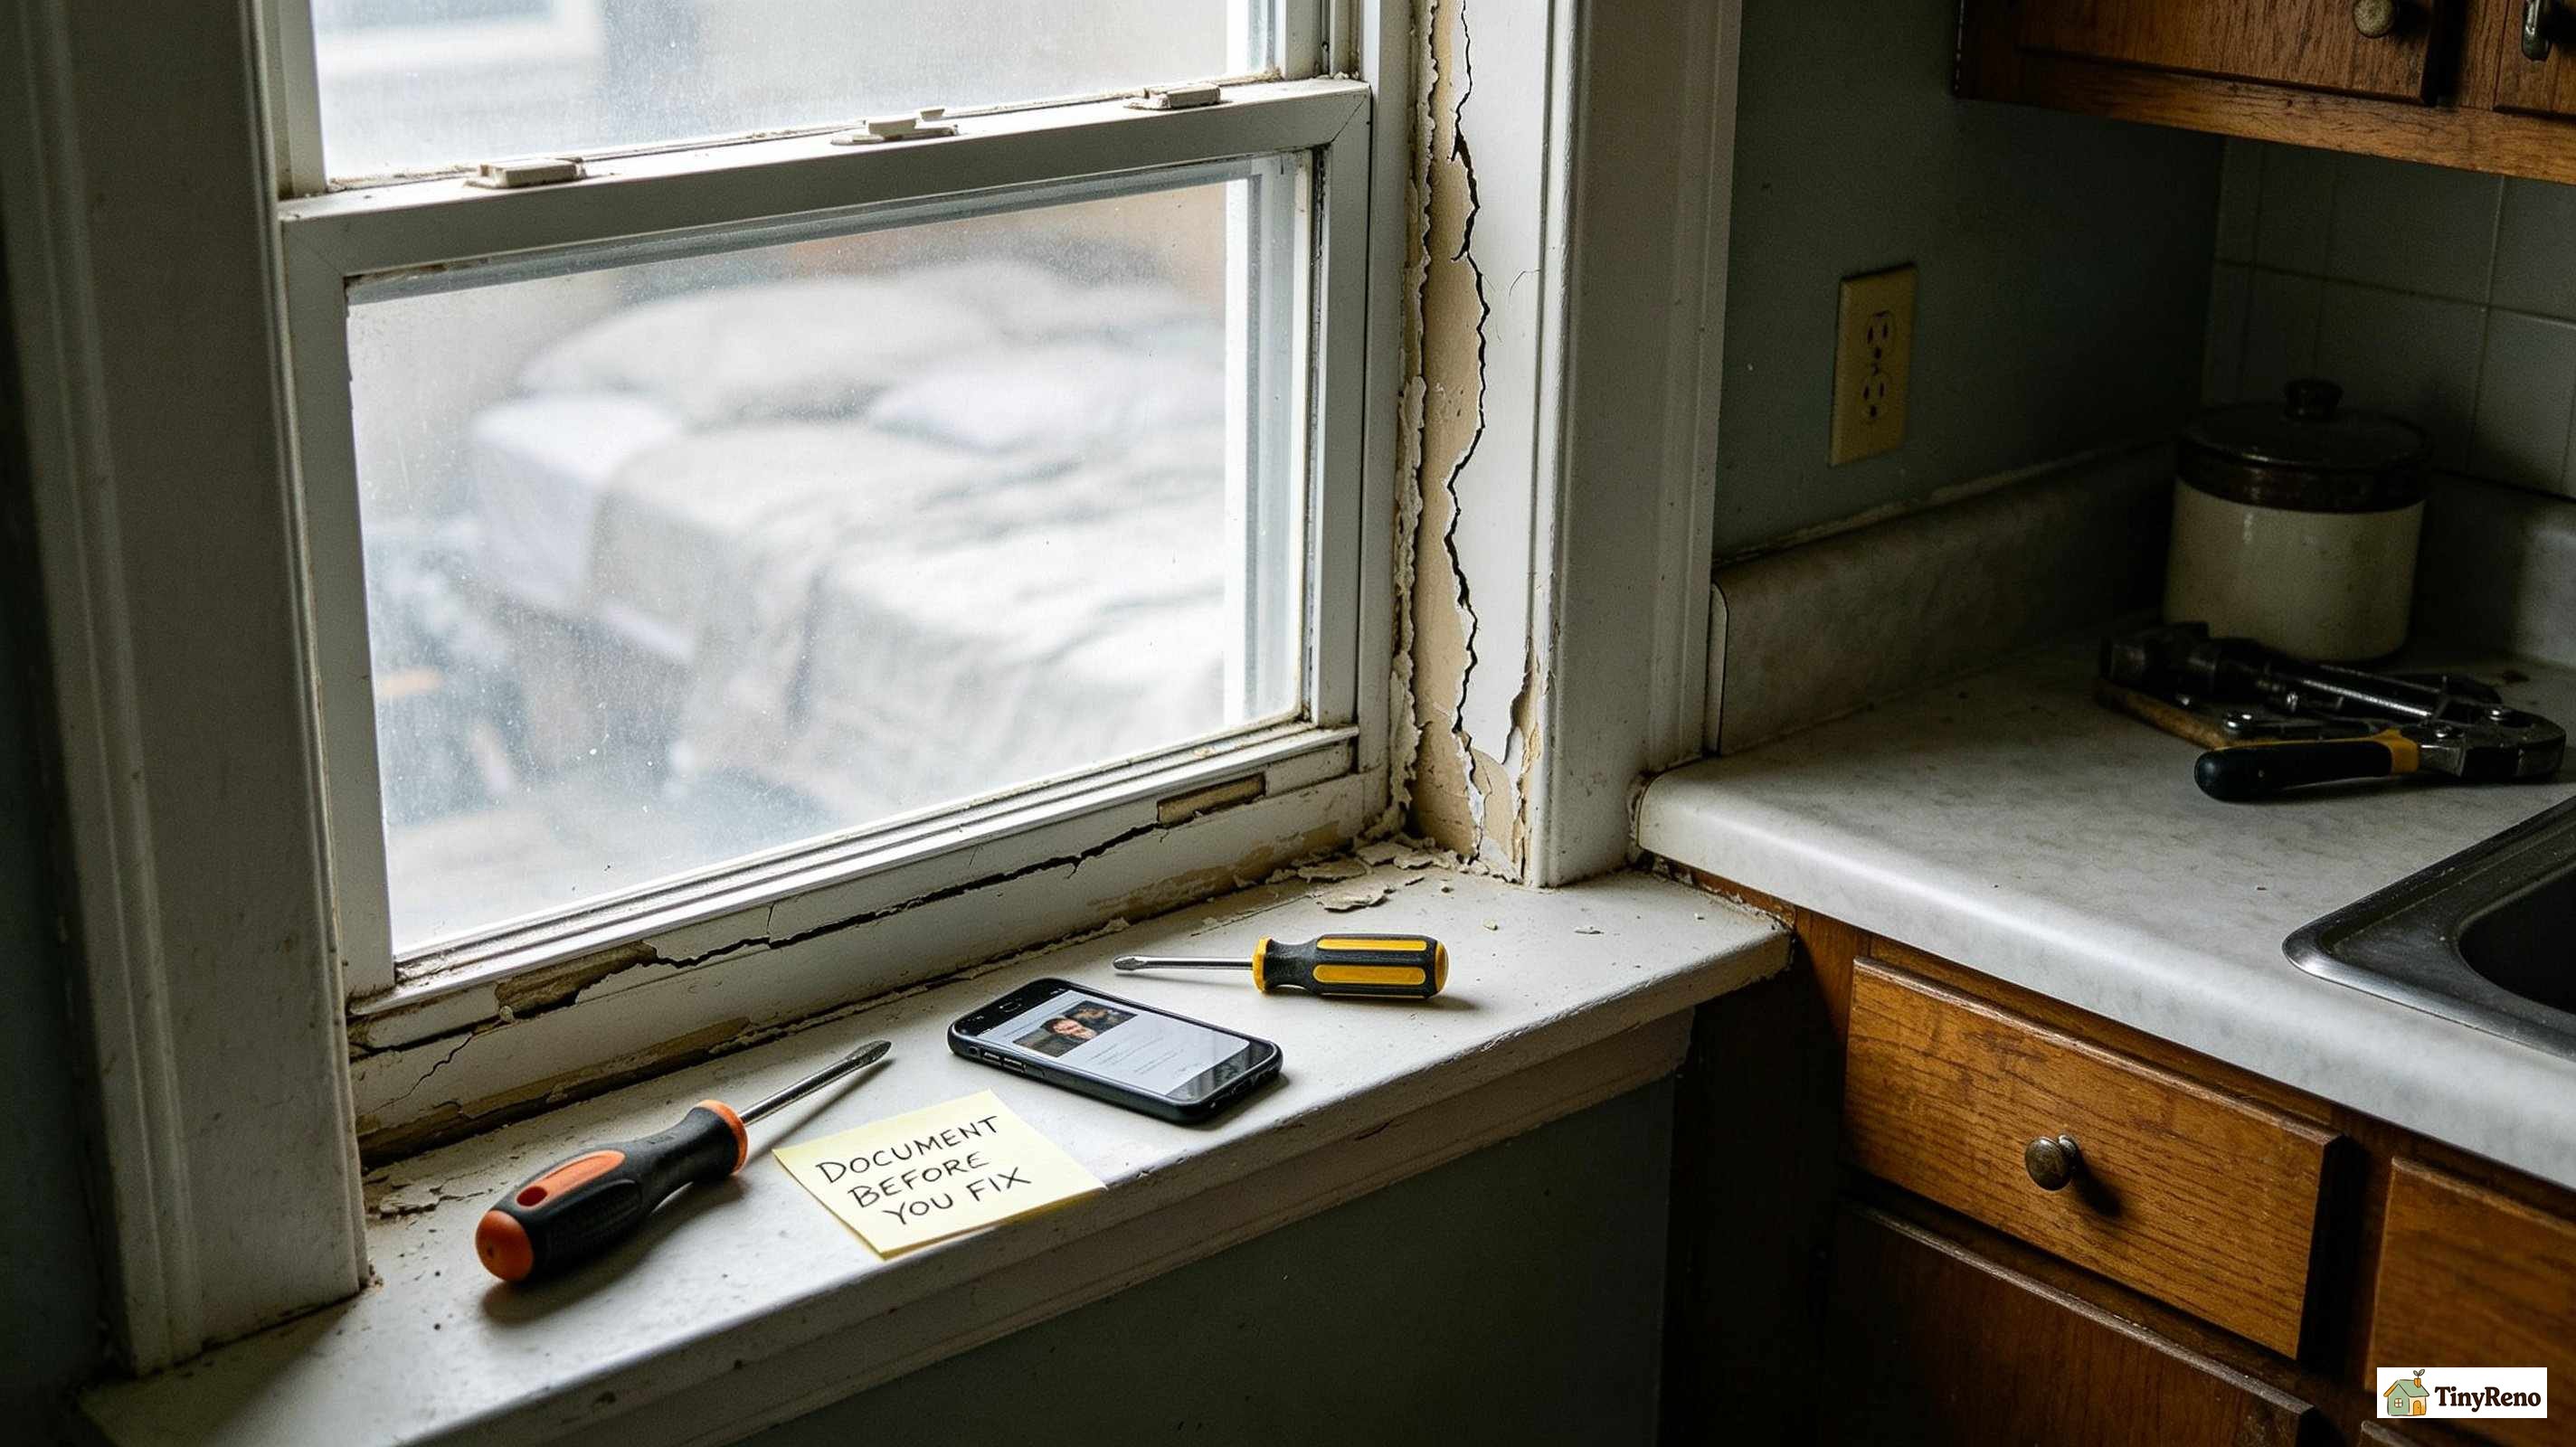
Four screens, four tries, one phone call, one YouTube video. Here's what I'd do if I had it to do over again.
First, find the manufacturer's label on each screen before you do anything. They're usually in one of the bottom corners. If the label is missing or unreadable, take a photo of the screen installed correctly the first time you succeed. Save it in a phone album for next year.
Second, clean the channel before you install the screen. Even a thin layer of dust — the eight-month closet dust I had on mine — adds up to enough grit to keep the screen from seating. Run a vacuum crevice tool along both sides of the channel. Wipe the frame with a damp microfiber cloth. Dry it before you install.
Third, identify your screen type. Spring-pull screens have two metal or plastic tabs on the top edge. Flat push-in screens have no tabs and a deeper channel. Sliding screens have wheels on the bottom edge. Each type has a different install sequence, and the right sequence for one is wrong for the others.
Fourth, install from the correct side. Spring-pull screens install from outside. Flat push-in screens also install from outside, but the orientation is easier to get right because there are no tabs. Sliding screens install by lifting up into the top track first, then swinging the bottom in. This is also how my comprehensive screen reinstallation guide covers all three types in more detail.
If your screen has been in storage longer than six months — or if it's your first time installing a screen in this apartment — give yourself an hour for the first one and fifteen minutes per screen after that. The first one teaches you the type. The next two are muscle memory. The fourth, if you have one, will probably take five minutes. The whole question of how do you put a screen back in a window comes down to three things: read the label, clean the channel, and figure out which side has the spring tabs.
The whole afternoon I spent last May — Cesar rolling his eyes, my old landlord asking if I'd read the label, Mike's five-year-old explaining which way the screen goes — could have been twenty minutes if I'd looked at the corner of the screen first. The labels are right there, even after eight months in a closet. Read them before you start.


Discussion (0)
Sign in to join the discussion