

How do i remove a window? That's the question I asked myself three times in 2020. Three times. In the same apartment. The third time almost cost me $600. And yeah, I probably should have learned my lesson after the first $80 floor scratch, but here we are.
The Apartment I Inherited (and Why I Had to Remove a Window)
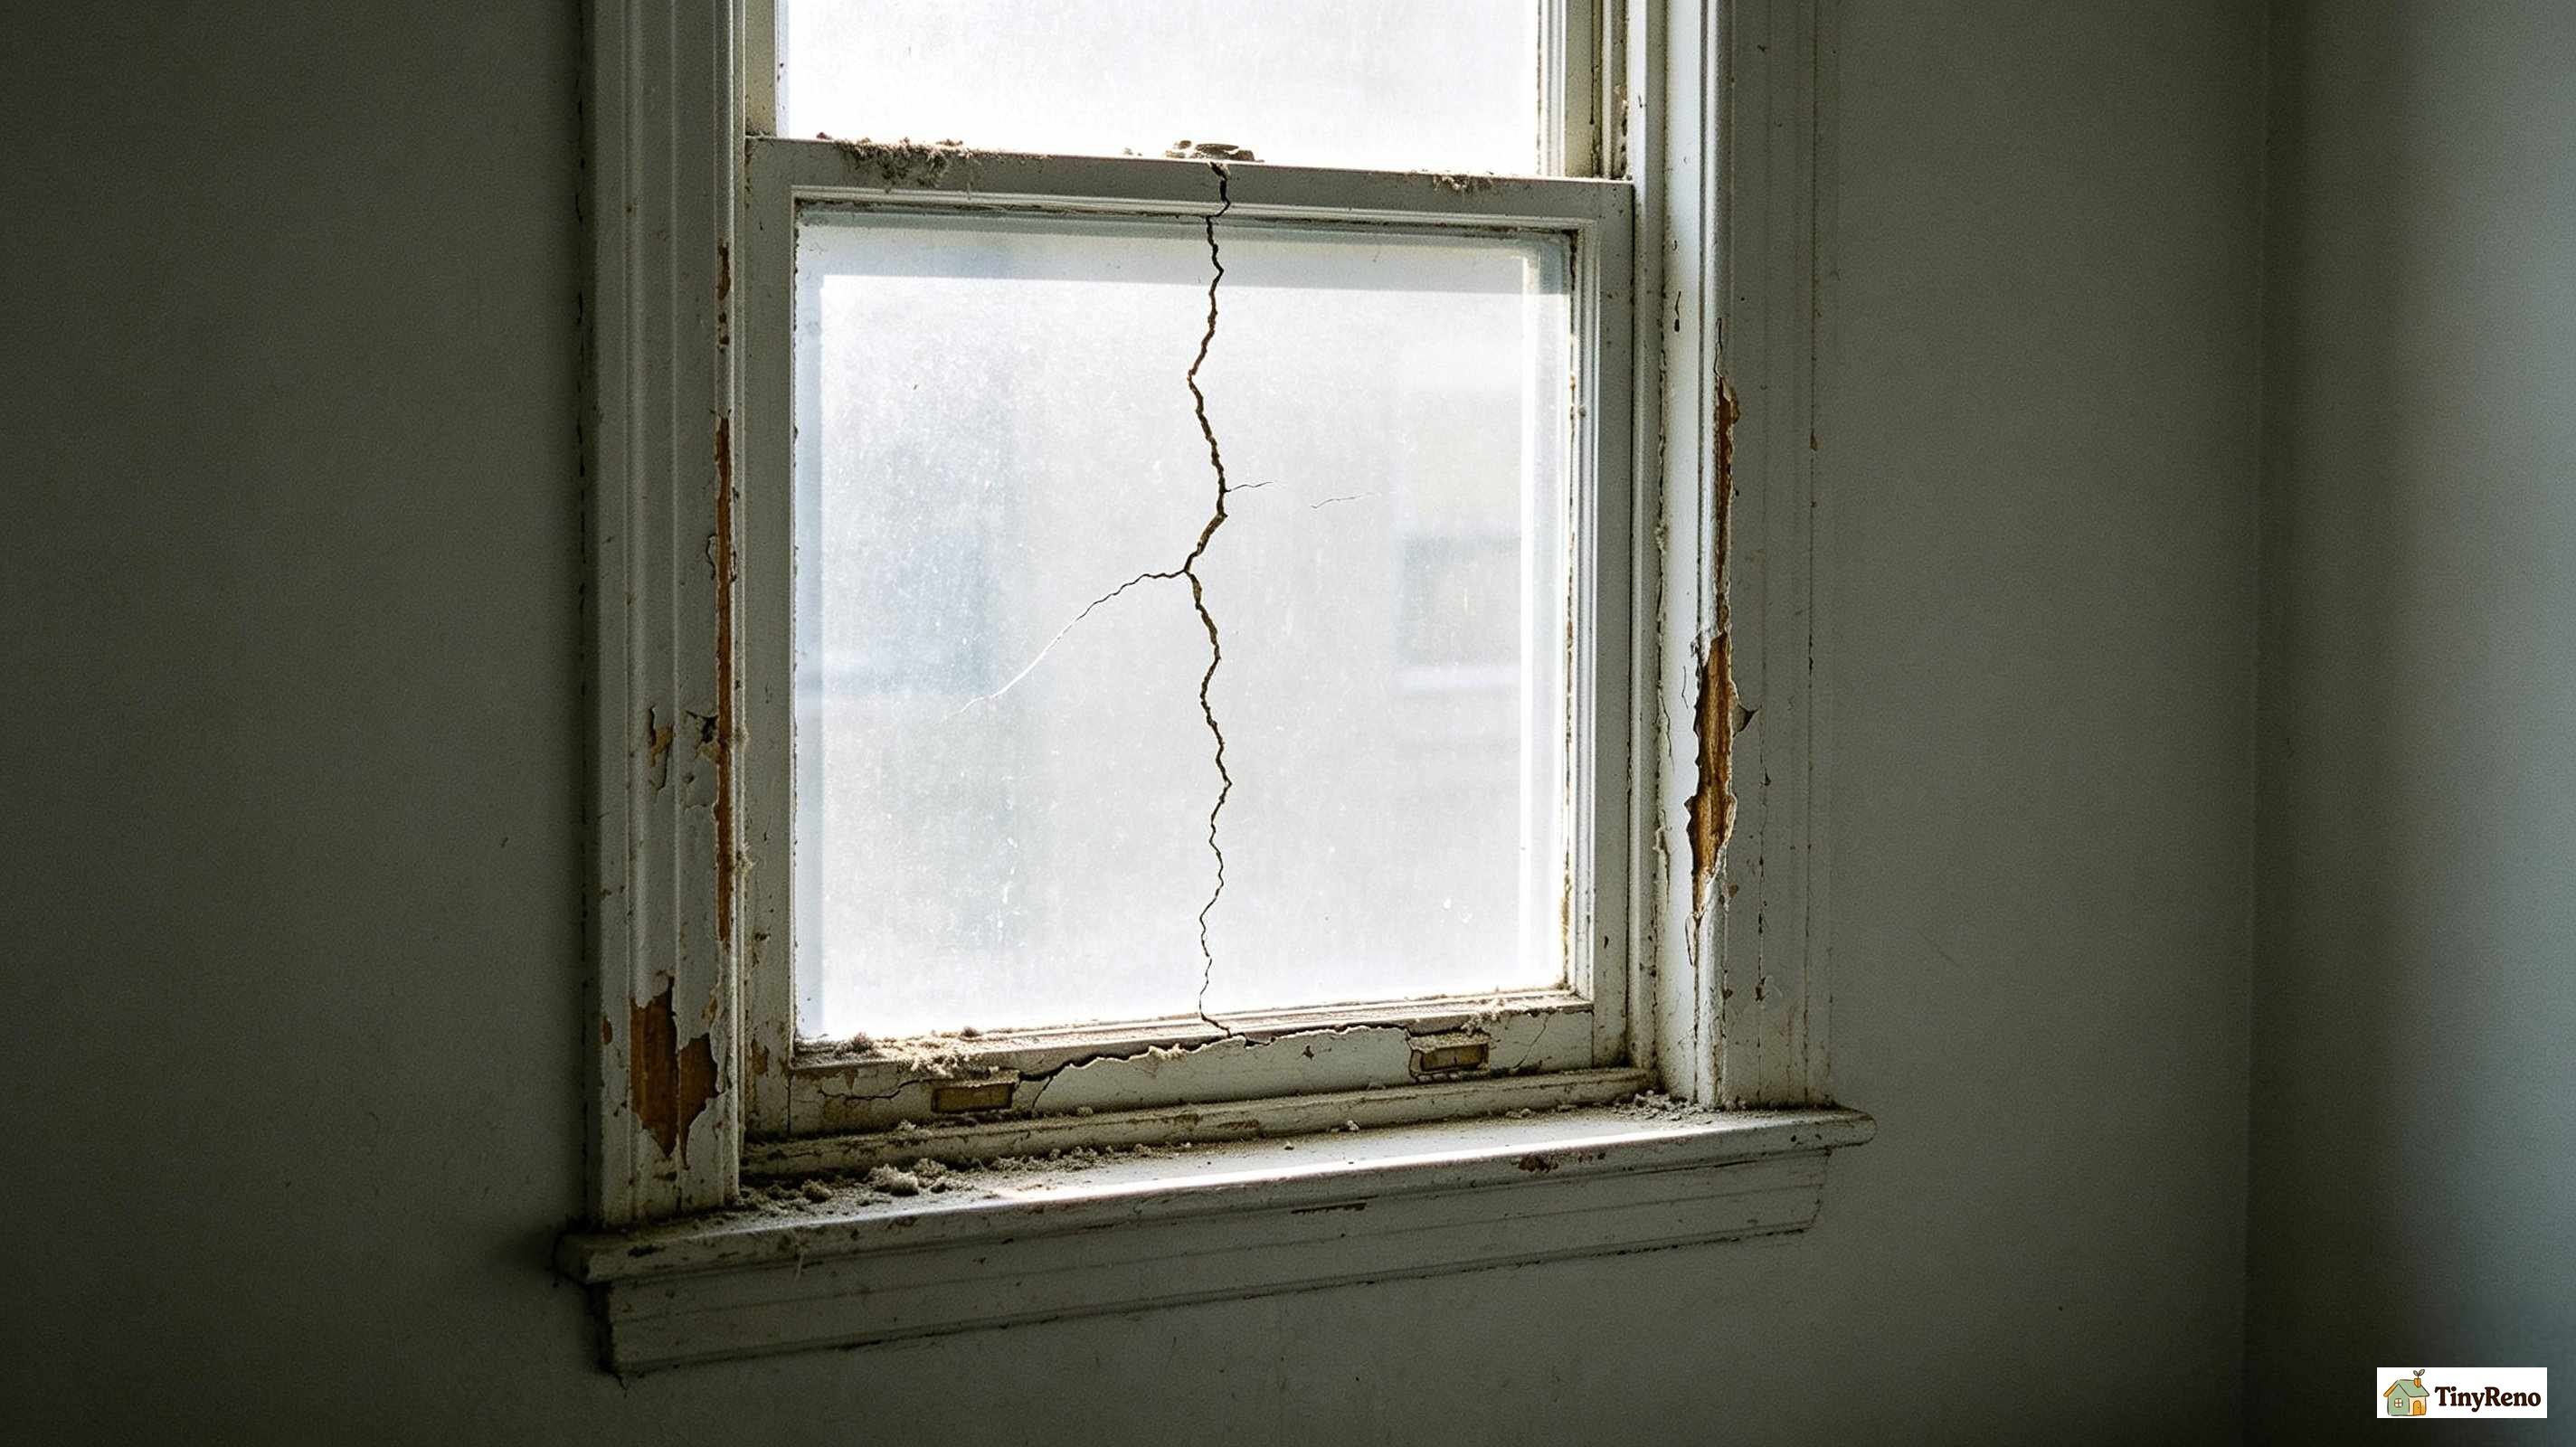
I moved into my current apartment in late 2019. The previous tenant had been there for nine years, and the windows showed it. Three of them — two single-hung in the bedrooms and one sliding in the kitchen — had sealant so cracked you could see daylight through the gaps from inside. One of the bedroom sashes was painted shut from the inside, just like the window I wrote about in another article.
I emailed the landlord in October with photos asking for a window repair. The reply: "We don't replace windows mid-lease. You can add weatherstripping if you want." No offer to send a contractor. No offer to reimburse weatherstripping. Just a polite no.
I figured if I could just get the sash out and clean the track, maybe reseal the cracks myself, I could fix the worst one in an afternoon. I was wrong about how easy that would be — but not in the way I expected.
Window #1: The Single-Hung Bedroom Window
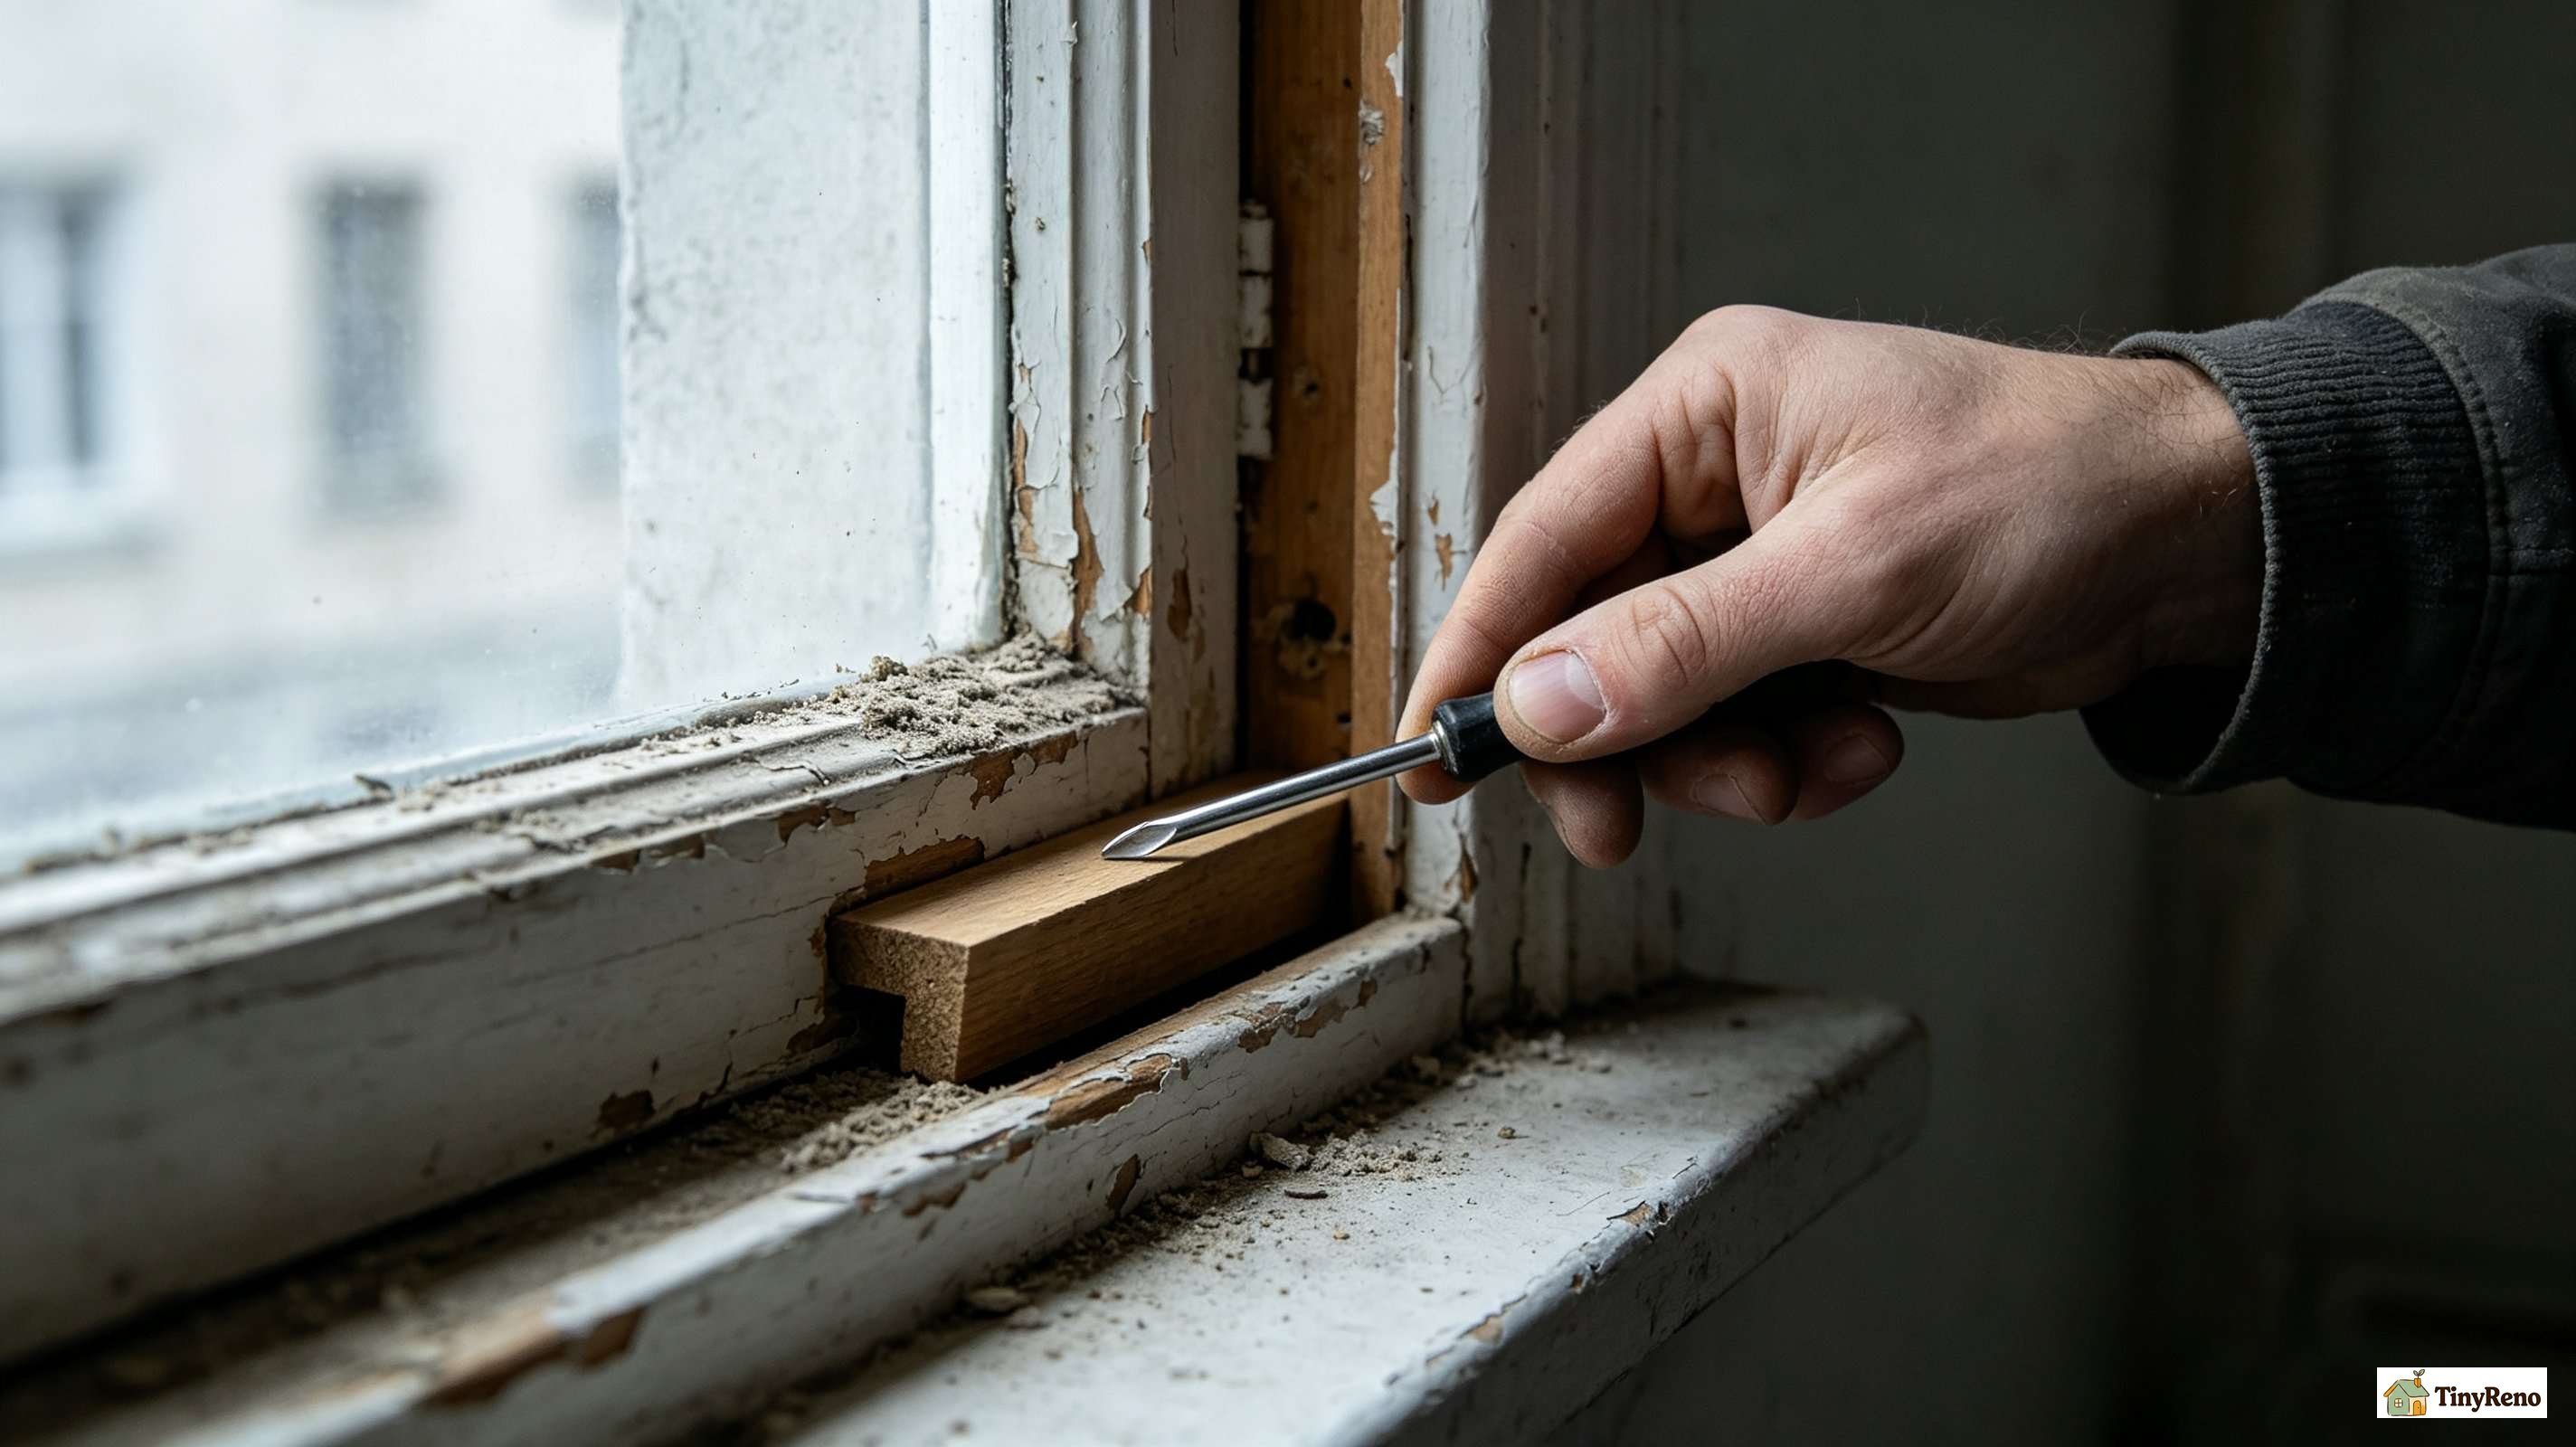
A single-hung window has two sashes — a top one that's fixed and a bottom one that slides up and down. Removing the bottom sash is what every window replacement tutorial on YouTube starts with, because it's the simplest mechanical operation in residential construction. You don't need any power tools. You need a flat-head screwdriver, a putty knife, and about twenty minutes of patience.
The order goes like this: open the bottom sash a few inches, find the two small wooden or vinyl strips on either side of the sash (these are called "sash stops"), and pry them out gently with the screwdriver. Once the stops are out, the sash lifts out of the frame by tilting the top inward and lifting up. That's it. There are no screws, no springs, no hidden clips — at least not on a basic single-hung from the 1990s onward.
What I found when I pulled out my first sash scared me a little. The track was packed with five years' worth of dead ladybugs, paint chips, and a small bird's nest made entirely of window screening. None of this would have shown up in any landlord "inspection." Cleaning it took an hour and a vacuum hose. The window slid better afterward than it probably had since the previous tenant moved in.
This is also when I realized what that condensation I had been seeing on the inside of the glass actually was — it wasn't the glass failing. It was the seal between the sash and the frame, which I'd now disturbed. I cleaned the sash, ran a fresh bead of clear silicone caulk along the inside of the frame, and reinstalled. The condensation cleared up by the next morning. This is also why I now keep a checklist for renter fixes for window condensation in the back of my maintenance folder — track grit and broken seals are the two main culprits, and both are visible only when you have the sash out.
Window #2: The Sliding Kitchen Window (and the $80 Mistake)
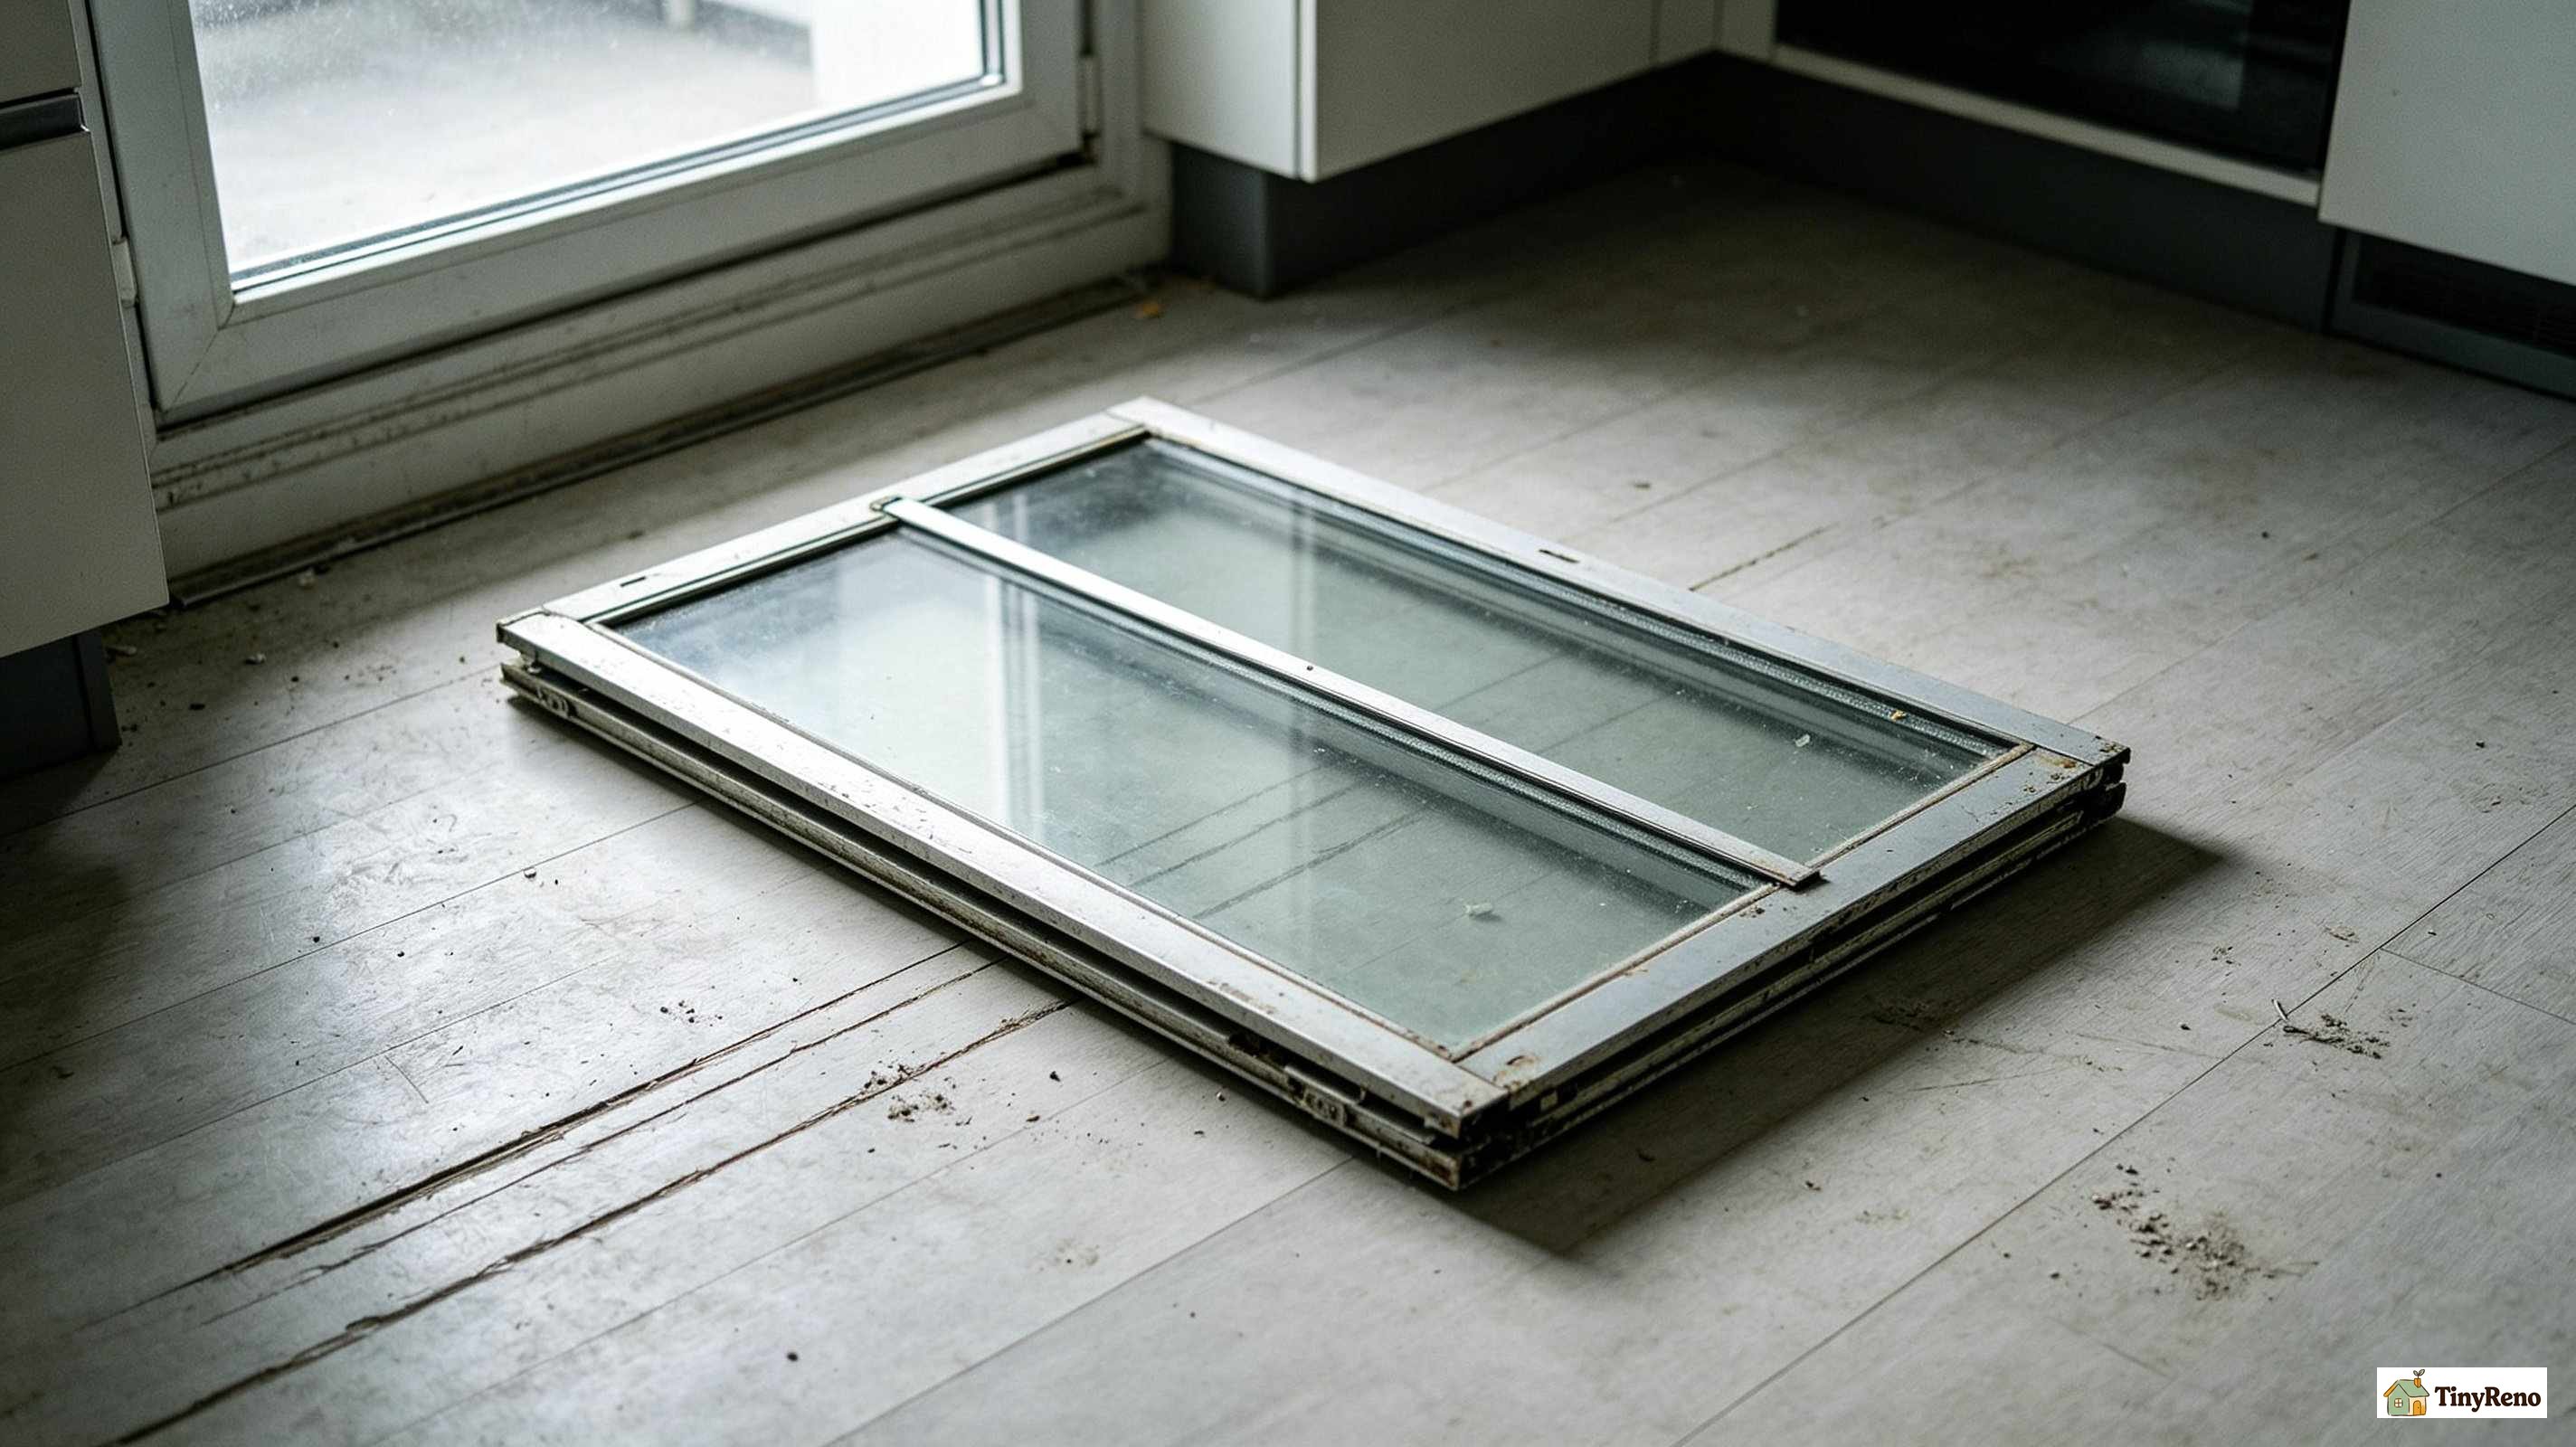
The sliding window in the kitchen looked just as simple as the single-hung. Both sashes slide horizontally — one on the inside track, one on the outside. I figured the same "lift and tilt" trick would work. It does not.
A sliding window sash doesn't tilt. It lifts straight up out of the bottom track and then swings out toward you from the bottom. There are usually small pivot pins or tabs at the bottom corners of the sash that have to clear the track before the sash will come out. I figured this out about three seconds into trying to muscle the first sash out by lifting at the corners, and the sash popped free — and dropped about two feet onto the kitchen floor. The corner of the sash hit the linoleum and left a long shallow scratch.
The $80 was the deposit deduction for the floor scratch at move-out, even though I eventually resurfaced the scratch myself with a wood filler repair method that worked almost perfectly. The landlord noticed the scratch before I could finish the second coat. Lesson: a sliding window sash is heavier than it looks, and the corner that hits the floor is always the painted one, not the raw aluminum one.
Beyond that mishap, the rest of the sliding window removal went fine. I cleaned both tracks, found another bird's nest (this building apparently attracts them), and resealed the frame. The kitchen window now opens smoother than it did when I moved in. The bigger lesson was about weight — always have a second person on hand for sliding sashes, even if you think you can manage alone.
Window #3: The Double-Hung Living Room Window (and Calling for Help)
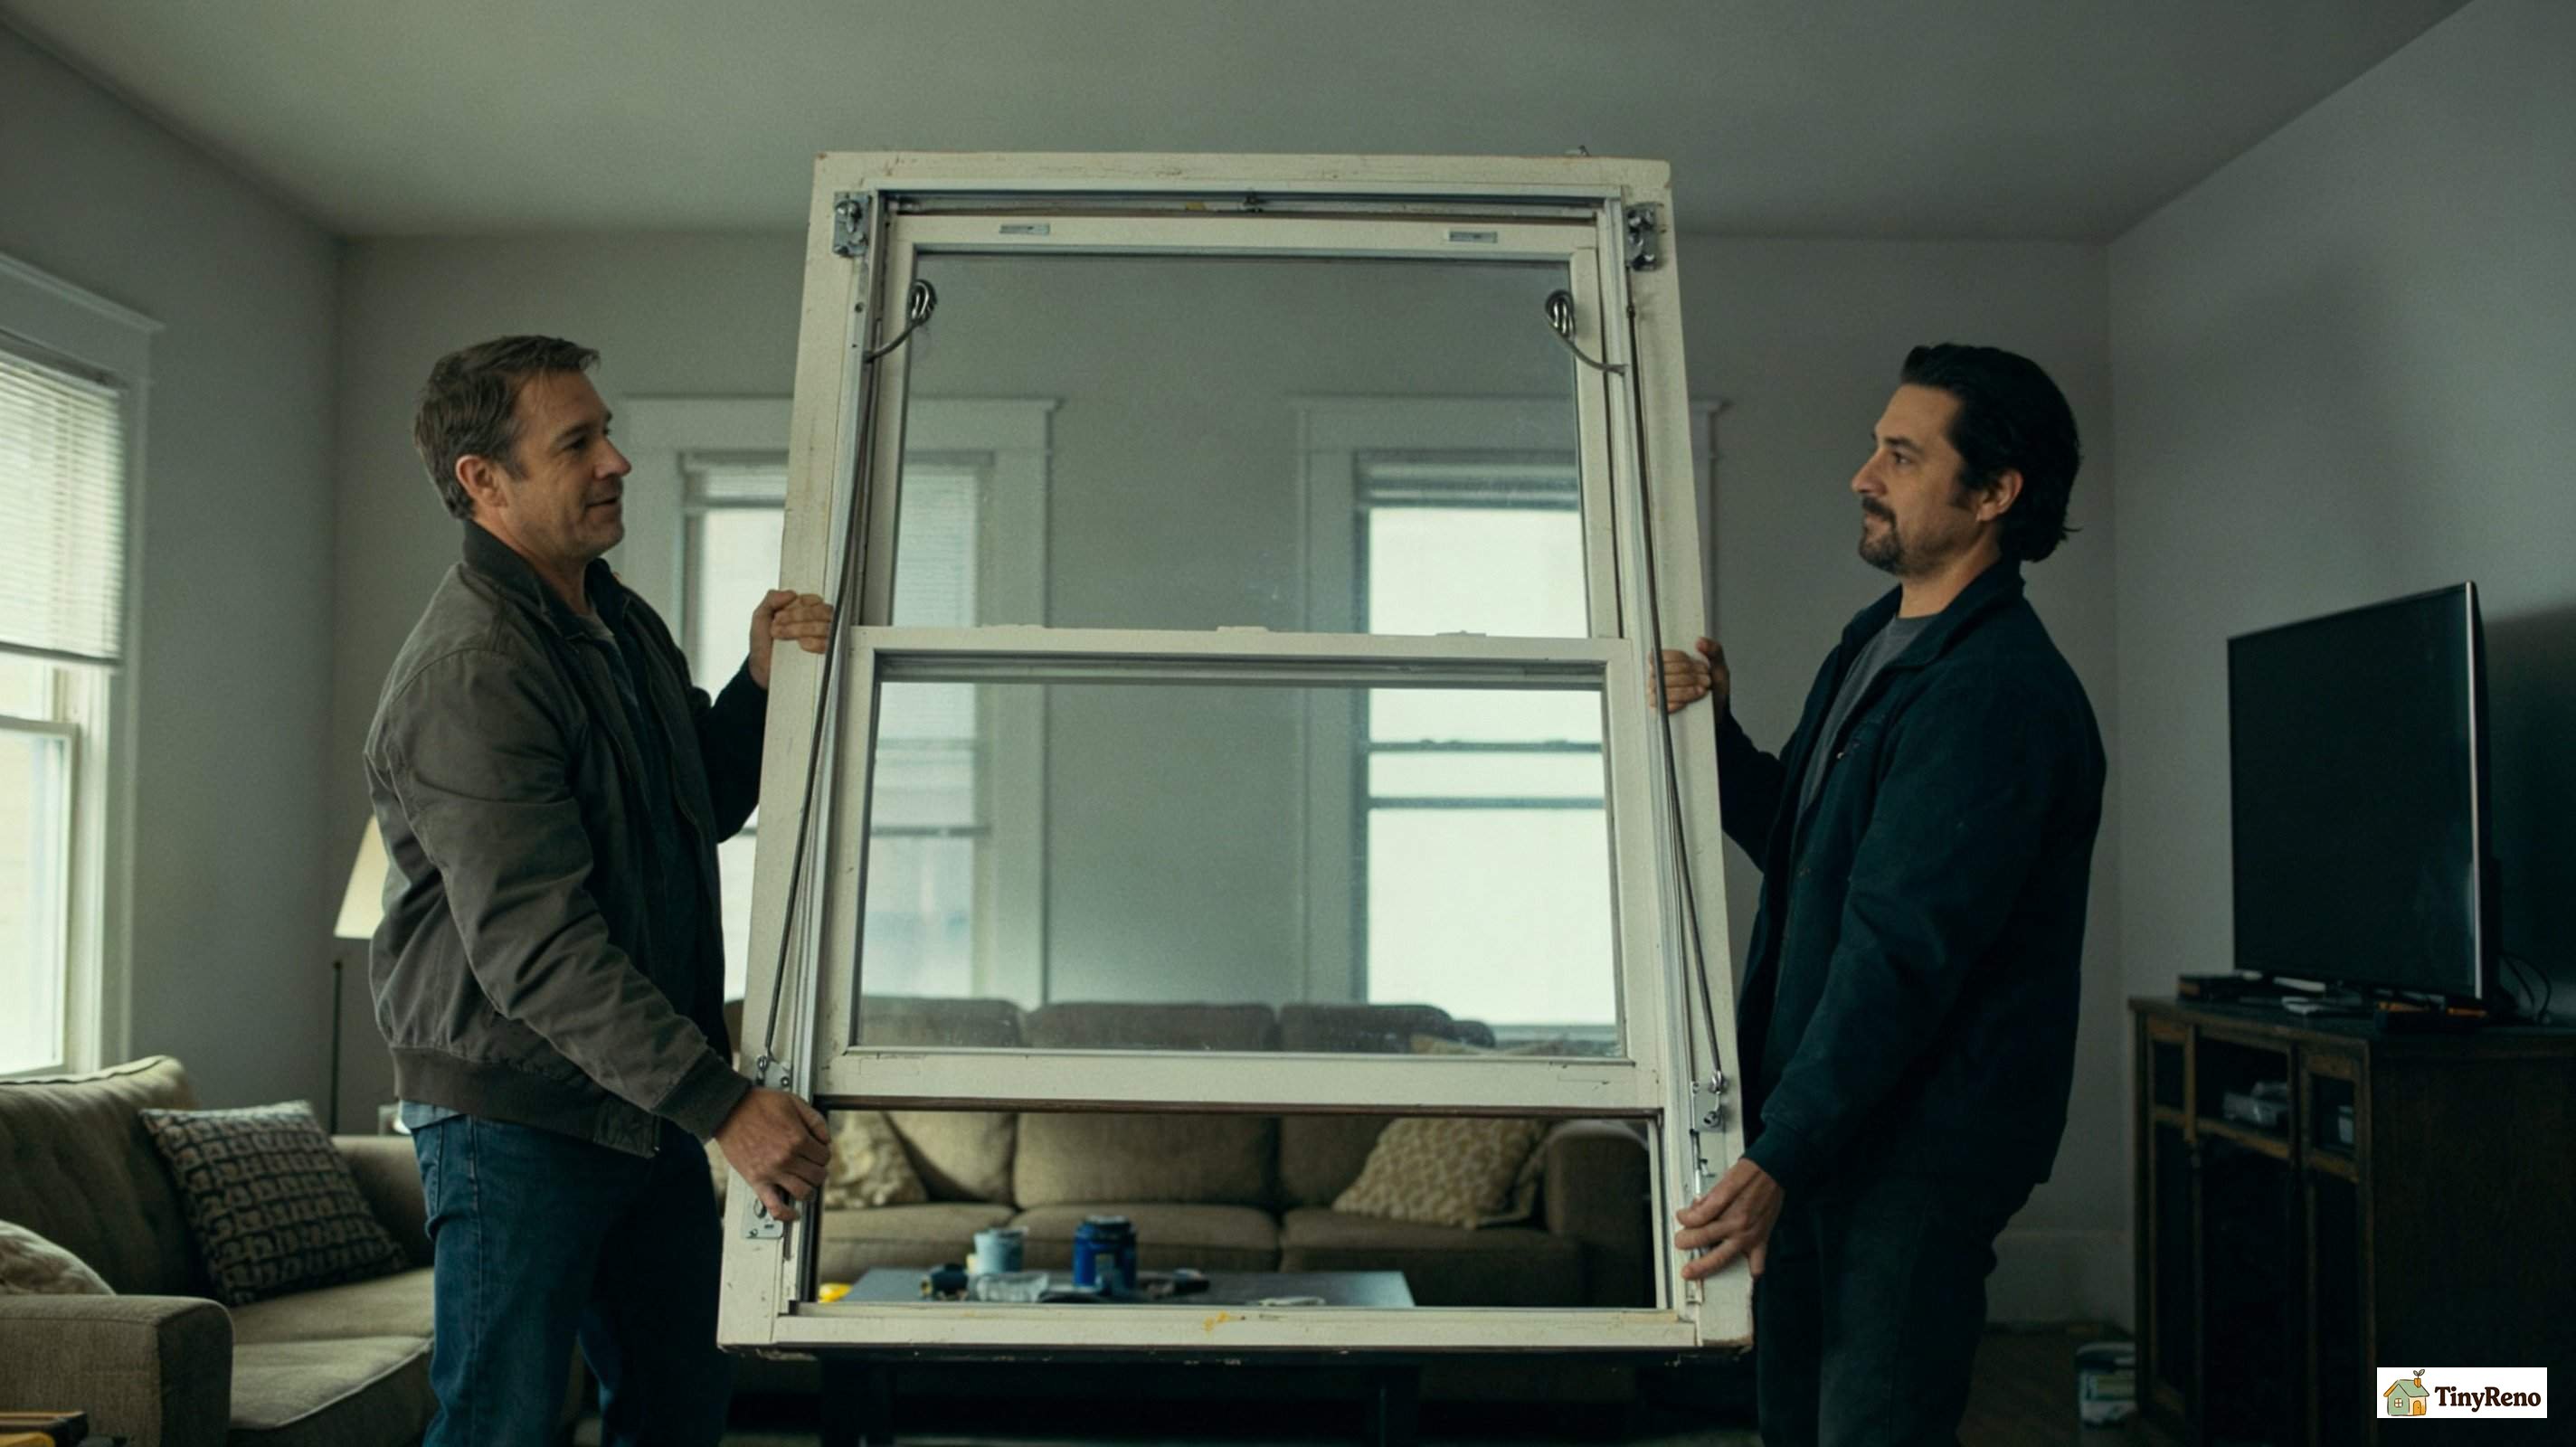
The double-hung window in the living room is the one that almost cost me $600.
A double-hung window has two sashes that both move — the bottom one slides up, the top one slides down. To balance that weight, the sides of the frame contain either spring balances (modern) or old-style sash weights on cords (pre-1990). The cords or springs are what hold the sash in place when you let go of it. If you try to remove a sash without first releasing the balances, the sash can fall — fast — and either hurt you or damage the frame.
I watched four YouTube videos and called my downstairs neighbor Mike, who is the kind of person who owns a torque wrench and uses it. He came up with a nail set and a putty knife, and we spent twenty minutes releasing the spring balances on one side while supporting the sash. The sash came out cleanly. Mike pointed at the springs and said, "See those? If you'd yanked this without releasing them, those would have shot across the room and you'd have two holes in your wall." He was exaggerating, but only slightly.
The double-hung window also revealed why my living room always felt drafty in winter. The sash cord channels on either side were full of the same grit I'd cleaned out of the other windows. Once cleaned, the draft dropped noticeably. If you're dealing with a drafty double-hung and you haven't checked whether the sashes come out for cleaning, that's usually the fix — not replacing the whole window. This is the same logic behind my guide on not replacing drafty windows — most draft problems come down to cleaning and resealing, not new units.
What Happened When the Landlord Found Out
The double-hung job was in March 2020. By May, the landlord was doing an annual inspection — the kind where they walk through with a clipboard and check for damage. They noticed all three windows had been resealed, the tracks were cleaner than the rest of the building's, and one corner of the kitchen sash had a fresh coat of paint (where I'd covered a small chip).
I got an email the next day. The landlord said I'd "modified the unit without permission" and was holding $600 of my deposit pending a contractor's assessment. The deposit was $2,200. Losing $600 was a real hit.
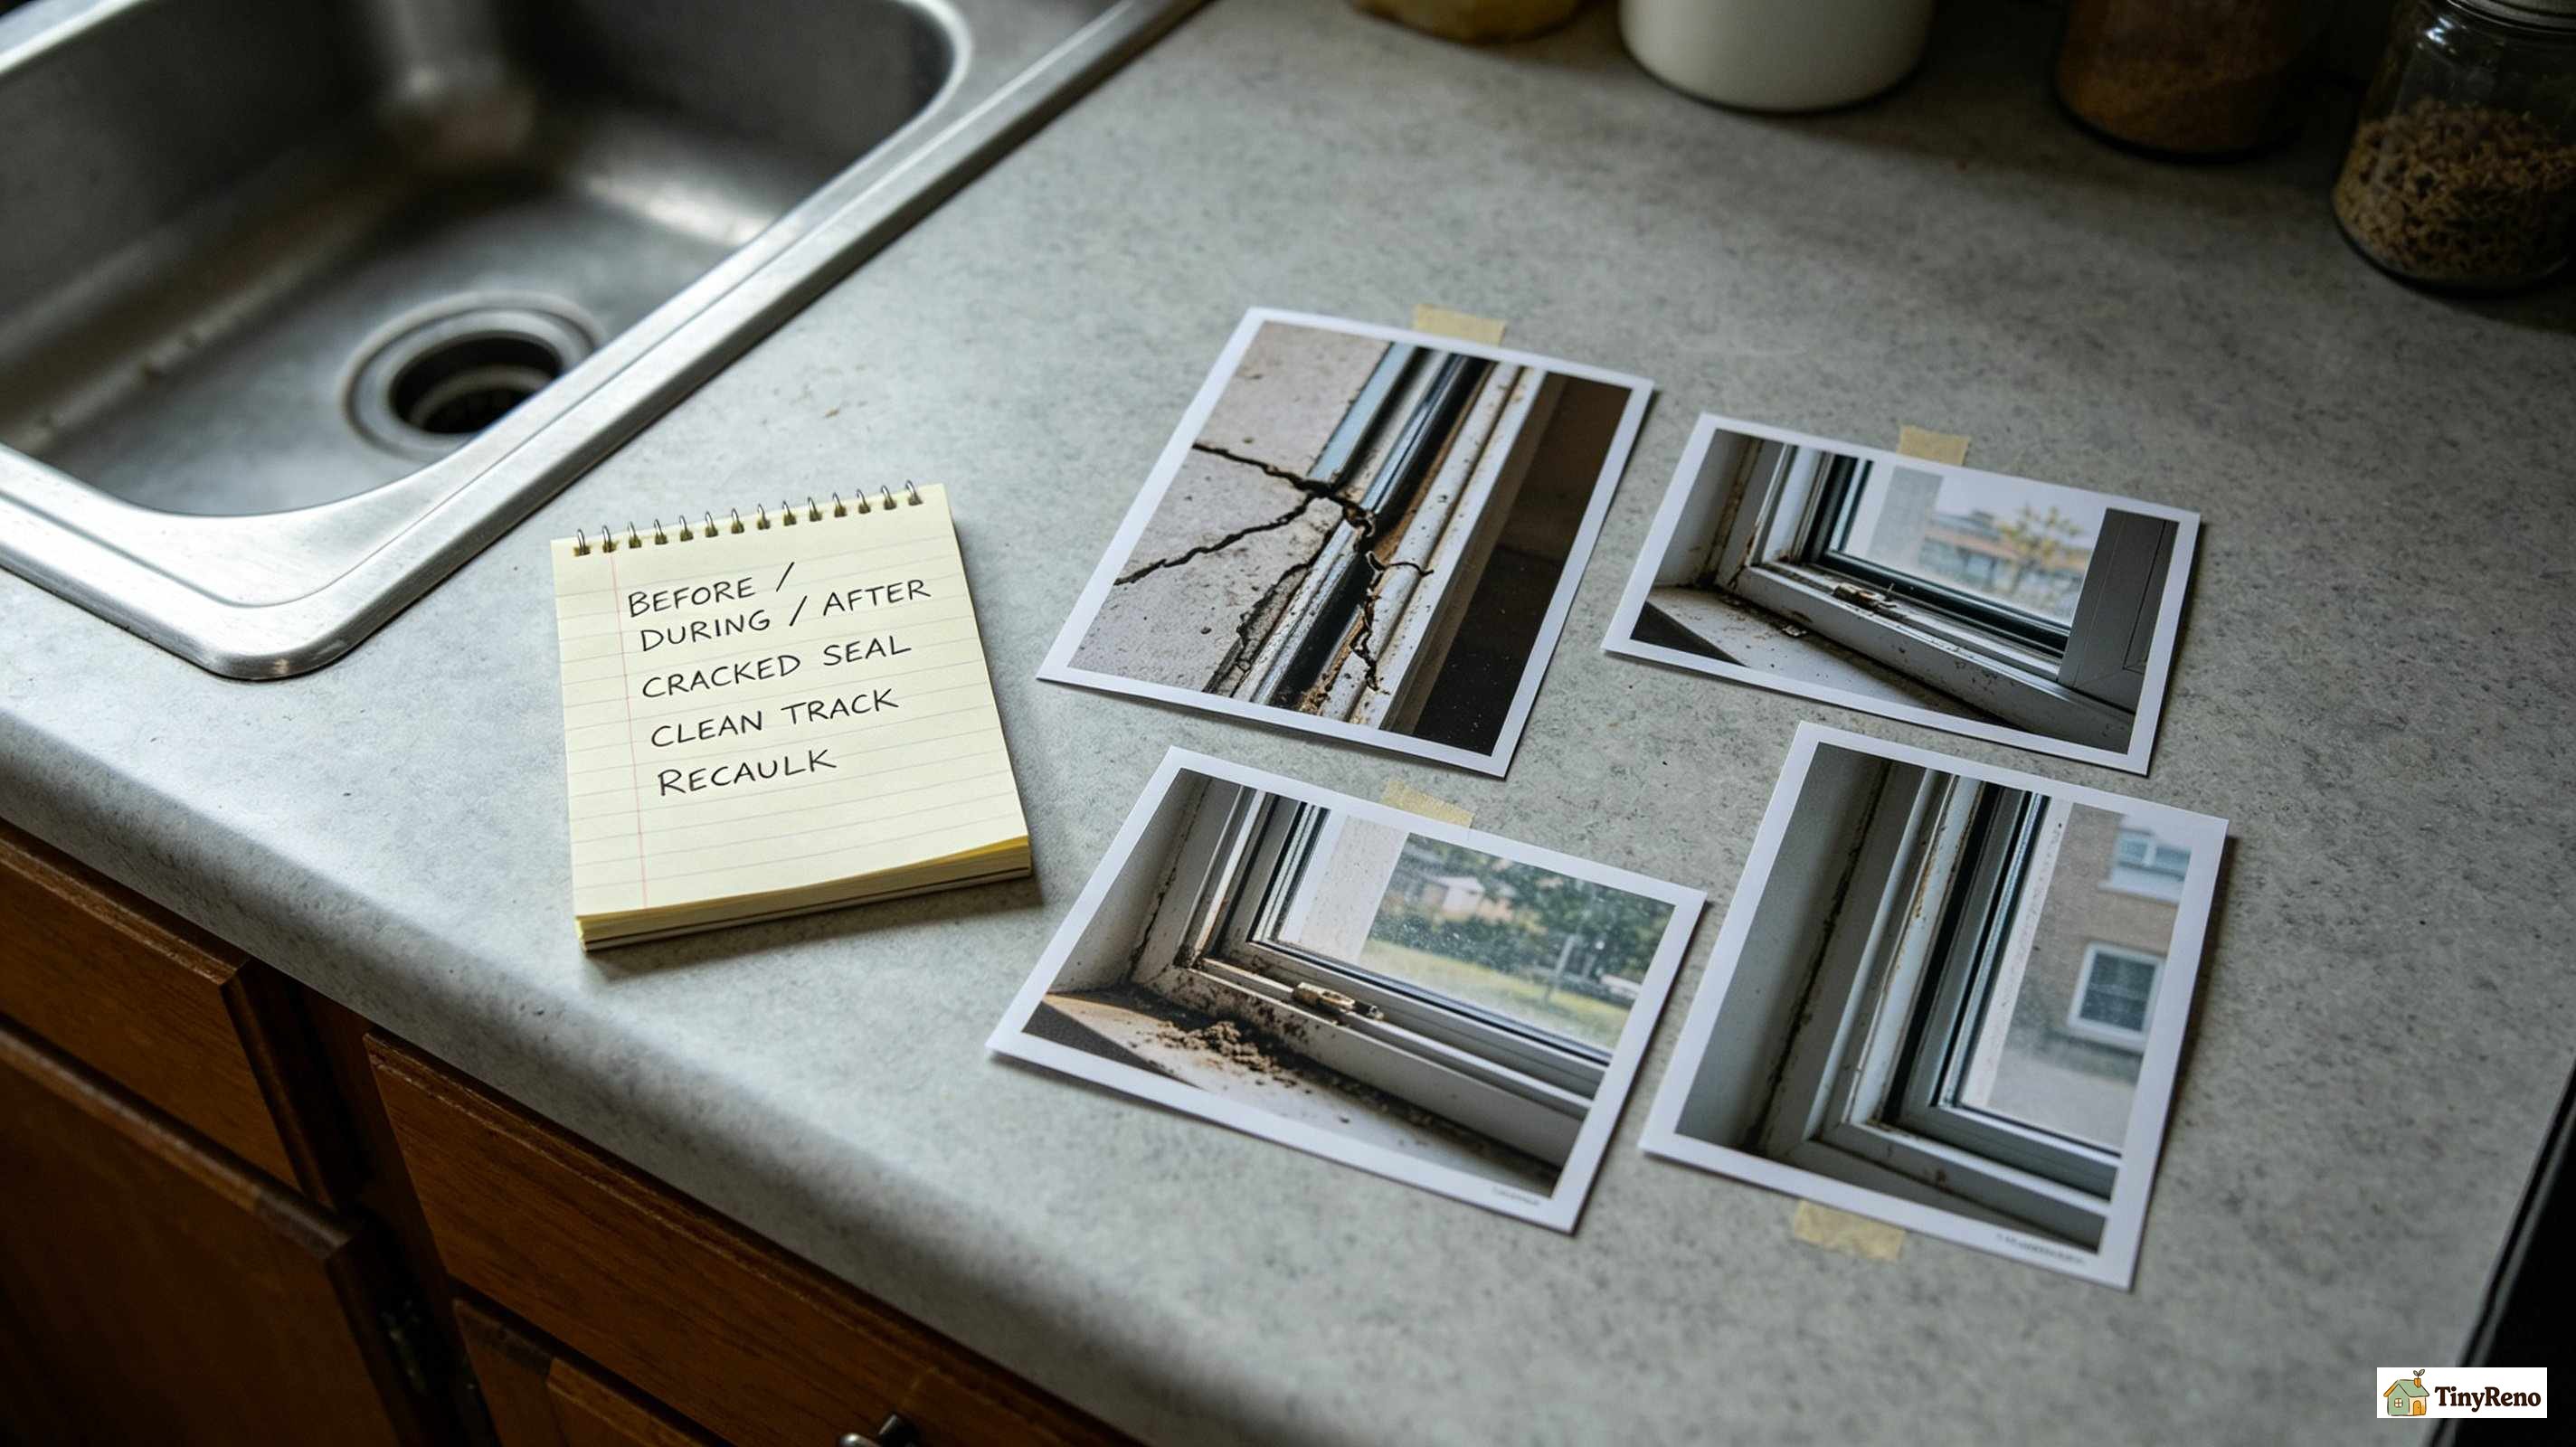
Here's how I got most of it back. I sent a long email with three things attached. First, the original October request I'd sent asking for window repair — the one that got the "we don't replace mid-lease" reply. Second, photos of the cracked sealant before I'd resealed it. Third, photos of the cleaned tracks and the resealed frame, with timestamps showing I'd done the work within a week of the original request. I also offered to repaint any area where my sealant work was visible.
The landlord replied two days later that they would release all but $200 — the $200 covering the kitchen sash paint touch-up they would have done themselves at turnover. I got back $1,800 of my $2,200 deposit, and a useful lesson: if you're going to remove a window in a rental, document everything before, during, and after. Photos with timestamps are the difference between "you damaged the unit" and "you maintained the unit."
If You're Thinking About Removing a Window in Your Rental
Three windows in, here's what I'd tell anyone thinking about how do i remove a window in their own rental.
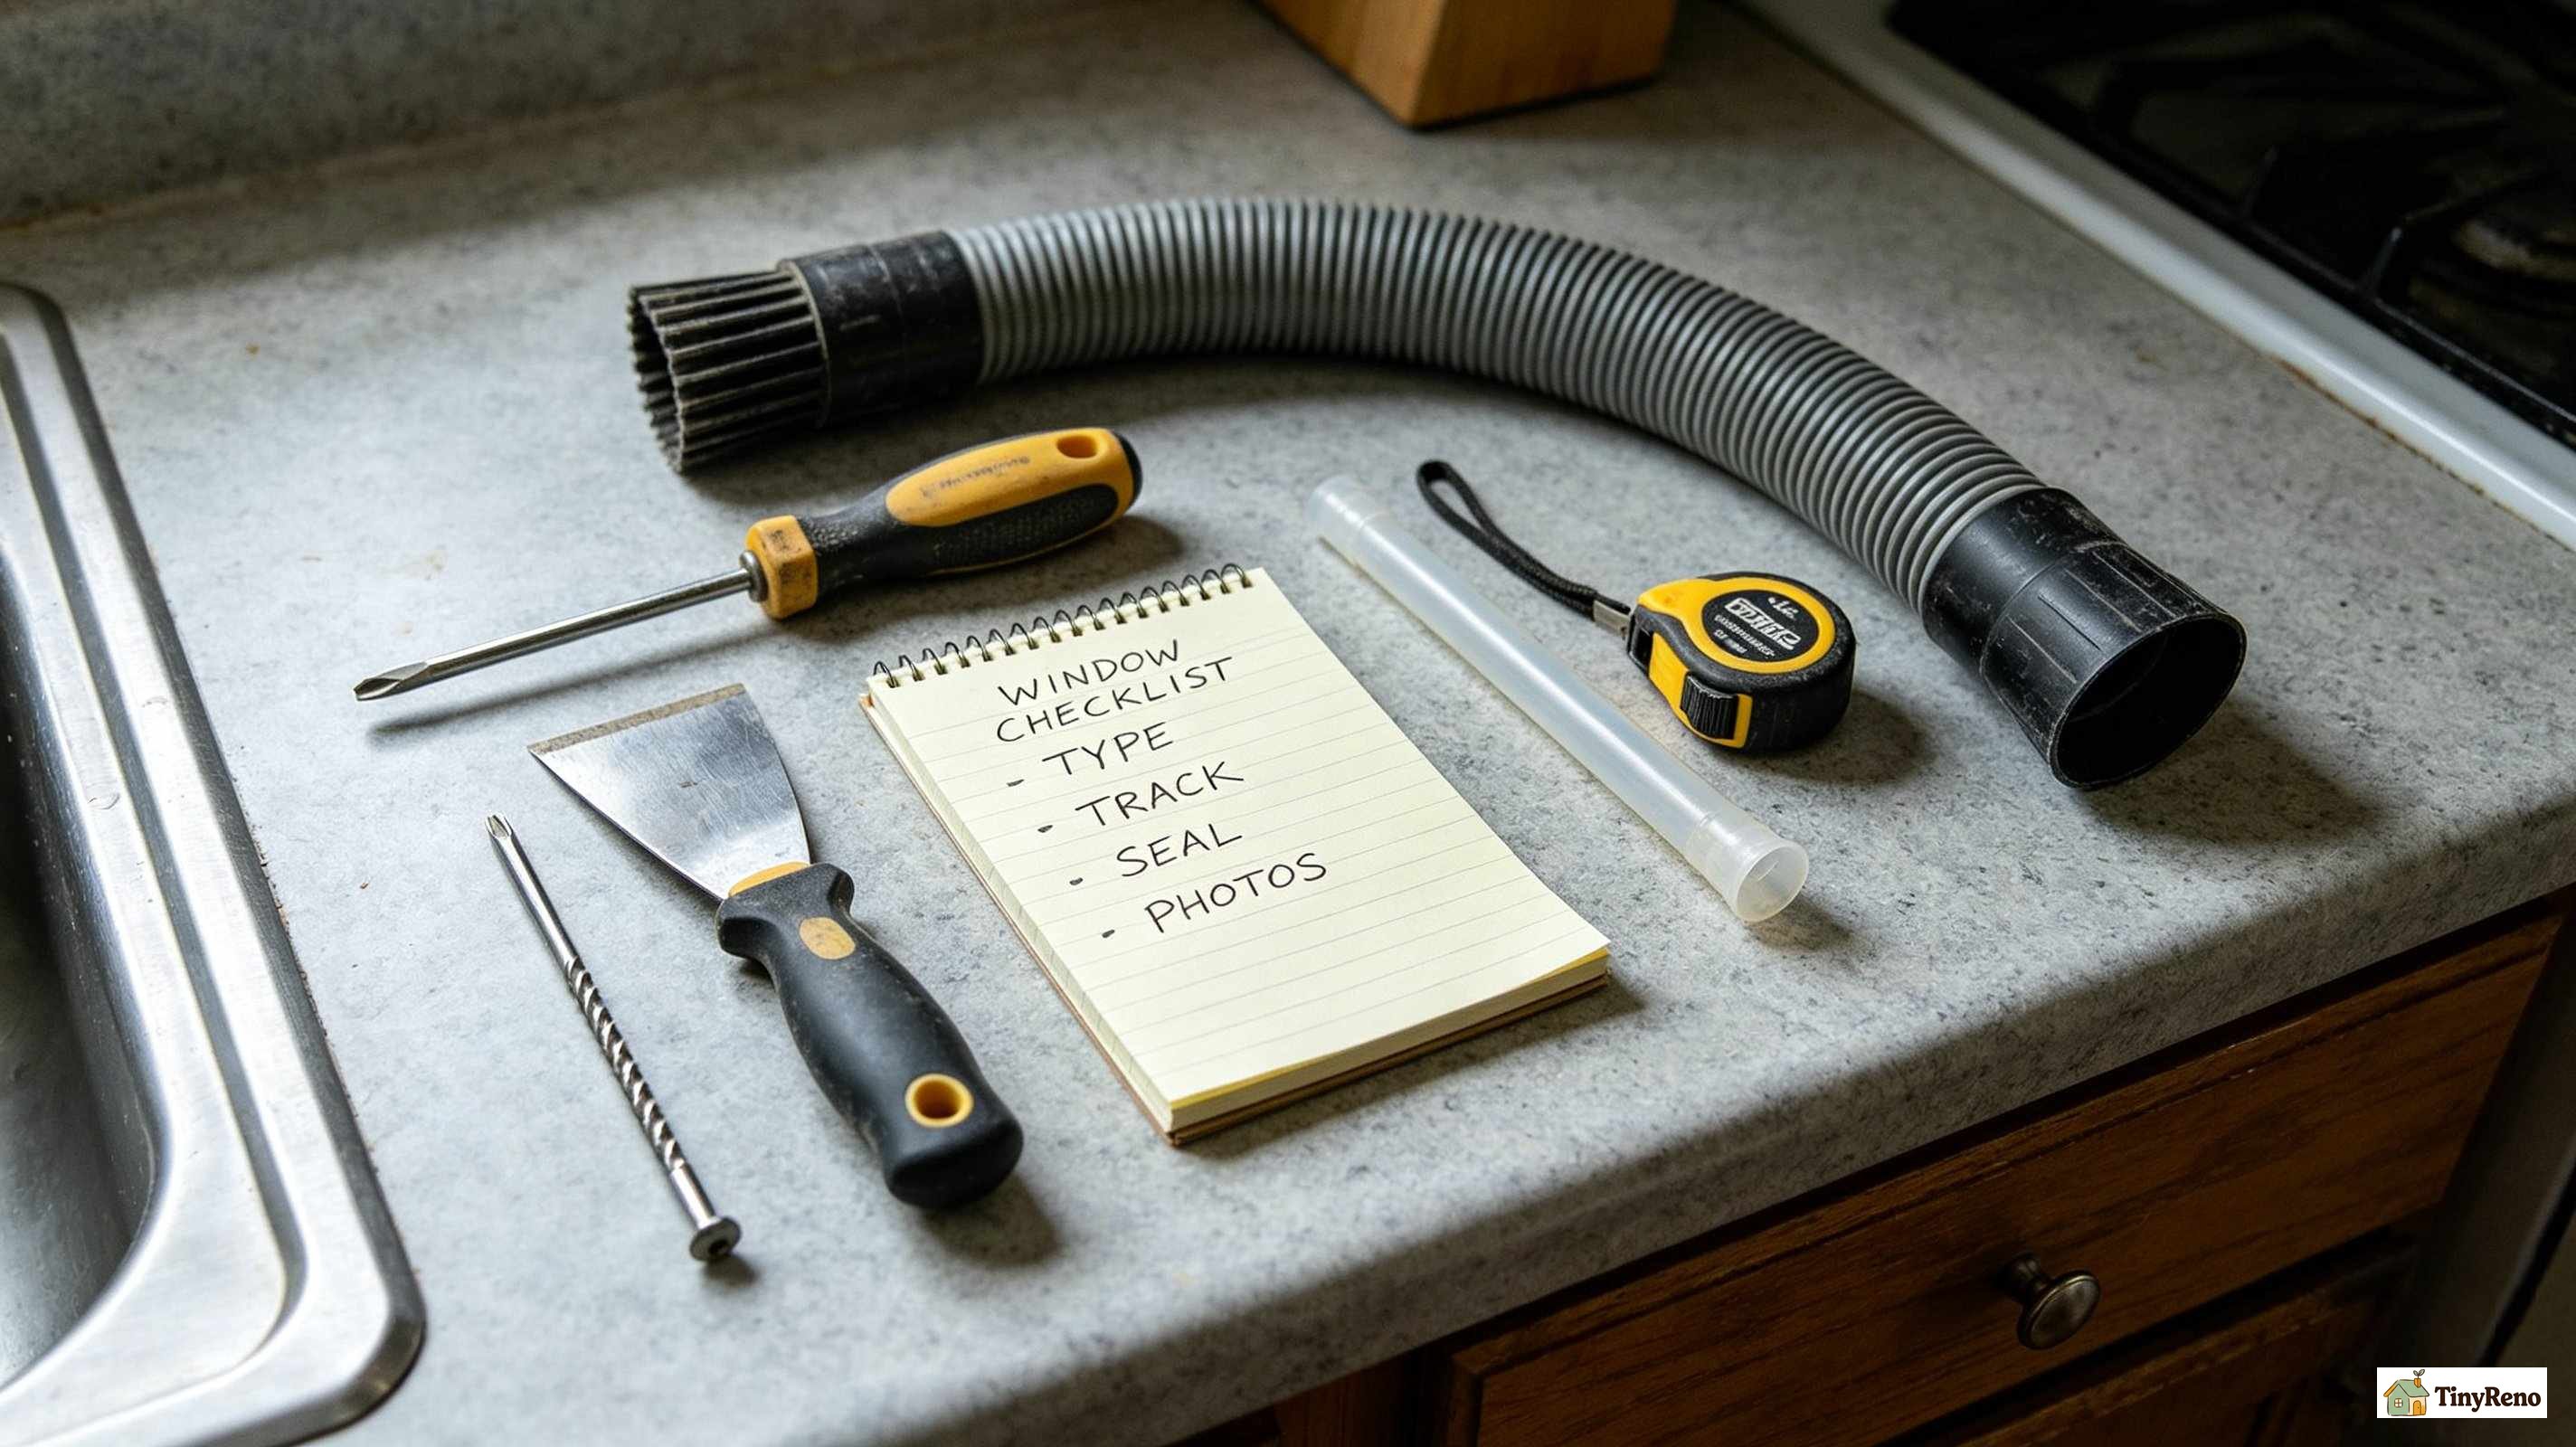
First, identify your window type before you do anything. Single-hung is the easiest. Sliding is medium. Double-hung with spring balances is the hardest. Casement windows that crank open are a different mechanical system entirely and usually require removing the crank hardware first. Knowing your type tells you whether the job is a Saturday afternoon project or a "call a friend who owns tools" project.
Second, send your landlord a written request before you remove anything, even if you think the answer will be no. The paper trail is the only thing that stands between you and a deposit deduction. If they say no and you do it anyway, take photos before, during, and after — every stage of the disassembly. Save the timestamps. If they say yes, save that email too.
Third, understand why you want the window out. Cleaning the track and resealing cracks is a renter-appropriate job. Replacing the glass, modifying the frame, or installing a new window entirely is almost certainly not — that's a landlord's contractor's job and a permit may be required. If your real goal is to stop a draft, or to fix a window AC install situation (which I covered separately in my window AC quiet hacks guide), figuring out how do i remove a window sash for cleaning often solves the problem without needing a full replacement.
Three windows, one $200 deposit lesson, and a much better relationship with my own apartment's quirks. The single-hung in the bedroom still slides smoother than any window in this building, and I never had to ask permission to clean a track again. The third bedroom window — the painted-shut one I mentioned at the start — I eventually tackled using the same hair dryer trick from my stuck window guide, no full sash removal needed.
If you're still asking yourself how do i remove a window after all of this, my honest answer is: figure out your window type first, send the email, save the photos, and have a friend on standby for the heavy one. Look, anyone can yank a sash out. The hard part? Keeping your $2,200 deposit. Do the paperwork, or pay the price. Trust me, I've paid enough for both of us.


Discussion (0)
Sign in to join the discussion