

You don't see water. You see a water leak inside wall evidence trail — paint bubbling behind the couch, baseboard darker than it should be, a faint sweet smell you can't place. Last year my cousin texted me a photo of a yellow stain spreading across her living room wall. "How long has that been there?" I asked. "Two months?" she said. "Maybe three." The leak had been running inside the wall since October. By January the drywall behind the stain had turned to paste. Her insurance denied the claim because she couldn't prove when the damage started. That's the lesson: with a water leak inside wall, the first 24 hours matter more than the next 24 months.
This guide walks through what to do in the first 24 hours, what to document over the next week so insurance actually pays, and the four things that cause most wall leaks in older apartments. It also covers the one mistake that gets claims denied in 90 percent of cases. If you suspect mold has already started, jump to our mold-on-sheetrock guide for the cleanup side.
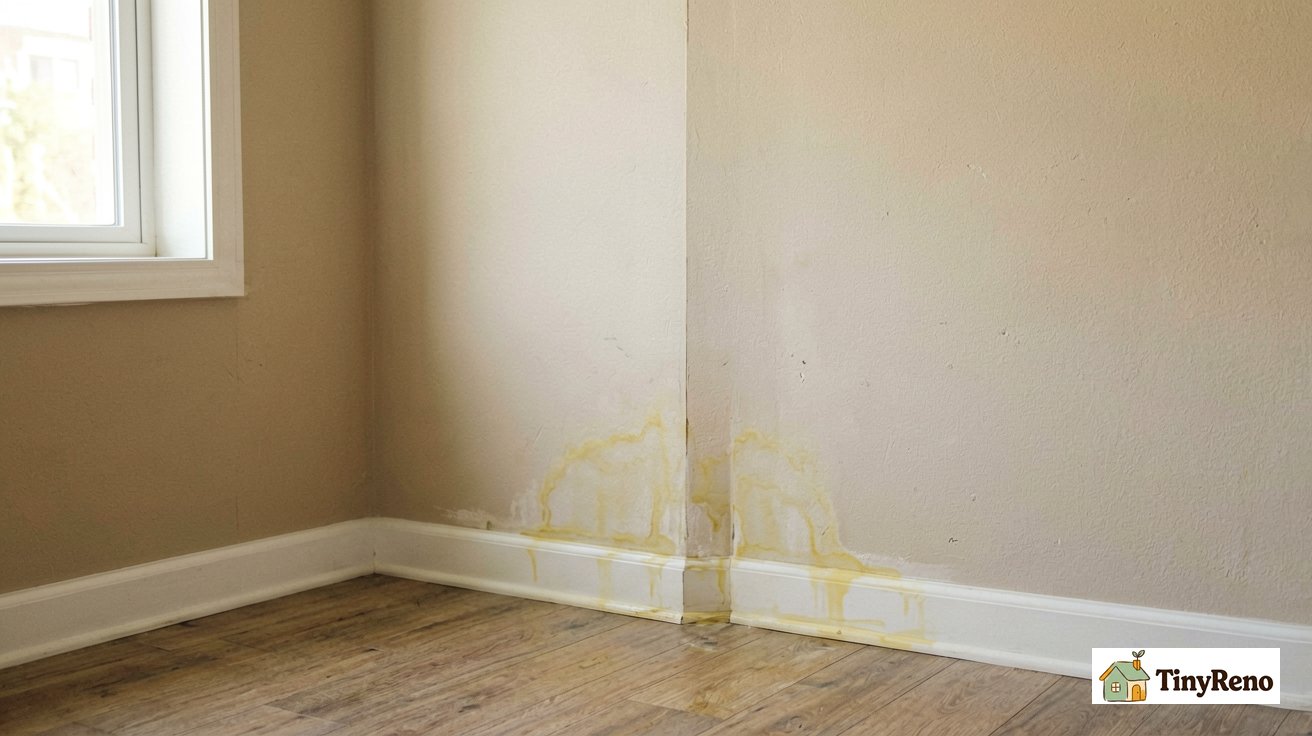
7 Subtle Signs Your Wall Has Water Inside It (That Aren't Visible Water)
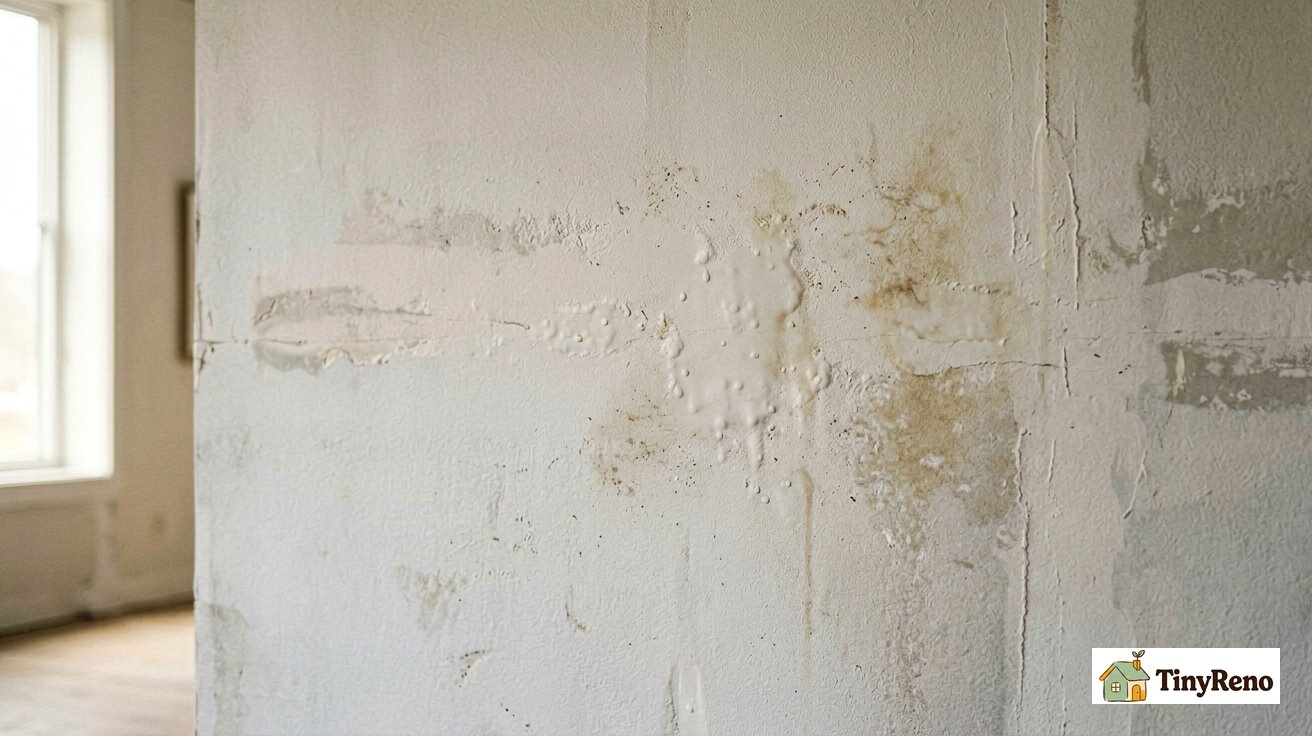
Most renters miss the early signs because they're looking for water. The actual first signals are usually visual or olfactory — paint reacting to moisture behind it, or materials absorbing what the wall can't hide anymore. Here are the seven things to check, ranked by how early they show up.
- Paint bubbling or peeling in a small area that wasn't there last month. This is the single earliest sign. Drywall absorbs water from behind and pushes the paint layer outward as it swells.
- Discoloration that grows — yellow, tan, or brown staining that spreads slowly over weeks. Sometimes it has a darker outline where the moisture has been pooling.
- Baseboard darkening at the bottom — MDF baseboards are basically sponges. They'll show moisture damage weeks before the wall above them does.
- A faint sweet or earthy smell you can't attribute to anything. Drywall that's been wet for a while gives off a distinct musty smell that doesn't smell like mold yet. By the time it smells like mold, you're weeks behind.
- Wallpaper lifting at seams — the adhesive dissolves when moisture is present. New lifts in wallpaper are a strong early indicator. If you have a drywall seam near the suspected area, our butt-joints guide explains why those seams are the first entry point for a slow water leak inside wall.
- Floor buckling or tiles loosening near the wall in question. Water finds the lowest point, and that's often where the floor meets the wall.
- The water meter running when no fixtures are on. If you've checked every faucet, the toilet isn't running, and the meter dial is still spinning, the leak is inside a wall or under the floor. Alternative for apartment renters: if you can't access the building's main water meter, listen for a faint hissing or running water sound inside the wall, especially near the suspected leak area. Also, check your individual water shut-off valve (usually under a sink) — if it's warm to the touch or vibrating slightly when all fixtures are off, that's a strong indicator of a leak.
Why these signs matter: by the time you see water, the leak has been running long enough to soak the drywall, the insulation behind it, and possibly the framing. Insurance companies adjust claims based on how long the damage was visible. Catching it at sign 1 or 2 versus sign 7 can be the difference between a $500 fix and a $5,000 one.
First 24 Hours: The 3 Emergency Steps (And What NOT to Do)
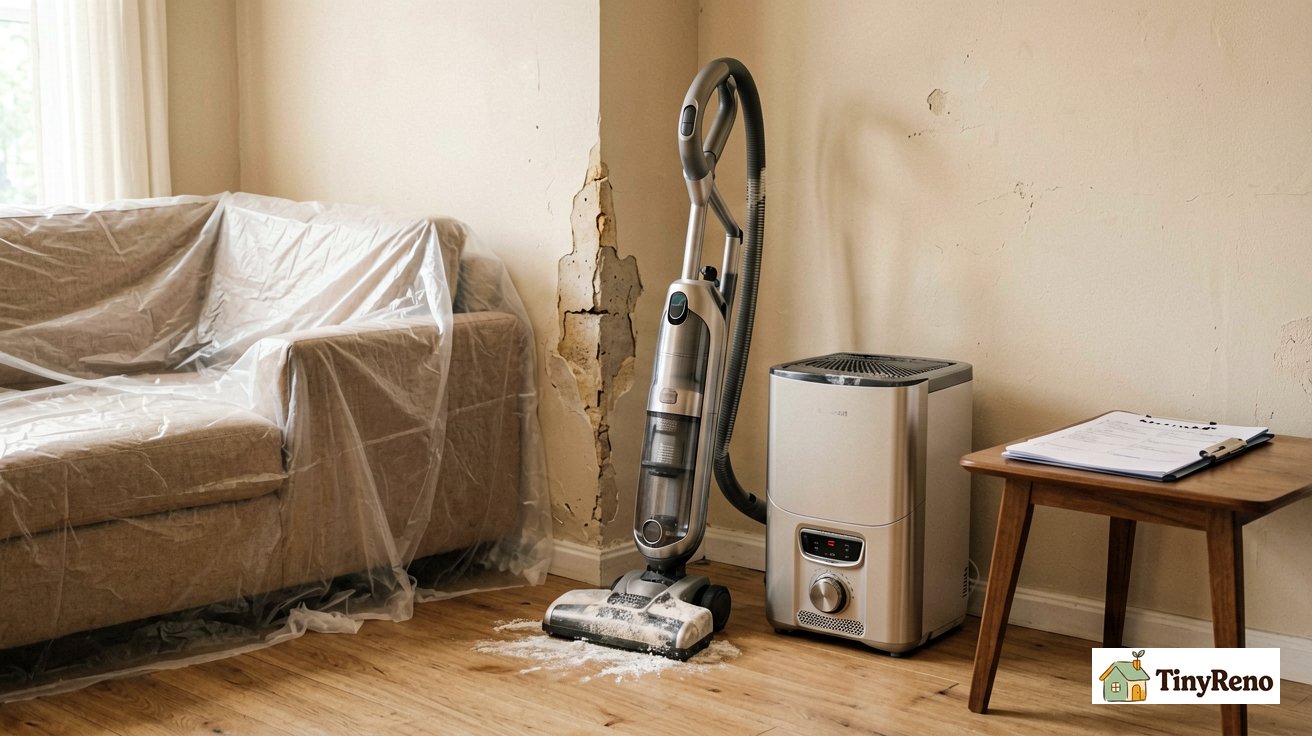
The first 24 hours determine three things: how much physical damage happens, whether insurance will pay later, and whether you'll still have a valid claim against your landlord. Here's the order.
Hour 0–2: Stop the water. If you can identify the source — a loose toilet supply line, a sink trap, an upstairs neighbor's overflowing tub — shut it off or stop it. If you can't, find your apartment's main water shutoff (usually under the kitchen sink, in a utility closet, or near the water heater) and turn it clockwise until it stops. Don't try to diagnose where the leak is coming from yet. Just stop it.
Hour 2–8: Document everything. Take photos of the visible damage with a timestamp. Photograph the water meter reading if you can access it. Photograph the affected wall, baseboard, floor, and any furniture or belongings in the line of potential damage. Take a video walking slowly along the wall from end to end while narrating the date and time. Save the photos and video to a cloud folder immediately — your phone could get damaged next.
Hour 8–24: Notify the landlord in writing. Email or text. Don't call. Don't wait until Monday morning. The message should be three sentences: what you see, when you first noticed it, and a request for direction. Save the message before you send it. This email is your timestamp that you reported the issue within the first 24 hours. Here's a template you can copy directly:
Email template:
Subject: Water Leak Inside Wall — [Your Address/Unit Number]
Hi [Landlord's Name],
I'm writing to report a water leak inside the wall in the [Living Room/Bathroom/etc.]. I first noticed it on [Date] at approximately [Time]. I have taken photos and videos, and I've stopped using any nearby water fixtures. Please advise on how you'd like to proceed with an inspection and repair.
Best,
[Your Name]
[Date/Time Sent]
| What NOT to do in the first 24 hours | Why it matters |
|---|---|
| Don't tear out the wet drywall yourself | You might destroy evidence the insurance adjuster needs. Wait for them to inspect. Exception: if the drywall is sagging, cracked, or you suspect structural compromise or electrical hazard, prioritize safety and evacuate the area. Otherwise, wait for the adjuster. Destroying evidence is a common reason for claim denial. |
| Don't throw away damaged items | Insurance needs to see and photograph them. Take photos of damaged items first, then store them in a dry place. |
| Don't hire a plumber before notifying the landlord | Unless the leak is actively gushing and you can't shut off the water, wait. Most leases require landlord approval for repairs, and paying out of pocket can void your ability to claim reimbursement. |
| Don't promise the landlord you'll cover the cost | Even casually. Anything you say about responsibility can be used against your damage deposit later. |
| Don't use a regular household vacuum on wet drywall | Wet drywall dust clogs regular vacuums and creates an electrical hazard. Use a wet-dry shop vac only. |
Day 2 to Day 7: How to Document It So Insurance Actually Pays
Insurance adjusters deny claims for one reason more than any other: insufficient documentation of when the damage started and how it progressed. The first 24 hours bought you time. The next six days buy you proof.
Day 2: Get the landlord's response in writing. Most leases require them to respond within 24 to 48 hours. If they don't reply to your email, follow up in writing with a second message that says "Following up on my message from [date] — please advise." Save the timestamp. If they send a plumber, ask the plumber for a written diagnosis or invoice, even if it's just one paragraph on a notepad.
Day 3–4: Photograph the drying process. If you set up fans or a dehumidifier, photograph them running. Take a photo of the wall at the same time each day so the progression (or the drying) is clearly visible. If the wall develops new staining or the stain expands, photograph it. If you have a pinless moisture meter (a $30 tool), take daily readings of the wall's moisture content. A reading dropping from 20% to 15% is objective proof of drying, far more powerful than a photo in an insurance dispute.
Day 5: Get the plumber's written cause. Whether the landlord hired them or you did, ask for a one-page written statement of the cause. "Pipe joint failure behind drywall in upstairs unit" is enough. The cause determines whether insurance covers it (sudden pipe failure usually does) versus excludes it (gradual leak from deferred maintenance usually doesn't).
Day 6–7: Inventory the damaged items. List everything that took on water — furniture, rugs, electronics, clothing, books. Include the purchase date and approximate value. Photograph each item next to the wall damage. This list is what the insurance adjuster uses to set your reimbursement.
The reason the cousin I mentioned earlier got denied was that none of this happened. Her landlord came over, looked at the wall, said they'd handle it. Two months later she got the denial letter because the insurance company said she couldn't prove when the leak started. If you do nothing else from this section, photograph the damage with a timestamp every day for the first week. That single habit would have saved her claim.
Week 2 to Month 1: The 4 Causes (And What Each Costs to Fix)
Once the immediate emergency is handled, the question becomes what actually caused it. Most wall leaks trace back to one of four things. The cost to fix varies wildly depending on which one and how long it ran.
| Cause | How common | Average renter cost | Who's typically responsible |
|---|---|---|---|
| Pipe joint failure (supply line) | Most common in 10-30 year old buildings | $300-900 (plumber + drywall patch + paint) | Landlord (sudden failure is usually covered) |
| Upstairs unit overflow (bathtub, toilet, sink) | Common in multi-story apartments | $500-2,000 (depends on what's damaged below) | Upstairs tenant's insurance, then landlord's master policy |
| Roof or window leak (water traveling inside wall cavity) | Common in top-floor units after storms | $800-5,000 (often includes ceiling and wall) | Landlord (building envelope failure) |
| Old caulk or grout failure in wet area (bathroom/kitchen) | Common in any unit with a tiled wet area | $150-400 (re-caulk, re-grout, drywall patch) | Landlord, but renter maintenance can extend life 2-3 years |
Insurance quick note: your Renters Insurance typically covers your personal belongings damaged by water, not the building's structure. The Landlord's Insurance covers the building (walls, pipes). If the leak originated from an upstairs neighbor, their Liability Coverage may be responsible. Always report the incident to your insurer, even if you think the landlord's policy will cover it.
The reason the cost column matters: insurance adjusters use the difference between "what it costs to fix" and "what it would have cost if you'd caught it earlier" to decide whether the leak qualifies as sudden or gradual. A pipe joint failure caught in week one is a $500 fix. The same leak caught in month six is a $5,000 remediation with possible mold. The first scenario gets paid. The second scenario gets denied with a letter saying the renter failed to mitigate damages.
To verify which cause you have, your landlord will probably send a plumber. Ask to see the plumber's invoice or written diagnosis. If they say it's "just old pipes" or "just settling," ask for the documentation. A real diagnosis has a specific location and a specific part that failed. Vague language is a red flag that the cause hasn't actually been identified. For the most common cause — a water heater that's been seeping slowly behind a wall — our water heater leak guide covers how to spot and document that scenario before it escalates.
When Insurance Won't Pay (And How to Avoid That)
Three situations trigger automatic claim denial in most renters policies. None of them are about whether the leak happened. They're all about what you did — or didn't do — after it happened.
Denial 1: Long-term gradual leak. If the adjuster determines the leak was running for more than a few weeks before you reported it, the claim gets categorized as "gradual damage" and excluded under most policies. The fix is the daily photo habit from Day 2 to Day 7. Photos with timestamps prove when you noticed. Without them, the insurance company uses the visible staining to estimate the timeline, and the staining is usually older than it looks.
Denial 2: Failure to mitigate. If you kept living with the leak, didn't set up fans, didn't move furniture out of the wet area, didn't notify the landlord promptly, the adjuster will say you made the damage worse than it needed to be. Most policies exclude coverage for damage that the renter could have prevented. The fix is the Hour 8–24 email from the previous section. As long as you notified the landlord within 24 hours and took reasonable steps to dry the area, you've met the mitigation standard.
Denial 3: The cause is excluded. Most renters policies exclude flood, sewer backup, and earthquake. If your water leak inside wall turned out to be from a sewer line backup (more common in ground-floor units), the policy won't pay even if you did everything right. The fix here isn't prevention — it's knowing your policy. Read the "exclusions" section once a year. It takes ten minutes and saves a five-figure surprise.
Don't forget ALE: if the water damage makes your apartment uninhabitable during repairs, your Renters Insurance may include Additional Living Expenses (ALE) coverage. This can reimburse you for hotel stays, meals, and other costs above your normal living expenses. Ask your adjuster about this benefit when you file your claim.
None of this requires a lawyer or a public adjuster. The whole documentation process takes about 90 minutes spread over a week. The people who get claims paid are the people who take 30 seconds a day to photograph the damage and save the photos with timestamps. That's the difference between "we we have a covered claim" and "we we have a denied claim with no recourse." If you've gone through this and have other damage to document, our carpet damage guide covers how to handle the floor side, and our water heater leak guide covers the most common cause of leaks from below.
If your deposit got dinged for a water stain that wasn't there when you moved in, the 9 overlooked spots that cost deposit fees covers what to document at move-in so you're not arguing about who caused what at move-out. For most renter water leaks, the timeline of evidence matters more than the cause itself. Save the photos. Send the emails. Keep the plumber's note. That's the whole playbook.


Discussion (0)
Sign in to join the discussion