

I moved into a 1920s walk-up last spring and learned within the first week that the walls were not drywall. They were plaster over wood lath, and the first anchor I drilled in kicked out a chunk the size of a half dollar. My landlord wasn't mad, exactly — he just sighed, pointed at the wall, and said "ask first next time." That chunk cost me $90 of my security deposit, and the three other holes I drilled that month didn't go much better. Here's everything I wish I'd known before I picked up a drill.
30-Second Plaster Test: Knock on the wall. If it sounds solid and dense (like thumping a rock), it's plaster over lath. If it sounds hollow and papery, it's modern drywall. Also, check for slightly uneven, wavy surfaces — that's a classic plaster tell. Skip this test and you'll spend an hour guessing which method works for your wall.
Why Plaster Walls Crack When You Drill (And What to Do Instead)
Plaster is hard but brittle. The stuff behind it — wood lath strips, sometimes metal mesh — is what actually holds your screw. Drill into plaster at the wrong speed and you get three problems at once: the plaster face cracks outward in a spider pattern, the dust falls in chunks instead of powder, and your screw has nothing to grip when it's done. Plaster walls are not a single material — they're usually a 3-layer sandwich (wood lath + scratch coat + finish coat), and only the lath layer can hold a screw.
The good news is you don't need to drill for most things. I've hung everything from a 1-oz key hook to a 25-lb mirror on plaster without making a single new hole, using only damage-free methods. For the things that absolutely need a screw — a heavy bookshelf, a TV mount — there's a right way to drill, and I'll cover that in the step-by-step below.
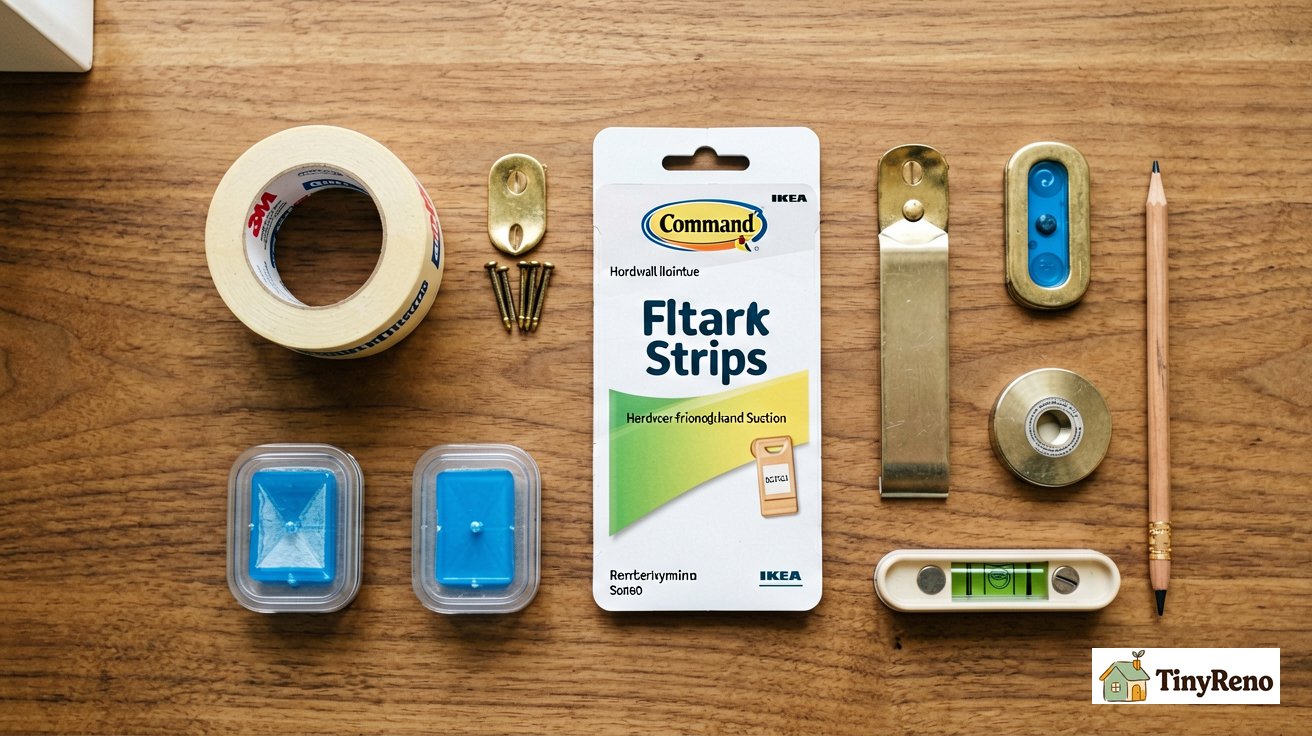
9 Damage-Free Hanging Methods Ranked by Weight
Start here before you drill anything. Each row tells you the weight limit I tested (renter-safe, not manufacturer max), the wall damage if you remove it, and the catch. The catch is the part most articles skip.
1. Painter's tape + double-sided tape (1-4 oz). For holiday cards, paper, very light plastic. Doesn't actually fail, but you can only remove it once. The catch: it pulls the paint off if your wall is flat/matte and was painted in the last year.
2. Blue tack / mounting putty (1-6 oz). For kid's drawings, posters, lightweight frames under 8x10. The catch: leaves an oily spot on flat paint that takes primer to hide.
3. Command Strips small (up to 4 oz per pair). For frames, small signs, hooks with nothing heavy hanging off them. The catch: fail on humid bathroom plaster, and the pull-tab can peel a paper-thin layer of finish coat if you yank instead of stretch.
4. Command Hooks medium (up to 7.5 lbs rated, 3 lbs real-world). For towels, lightweight robes, kitchen utensils. The catch: weight rating assumes smooth drywall. On old plaster with any texture, drop one full weight class.
5. Plaster hooks (also called "picture hooks" or OOK hooks) (up to 30 lbs on modern drywall; 15 lbs max on old, brittle plaster). These are the small brass or coated hooks with 1-3 tiny nails pre-set in a pattern. You tap the nails in at an angle and they bite into the lath. The catch: On 1920s plaster, the finish coat is often brittle. A 30-lb load can crack the plaster around the nail if the wall is in poor condition. For anything over 10 lbs on old plaster, always use two hooks to spread the weight. They leave 1-3 small nail holes, but those holes are 10x easier to fill than a cracked chunk.
6. Hardwall hangers (also called "no-drill anchors") (up to 25 lbs per pair). You tap a pilot pin in with a hammer, then screw a hook into the hole. The catch: each one makes a 3/16" hole that's slightly bigger than a nail hole but still fills cleanly.
7. Self-adhesive hooks heavy-duty (up to 15 lbs). 3M Command XL and similar. The catch: same as the smaller ones — humidity kills them, and old plaster walls often "breathe" moisture from the foundation, creating a perpetually damp surface that even heavy-duty adhesive can't bond to. Old plaster with multiple paint layers also doesn't bond as well. If your building is pre-1950 with no vapor barrier, assume humidity is a factor even outside the bathroom. If the surface is already showing dark patches, that's not paint — it's likely mold under the finish coat, and the fix is different. I walked through the cleanup in this mold removal guide.
8. Tension rod / spring-loaded rod (up to 25 lbs distributed). For curtains between two walls of a window nook, or room dividers. No wall contact at all. The catch: only works between two parallel surfaces 1-3 feet apart.
9. French cleat / cleat hanger (50+ lbs). Two interlocking metal or wood strips; one on the wall, one on the object. The catch: requires screwing into the wall (one strip) — so this is the boundary between "no drill" and "drill smart". For a deeper dive into anchor types and which ones fail on which walls, I broke down the four main ones in this anchor comparison guide.
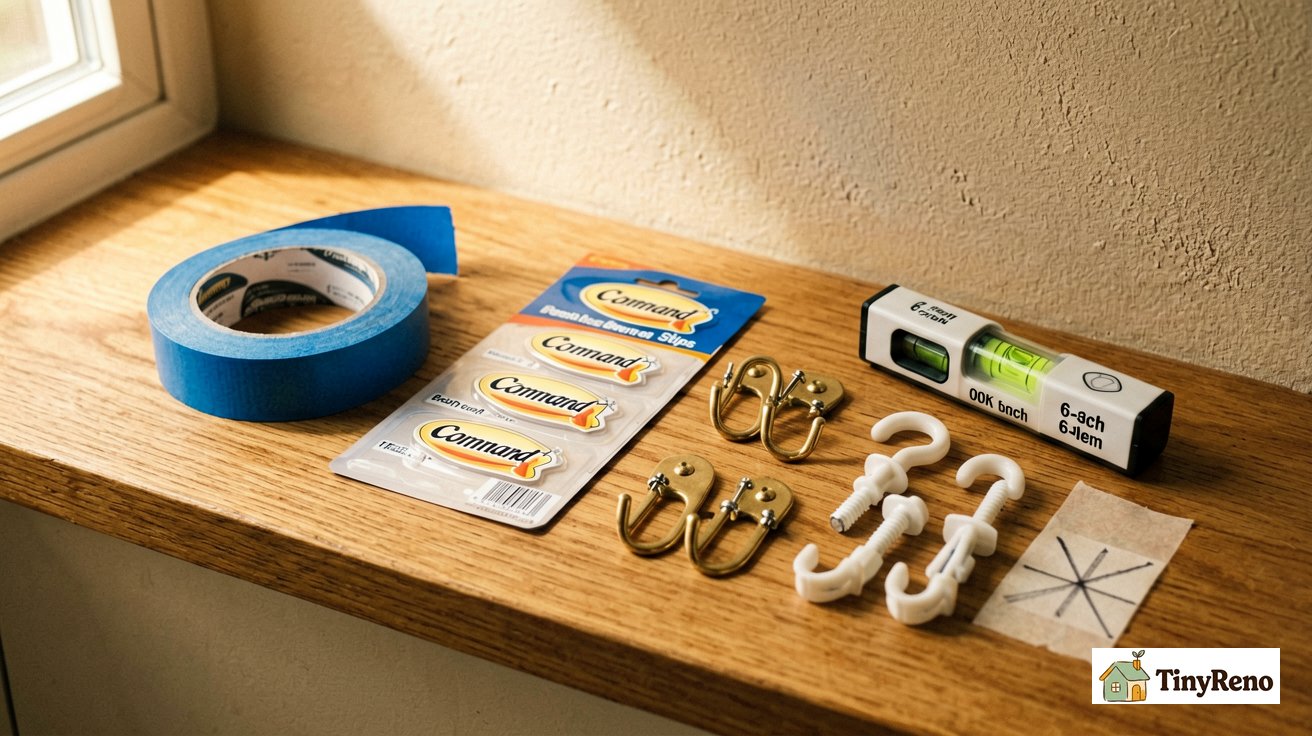
How to Find a Stud in Plaster (Without a Stud Finder That Lies)
Stud finders lie on old plaster. They work by sensing density changes, and plaster walls have density changes everywhere — moisture pockets, old patch jobs, the seam between lath strips, the place where the last tenant tried and failed to mount a shelf. Here's the three-step method I use instead.
Step 1: Measure from a known reference. Standard stud spacing is 16 inches on center. From a corner, measure 16", 32", 48" — one of those will almost always land on a stud. From a window or door frame, measure 16" — door framing is usually at a stud.
Step 2: Knock and listen. Knock with your knuckle, moving horizontally across the wall in 1-inch steps. Solid thud = stud. Hollow echo = between studs. The trick is to start near an outlet (outlets are mounted to studs) and work outward. Once you find a solid spot, knock 16" left or right and listen for another.
3. Confirm with a strong magnet. Hold a strong neodymium magnet (the kind on refrigerator hooks) flat against the wall and move it slowly. It'll snap to the drywall screw / lath nail that holds the plaster to the stud. The magnet finds the screw, the screw finds the stud. This is the only method that's actually accurate on plaster.
The catch with all three: in a 1920s building, "16 inches on center" was sometimes "16 inches if the carpenter was sober." Measure twice, drill once.
How to Hang a 25-lb Mirror on Plaster (Step by Step)
This is the operation most people wreck. Here's the version that doesn't crack the wall.
Tool list. Drill with a 3/16" masonry bit (not wood, not metal — masonry). Why masonry? Old plaster is a mix of lime, sand, and horsehair — it's harder and more brittle than modern drywall. A masonry bit's carbide tip is designed to pulverize hard, abrasive materials without grabbing and cracking the surface. Two plaster hooks rated for 30 lbs each. A level. Painter's tape. A vacuum or damp rag for dust. A pencil.
Step 1: Mark both spots with high-adhesion painter's tape (like 3M ScotchBlue) first. Put a piece of painter's tape over each spot before you drill. This isn't optional. The tape gives the plaster face a layer to grab onto when the drill bit exits, and it cuts chip-out by about 80%. I've drilled 50+ plaster holes with and without tape. The difference is not subtle.
Step 2: Drill at low speed with light pressure. Set your drill to the lowest speed. Use a masonry bit, not the wood bit you used on drywall last week. Hold the drill perfectly straight (90° to the wall) and let the bit do the work — don't push. The first 1/8" is the danger zone where the plaster face wants to crack. Slow speed + light pressure + masonry bit = clean hole.
Step 3: Drill to the lath, then stop. You want to go through plaster (about 1/2" to 7/8" depending on age) and into the wood lath behind it. The lath is what holds your screw. Drill until you feel the resistance change — the bit goes from "grinding" to "biting wood" — and stop there. Don't keep going; you don't need to go all the way through the lath.
Step 4: Vacuum dust, then insert the plaster hook. Hold the vacuum hose right at the hole as you pull the bit out. Plaster dust is fine and gets everywhere. With the hole clean, slide the plaster hook's pre-set nails in at the angles the hook dictates (usually 30° down from horizontal). Tap gently with a hammer until flush.
Step 5: Hang the mirror and step back. Check with the level. If the mirror leans, you don't pull the hook out — you nudge it sideways and re-tap. Plaster hooks can be removed and re-set 2-3 times before the hole gets sloppy.
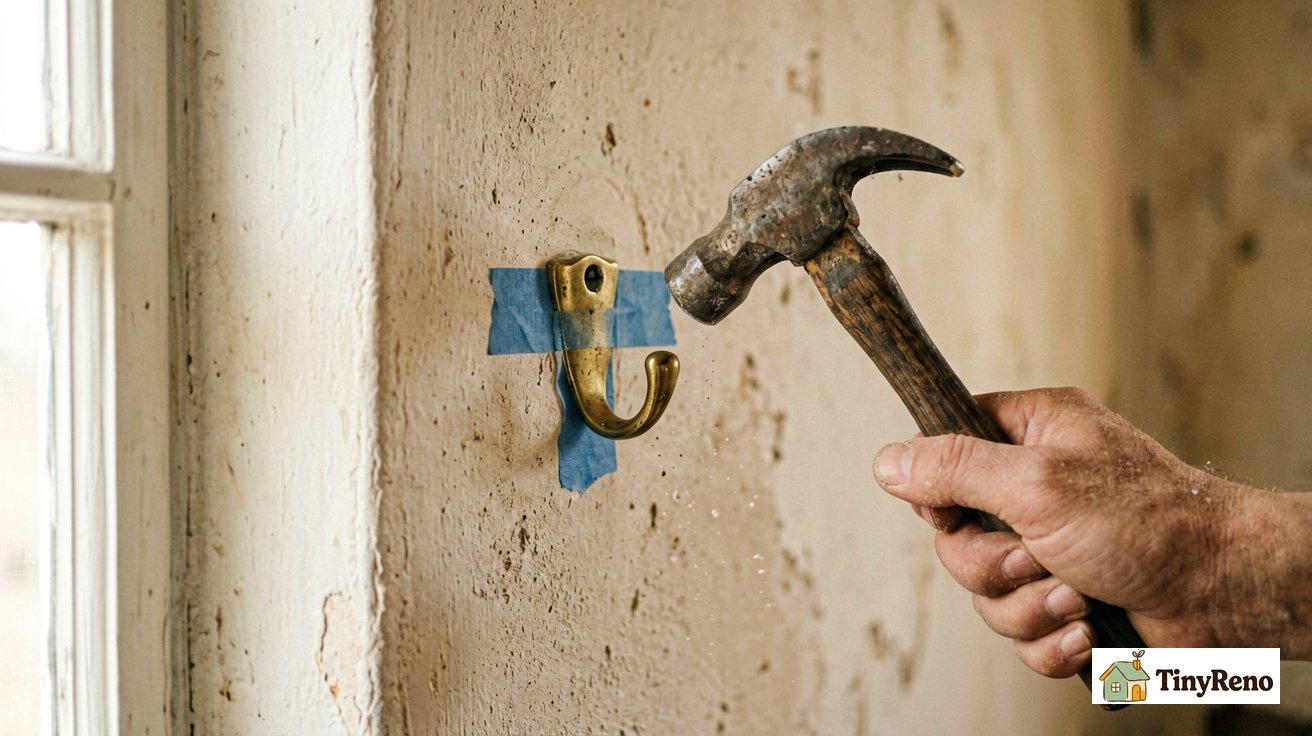
This method takes about 10 minutes per hole and leaves 2-3 small nail holes when you move out. Each nail hole fills with a dab of spackle and disappears under paint. Wait the right amount of time before you sand and paint over the patch — sand too early and you'll gouge the hole; paint too early and the patch shrinks back. I timed four spackle products and wrote up the actual dry times in this spackle drying guide. Compare to the $90 chunk I pulled out of the wall in my first week.
The 3 Things You Never Drill Into (And How to Spot Them)
Stud finders don't see these. The magnet trick doesn't see these. The only way to avoid them is to know they exist and look for signs before you drill.
1. Electrical wires. Old plaster walls often have knob-and-tube wiring or early Romex stapled to the lath. The dangerous spots are horizontally within 6 inches of an outlet or switch (wires run up from the box, then horizontally to the next box) and vertically directly above or below any outlet. If you're drilling horizontally more than a foot from any outlet, you're probably safe. If you're going vertical, drill at least 6 inches away from the outlet's center line.
2. Water pipes. Bathrooms and kitchens have pipes in the walls, especially on the side with the sink or tub. Plumbing usually runs vertically from the fixture up or down. Never drill more than 1-1/2" deep in a bathroom or kitchen wall without first opening the wall — the pipe is probably right behind the plaster.
3. The empty space between lath strips. Wood lath is 1/4" strips with 1/4" to 1/2" gaps between them. If your drill bit goes through the plaster and then keeps going with no resistance, you've missed the lath and you're in dead air. Pull out, move 3/4" over, and try again. This is the most common reason a "drilled hole" doesn't hold a screw — the screw is in the gap, not the wood. If you miss the lath three times in a row, stop drilling. You're likely in the middle of a wide gap. For heavy items, switch to a French cleat system (which spreads weight across a wider area) or use heavy-duty adhesive hooks rated for the weight. Never drill a large hole hoping to "find" the lath.
Final rule from my landlord, who has patched 40 years of tenant damage: if you have to ask whether you should drill, ask the landlord first. A 5-minute phone call is cheaper than a security deposit deduction, and most landlords will tell you exactly where the studs and wires are because they want their walls intact too.


Discussion (0)
Sign in to join the discussion