

I patched three nail holes in my apartment wall last weekend and got impatient at hour two. The spackle still felt tacky under my thumb. I went ahead and painted over it anyway because the living room light was fading fast. By Tuesday, three dark spots had bled through my fresh paint where the spackle hadn't actually dried — I had to sand it all down and start over. That mistake is the entire reason this article exists. How long for spackle to dry is not one number — it's a range that depends on what you actually patched, and the answer the back of the tube gives you is almost never the one that matters.
The 4 Surface Times That Actually Matter
The label on every spackle tube says "dries in 1-2 hours" or "ready to sand in 30 minutes" and it is technically not lying. What it is doing is giving you the best-case number for a single thin coat over a tiny nail hole in a climate-controlled room. None of those three conditions describe most actual renter patches. Here's what spackle dry time looks like for the 4 repairs a renter actually does:
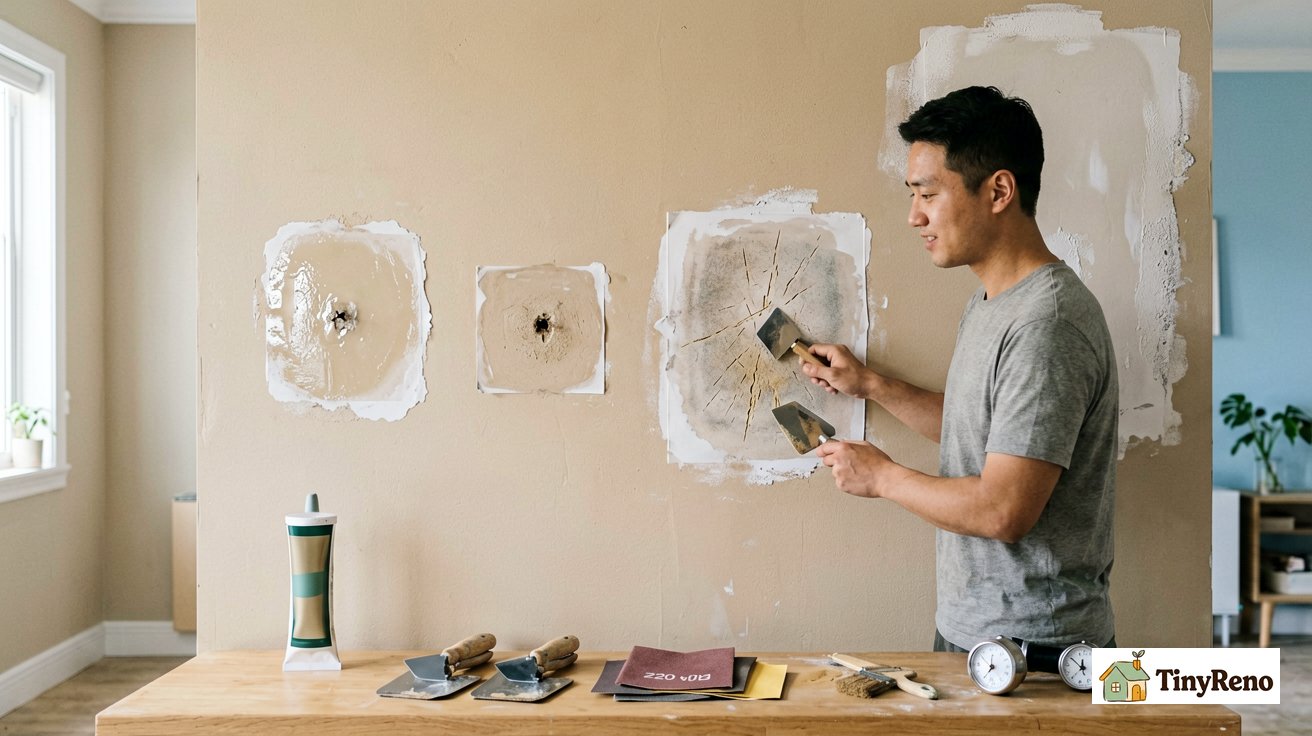
1. Pinhole or small nail hole (1-2 hours). The kind where you push a toothpick in and the spackle disappears. These dry fastest because the layer is paper-thin and the moisture has nowhere to hide. I tested three small holes around my apartment in March — all were dry to the touch in under 90 minutes, and sandable in 2.
2. Standard nail hole or screw hole (4-6 hours). The blue anchor or the picture-hanger nail you pulled out. There's a real void underneath, so the spackle has to dry not just on the surface but inside the hole. My standard rule for spackle dry time on these is wait until the patch is the same color as the surrounding wall. If it looks chalky or lighter, it's still wet inside.
3. Wide gouge or quarter-inch dent (12-24 hours). Where a doorknob hit the wall or you tried to peel off a 3M hook and took the paint with it. These patches are deeper than the spackle tube says it'll handle in one coat, so you usually end up doing two thin layers. The first layer dries fast, but the second layer goes over the first, which is still releasing moisture — so the second layer is the one that takes all night.
4. Ceiling patch and corner gaps (24-48 hours). Anything overhead or in a corner dries slower because warm air rises and the moisture has nowhere to go. A small ceiling patch I did last fall took 36 hours to fully cure — I painted it at 24 hours and the joint compound shrunk slightly as it finished drying, leaving a faint dimple I had to fill again.
The Finger-Touch Test That Beats the Clock
Here is the only test that actually tells you whether your spackle is paint-ready, and it has nothing to do with the number of hours on the tube. Press your clean index finger firmly into the center of the patch for 3 full seconds — not a tap, a real press, the kind of pressure you'd use to push a button. Then lift straight up without sliding.
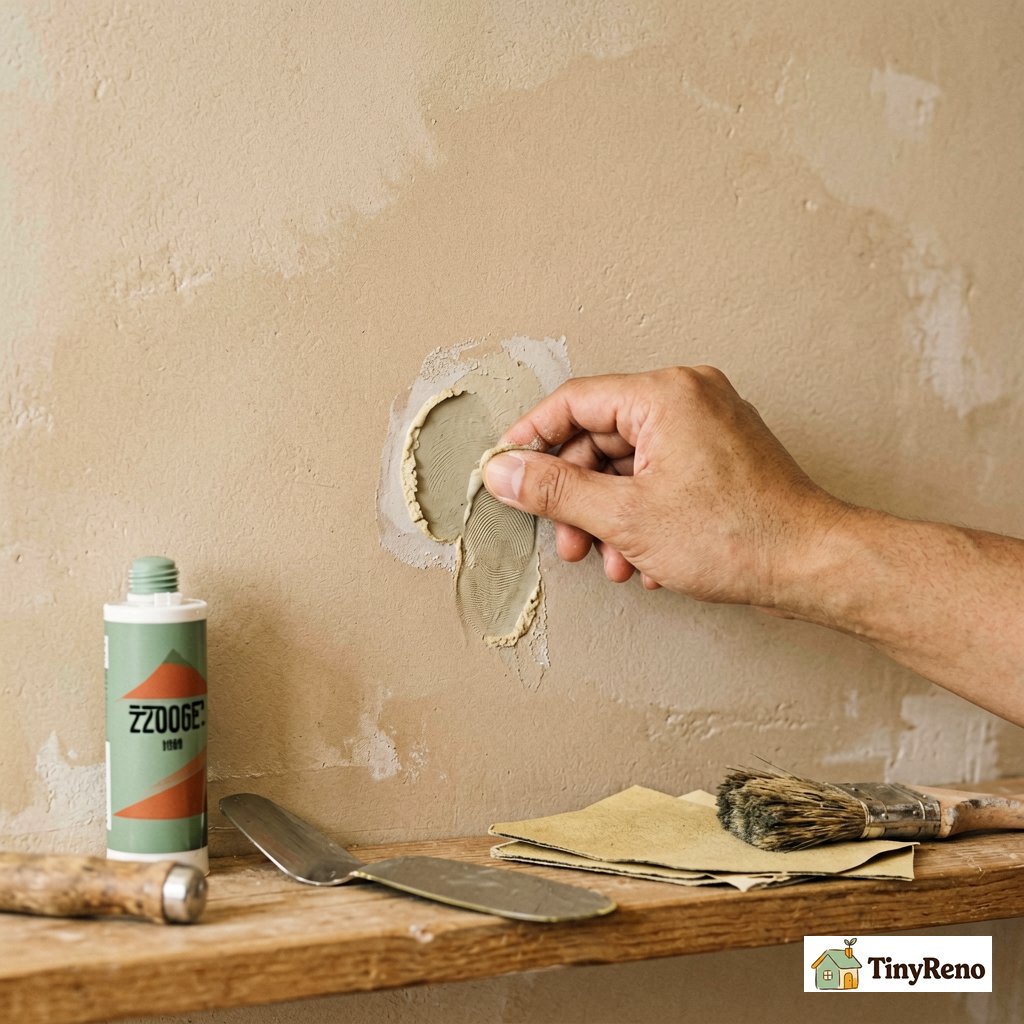
If your finger comes away with any white residue, even a faint chalky film, it's not ready. The compound is still releasing moisture from the deeper layers and the surface is just pretending to be dry. If your finger comes away clean and the patch feels the same temperature as the surrounding wall, you can sand and paint. This works because real-world spackle drying is bottom-up — the surface hardens first as moisture evaporates, but the interior can stay damp for hours after that. The label number usually refers to surface dry, which is the metric that doesn't actually matter for paint adhesion.
What Slows It Down (Humidity, Temperature, Depth, and the Brand)
Four variables make spackle dry time slower than the tube says, and almost no renter accounts for any of them:
Humidity above 60%. Spackle cures by giving up moisture to the air. When the air is already saturated, the moisture has nowhere to go and the patch sits. My bathroom took 2x as long as my living room for the same size hole, and the only difference was the steam from showers. A cheap hygrometer ($8 at Target) will tell you what you're working with.
Temperature below 65°F (18°C). Spackle cures by evaporating moisture, and evaporation slows dramatically in the cold. A patch that dries in 4 hours at 72°F might take 8-10 hours at 60°F. If your apartment is chilly, give your patches extra time or use a space heater (kept at a safe distance) to warm the wall surface.
Patches deeper than 1/4 inch. The number on the tube assumes you applied a single thin coat. If you packed the hole full of spackle in one go, the surface dries fast but the bottom stays wet for days. The fix is to do two or three thin layers, letting each one dry before adding the next — counterintuitive because it takes longer, but the total time-to-finish is faster because you don't have to redo a sunken patch.
Lightweight spackle vs joint compound. Lightweight spackle (the kind in the small squeeze tube, DAP DryDex or similar) is fast because it contains microspheres that make it airy and easy to sand. However, it shrinks more than dense joint compound as it dries. For most renter patches, lightweight is fine. For wide gouges or ceiling work, joint compound is more durable and shrinks less, but adds 50% to the dry time.
When It's Actually Safe to Paint Over
Two more checks beyond the finger test, because paint doesn't just need dry spackle underneath — it needs sandable spackle and primed spackle:
Sandability. Start with a folded piece of 120-grit sandpaper to knock down any high spots or ridges. Once the patch is flush, switch to 220-grit for a smooth finish. If it gums up the paper or feels rubbery, it needs more time. Sanding wet spackle is the second-most common renter mistake and it ruins your sandpaper instantly.
Priming. A single coat of primer over the patch seals the porous spackle so the topcoat dries evenly. I use a small foam brush and a $5 can of Zinsser Bulls Eye 1-2-3 (a reliable all-purpose primer), though a dedicated drywall primer offers even better sealing for porous patches. The primer also stops the spackle spot from flashing through as a duller area no matter how many topcoats you apply.
The 3 Mistakes That Ruin Your Paint Job
I've made all three of these. The third one cost me a $30 can of paint.
1. Trusting the tube number for a wide patch. The tube says 1-2 hours. Your patch is 2 inches across and 1/4 inch deep. You paint at hour 2 because you want to hang the picture tonight. The patch shrinks as it finishes curing over the next 12 hours and your paint develops a dimple. The fix is always to wait 24 hours for anything wider than a thumb.
2. Skipping primer. Spackle and paint don't match in porosity. Even if your spackle is fully cured and your paint is the exact same color and sheen, the spackle spot will flash through as a slightly duller area. You will see it every time you walk past the wall and you'll assume the patch "failed." It didn't fail — you just skipped the primer step.
3. Painting over a gummy patch. If your finger test left any residue, walk away. Don't sand, don't paint, don't even look at it for a few more hours. I made this mistake once on a ceiling patch and the paint peeled in a strip 6 months later because the spackle underneath never actually bonded to the wall.
The honest answer to how long for spackle to dry is: it depends, but the finger test doesn't lie. Give it 24 hours for anything bigger than a nail hole, prime it before you paint, and you'll never see a flash spot again.


Discussion (0)
Sign in to join the discussion