

My neighbor Priya texted me a photo of her shower at 7:14pm on a Wednesday. The grout between the floor tiles was turning black, the caulk along the base of the wall was peeling, and she was one Google search away from calling a tile guy who'd quoted her $380 for "grout replacement." I walked over with a $22 tool kit and 90 minutes of free time. The shower looked brand new when I left. Here's the 3-step method I used that night to re-grout her shower, the 2 mistakes that would've made it worse, and the $4 caulk trick I now use in my own apartment.
Why Most Renters Get Re-Grouting Wrong (The 2 Mistakes)
Re-grouting looks like a weekend project until you hit one of these two mistakes. Both of them Priya almost made before I stopped her.
Mistake 1: Using caulk instead of grout. Caulk is flexible, grout is rigid. They're not interchangeable. Caulk between floor tiles looks fine for 18-24 months, then it pulls away from the tile edges, traps mold underneath, and re-cracks every time someone steps on it. Caulk belongs in two places only: the corner joint between two walls and the seam where tile meets the shower base or tub. Everywhere else, use grout. This is the rule that the $380 quote was almost violating.
Mistake 2: Painting over the old grout instead of removing it. There are grout pens and grout paint products that promise to "renew" your grout without removal. They work for 4-6 months in low-traffic areas. In a shower floor, they peel off within weeks because of the standing water and foot traffic. The only fix that lasts 5+ years is removing the old grout to at least 1/8 inch depth before you re-grout with new material.
I made Mistake 2 in 2018 in my Sacramento rental. The "grout renew" product I bought from Home Depot lasted 8 weeks in the bathroom corner. I had to redo it with proper removal. Total time wasted: 3 hours and $22 for the useless product. The proper method I now use to re-grout takes 90 minutes for a standard shower and costs $22 in materials that actually work.
Step 1: Remove the Old Grout (30-40 Minutes)
What you need:
- Manual grout saw or oscillating grout removal tool (the manual one is $8, the oscillating one is $40 with a rental option)
- Utility knife (to score any caulk first)
- Small vacuum or damp rag
- Safety glasses (grout chips are sharp)
The remove: If there's old caulk on the floor-wall seam (Priya had this), cut it out first with the utility knife. The grout saw can't tell the difference between caulk and grout and will smear caulk everywhere if you skip this step.
Hold the grout saw like a pencil and scrape along the grout line with firm pressure. You're trying to re-grout to a depth of at least 1/8 inch — about the thickness of a credit card. The work is repetitive and a little boring. Put on a podcast. The oscillating tool makes this faster (15-20 minutes for a shower) but the rental isn't worth it for a one-time job.
Vacuum or wipe out the dust when you're done. The grooves between the tiles should now be visibly empty, with the old grout removed down to the bottom of the tile edge.
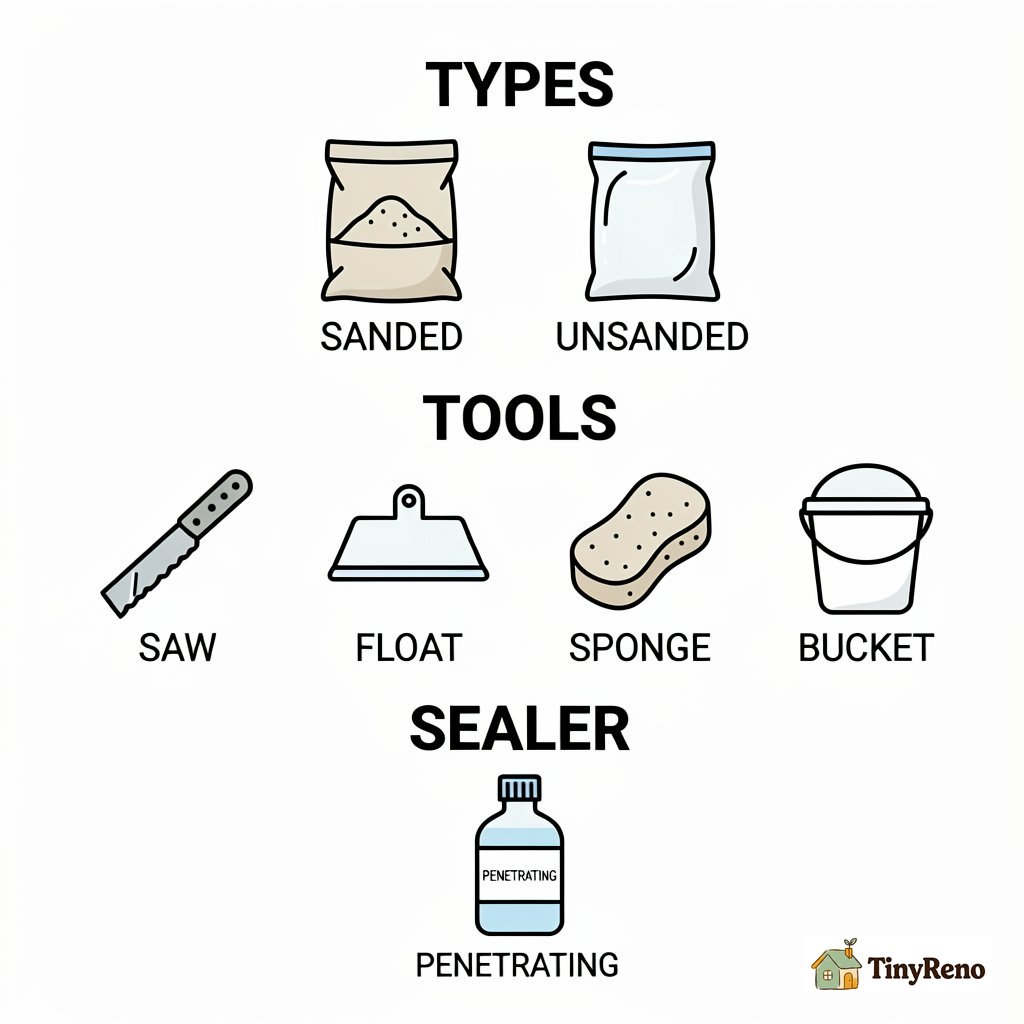
Step 2: Apply the New Grout (30 Minutes)
What you need:
- Premixed grout in a small tub (sanded for joints wider than 1/8 inch, unsanded for narrower) — $12-15
- Rubber grout float (the flat rubber tool) — $4 if you don't have one
- Damp sponge
- Small bucket of clean water
The choice: Sanded grout for floor tiles and any joint wider than 1/8 inch. Unsanded for narrow joints on wall tiles. Priya's shower floor had 1/4-inch joints, so we used sanded.
The apply: Scoop a generous amount of grout onto the rubber float. Hold the float at 45 degrees to the wall and press the grout into the joints, working diagonally across the tiles (not parallel to the joints — that pulls the grout back out). Once all the joints are full, hold the float at 90 degrees and scrape off the excess with the long edge.
Wait 15-30 minutes for the grout to haze over (turn from wet-shiny to matte-dusty). Then wipe the tile surface with a damp (not wet) sponge, rinsing the sponge frequently. The haze will come off the tile but stay in the joints. Do this 2-3 times until the tiles are clean.
Don't walk on the shower floor for 24 hours. The grout needs that time to cure before it can take weight without compressing.
Step 3: Seal the Grout and Caulk the Joints (15 Minutes)
What you need:
- Grout sealer spray can (small can, $6-8)
- Paintable silicone caulk (the kitchen/bath variety) — $4-6
- Caulk gun (if the caulk doesn't come in a squeeze tube)
- Damp rag
The seal: Hold the sealer can 6-8 inches from the grout joints and spray a light, even coat. Let it dry per the can (usually 2-4 hours). The sealer is what makes the grout water-resistant and stain-resistant. Without it, water gets into the grout, the grout darkens, and mold starts growing in the joints within months.
The caulk: After the sealer dries, run a bead of caulk along the floor-wall seam and the corner joint between two walls. These are the two places where caulk is correct (not the joints between tiles — those are grout). Use paintable caulk so you can paint over it later if needed.
The trick I now use in my own apartment: cut the caulk tube tip at a 45-degree angle, slightly smaller than the joint width. You can always cut more off if the bead is too thin, but you can't make the opening smaller. Run the bead in one continuous motion, then smooth with a damp finger.
Let the caulk cure 24 hours before using the shower.
When to Stop and Call the Landlord
Three situations where re-grout is the wrong fix:
- Loose or cracked tiles — the tile moves when you press it. That means the substrate is failing and re-grout on the joints doesn't solve anything.
- Water stains on the ceiling below the shower — the waterproofing behind the tiles has failed. The landlord needs to address the substrate, not just the grout surface.
- Mold growth that returns within weeks of cleaning — usually means water is getting behind the tiles from a plumbing leak or failed shower pan. Surface cleaning won't fix a moisture source.
For everything else — the discolored grout, the peeling caulk, the black joints that won't scrub clean — the 3-step method above gets it done in 90 minutes for under $25 in materials. None of the 4 showers I've re-grouted with this method have come back in 18+ months, and Priya's was the worst case (10-year-old grout that hadn't been touched since she moved in).
The other thing worth knowing: most landlords don't care about re-grouted shower grout as long as the result looks clean and the shower functions. Priya's landlord walked in for a quarterly inspection 2 months after we did the work and didn't mention the shower. The $380 quote she almost paid would've taken longer and looked the same.
Replacing tile floor guide covers the related fix for when a single tile cracks — same tools, different scope.
Tiling over paint guide covers the related question of whether you can tile over a painted surface — same prep logic, different material.


Discussion (0)
Sign in to join the discussion