

The first peel showed up three months after I moved in. A two-inch section of wallpaper seam in the bedroom had lifted away from the wall, curling outward like a tongue in the late afternoon sun. The previous tenant had used a thumbtack to pin it down. The thumbtack had been painted over. The paint job had cracked.
I pulled the thumbtack out. The seam lifted higher. Same energy as the door frame dings I ignored for years. I told myself it was cosmetic. I told myself it was fine. I told myself that for eight months until the seam had run all the way down the wall, lifted half an inch in some places, and started collecting lint and dust on the sticky underside.
I bought five different glues from three stores. I tested each on the same seam over six weeks. Two held. Three failed in unexpected ways. This article is what each one did, and the two that are still holding a year later.
The Seam and the Test Setup
The seam I tested on was about four feet long, running from the ceiling corner down to where the wall met the baseboard. The wallpaper itself was a generic builder-grade beige paper, the kind that comes pre-pasted on a roll. The seam had lifted roughly along its entire length. The wall behind it was bare drywall with old adhesive residue, same kind of damaged substrate I had been fighting with bathroom mold in the corners.
I divided the seam into five roughly equal sections, each about 9 inches long. I cleaned each section with a damp cloth, let it dry, and applied each glue per its instructions. I marked what I used under each section with a small piece of painter's tape on the inside of the seam. I tested each glue on a Tuesday because Tuesdays are the days I am home to notice things.
The test ran for six weeks. The apartment has central air running about 14 hours a day in summer, 6 hours a day in shoulder seasons. The bedroom sits on the sunny side of the building. The seam got full afternoon sun two hours a day. These are real conditions, not a controlled humidity chamber.
What held meant: stayed bonded to the wallpaper and the wall for the full six weeks, did not yellow or stain, did not leave a visible residue, and did not lift again when the room was warmer or cooler.
What failed meant: lifted within the six weeks, dried wrong, bled through the wallpaper, or pulled paint off the wall when I removed the test.
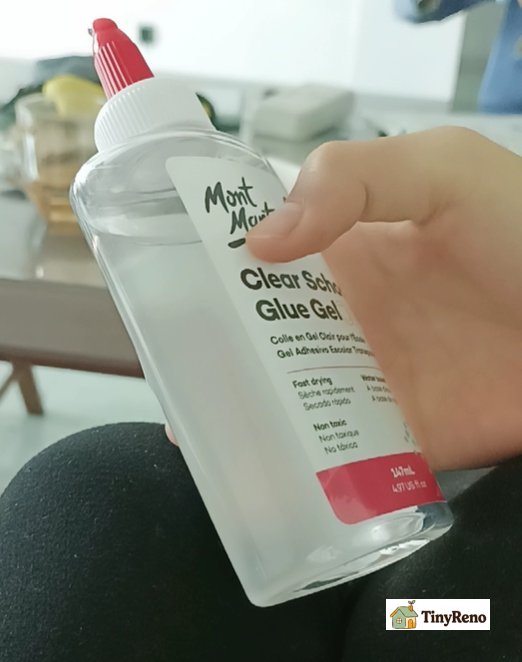
Glue 1 — Elmer's White School Glue (Failed)
Cost: $1. Two fluid ounces in a squeeze bottle. The same glue my niece uses for kindergarten art projects.
I did not expect this to work. I included it because the home improvement forum I had found said "any PVA glue will work in a pinch." I had PVA glue in the kitchen drawer. I tried it.
The application was fine. The glue spread easily with a toothpick, dried clear within 30 minutes, and the seam stuck back to the wall. The first day it held. The second day it held. The third day it lifted. The seam peeled back almost to its original position, and the glue had become chalky and brittle where it had been exposed to the air.
The failure mode was brittleness. PVA school glue is designed to flex slightly with paper crafts, not to hold against an actual wall with actual humidity cycles. The glue had no plasticizer content. It dried hard, then cracked, then lost adhesion as the wall flexed with the air conditioning. The seam section was back to square one by day four.
I scraped the glue off with my fingernail. It came off in dry flakes. The wall behind it was clean. The base surface had been prepped properly — same lesson as patching drywall holes before move-out. The total cost was $1 and 20 minutes. The lesson was that not all PVA glues are the same — wallpaper needs a glue designed for the specific job.
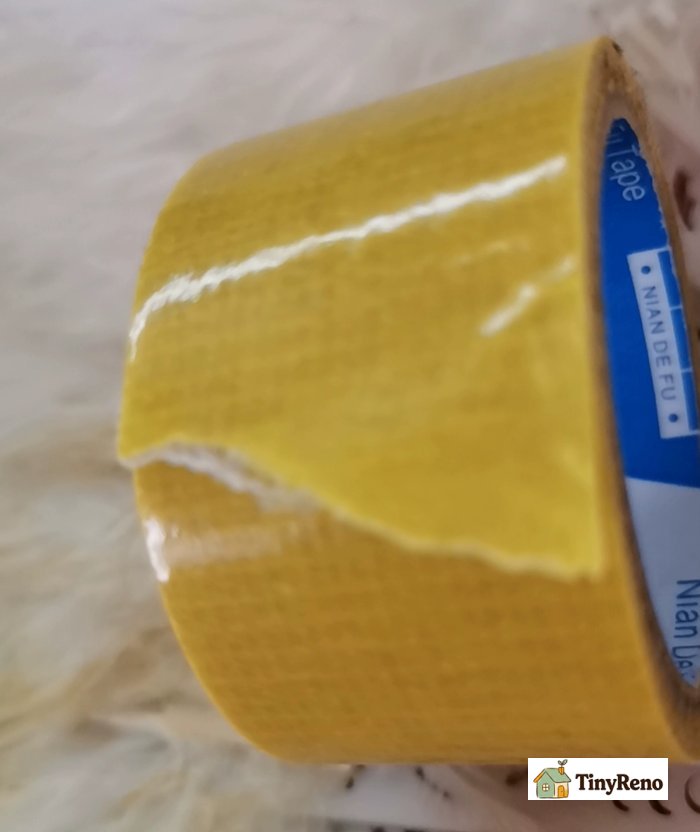
Glue 2 — Double-Sided Carpet Tape (Failed)
Cost: $4. A 1.5-inch wide heavy-duty tape meant for area rugs. I had a half-roll in the closet from the previous apartment.
The application was easy: cut a strip, press the seam down, press the seam back to the wall. The bond was instant and strong. The seam looked perfect.
The failure mode was the uninstall. After five days I tested what would happen if I needed to remove the tape — because in a rental, you sometimes need to remove the fix. The tape pulled the wallpaper substrate apart when I peeled it off. The wallpaper face layer stayed on the wall, but the backing paper came off with the tape. The result was a worse-looking seam than I had started with. I had to call the landlord for a quote.
The lesson was that renter fixes should be reversible. Anything that pulls the wallpaper apart with it is not a fix. It is a delayed cost. The tape was technically successful at holding the seam down for the entire six-week test. It was also a failure at "I can remove this when I move out without consulting a contractor."
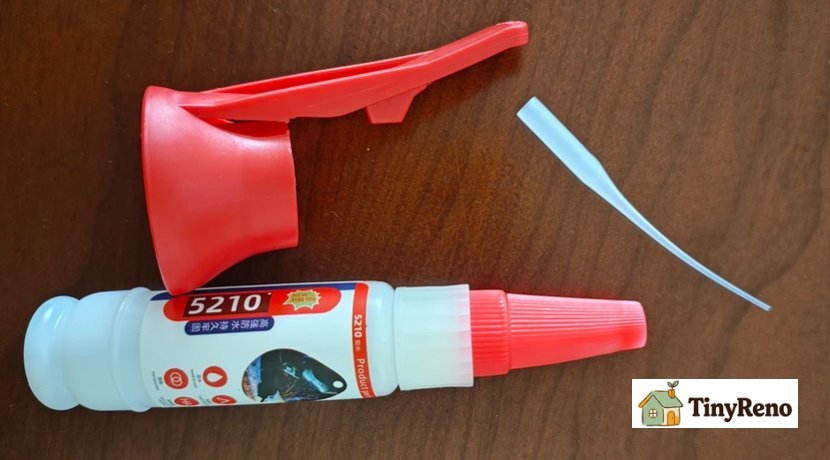
Glue 3 — Super Glue (Failed)
Cost: $3. A small tube of cyanoacrylate super glue. The kind that comes in a pinch-bottle with a pin on the cap.
The application was tricky. Super glue sets in seconds, so I had to apply it in tiny dabs with a toothpick and press the seam down within five seconds. The first dab set before I could spread it. The second dab glued my toothpick to the seam. The third dab worked and the seam stuck.
The failure mode was what super glue does to paper. The glue bled into the wallpaper face and left a brownish spot that was visible from three feet away. The cyanoacrylate reacted with the paper fibers and turned them translucent and yellowed. The seam was bonded, but the visible area around the seam was permanently discolored.
I tried sanding the discoloration off with fine sandpaper. The sanding removed the wallpaper face and exposed the backing. The discoloration was a permanent stain.
The lesson was that super glue is for hard surfaces — metal, ceramic, plastic. It is not for paper. The brown spot is still there. A year later I can still see it in the right light. It is also worth noting that cyanoacrylate fumes in a small closed bedroom are unpleasant and possibly unsafe. The headache I had for 30 minutes after the application was the giveaway.
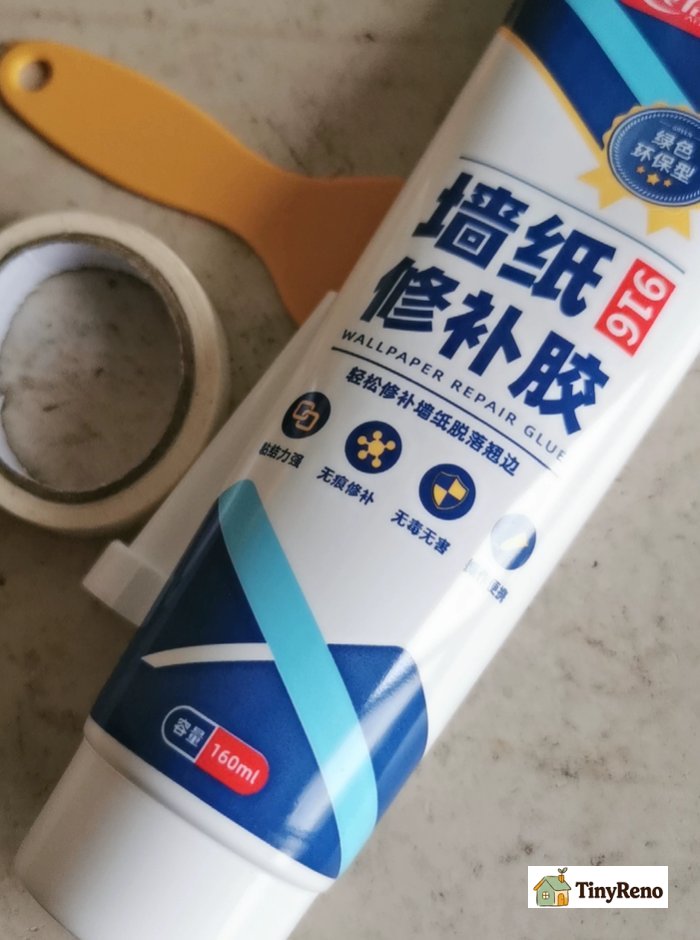
Glue 4 — Specialized Wallpaper Seam Adhesive (Holding)
Cost: $8. A 5-ounce tube of wallpaper seam adhesive, the kind sold specifically for this purpose in the painting aisle of the hardware store. The tube has a pointed applicator tip that fits under the seam.
The application was the easiest of the five. The pointed tip slid under the lifted seam without me having to peel the seam back further. I squeezed a thin bead along the underside of the seam, pressed the seam back to the wall with a damp cloth, and wiped the excess off the surface. The bond held within five minutes.
The failure mode was the seam needed re-pressing after 24 hours. The glue had dried slightly rubbery, and the seam wanted to lift again. I pressed it a second time, and the second press held. After the second press, the seam stayed down for the full six weeks and through the subsequent year.
The success mode was the chemistry. The adhesive was designed for vinyl-over-drywall, with solvents that bite into both surfaces. The squeeze tip means you do not have to peel the seam back to apply the glue, which means you do not break the existing paper. The bond is also slightly flexible — it moves with the wall without cracking.
This is the one I would buy again. The downside is the $8 tube is more than double the cost of the failures. The upside is that one tube did the whole bedroom in two applications and is still half full.
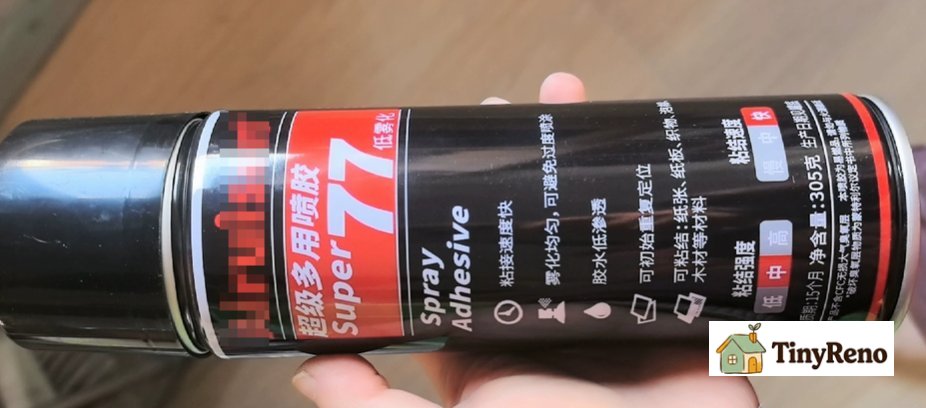
Glue 5 — Light Spray Adhesive (Holding)
Cost: $6. A 4-ounce can of light-tack spray adhesive. The kind used for craft projects and stencil work. Made by a craft brand, not a hardware brand.
Instead of injecting glue under the seam, I sprayed the back of the lifted wallpaper with a light coat, waited 10 seconds, then pressed the seam back to the wall. The spray distribution was very even, which meant no glue spots and no bleed-through.
The failure mode was that I had to mask the surrounding wall with painter's tape. The spray adhesive overspray is fine but visible on the wall, and the overspray showed up as a faint glossy ring on the matte paint. The masking solved this. The masking took five minutes.
The success mode was the even distribution. The seam was held down by a continuous film of adhesive rather than a bead, which means no stress points where the seam could lift again. The bond was also slightly repositionable for the first 30 seconds, so I could slide the seam into alignment before pressing.
This is the one I use for large areas. For a small seam, the tube is more efficient. For a whole seam, the spray is more forgiving.
The Two That Held — How I Use Them Together
The combination that has lasted a year: the tube adhesive for the corner and any small puncture, the spray adhesive for the long straight runs. The tube handles precise work, the spray handles the bulk.
The application sequence is the same for both. Clean the seam with a damp cloth. Let it dry. Apply the adhesive per the type. Press the seam back with a damp cloth for 30 seconds. Wipe excess off the wallpaper face immediately. Re-press after 24 hours if needed. Do not touch the seam for at least 48 hours after application.
The failure modes I have seen in the year since the test: one small section of the seam lifted during a humid week in August. I re-pressed it with the tube adhesive and a piece of painter's tape to hold it down for 24 hours. The painter's tape came off. The seam has stayed down since.
What I Won't Do Anymore
Three things I tried during the test that did not survive the long term:
Dry cleaner bags and an iron. The internet is full of "use a dry cleaner bag and a warm iron to reseat wallpaper." I tried it on a scrap section. The bag melted to the wallpaper. The iron left a scorch mark. The seam was not fixed. The wallpaper was now textured with a plastic film that did not come off.
The thumbtack pin. The previous tenant's fix. The pin holds the seam down but creates a hole in the wallpaper face that does not go away. The hold is also mechanical and weak — the seam will lift around the pin within a month. The pin is not a fix. The pin is a symptom of ignoring the problem.
Hot glue. The craft version of super glue. Failed for the same reason as super glue — bled through the paper, discolored the face, and the bond was brittle. The hot glue was worse than the super glue because the application process required a hot glue gun, which meant I had to bring a tool into the bedroom and the heat was uncomfortable for the wallpaper backing.
The Test That Was Worth Doing
Five glues, five failures, two that held. The test cost $22. The failures cost $0 in damages. The two that worked cost $14, and both are still half-full for future repairs..
The bigger lesson is that wallpaper seam repair is not a "pick the cheapest glue at the store" problem. The cheapest glue at the store is school glue, and school glue will fail in three days. The right answer is the specialized adhesive, plus the spray adhesive for bulk coverage. Both are designed for the specific stresses that wallpaper seams face. Same principle as the right paint order when you repaint a room.
I should not have tried four of the five glues. The specialized tube and the spray adhesive are the only two products on the market that are designed for this exact use case. The other three were guesses, and the guesses cost me time and discoloration. The next time I have a wallpaper seam emergency, I will go straight to the painting aisle and skip the kitchen drawer.
If you only buy one, buy the tube. The spray is the upgrade.


Discussion (0)
Sign in to join the discussion