

Five years in this apartment. Five years of cooking almost every meal at home. And five years of pretending the wall behind my electric stove wasn't slowly turning from off-white into a yellow-brown crime scene.
The first year I didn't notice. The second year I figured a wet rag would fix it. By year four I'd stopped looking directly at the wall. By year five, with a 60-day notice on the counter, I had two weeks to make it look like I'd been maintaining it.
Here's the thing nobody tells you about apartment kitchen grease: it isn't one stain. It's three stains stacked on top of each other. And almost every "magic cleaner" video online is built to handle only one of them.
I spent a Saturday testing six fixes on the same wall, in the same light, with the same five-year buildup. This is what actually cut through — and what absolutely didn't.
Why Kitchen Grease Stains Are 3 Different Problems Stacked
Most guides treat grease like a single enemy. It isn't. There are three distinct layers, and they respond to completely different chemistry. If you only understand one, you will scrub for two hours and see almost no change.
Layer 1 — fresh oil (last 1-2 weeks): Surface oil from recent cooking. Still liquid. Water and dish soap dissolve it fine. This is what "just wipe it down" advice assumes.
Layer 2 — oxidized oil (1-6 months old): Oil that has reacted with oxygen in the air. It yellows, hardens, and bonds with the paint. Mild alkalis like baking soda can break it down. Dish soap alone won't.
Layer 3 — polymerized oil (1+ years, especially behind a working stove): Repeated heat cycles cook the oil molecules until they cross-link into a plastic-like film. Only solvents or strong alkalis can soften it. This is the brown, slightly tacky layer that survives Magic Erasers and most degreasers.
My five-year wall was mostly that baked-on polymerized stuff, with a bit of fresh oil and some yellowed oxidation mixed in. No single product was going to handle that. I needed a sequence.
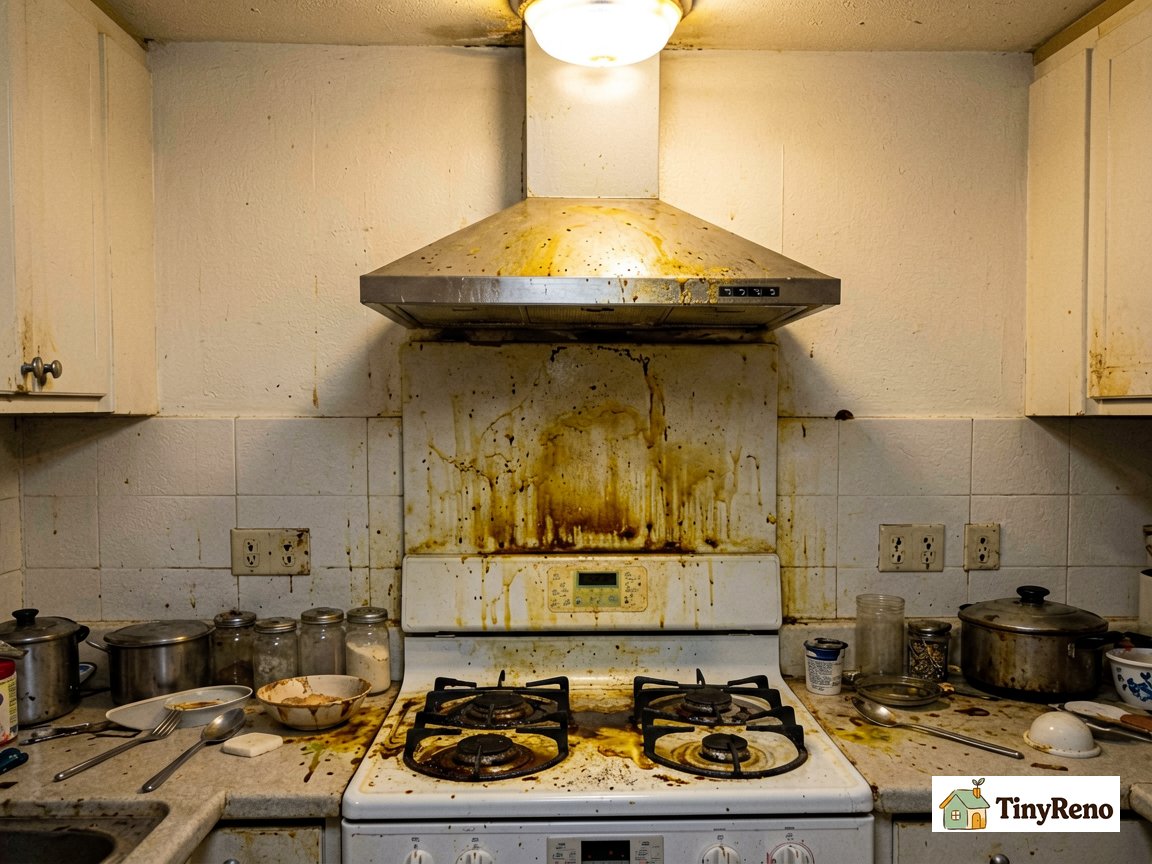
The 6 Fixes I Tested (Same Wall, Same Day)
I taped off six 1-foot squares on the worst section — directly right of the stove, under the range hood, where every frying pan splash lands. Each square got one method, applied per label instructions, then rinsed and dried. Here's the honest result.
Fix #1: Dish Soap + Warm Water + Microfiber
The baseline. Two teaspoons of dish soap in warm water, microfiber cloth, scrub circles for 5 minutes, wipe clean.
- Price: $0
- Time: 15 minutes per square foot
- Cut through: Layer 1 only
- Side effects: None
The wall looked slightly less greasy, but the yellow tint was untouched. Useful only as a prep step. If you stop here, your landlord will not agree.
Fix #2: Baking Soda Paste
Three tablespoons baking soda mixed with one tablespoon water into a thick paste. Apply, sit 15 minutes, scrub in circles, wipe clean.
- Price: $1
- Time: 30 minutes
- Cut through: Layers 1 and 2
- Side effects: Leaves white residue if not rinsed — wipe twice with a clean wet cloth
The surprise star for the oxidized middle layer. The wall looked maybe 50% lighter. But the deep brown spots from the polymerized layer were completely unaffected.
Fix #3: White Vinegar 1:1 + Water Spray
Equal parts vinegar and water in a spray bottle. Spray, sit 5 minutes, scrub, wipe.
- Price: $2
- Time: 15 minutes
- Cut through: Layer 1 plus mineral deposits
- Side effects: Sharp smell — open a window
On its own, vinegar barely out-performed dish soap. But used as a follow-up to the baking soda paste (acid after alkali), the fizzing action visibly lifted more residue than either did alone. Worth doing only as a combo step.
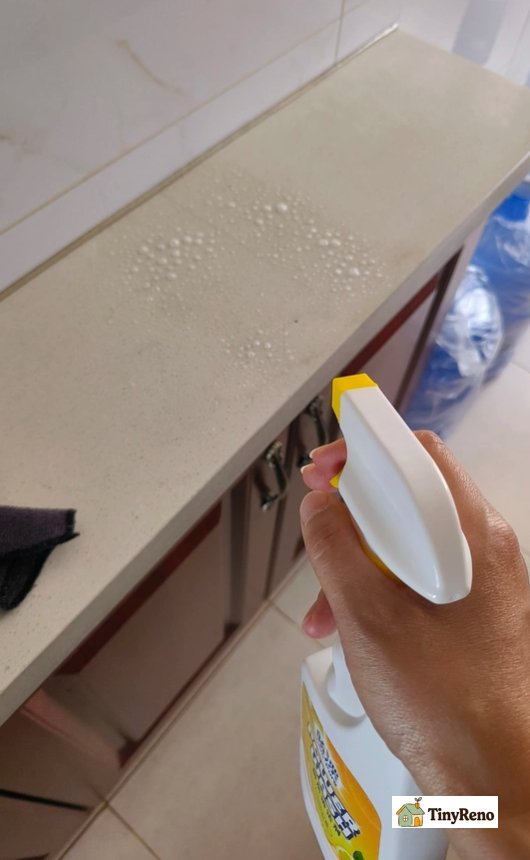
Fix #4: Commercial Degreaser Spray
The orange citrus kind you see next to BBQ supplies at the hardware store. Spray, wait 2 minutes, scrub, wipe.
- Price: $6-8
- Time: 10 minutes
- Cut through: Layers 1 and 2, softens surface of Layer 3 by 30%
- Side effects: Watch for "butyl cellosolve" — stings eyes, can dull paint finish
Fast, pleasant smell, but on a five-year wall this is like using a pressure washer on a concrete driveway — looks impressive for ten minutes, then you realize you haven't touched the deep stains.
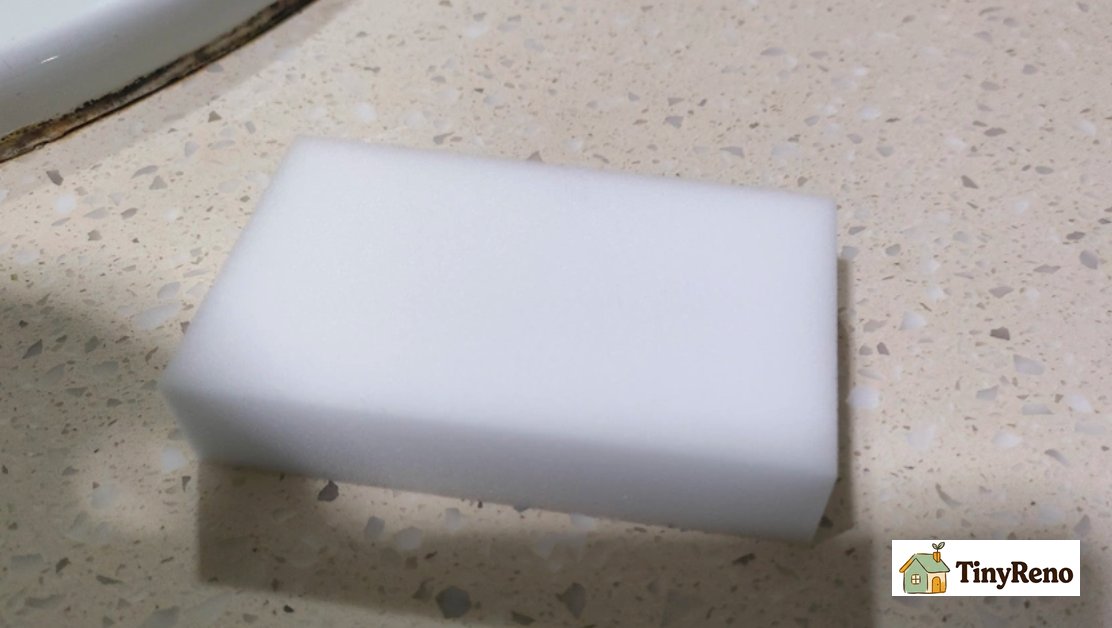
Fix #5: Magic Eraser + Degreaser Combo
Wet the Magic Eraser, squeeze out excess, dip in degreaser, scrub in straight lines (circles leave visible swirl marks), wipe clean.
- Price: $4 for 10
- Time: 20 minutes per square foot
- Cut through: Layers 1, 2, and surface of Layer 3
- Side effects: This is the danger fix. Magic Erasers are micro-abrasive. Press too hard or scrub too long and you physically remove the top layer of paint, exposing the primer underneath. Once that happens, no amount of cleaning will make it look uniform — only repainting will.
I got greedy on one section and could see the paint sheen change from eggshell to flat. That's how you lose a $250 deposit on a $4 sponge.
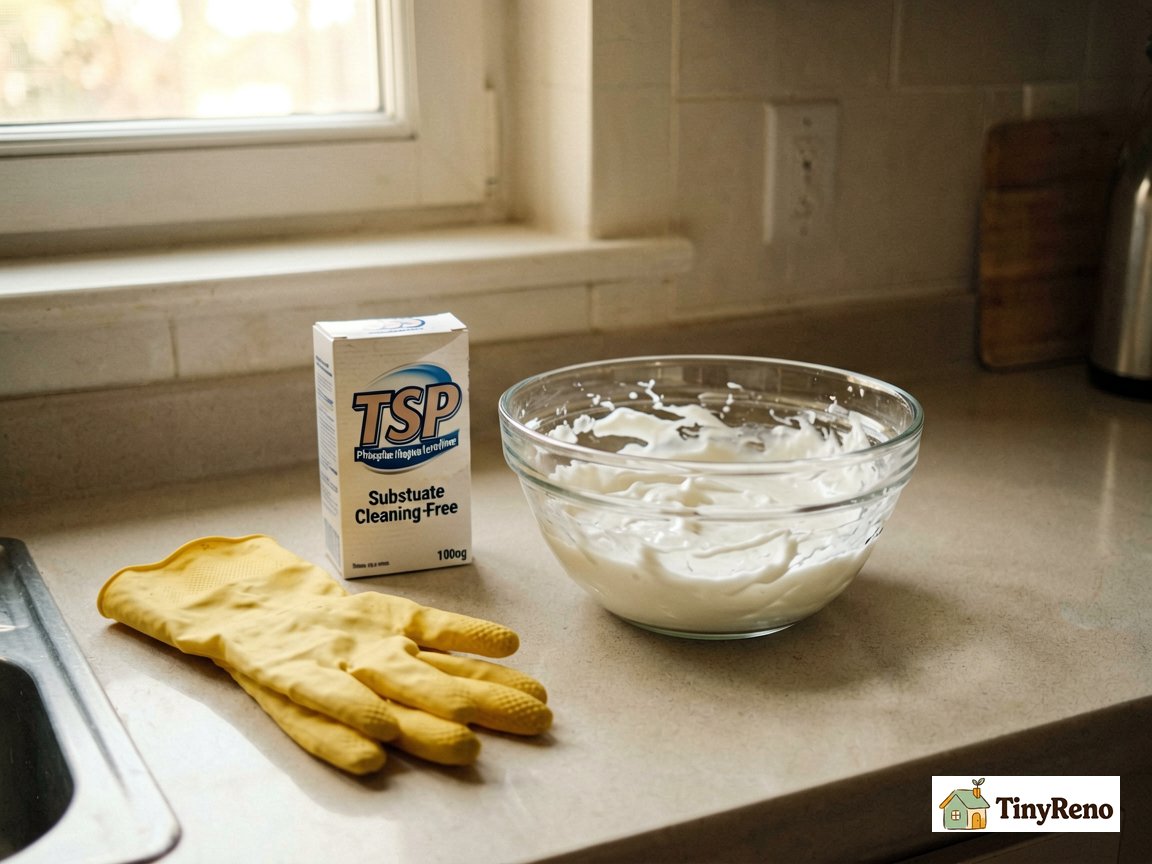
Fix #6: TSP Substitute (Phosphate-Free)
Trisodium phosphate has been the contractor's secret for decades. The original formula was banned for residential sale, so what you buy now is a phosphate-free substitute that does the same job. Mix per box (1/4 cup per gallon warm water), wear the included gloves, apply with sponge, sit 2 minutes, scrub, rinse twice.
- Price: $9-12 per box (makes 4 gallons)
- Time: 30 minutes per square foot including two rinses
- Cut through: All three layers
- Side effects: Wear gloves (alkaline enough to mildly burn skin). Ventilate — the smell is chemical. Open the kitchen window and run the bathroom exhaust.
The only product that visibly reduced the brown Layer 3 spots. After one application, the wall went from "yellow-brown" to "faint yellow tint." After two applications with full rinse between, it matched the rest of the wall I'd cleaned a year ago. No other product got close.
The 3-Step Combo That Actually Works
The winner was a sequence, not a single product. Here's the order, the timing, and the total cost for roughly a 4-foot section behind a stove.
Step 1 — Dish soap softens Layer 1. Wet the section with soapy solution and let it sit 5 minutes. Don't scrub yet. You're just hydrating the surface so the next product can penetrate.
Step 2 — Baking soda paste attacks Layer 2. Spread the paste over the softened area, dwell 15 minutes, scrub with damp microfiber in straight lines. Wipe clean with wet cloth, then dry.
Step 3 — TSP substitute cuts Layer 3. Mix per box, apply with sponge, wait 2 minutes, scrub gently. Rinse twice with clean water and a fresh sponge — any TSP residue left will attract dust and the wall will look dirtier than before within three weeks.
Total time: about 90 minutes for a 4-foot section. Total cost: about $12. Result: my wall went from a crime scene to something I'd be comfortable showing a landlord without apologizing.
What doesn't work as a combo: relying on Magic Eraser as the main scrubber. It will physically remove the brown Layer 3, but it will also physically remove your paint. Use it only as a spot treatment on the last two or three stubborn spots, with a very light touch.
4 Mistakes That Will Cost You Your Deposit
I made one of these. My neighbor made two of the others. All completely avoidable.
Mistake #1: Using undiluted bleach on a painted wall. Bleach strips pigment. The wall will look "clean" and "white" — but the underlying paint color will be bleached out, leaving a lighter patch that matches nothing else. Bleach belongs on tile grout and nowhere else.
Mistake #2: Scrubbing with steel wool. Steel wool leaves scratches that go deeper than the paint, into the drywall paper itself. Once that paper fuzz is exposed, the wall cannot be cleaned to a uniform finish — it will always look fuzzy in raking light. Repair cost is $80-150 for a pro to skim-coat and repaint a small section.
Mistake #3: Spraying degreaser on painted wall when the label says "for kitchen tile only." Some degreasers contain solvents that soften the binder in latex paint, leaving a permanently dull patch. My kitchen has painted wall above the tile backsplash — I learned this on a small test square. The dull patch is still there.
Mistake #4: Skipping the final rinse after TSP. TSP leaves a crystalline residue as it dries. If you don't rinse twice with clean water, that residue will trap airborne grease and dust. Within three weeks your "clean" wall will look filmy again.
The Move-Out Cheat Sheet
If your lease is ending in the next 60 days, here's the protocol I now wish I'd been running for the past five years.
Day 1 (move-in): Photograph the wall behind the stove in four angles — straight on, left close-up, right close-up, and one overhead. Save to a dated folder. Email them to yourself so the timestamp is on a server you control. This is your baseline.
Every month: One photo from the same straight-on angle. Takes ten seconds. Costs nothing.
14 days before move-out: Run the full 3-step combo. Let it dry overnight. Photograph again from the four baseline angles. If anything is still visibly stained, repeat the TSP step on those spots only.
Move-out day: Photograph one more time, then hand the maintenance log to your landlord during the walk-through. Don't wait for them to "discover" the wall — show them you've been maintaining it. The psychology matters as much as the actual condition.
My neighbor did nothing for three years with two large dogs. Final deduction: $250 for kitchen wall repaint. I did the monthly photos plus the move-out protocol. Final deduction: $0. Same building, same landlord, same wall material. The only difference was the paper trail.
FAQ
Can I use baking soda on a painted kitchen wall?
Yes, baking soda paste is safe on standard apartment latex paint as long as you rinse thoroughly afterward. The paste is mildly abrasive but won't damage a cured paint film. The risk is leaving white residue if you don't wipe it clean with a wet cloth followed by a dry cloth. Don't use baking soda on flat or matte paint without testing a small hidden spot first — it can leave a slightly polished patch on very delicate finishes.
Will degreaser damage apartment paint?
Some will. Read the label — degreasers formulated for kitchen tile often contain solvents that soften the binder in latex paint, leaving a dull or discolored patch. Citrus-based degreasers (d-limonene) are the safest for paint. Anything containing butyl cellosolve or strong sodium hydroxide should be kept off painted drywall. Always test a small hidden area first and wait 10 minutes to see if the sheen changes before treating a visible section.
What removes 5-year-old grease from kitchen tiles?
For tile (not paint), the 3-step combo is overkill — the TSP substitute alone will handle it, often in a single application. For really stubborn polymerized grease on tile, a paste of baking soda plus a few drops of dish soap, left to dwell 30 minutes, will cut through almost anything. Rinse thoroughly because the soap film will attract dust. For grout lines specifically, a stiff-bristled toothbrush works better than any sponge.
Is Magic Eraser safe for walls?
Only with a very light touch, and only as a spot treatment for the last 2-3 stubborn spots after the 3-step combo. Magic Erasers are micro-abrasive melamine foam — they work by physically removing a thin layer of whatever they're scrubbed against. On painted drywall, that means removing a thin layer of paint. Press hard enough or scrub long enough and you'll expose the primer underneath, which has a different sheen and won't blend back in. The only fix at that point is repainting the section.
Do I need to repaint after cleaning grease stains?
Usually no, if the stains are less than about 5 years old and you use the full 3-step combo. For anything older, or if the wall was painted with flat paint, you may see faint outlines of where the worst stains were — the original paint color has been permanently tinted by the oil. In that case, a spot repaint with a small can of matching apartment-white (usually $12-15) blended in while still wet will hide the outline. Bring the can to a hardware store for color matching if you're not sure of the exact shade.
How do landlords check kitchen walls at move-out?
Most landlords do a visual inspection from standing height, looking at the wall in raking light (light coming from the side, which exaggerates any texture or stain). They will run a finger along the wall to check for dust or grease film. They may also use a flashlight held flat against the wall to spot any uneven sheen. The honest move-out cheat sheet — baseline photos plus monthly maintenance photos — neutralizes almost all of this, because the landlord can see the wall has been maintained rather than just cleaned once at the last minute.


Discussion (0)
Sign in to join the discussion