

I owned four cube bins before I owned a real bookshelf. That ratio tells you almost everything about living in 480 square feet. By the time the bookshelf showed up I'd learned something the catalog photo doesn't show: a cube bin is a rectangle that fits almost anywhere a rectangle can go, and that turns out to be more useful than any piece of furniture I bought specifically to hold things. Three things make cube bins the renter's secret weapon — they're modular so you can rearrange when the lease changes, they assemble without tools so you don't argue with an Allen key at midnight, and if you move they collapse flat and ride inside the suitcase you would have packed anyway.
1. Pick the Cube Bin That Fits Your Space, Not the Other Way Around
The first mistake everyone makes is buying the cube bin first and the location second. I did this. I bought two 13-inch fabric cubes, walked them home, and stood in my hallway holding them like a lost suitcase because no closet was actually 13 inches deep.
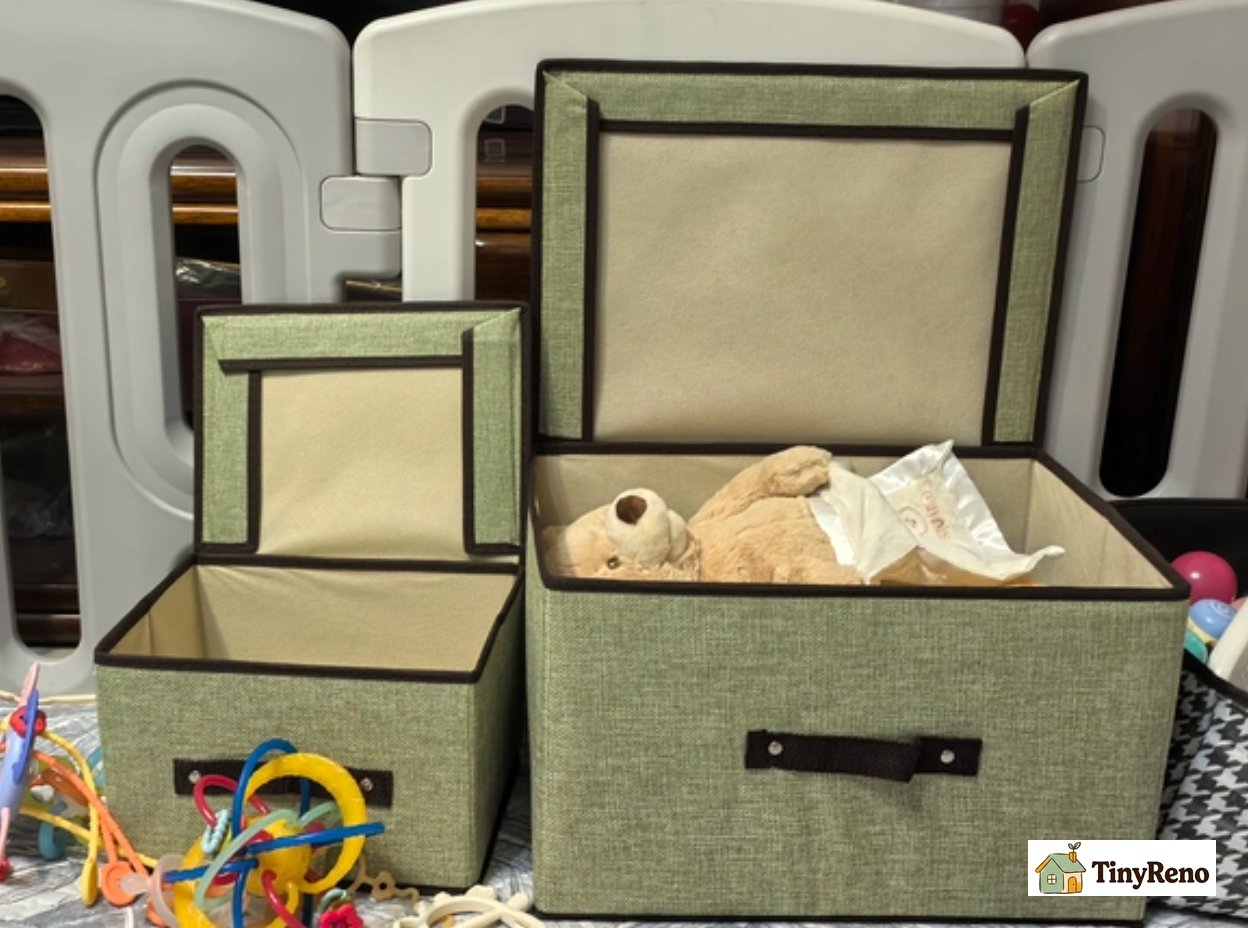
There are three common sizes and they don't play well together. The 10-inch cube is what fits inside most IKEA Kallax shelves and inside the awkward 11-inch gap most rentals have between a closet rod and the wall. The 13-inch cube is what most people picture when they say "cube bin," and it's also what most people buy without measuring. The 15-inch and up versions exist, but at that point you should just buy a shelf.
Measure your intended spot before you buy anything. Measure width, depth, and height. Then subtract one inch from each number, because cube bins always look smaller in real life than on the website. The bin you want is the one that fits with at least half an inch of breathing room on every side. If you have to jam it in, you've bought the wrong bin.
2. The 4-Cube Stack: My Entry-Level Layout That Went Everywhere
The first configuration that actually worked in my place was a 2-by-2 stack — four cubes, four feet wide, four feet tall, sitting in the corner of the bedroom where a nightstand would have been. That single stack held more than the dresser I sold the same week, and it took up roughly the same floor space.
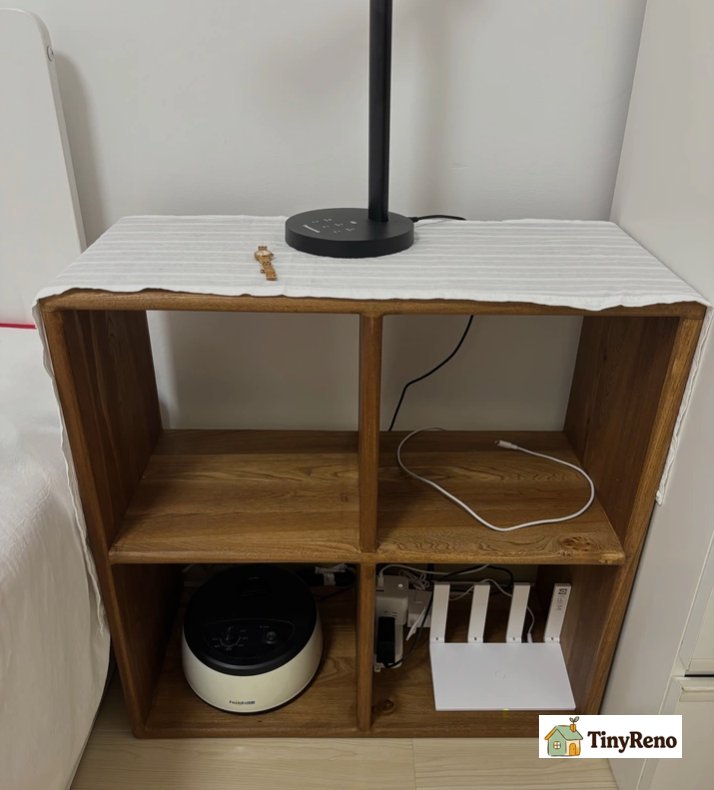
The reason it works is that the 4-cube stack is geometrically lazy. Two by two is the easiest shape to slide around a room. You can rotate it 90 degrees without it looking weird. You can put it against a wall, in a corner, or pull it out a foot from the wall and use the top as a shelf for keys and mail. You can stand a TV on top of it if your lease says no mounting. You can put a plant on top of it and call it a plant stand.
The placement rule I learned the hard way: don't put a 4-cube stack directly under a window. The natural light fades the fabric front in about a year and the bin that was once "cream" starts to look "yellow." Park it on an interior wall and rotate the cubes every few months so the sun-facing side gets its turn in the shade.
3. The Vertical Trick: 8-Cube Wall Tower for Things You'd Never Store Vertically
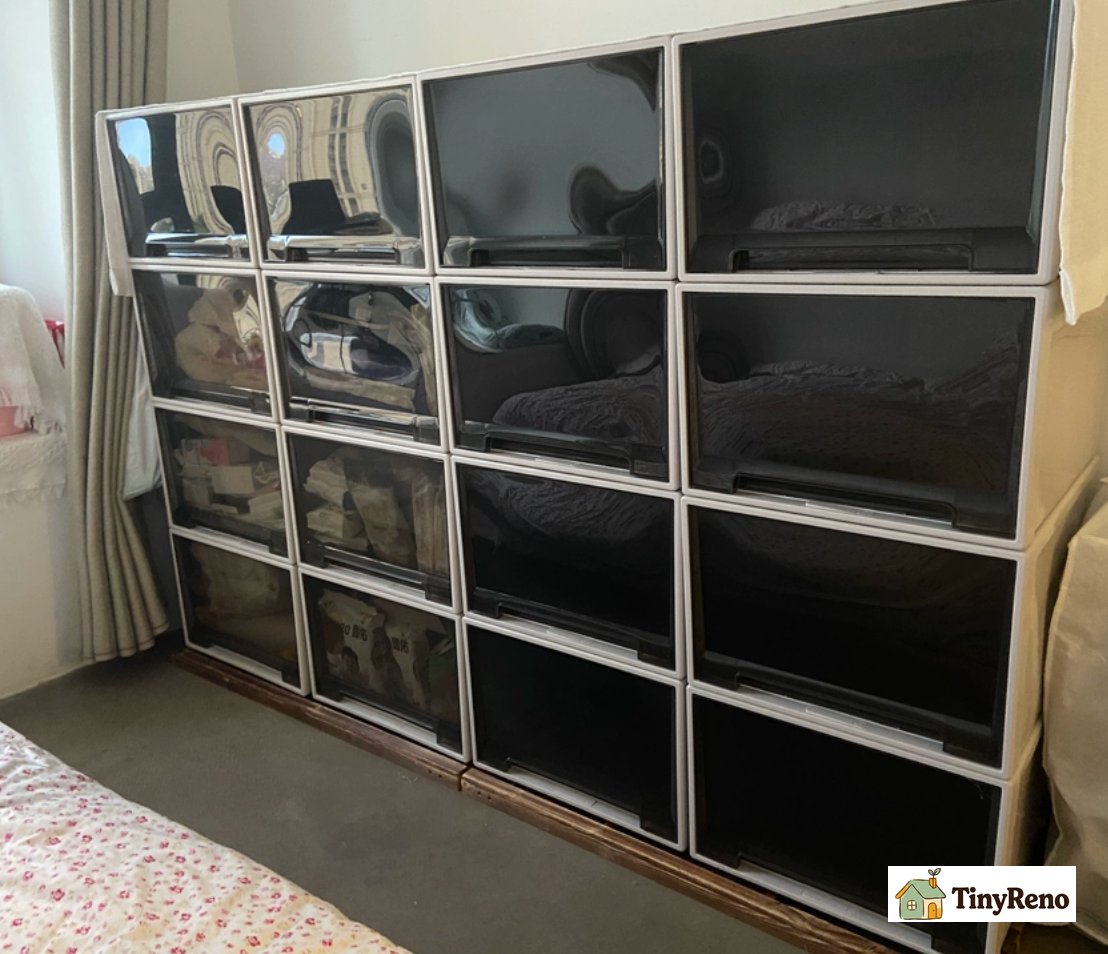
The 4-cube stack is the starter. The 8-cube tower — two wide, four tall — is where things get interesting. This is the configuration that turned my bathroom closet into something that stopped embarrassing me when guests opened the door.
An 8-cube tower works because most people think of storage as horizontal. You have a shelf, you put things on the shelf, you stack things on top of each other. That's fine for a closet. But for the things you'd never think to store vertically — rolled towels, extra toilet paper, cleaning supplies, the hair dryer you only use twice a year — a tall tower makes the empty air above your head useful for the first time.
The trick is weight distribution. The bottom row holds the heaviest stuff: full cleaning bottles, the iron, a folded step stool. The middle rows hold medium stuff: towels, hair products, the bag of travel toiletries. The top row holds light stuff: tissue boxes, the box of candles you bought for a power outage, the lid of the Instant Pot you never use. If you reverse that order, the tower wobbles, and a wobbling tower of cube bins is the closest thing a renter has to a domestic disaster.
4. The Hidden Cube: How I Built Storage Inside a Closet Gap
The closet gap is the 8 to 12 inches of dead space between the side of a closet rod and the wall. Every apartment has one. Most renters stare at it for a year and then shove a broom into it. I turned mine into six pairs of shoes.
The setup is a single cube bin, the 10-inch size, pushed all the way to the back wall of the closet. Then I laid a piece of plywood across the top of the bin — plywood, not particle board, because particle board sags — and used that as a shelf for a second row of bins. Two bins stacked vertically in the gap. Six pairs of shoes. Zero holes drilled into the closet wall.
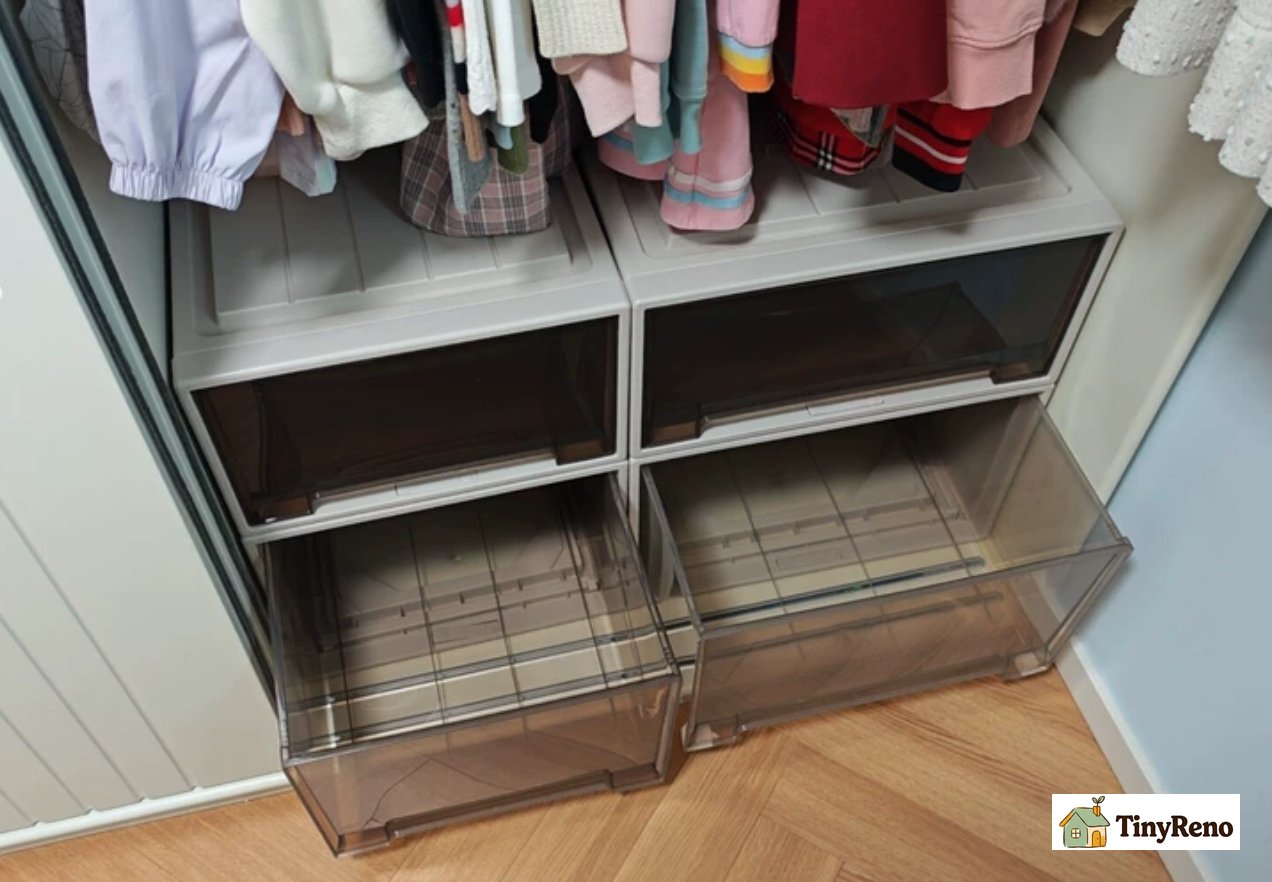
This is the single most useful cube bin hack in this entire article, because the closet gap is the one piece of geometry that exists in every rental and almost no renter ever exploits. If your closet is wider than 20 inches, you can fit two columns of these stacks. If it's narrower than that, you can still fit one column and use the leftover inches for a hanging shoe rack on the back of the closet door. Either way, you have just recovered square footage that the previous tenant forgot about.
If you're hunting for covers that actually stay on the shelves and don't slide off when you pull a bin out, I put together a full guide on — it breaks down which styles fit standard cubes, which ones survive daily use, and which ones are a waste of money. Once you cover them, you'll stop apologizing for your closet every time someone visits.
5. The Rolling Cube: Wheels Change Everything (Especially for Renters)
Screw-in caster wheels, the kind that cost about six dollars for a set of four, turn any cube bin into something that moves. A 2-by-2 stack on wheels is a mobile bookshelf. A 4-cube tower on wheels is a rolling kitchen island that you can park next to the stove when you're cooking and shove into the corner when you're not.
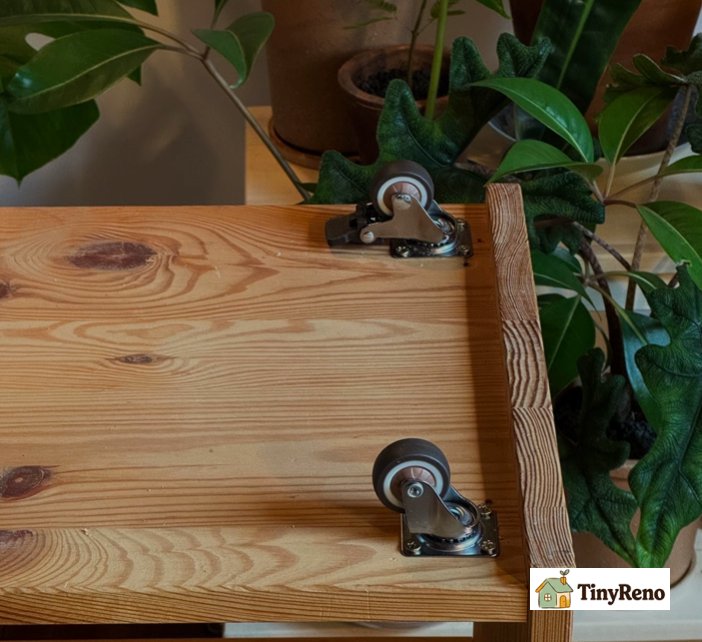
For renters, the wheels solve the only real problem with cube bins: they're heavy once you load them. The day I added wheels to my bedroom storage stack was the day I stopped apologizing to my back every time I rearranged the room. The catch is that you can't load a wheeled cube bin the same way you load a stationary one. Keep the heaviest items on the bottom row only, and accept that you're going to push the whole thing across the floor instead of lifting individual bins out.
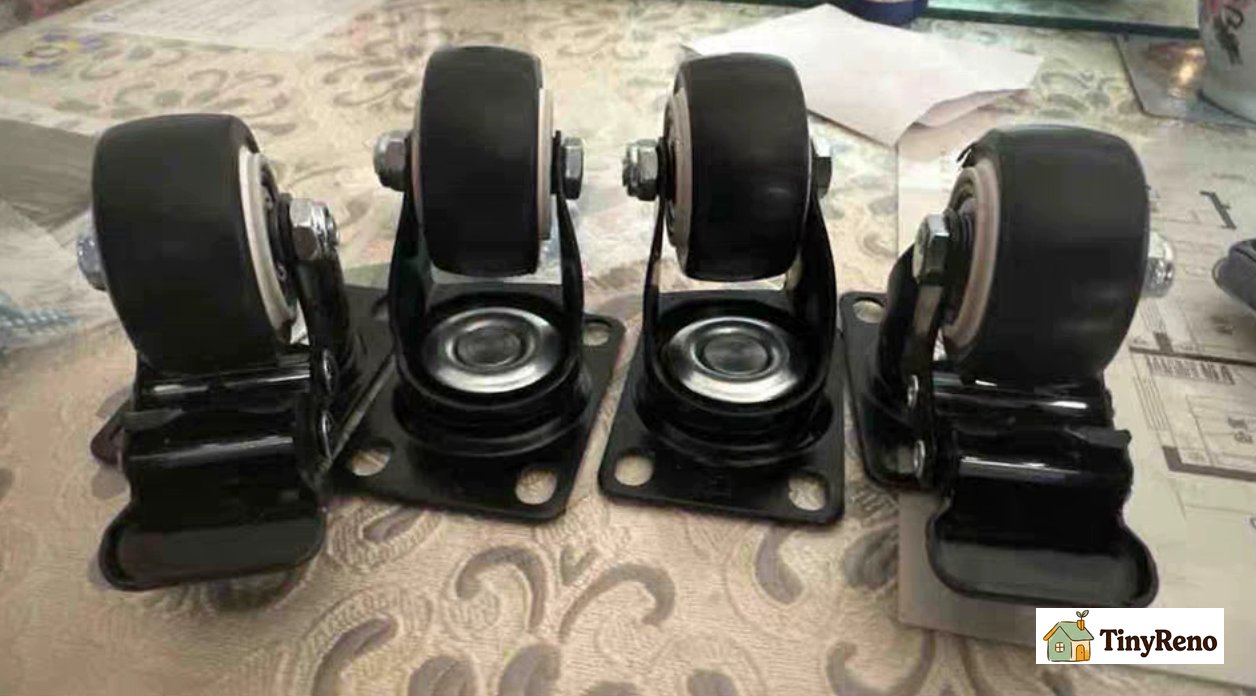
One detail that matters more than it sounds: get wheels that lock. Half of them, the ones on the back, should have a press-down brake. Without the brake, your mobile island will roll toward the front door every time you put something heavy on top of it. With the brake, it stays where you parked it. Locking wheels cost maybe a dollar more per set and save you from explaining to your landlord why there's a cube bin dent in the hallway baseboard.
6. The Fabric Trick: How to Stop Your Cube Bin from Looking Like a Cube Bin
A cube bin looks like a cube bin. That sounds obvious, but it's the reason most people stop after one configuration. The room starts to feel like a dorm room, and a dorm room is not the goal. The trick to making cube bins disappear visually is to cover them with something that doesn't look like a cube bin.
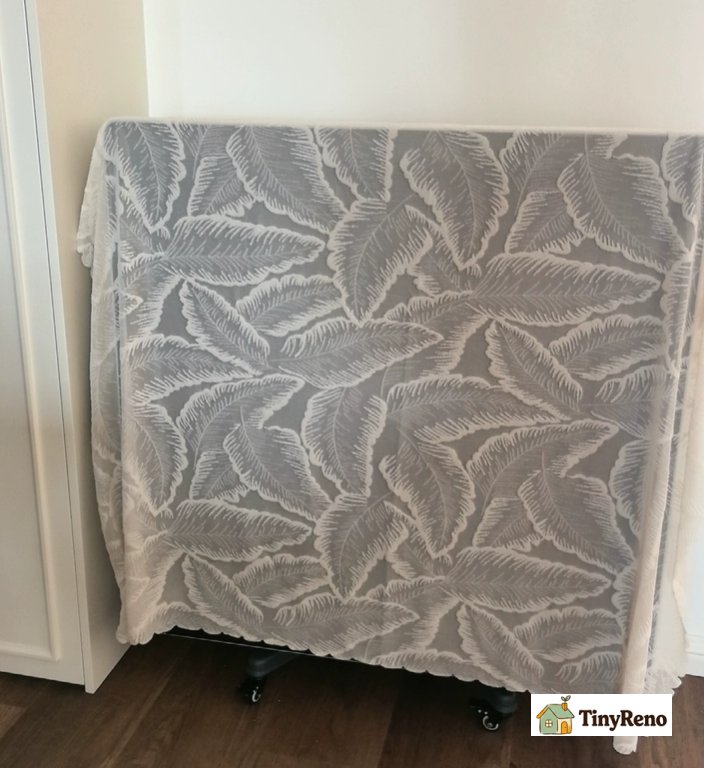
The cheapest version is a piece of fabric draped over the top and front, tucked behind the back edge. The version that takes fifteen minutes but looks the most finished is to use iron-on hem tape to make a fitted cover for the front face of each bin. The fabric you choose should match the largest piece of furniture in the room — the sofa, the bedspread, the curtains. When the cube bin reads as the same material as the sofa, your eye stops registering it as storage and starts registering it as part of the room.
For renters who don't want to commit to sewing, the half-measure is to buy cube bins in colors that match the room instead of fighting them. Cream bins in a cream room. Charcoal bins in a charcoal room. The alternative is a rainbow of mismatched cube bins, and that is what makes a small apartment feel like a storage unit.
7. The Label System That Survives Your Roommate
A cube bin without a label is a black hole, and a black hole with two roommates is a black hole with three black holes inside it. The label is not optional. The label is the entire system.
The simplest label is a piece of masking tape on the front edge of each bin, written on with a Sharpie. Costs nothing, takes thirty seconds per bin, survives every roommate. The label-maker version costs about twenty dollars and looks like a museum installed it — graduate to that when you have more than six bins and the masking tape starts to look chaotic.
The detail that nobody thinks about: the label goes on the front of the bin, not the top. Labels on top are invisible unless you're standing directly above the bin, which you never are. Labels on the front are visible from across the room, which is the whole point.
8. What I Stopped Putting in Cube Bins (And You Should Too)
Cube bins are not for everything. They are fabric or thin plastic or foldable cardboard, and they have opinions about what they hold. Here is the list of things I learned the hard way not to put in a cube bin: open liquids, candles that get warm, anything that leaks if it tips over, anything sharp enough to puncture the fabric, anything that smells (the fabric absorbs the smell and you will smell it forever), and anything that weighs more than 15 pounds (the seams give up around 20 pounds and you will find your winter coat on the floor one morning).
If your storage problem involves any of those things, the cube bin is not the answer. Liquids go in a plastic tub on a shelf, not in a fabric cube on the floor. Candles go in a closed cabinet. Sharp objects go in a toolbox, not in a fabric cube next to your clean towels. This is not a list of failures; this is a list of things the cube bin was never designed to do, and forcing it to do them anyway is how you end up replacing your cube bins every eight months instead of every five years.
9. Cube Bin Combinations That Look Like Furniture, Not Storage
The final test of a cube bin configuration is whether a guest walks into your apartment and says "oh, what shelf is that" or whether they say "oh, you have those cube bins." The first answer means you've made it look like furniture. The second answer means you haven't. Here are the two combinations that consistently produce the first answer.
The first is a 4-cube stack pushed up against the side of the TV stand, with a piece of stained plywood across the top that runs from the TV stand to the cube stack. The plywood becomes a continuous surface and the cube bin reads as part of the TV stand. The second is a 4-cube stack in the entryway with a runner rug placed directly in front of it and a small piece of art hung above it. The cube bin becomes a bench-with-storage and the room reads as "intentional entryway" instead of "pile of shoes."
None of these work by accident. They all work because the cube bin is the same height as the piece of furniture it's paired with, the same color or close to it, and pushed flush against a wall. When the geometry lines up, the cube bin stops being a cube bin and becomes a piece of furniture that happens to have storage inside it. That's the entire game.
Storage in a small apartment is mostly geometry, not willpower. The willpower part is what gets you to put things back. The geometry part is what makes putting things back easy. A cube bin, in any of the configurations above, is just a rectangle that solves a rectangle-shaped problem, and most of the problems in a small apartment are rectangle-shaped. Buy the right size, place it where the dead space already is, and the rest is just labeling.


Discussion (0)
Sign in to join the discussion