

I applied my first roll of removable wallpaper in 2018 and watched it sag off the wall within six months. The second roll, in a different apartment, bubbled so badly within a week that I peeled the whole thing off in a fit and spent the next weekend patching tiny divots in the drywall where the adhesive had pulled the paint with it. The third roll — same brand, same wall, same basic technique — held for four years and came off cleanly when I moved out. The difference wasn't the wallpaper. It was three specific things I did wrong the first two times and right the third.
Removable wallpaper is one of the renter-friendliest upgrades that still looks like a real upgrade. It transforms a wall in an afternoon. It reverses in minutes. The cost is usually $30-80 per roll depending on the brand. The failure mode is also renter-friendly: it doesn't ruin your security deposit if you follow the removal instructions — which I'll cover at the end.
The failure modes people complain about — bubbles, peeling corners, crooked seams, adhesive residue, visible seams where the pattern doesn't match — are mostly about preparation and technique, not about the wallpaper itself. Here's how to do it without making the same mistakes I did.
The 20-Minute Test That Decides If Your Wallpaper Project Will Fail
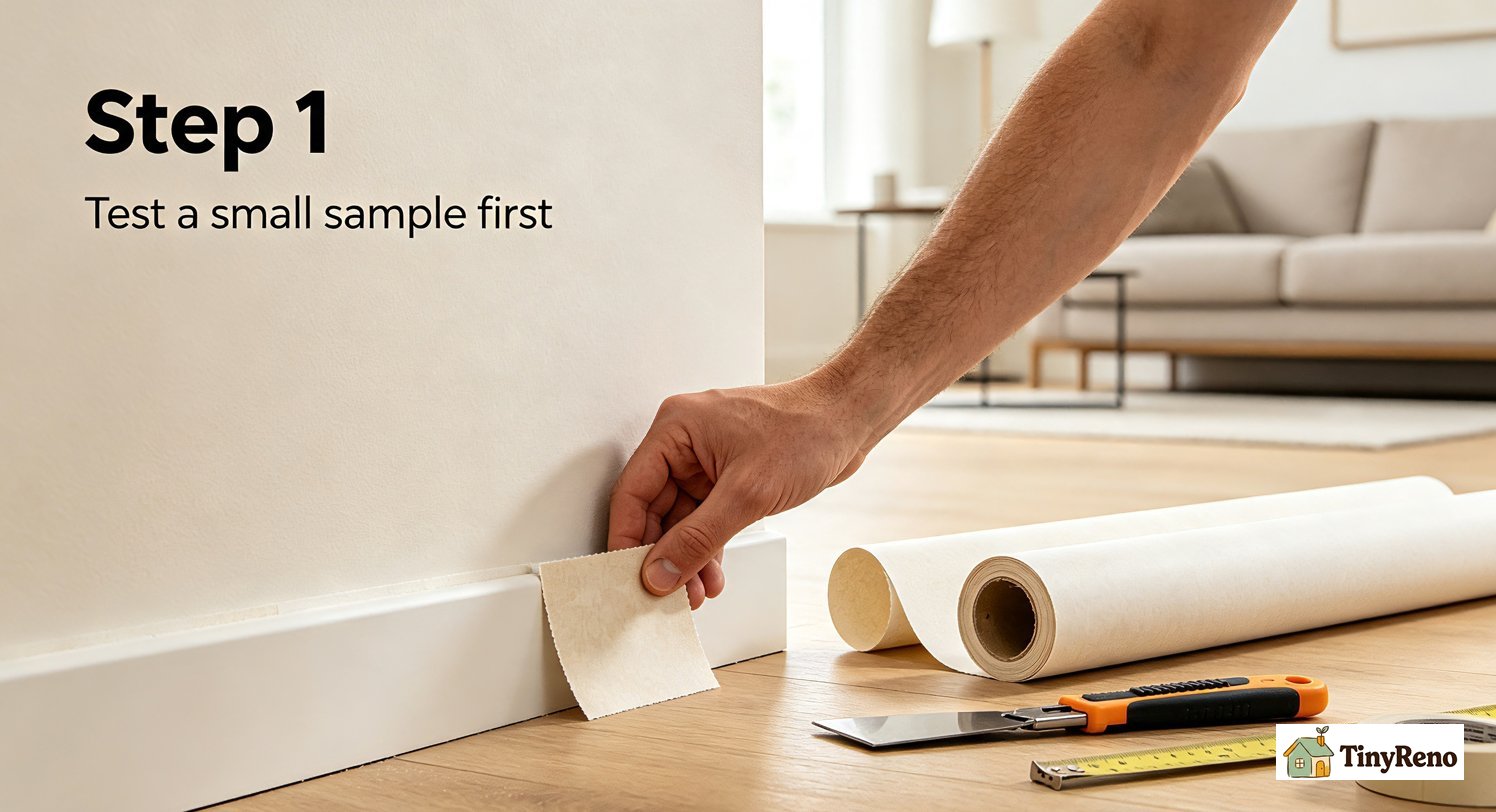
Before you unroll a single panel, take a small sample of your wallpaper and stick it to the wall in an inconspicuous spot — inside a closet, behind a door, somewhere you'll forget about it. Wait 20 minutes, then peel it off.
What you're testing for is adhesion. Removable wallpaper uses a pressure-sensitive adhesive that should bond firmly to a clean, painted wall within a few minutes of contact but release cleanly when you want it to. There are three things that go wrong here, and the 20-minute test catches all of them:
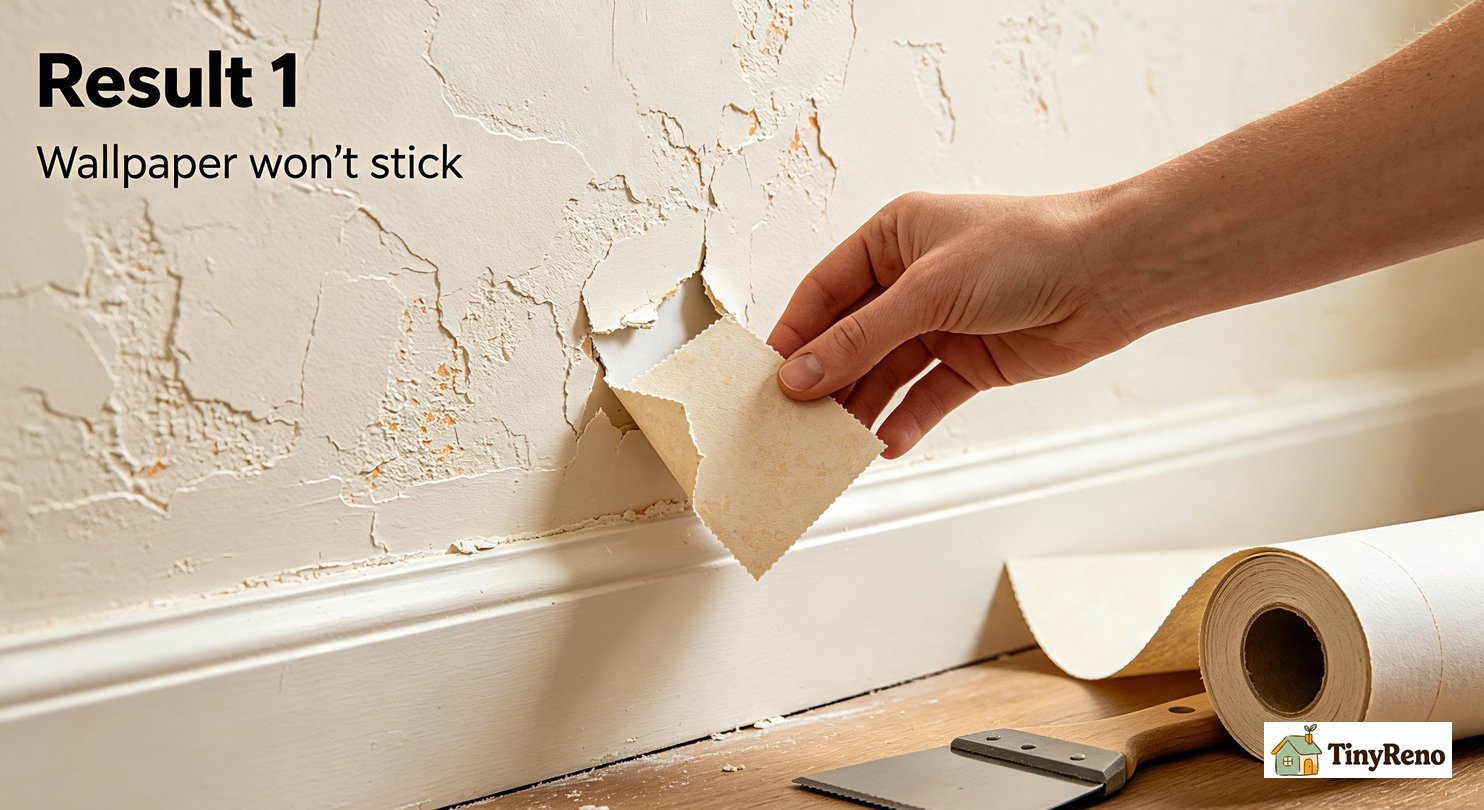
The wallpaper won't stick at all. This happens on walls with a lot of texture (orange peel, knockdown, popcorn) or on walls with flat or matte paint that has too much tooth. The adhesive needs a smooth-ish surface to grab. If the sample peels off easily after 20 minutes and the wall feels slightly rough to the touch, your wall is too textured for that wallpaper.
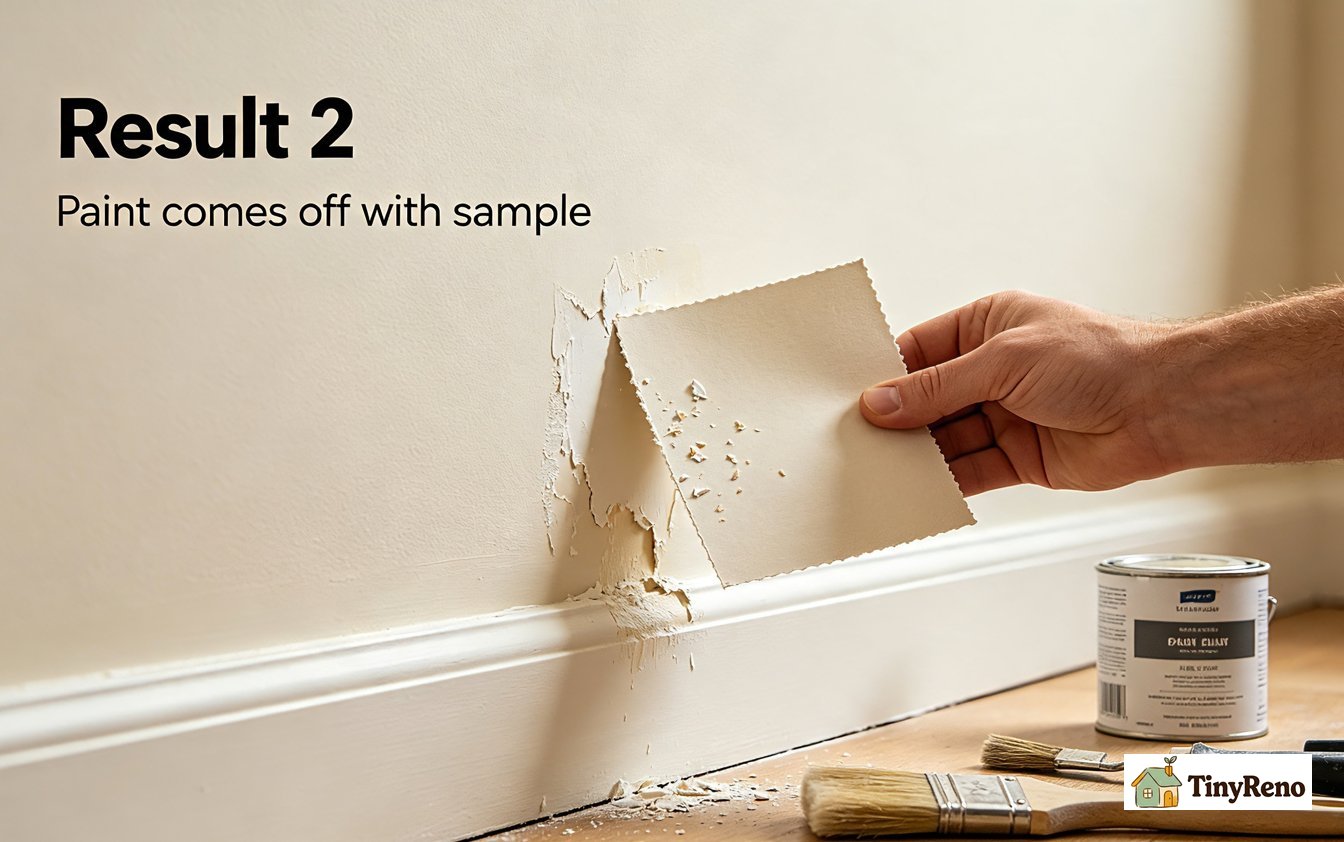
The wallpaper sticks but pulls paint off when removed. This happens on cheap builder-grade paint, especially flat paint that was applied over primer but never cured properly. The adhesive is stronger than the paint-to-wall bond. If the sample comes off and you see paint chips stuck to the back of it, your wall needs to be primed with a real primer (not the paint-and-primer-in-one stuff) before you start wallpapering.
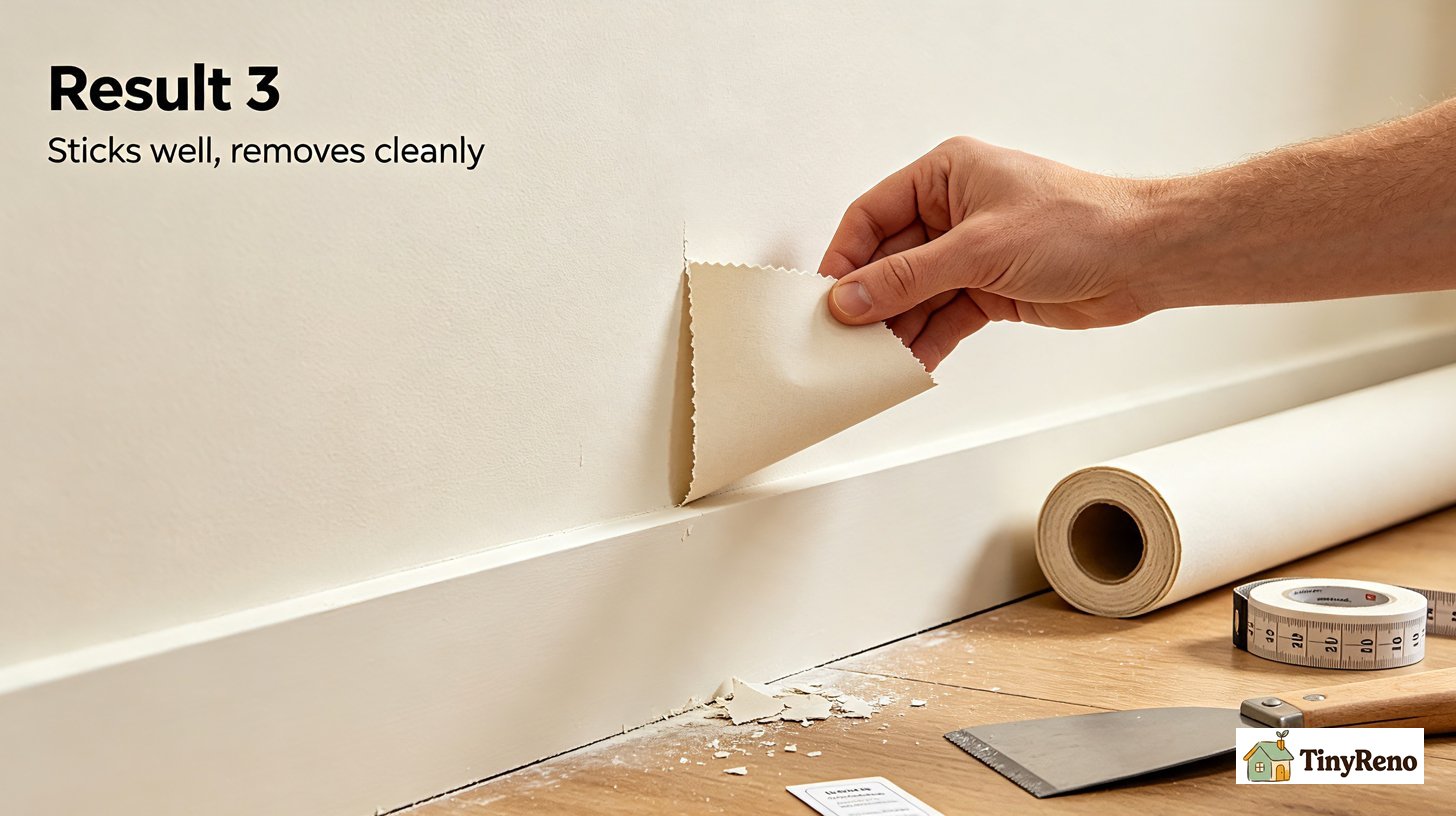
The wallpaper sticks perfectly and releases perfectly. This is what you want. The sample stays put for 20 minutes but comes off cleanly when you peel it.
Most renter walls fall into category 3 if they've been painted within the last 5 years. Older apartments with builder-grade paint fall into category 2 more often than people expect. If your 20-minute test shows category 2, don't proceed without priming — you'll lose your deposit at move-out, no matter how carefully you try to remove the wallpaper later.
Measure, Then Add 10% (Why Your Wall Always Eats More Paper Than You Think)
The standard math for wallpaper is: measure the wall width in inches, divide by the wallpaper roll width (usually 20-24 inches for standard rolls, 12-18 inches for some peel-and-stick), and that's the number of vertical panels you need.
Add 10% to whatever number you get. Always.
The reason is that every wallpaper project loses paper to mistakes. Your first panel is rarely usable — you'll misalign it, get dust on the adhesive, or have to peel it back to fix something. Corners and outlets eat more paper than they should because you cut the panel short and need a small piece to fill the gap. Pattern matching — if your wallpaper has a repeating pattern like florals or geometric shapes — also eats paper because each panel needs to align vertically with the previous one, which means your cut is rarely at the most efficient spot.
If you measure 12 feet (144 inches) and the roll is 24 inches wide, the math says 6 panels. With 10% waste, you want to buy enough for 7 panels. For a single accent wall of 8x9 feet, that's usually one extra roll beyond what the basic math says.
If you measure carefully and don't make mistakes, the 10% waste becomes spare paper for future repairs. If you do make mistakes — and you will, on the first panel — the 10% waste is what saves you from running out at panel 5 with half a wall to cover.
The Plumb Line Is the Only Line That Matters
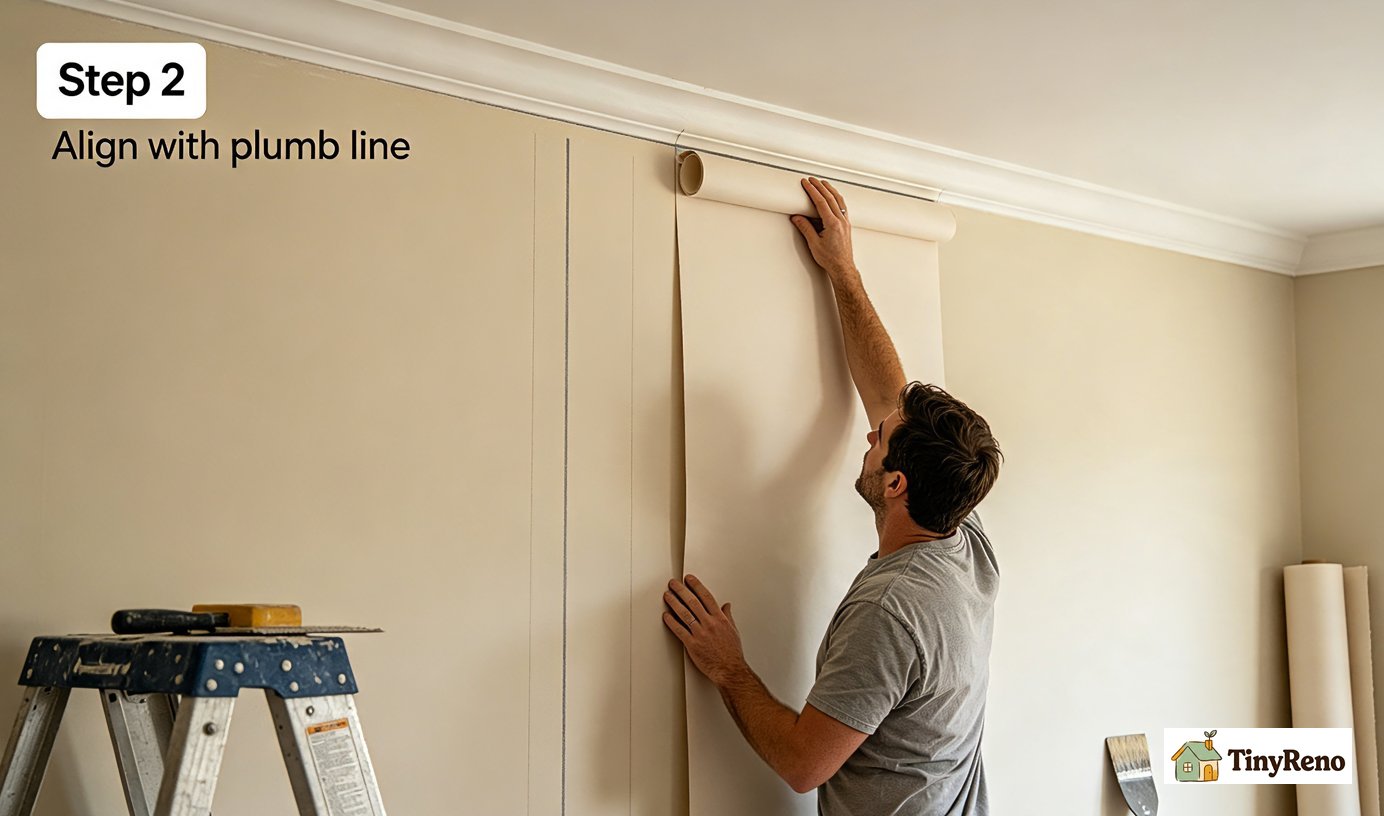
This is the mistake that makes an entire wall look crooked even when every panel is straight.
When you start wallpapering, your instinct is to align the first panel with the corner of the wall. Don't. Corners in most apartments aren't actually vertical — they're slightly off, sometimes by an inch over 8 feet. If you align your first panel with the corner, every subsequent panel drifts slightly off true, and by the time you reach the next corner, your wallpaper is visibly tilted.
What you do instead is establish a plumb line — a perfectly vertical reference line drawn from ceiling to floor about 1 inch away from the corner. Use a level (the longer the better — a 4-foot level is ideal, a 2-foot level works) and a pencil to draw this line. Then align your first panel with this line, not with the corner.
The 1-inch gap between the panel and the corner gets covered by the next-to-last panel, which is the panel you'll cut slightly oversized and tuck into the corner. If your corners are off by half an inch, the tucked panel hides that gap. If your corners are off by an inch (which happens in older buildings), the gap is still hidden because nobody looks at wallpaper corners at 6 inches away.
This single step is the difference between wallpaper that looks like a professional installed it and wallpaper that looks like someone did it themselves after watching one YouTube video. Spend the extra 5 minutes drawing the plumb line. The rest of the project depends on it.
Peel-and-Stick vs Traditional Paste — Which One a Renter Should Use
There are two types of removable wallpaper and the difference matters for renters.
Peel-and-stick has the adhesive already on the back. You peel off a backing paper and stick the panel to the wall. It's forgiving — if you misalign, you peel it back and try again. It comes off cleanly when you want it to. It costs $30-60 per roll for most brands. It's the right choice for accent walls, temporary installations, and anyone who isn't sure they want to commit.
Traditional paste wallpaper requires you to apply adhesive to the back of the panel before hanging. It's harder to align (no peel-and-stick forgiveness), harder to remove (you have to wet the adhesive to release it), and generally not renter-friendly unless you're committed to the look for several years. The wallpaper itself is often higher quality and cheaper per square foot.
For renters, peel-and-stick is almost always the right choice. The brands I've had good results with are Tempaper, NuWallpaper, and Spoonflower — they all make renter-friendly peel-and-stick lines that are specifically designed to come off cleanly. I wrote about a 12-month test of four of these brands [over here](/article/removable-wallpaper-12-month-review) if you want the long-term data on which holds up and which doesn't.
One thing peel-and-stick does that traditional paste doesn't: it shows every imperfection on the wall behind it. The adhesive is thin, and any bump, dent, or texture on the wall shows through the wallpaper as a slight ripple. If your wall has any texture at all, do the test from the first section — apply a small sample and look at it in raking light before committing to a full wall.
Working Around Outlets, Windows, and Corners (The 3 Places Everyone Messes Up)
Three spots cause 90% of wallpaper installation headaches. Here's how to handle each.
Outlets and light switches. Turn off the breaker to that outlet or switch first. Unscrew the cover plate (one or two screws, keep them in a bag). Apply the wallpaper panel right over the outlet box, pressing the panel flat against the wall. Use a utility knife to cut an X across the outlet opening, then trim the four triangles flush against the box edges. Put the cover plate back on — it covers the cut edges and makes the outlet look like the wallpaper goes behind it (which it does, in appearance).
Windows. Apply the panel up to the window edge, then make a horizontal cut across the panel where it meets the window frame. Fold the lower half of the panel down along the wall under the window. Use the utility knife to trim along the inside corner where the wall meets the window sill. The result looks like the wallpaper goes around the window naturally. Don't try to do the whole window in one panel — break it into the upper wall and the lower wall-under-window pieces.
Inside corners. This is the hardest cut. The wallpaper on one wall and the wallpaper on the adjacent wall will both go into the corner, and they have to overlap slightly to look seamless. Apply the panel on one wall so it extends about half an inch past the corner. Apply the panel on the other wall so it overlaps that half inch. Use the utility knife to make a single vertical cut through both layers of overlap right at the inside corner, then peel away the excess strips from both panels. The resulting seam is invisible because both edges are freshly cut.
The outside corners — where the wall sticks out — are easier. Just wrap the wallpaper around the corner like gift wrap, with about half an inch of overlap on the returning wall. Use a utility knife to make a small vertical relief cut at the corner if the wallpaper won't lay flat.
The "Smooth, Not Press" Technique That Prevents Bubbles
The most common mistake people make while applying peel-and-stick wallpaper is pressing too hard in the wrong places.
Here's what most people do: they peel back about 6 inches of the backing paper, press that 6 inches against the wall, then smooth outward with their hand or a plastic tool. The pressure they apply is roughly the amount you'd use to wipe down a counter — firm, sustained, focused.
Here's what works instead: press lightly at first. The adhesive only needs contact to stick. Heavy pressure at this stage just pushes air bubbles into the wallpaper and makes them harder to work out later.
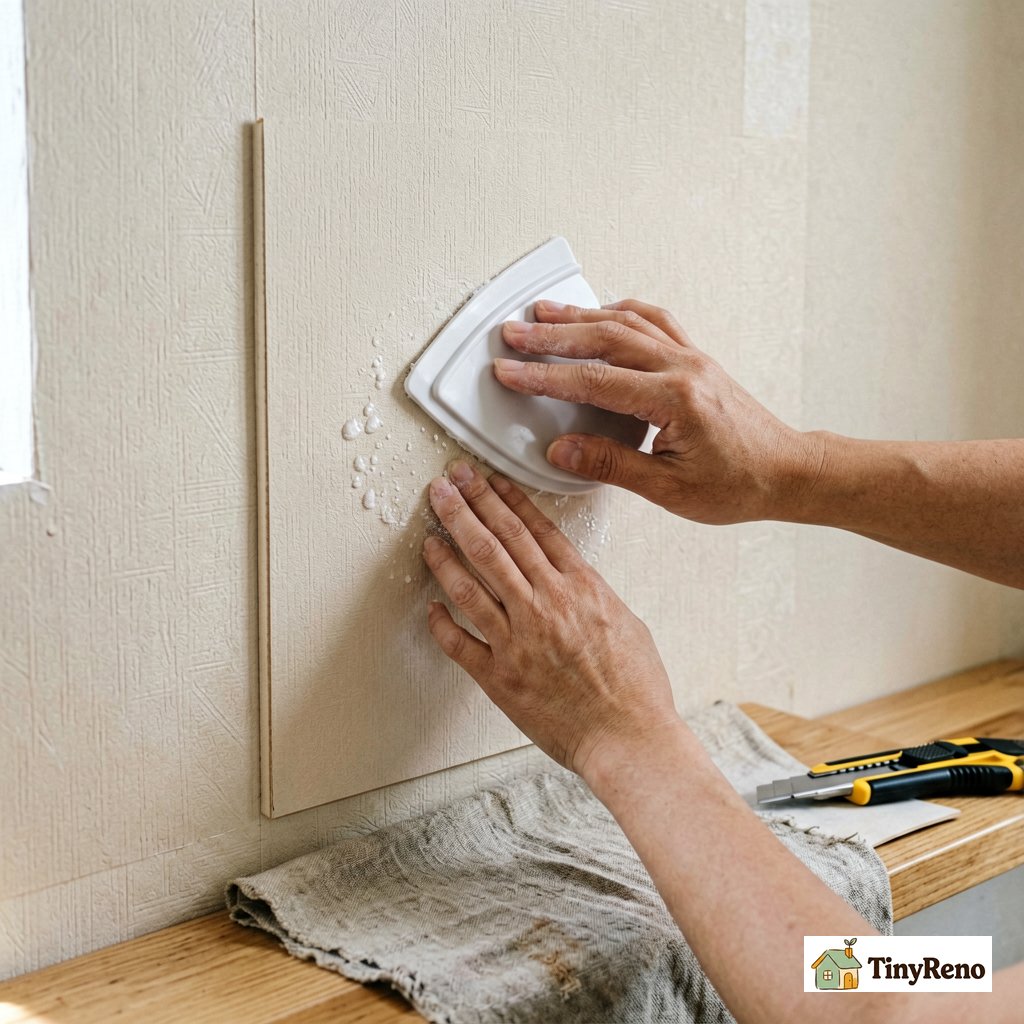
The right technique:
- Peel back about 12 inches of backing paper, holding the panel away from the wall.
- Position the top of the panel at the ceiling (or wherever the top of your wall is) and align it with the plumb line.
- Lightly press the top 6 inches against the wall. Just enough contact to hold the panel in place — you should be able to peel it back with one hand if you need to reposition.
- Use a plastic smoothing tool (or a credit card wrapped in a soft cloth) to push the rest of the panel against the wall, working from the center outward in smooth diagonal strokes.
- If you see a bubble, peel the panel back past the bubble and re-smooth. Don't try to push the bubble out by pressing harder on it — you'll just stretch the wallpaper and create a wrinkle.
The plastic smoothing tool is a $3 item at any hardware store. Don't use a credit card without the cloth — the hard edge can scratch the wallpaper surface. Don't use your bare hand — the heat and moisture from your skin can interfere with the adhesive on some brands.
Once the full panel is on the wall, go over it one more time with the smoothing tool, applying moderate pressure this time. This final pass is what actually bonds the adhesive. The earlier light pressure was just positioning.
---
The roll that finally worked in my apartment — the third one, the four-year hold — was on a wall I'd tested, primed lightly with a real primer (not the paint-plus-primer kind), and started with a plumb line drawn from a 4-foot level. The total project time was about 3 hours for an 8x9 wall, with two people working. The total project cost was about $80 for one roll of peel-and-stick wallpaper and the smoothing tool. Four years later, when I moved out, it came off in one continuous piece and left the wall looking exactly the way it did before I started.
Discussion (0)
Sign in to join the discussion