

I lived in two apartments before I realized the 8 inches above my fridge was earning me nothing. In the first place I left it empty for two years. In the second, I stacked a single cardboard box up there "temporarily" — and forgot about it for 11 months. The box warped from heat, the dust was an inch thick, and when I finally pulled it down I found a mug I'd been looking for since the move.
This is about using that dead zone well. Not with a 4-hour weekend project or drilling into landlord cabinets — with setups a renter can install in under an hour, remove in under 5 minutes, and not lose a cent of deposit over.
1. Measure First. Then Measure Again. Then Buy Nothing Yet.
The single biggest mistake is buying a basket, a shelf, or a "fridge topper organizer" before measuring your actual gap. The gap above a fridge is rarely the size the product listing claims it is. Three real numbers you need:
- Vertical clearance: from the highest point of the fridge to the underside of the cabinet. Measure at the back, because some cabinets have a small lip that hangs lower at the front.
- Fridge depth vs cabinet depth: a counter-depth fridge sits flush with the cabinet front; a standard-depth fridge sticks out 4-6 inches. This decides whether anything you put up there will be hidden or visible from the kitchen.
- Side clearance: the gap between the fridge sides and the walls or cabinets next to it. This decides whether a bracket-mounted shelf can actually be installed without drilling into the side walls.
Write the three numbers on a piece of tape and stick it to the side of the fridge. Do not measure once and order. Measure on a different day, ideally when someone else is holding the tape, because the first measurement is always wrong.
2. The Tension Rod Shelf (Cheapest, Most Reversible)
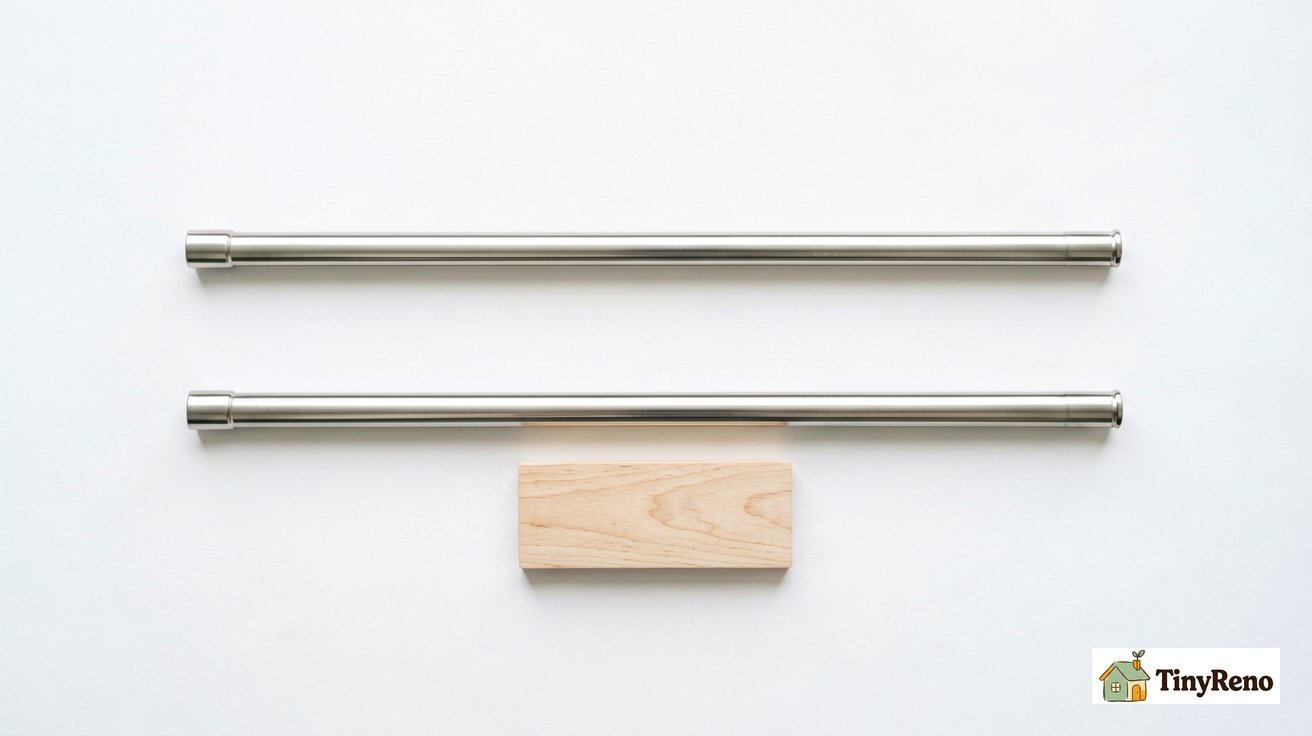
If you have at least 1 inch of side clearance on both sides of the fridge — and most apartments do — a tension rod can carry a flat board and turn the dead zone into a single shelf. Two rods spanning left-to-right between the side walls, a piece of plywood resting on top. Total cost: $6 to $12. Install: under 10 minutes. Removal: pull the rods, take the board off, done.
I used this in two apartments. The first time, I used rods rated for 30 pounds and a piece of half-inch plywood, and I stored three casserole dishes up there for 18 months without a wobble. The second time I used cheaper rods rated for 15 pounds and stored the same dishes — the rods slipped twice in the first week, once at 2 a.m. and scared me half to death. Match the rod rating to the weight you plan to put up there, and add 50% headroom.
This works for dry goods in flat boxes (pasta, rice, sealed crackers), casserole dishes, baking sheets stored on edge, the small appliances you use twice a year. It doesn't work for anything heavy that can shift, anything liquid, or anything you need to reach every day.
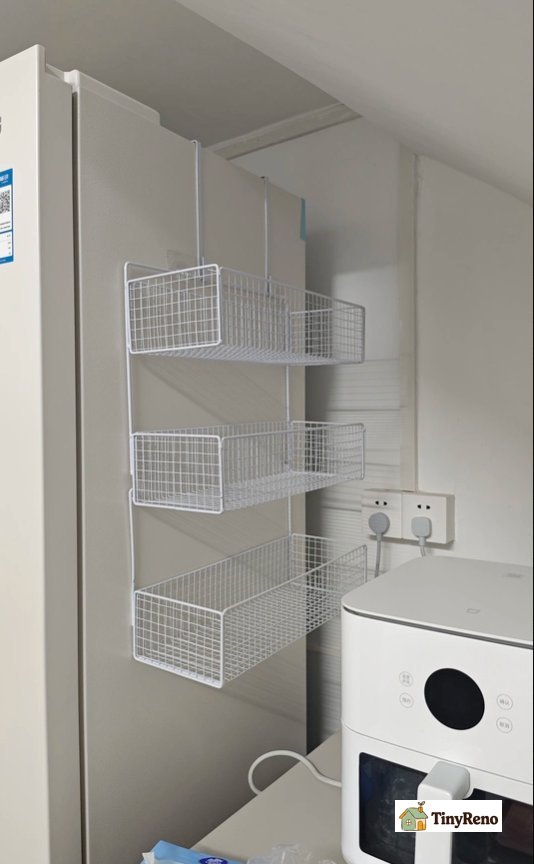
3. The Bracket-Mounted Shelf (If Your Fridge Sides Are Open)
If your fridge stands free on both sides with at least 2 inches of clearance each, you can mount a small shelf on the side walls with L-brackets and a piece of wood. The key word is side walls — not the cabinet above, not the wall behind the fridge, and certainly not the fridge itself. Drilling into the wall is something you negotiate with the landlord. Drilling into the side walls of an alcove is usually tolerated because the holes get covered by the fridge when you move out.
I did this in a galley kitchen where the fridge sat between two narrow walls. Two small L-brackets, a 10-inch piece of pine, 4 screws into each side wall, 30 minutes. That shelf held 12 pounds of cookbooks for 14 months. At move-out, the patches were small enough that a dab of spackle covered each one, and the landlord didn't mention them at the walkthrough.
If your fridge is built into a cabinet run with no side clearance, skip this section. The next one is for you.
4. The Stackable Basket (Zero Installation)
For renters who don't want to install anything, a stackable wire basket that sits directly on top of the fridge is the lowest-risk option. No tools, no drilling, no adhesive. You place it, you fill it, you take it down when you move.
The basket has to be wider than the fridge top, or it slides off when you open the fridge door (the vibration is more than you think). A 24-inch basket on a 28-inch fridge stays put. A 20-inch basket on a 28-inch fridge does not — I learned this with a basket of granola bars that slid off at 6 a.m. and woke up my roommate.
The other thing baskets get wrong: they're usually too deep. A 12-inch basket means you stack things two layers deep and forget what's behind. A 6-inch basket means you see everything and only store the things you actually use. Pick shallow. Pick wide. Pick wire so you can see through it.
5. The "Solutions" That Don't Work in Rentals
Three popular ideas from fridge-top Pinterest boards are terrible for renters, and I tried all three before giving up:
- Magnetic strips and baskets. A fridge top is rarely flat metal — most modern fridges have plastic or finished tops that magnets slide off of. Even when magnets work, the compressor vibration makes anything magnetic migrate to one side over a week. By week three, your magnetic spice rack is halfway off the fridge and the spices are dented.
- Strong double-sided tape. Adhesive on a fridge top fails within a month because the top gets warm during the compressor cycle. The adhesive softens, the basket tilts, and the residue it leaves costs more to clean than the basket was worth. I spent 40 minutes with Goo Gone on a fridge I was about to move out of.
- Drilling into the cabinet above. This is the one that gets renters in actual trouble. The cabinet above is almost always landlord property. Drilling into it for "just a small shelf" creates holes that show at the walkthrough, and depending on your lease, you can be charged for repainting the inside of the cabinet.
6. What Should Not Go Up There
Even with a good shelf, the dead zone is not a generic storage spot. Three categories of stuff should stay far away from the top of a fridge:
- Candles and anything wax-based. The heat from the fridge top warps candles and melts anything that's supposed to stay solid. A candle I stored up there for "just a few weeks" came back down as a blob fused to a cutting board.
- Glass jars and canned goods. The weight adds up faster than you'd think — a single shelf of canned tomatoes is 20 pounds — and the constant low vibration from the compressor walks them slowly toward the edge. They'll fall. It's a question of when, not if.
- Plastic food containers with snap-on lids. The heat cycles warp the lids. The next time you reach for one, the lid no longer seals. You have created a worse problem than the one you were solving.
The thing that works up there is the thing that doesn't mind warmth, doesn't mind being forgotten, and doesn't break if it falls 8 inches. Dry goods in cardboard boxes. Cookbooks. The ice cream maker you use twice a year. A spare set of bed sheets for the guest who visits once a year. Things you don't need often but need to not lose.
7. Match the Setup to Your Fridge Type
Not all fridges give you the same 8 inches. Three configurations I have seen in rentals:
- Standard-depth fridge with a soffit above: the gap is 2-4 inches and there is no way to fit a basket. Accept this. Leave the gap empty or stuff a single rolled towel up there as a vibration damper.
- Standard-depth fridge with a cabinet above: the gap is 6-12 inches and you have options. Tension rod shelf, bracket shelf, or a wide basket — pick by how often you'll reach for what's stored.
- Counter-depth fridge with a cabinet above: the gap is 4-8 inches and the cabinet front is flush with the fridge front. Bracket shelves don't work because there's no side clearance. Tension rods work if the side walls are flush. A stackable basket works only if the basket is shallow enough to clear the cabinet door swing.
8. The Anti-Vibration Detail Most People Skip
Fridges vibrate. Not a lot, but enough over months to walk things off a shelf. Two small details I now add to every fridge-top setup:
- A rubber shelf liner or silicone mat under everything. The friction keeps small items from migrating. A dollar-store drawer liner works.
- Heaviest items at the back, against the wall. Anything light goes at the front edge. The vibration always pushes weight toward the front, which is the side that drops. The wall side stays put.
With these two details, I have had a single tension-rod shelf hold the same three baking dishes for 14 months without a single shift. Without them, the dishes walked forward by about half an inch a month and I'd have to push them back every few weeks.
9. When the Right Answer Is to Leave It Empty
Three cases where the dead zone should stay empty:
- Older fridges with back-mounted compressors. These run hotter than modern bottom-compressor models. The heat buildup above the fridge can shorten the compressor's life, which is a repair bill the renter sometimes ends up paying if the lease holds the tenant responsible for appliance failure.
- Anything flammable within 6 inches of a heat source. Paper, cardboard, fabric, dry pasta — these don't catch fire on a normal fridge top. But a fridge with a struggling compressor can run hot enough to discolor cardboard over a year.
- Cabinets with a ventilation grille. Some apartment cabinets have a vent at the bottom front for the range hood or microwave above. Blocking that vent with stored items is a fire-code issue and a security deposit issue.
The honest answer to "what do I do with the space above my fridge" is sometimes nothing. The space exists because the fridge needs airflow and the kitchen needs clearance. A filled gap is not always a better gap.
10. A 30-Minute Setup That Actually Works
If you want one specific plan you can execute today:
- Measure the vertical gap, the depth of the fridge top, and the side clearances. Write them on a piece of tape stuck to the fridge.
- Buy two tension rods rated for at least 20 pounds each, and a piece of half-inch plywood cut to (gap width minus 1 inch) by (fridge depth minus 2 inches). Home improvement stores will cut the plywood for you in 5 minutes for under $2.
- Install the rods spanning the side walls just above fridge-top height. Rest the plywood on top.
- Add a piece of rubber shelf liner on top of the plywood.
- Store 3-5 items you actually use but don't need every day — cookbooks, baking sheets on edge, the ice cream maker — heaviest items at the back.
Total cost: $10-20. Total time: 30 minutes. Total removal at move-out: 5 minutes, no patches, no spackle, no deposit deductions. The shelf comes down in three pieces and fits in a single box.
That 8 inches of dead zone has been earning me storage space for the last three apartments. It does not earn a permanent shelf, it does not earn a drilling project, and it does not earn the kind of setup that needs a 2-hour tutorial to install. It earns a tension rod, a piece of wood, and the discipline to only put up there what actually belongs there.


Discussion (0)
Sign in to join the discussion