

When I moved into my last apartment, the previous tenant had been a smoker. The listing photos showed a fresh paint job and a clean unit, so I did not think about it until the second night, when I opened the bedroom closet and found a crumpled pack of Marlboros behind a shoebox. The smell hit me like a wall. I assumed the open windows would fix it in a few days.
They did not. The fresh-paint smell faded over a week. The smoke smell did not. Every time I closed the bedroom door and came back later, it was there. Every time the heat kicked on, the vents pushed a thin stale smell through the hallway. I tried coffee grounds, simmered vinegar on the stove, and a candle marketed as "odor eliminating." Nothing lasted more than an hour.
What I did not know then, and what most online guides gloss over, is that cigarette smell is not an air problem. It is a chemistry problem. The reason it keeps coming back is that the smell is soaked into surfaces, not floating in the room.
Why smoke smell is so hard to get rid of
Cigarette smoke leaves three layers of residue, and most remedies only deal with the first.
The first layer is the visible yellow or brown staining on walls, ceilings, and around vents. This is tar and nicotine that has settled on hard surfaces. It can usually be wiped off with the right cleaner, though heavy staining will have soaked into the paint itself.
The second layer is the odor that has soaked into soft materials. Curtains, carpets, upholstery, mattresses, and even clothes stored in a closet absorb smoke and re-release it for months. This is what most people are smelling when the smell "comes back" after airing out a room.
The third layer is third-hand smoke, which is the residue that has penetrated paint, wood, ceiling texture, and even the dust inside electronics. This is the hardest layer to deal with because it is not on the surface. It is inside the material. No air freshener, candle, or open window can reach it. The only fixes are washing the surface aggressively or sealing it with a stain-blocking primer and repainting.
Once I understood this, the order of operations made sense. Cleaning soft surfaces first. Cleaning hard surfaces second. Painting only the walls that cannot be cleaned to a neutral state.
Step 1: Take stock before you touch anything
Before I cleaned a single surface, I did a full inspection with a flashlight pressed flat against each wall. The trick is to angle the light so it rakes across the surface. Yellow stains and dark patches show up much more clearly in raking light than in overhead room light.
The honest assessment matters because it tells you what you are dealing with. A few notes I wrote down for my own unit:
- The kitchen had light yellowing near the ceiling and around the light fixture. Smell was moderate.
- The bedroom had darker yellowing on one wall behind where the bed would have been. Smell was strong, especially with the door closed.
- The closet had the strongest smell of all, even though the walls looked clean. The clothes inside smelled.
- The bathroom looked fine and smelled fine. Some smoking households avoid the bathroom, some do not. Mine was lucky.
Based on that assessment I knew I was dealing with a moderate case on three walls and a heavy case on one wall. That saved me from wasting time on a uniform full-unit treatment when only some areas needed it.
Before starting work, I sent the landlord a written message with photos. I asked whether they wanted to handle cleaning or repainting themselves, or whether they preferred I do it and deduct the cost from rent. In most states the landlord is on the hook for habitability. The question is who does the work, not who pays. Document everything in writing before you touch anything.
Step 2: Soft surfaces first
Soft surfaces hold more smell than hard surfaces, in my experience. I tackled them before walls because washing a wall and then realizing the curtains still reek would have wasted hours.
Curtains: anything machine washable went in with a regular load plus one cup of white vinegar in the rinse cycle. Vinegar neutralizes odor without leaving a vinegar smell once the fabric dries. Anything that could not go in the machine got a close look. If I held it up to my nose and smelled smoke, it went in a bag and out with the trash. The cost of new curtains is much less than the cost of a year of smelling them.
Carpet and rugs: I rented a carpet cleaner from the grocery store for twenty-four dollars. The cleaning solution that came with it was fine. I did two slow passes per area and let everything dry for at least twelve hours before walking on it. The first pass got the surface dirt. The second pass pulled up water that came out gray-brown, which is what you want to see.
The closet clothes: anything I had not worn in the past year went straight to a donation bin. The rest went through the wash with vinegar. If a piece of clothing still smelled faintly smoky after one wash, I washed it again. Anything that survived two washes and still smelled was unrecoverable.
Mattress and pillows: I sprinkled baking soda liberally over the mattress, left it for eight hours, and vacuumed it off. I did this twice, two days apart. The pillows I replaced. Pillows are cheap and hold odor far worse than most people realize.
Step 3: Wash the hard surfaces
This is where most guides get the order wrong. They tell you to wash the walls first. By the time you are elbow-deep in a sponge and ladder, the curtains and carpet are still sitting there pumping smell back into the air.
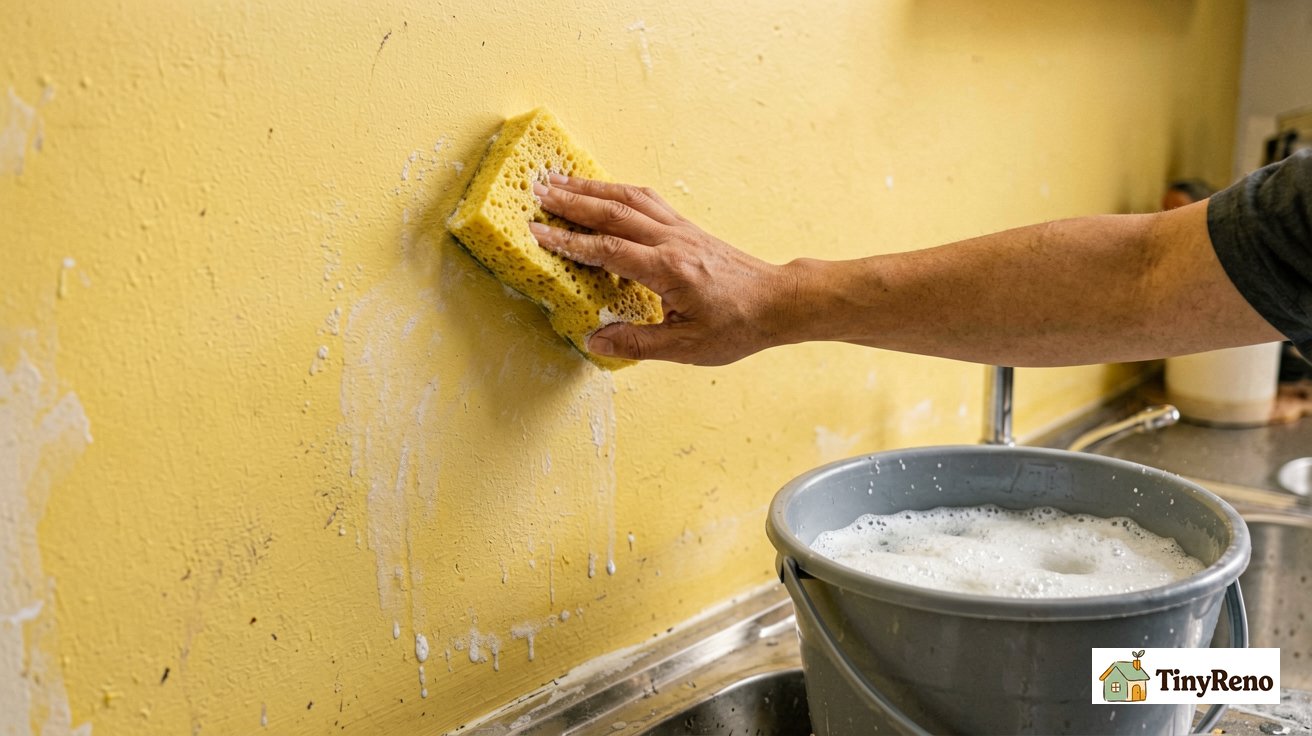
For walls, ceilings, baseboards, window frames, and light fixtures, I mixed a bucket of warm water with half a cup of white vinegar, two tablespoons of dish soap, and one tablespoon of baking soda. The mixture foams a little. That is normal.
I worked from the ceiling down. Wipe the ceiling first, then the upper walls, then the lower walls, then the baseboards. Gravity pulls the dirty water down. If you start at the bottom, you end up smearing dirty water over already-clean surfaces.
Use a soft sponge, not a scrubbing pad. Scrubbing will dull the paint and can cut through the sheen on satin or semi-gloss finishes. Dip the sponge, wring it out so it is damp rather than dripping, and work in three-foot sections. Rinse the sponge often. Change the bucket when the water turns visibly gray.
For tougher stains, trisodium phosphate, sold as TSP at any hardware store, is the standard pro cleaner. Mix per the package, usually one tablespoon per gallon. Wear gloves. TSP is much stronger than vinegar and soap and will strip residue that the gentler mix leaves behind, but it will also dull the paint finish if you scrub hard.
After washing, leave the walls to dry for at least twenty-four hours. Forty-eight is better. Paint that looks dry to the touch is still damp underneath. If you paint over damp walls, the new paint will not bond and may peel within months.
Step 4: Decide whether to repaint
After the wash and dry, I went back over each wall with the flashlight. The kitchen looked acceptable. The smell was faint, not gone, but tolerable. The bedroom wall behind the bed still had visible yellowing and a noticeable smell. That wall needed paint.
For repainting over smoke stain, the regular primer from the paint store will not work. You need a stain-blocking primer. Zinsser B-I-N is the most common choice for this and what I used. It is shellac-based, smells strong for a day, and seals in stains that would otherwise bleed through the topcoat. Kilz Original is the latex alternative if you want lower odor and easier cleanup. Either works. Both cost around ten to fifteen dollars per quart, which is enough for one wall.
Two coats of regular latex paint went on after the primer dried. I used a color close to the existing wall so there was no visible patch line. The bedroom wall went from smelling like a bar to smelling like fresh paint, and within a week the fresh paint smell faded to nothing.
This is the part I wish someone had told me up front. If you have to repaint, the difference between a wall that still smells faintly of smoke and a wall that smells like nothing is a ten-dollar can of stain-blocking primer. Skipping that step is why some repaints of smoker units still smell.
About ozone machines and air purifiers
Two tools come up constantly in smoke smell articles, and both deserve a clear-eyed look.
Ozone generators are sold as the cure-all for smoke odor. The reality is more limited. Ozone breaks down odor molecules in the air and on some fabric surfaces, which is genuinely useful in a heavily smoked-in unit. The downsides are real though. Ozone is harmful to lungs in high concentrations, so the space has to be vacated for the eight to twenty-four hours the machine runs. It does not strip tar or nicotine that has soaked into paint or wood. If you go this route, run the machine after you have washed the walls and fabrics, not instead of it. Leave the windows cracked on departure and the door closed so the ozone can do its work without dispersing.
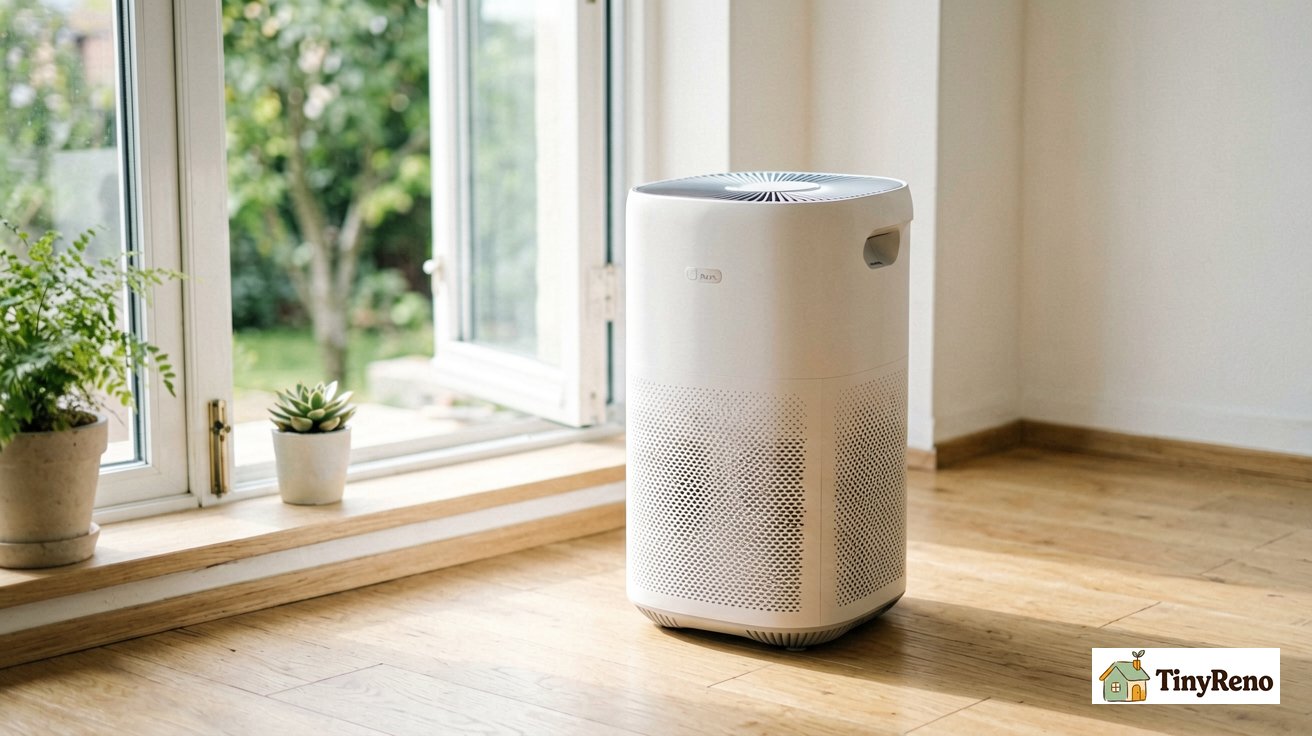
HEPA air purifiers are useful for the maintenance phase, not the cleanup phase. They pull smoke particles out of the air and keep the air clean while you are washing and painting. Once the surfaces are clean, a purifier with a true HEPA filter plus an activated carbon pre-filter will keep the residual smell down to a level that most people stop noticing within a week.
The thing that does not work is any product that masks rather than removes. Plug-in odor neutralizers, scented candles, "smoke smell" sprays, simmering potpourri. They cover the smell with a stronger smell for an hour, then the smoke smell comes back and your unit now smells like smoke and lavender.
A realistic timeline
For a moderate smoke smell in a one-bedroom unit, here is the time commitment I found realistic.
- Day one: inspection, photo documentation, message to landlord. About an hour.
- Day two: remove soft surfaces to laundry, sprinkle baking soda on mattress, take curtains down. Two to three hours including wash cycles.
- Day three: wash hard surfaces, ceiling to floor. Two to four hours for a one-bedroom.
- Days four and five: walls drying. Do not skip this. Two full days.
- Day six: stain-blocking primer on any wall that needs it. One to two hours including brush cleanup.
- Day seven: first coat of paint on those walls. Two hours.
- Day eight: second coat of paint. Two hours.
- Days nine through fourteen: paint curing, air purifier running, residual smell fading day by day.
By the end of two weeks my unit smelled like paint, and within another week it smelled like nothing. Total cost was about ninety dollars in supplies plus the twenty-four-hour carpet cleaner rental. The single biggest expense was replacing the bedroom curtains at forty dollars, which I would have done anyway.
When to stop and involve the landlord
If the previous tenant smoked indoors heavily and the unit has been empty for less than a month, the landlord almost certainly knew about the smell. In most US states the landlord is on the hook for making the unit habitable before move-in. That includes smoke residue.
What to do, in order: photograph everything before cleaning. Send a written message with the photos. Ask in writing whether the landlord will handle it or whether you can. Save all receipts. If the landlord refuses to do anything and the unit is not habitable, research your state's repair-and-deduct rules. Most states give you the right to deduct a reasonable amount from rent for habitability repairs. None of them give you the right to skip written notice.
What not to do: do not repaint the entire unit without asking. Even if the result looks better, the landlord can reasonably claim you changed the paint color, and you have lost the deposit argument before it starts. Stick to spot painting on stained walls and keep the color match as close as possible.
The honest summary
Smoke smell is one of the few rental problems where the cleaning actually has to be aggressive to work. Surface sprays and scented candles will not do it. The combination that worked for me was: wash all soft surfaces first, wash hard surfaces with a strong mix, repaint only the walls that still smell after washing, and run an air purifier for the first two weeks of occupancy. The total cost was under a hundred dollars and the result was a unit that smelled like nothing within three weeks.
Three months in, I have stopped noticing any smell at all. If I open the closet now, it smells like the lavender sachets I keep in there, not like the Marlboros I found behind the shoebox.
Discussion (0)
Sign in to join the discussion