

The drip started three weeks after I moved in. Not a big deal at first — just a rhythmic tap-tap-tap from the kitchen faucet base, maybe once every four or five seconds. I figured I would get to it over the weekend. Then the weekend came and went. By the end of the second week, I opened the cabinet under the sink to grab a sponge and found a small puddle sitting on a bottle of dish soap. The drip had found its way down the faucet body and was pooling on the cabinet floor. Not a leak you would notice from above — the water did not spill onto the counter, it ran down inside the metal base and collected underneath.
Took me three tries to figure out what was actually going on.
First try — I tightened everything I could see. There is a big nut where the faucet meets the countertop, a couple of supply line connections, a mounting ring. I grabbed a wrench and gave them all a quarter turn. Water still dripped. Second try — I convinced myself it was the supply line, disconnected everything, wrapped the threads in plumber's tape, put it all back. Still dripped. At that point I was about ready to call a plumber. That was going to cost somewhere around $150–200 just for someone to show up, plus whatever parts they needed. Then a friend who used to do apartment maintenance told me to check one thing.
The O-ring.
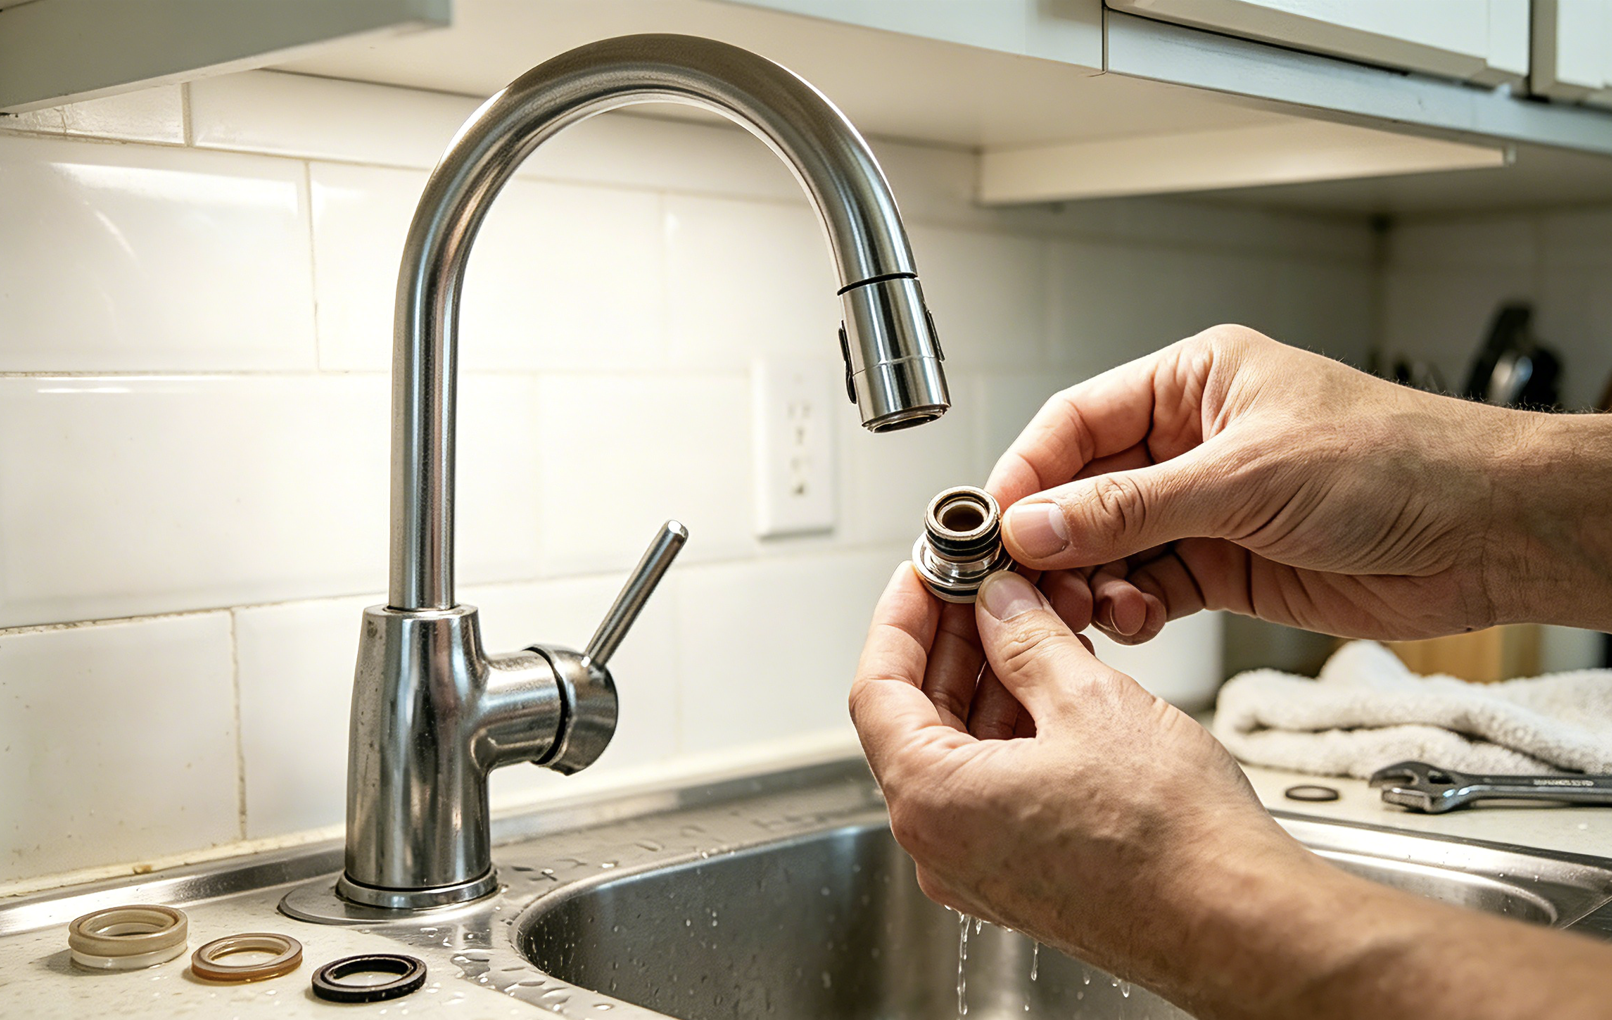
Most kitchen faucets have a small rubber ring somewhere inside the body, near the base where the spout swivels. Over time, that ring dries out, gets brittle, or just shifts out of place. Water that should stay inside the faucet seeps through the gap and runs down the outside of the pipe. You never see it from above — it just drips down the underside of the faucet and collects in the cabinet. Exactly what was happening to mine.
I took the faucet apart. Different models work differently, but on mine there was a small setscrew on the side of the base that let me slide the handle off. Underneath that, a retaining nut came off with a wrench, and once that was out of the way, I could pull the faucet body up and see the old O-ring — flattened, crusty, clearly the source of the problem.
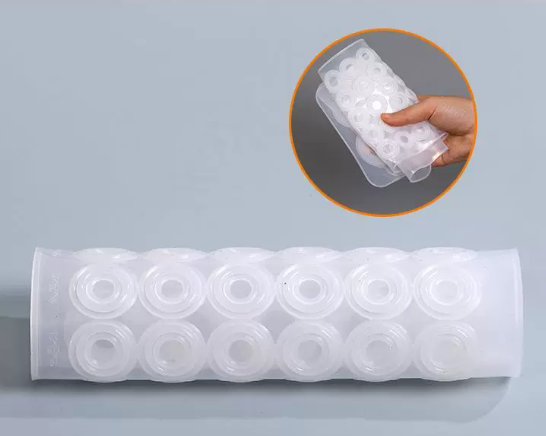
I brought it to the hardware store. Not a plumbing supply place, just a regular store with a small plumbing aisle. Found a pack of assorted O-rings for about $6. Matched the size by eye (they have a little plastic sizing tool on the rack). Took one home, slipped it into the groove, reassembled everything, turned the water back on.
The drip stopped. Has not come back in eight months.
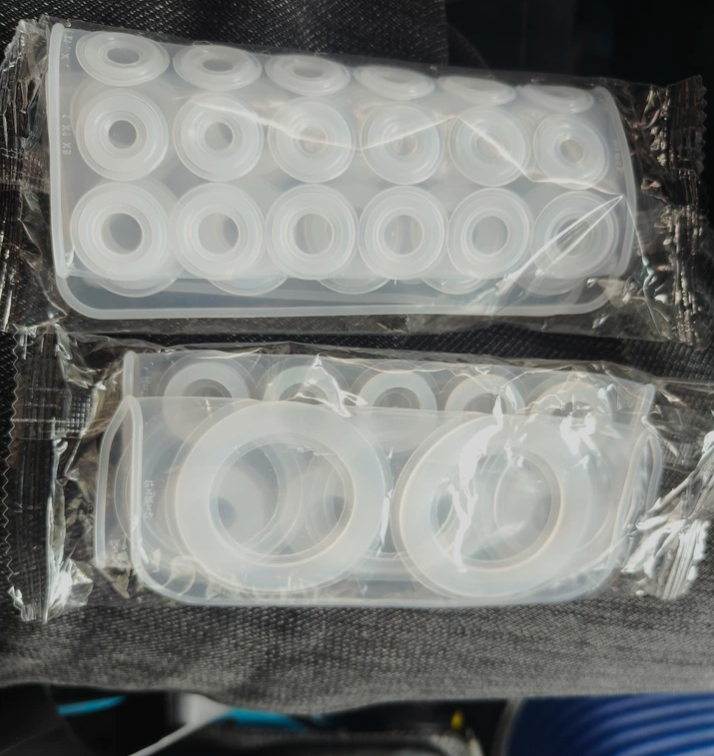
Total time: maybe 40 minutes spread over two evenings, mostly because I went down the wrong path twice. Tools needed: a wrench, a screwdriver (flathead or Phillips depending on your faucet), and whatever you use to get the handle off — some models have a hex key, some a small screw. Budget: $6 for the O-ring pack, $0 if you already have a box of assorted rubber rings lying around. A plumber would have charged you the visit fee just to walk in the door.
I am writing this down because I want to remember the order I should have done things in. Not: "tighten everything you see, guess at the supply line, panic, then check the obvious part." But: check the O-ring first. Before you unscrew anything under the sink, before you buy a roll of plumber's tape, before you even google "faucet leaking from base" and scroll through sixteen forum threads where no one agrees on the answer — just check the rubber ring inside the faucet body. Nine times out of ten, that is it.
A few things people usually ask
How do I tell if the leak is from the O-ring or something else?
If water is dripping from the base of the faucet (where the spout meets the countertop) but only when the water is on, or if you find water pooled under the cabinet without any visible leak from above, it is probably the O-ring. If water is spraying from one of the supply hoses, that is a different problem — you will see it because the leak is under pressure.
Do I need to turn off the water first?
Yes. There should be shut-off valves under the sink — turn both the hot and cold lines off before you start. If you do not have shut-off valves (older places sometimes do not), you will need to turn the water off at the main for the whole unit. Do not skip this step unless you enjoy cleaning up a small flood.
Is the same fix for all kitchen faucets?
The general idea is the same, but the disassembly steps vary. Some faucets have a small Allen screw hidden under a decorative cap on the handle. Some have a clip that pops off. If you are not sure, pull up a video of your specific model — it will save you the "I broke a plastic clip" headache that I narrowly avoided.
Can I just buy a new faucet instead?
You can, but a new faucet will run you $40–150 depending on what you get, plus you will need to disconnect everything and reconnect it, which is more work than swapping a rubber ring. The O-ring fix costs under $10 and takes less than an hour. I would try the $6 fix first.
What if the O-ring is not the problem?
Then the leak might be coming from the cartridge or valve assembly inside the faucet body. That is a slightly deeper fix — some faucets let you replace just the cartridge, others require a whole new faucet. But I would still start with the O-ring because it is the cheapest and most common cause. It took me two wrong turns to learn that.
It took me two wrong turns and a minor panic to end up at a $6 fix I could have done in twenty minutes. If you are reading this and your kitchen faucet has that same slow, annoying drip, start where I ended. Check the O-ring first. You will probably save yourself the headache I went through — and the puddle on your dish soap bottle.
Discussion (0)
Sign in to join the discussion